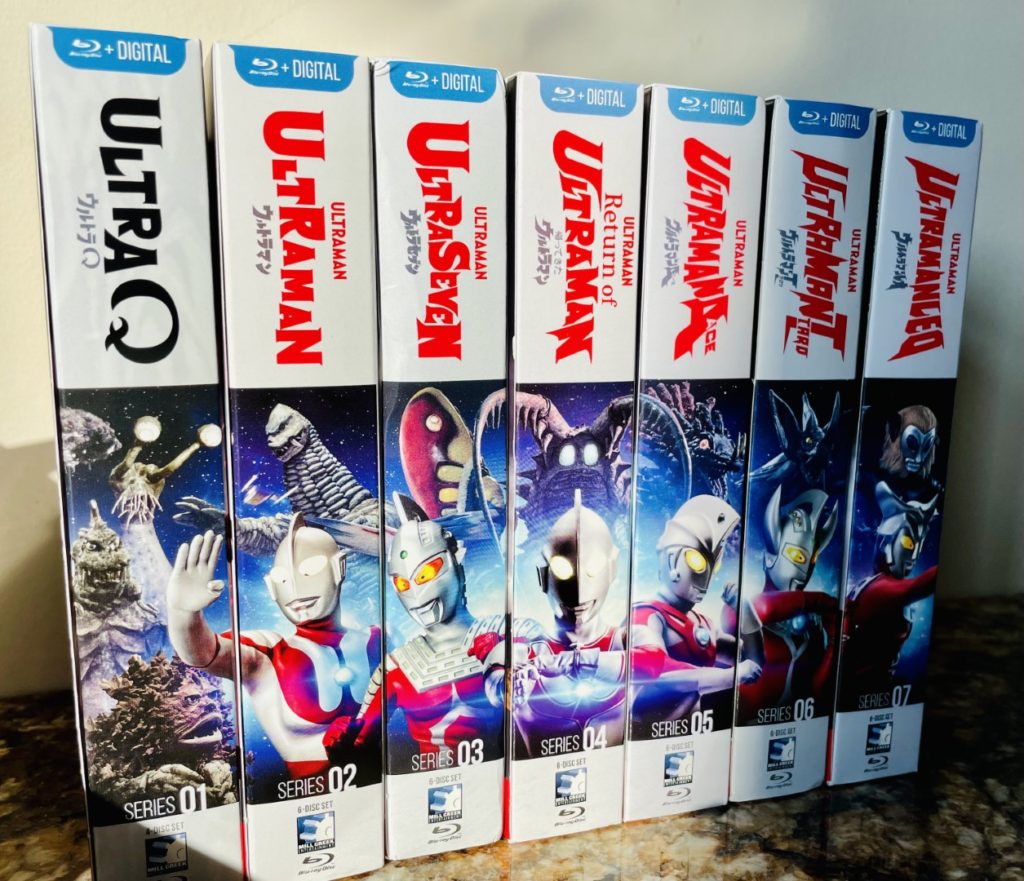
Fathomagical
“Heard you might have a Fathom Mermaid Edition left? Potential interest here …” was my message on June 1st, 2021. I had just sent it to Zach at Flip N Out Pinball after seeing the release information on the new Haggis Fathom Mermaid Edition out of Australia. By the next day, Zach let me know that I had a slot reserved and I didn’t need to do anything more to ensure I got a game. Zach is a man of his word, so I never gave it another thought – when the game was ready, he would let me know. No one could have predicted what was about to happen in Australia (and around the world). The COVID related shut downs, parts shortages and supply chain breakdowns all contributed to a sizeable delay for Haggis in the manufacture and delivery of this game.

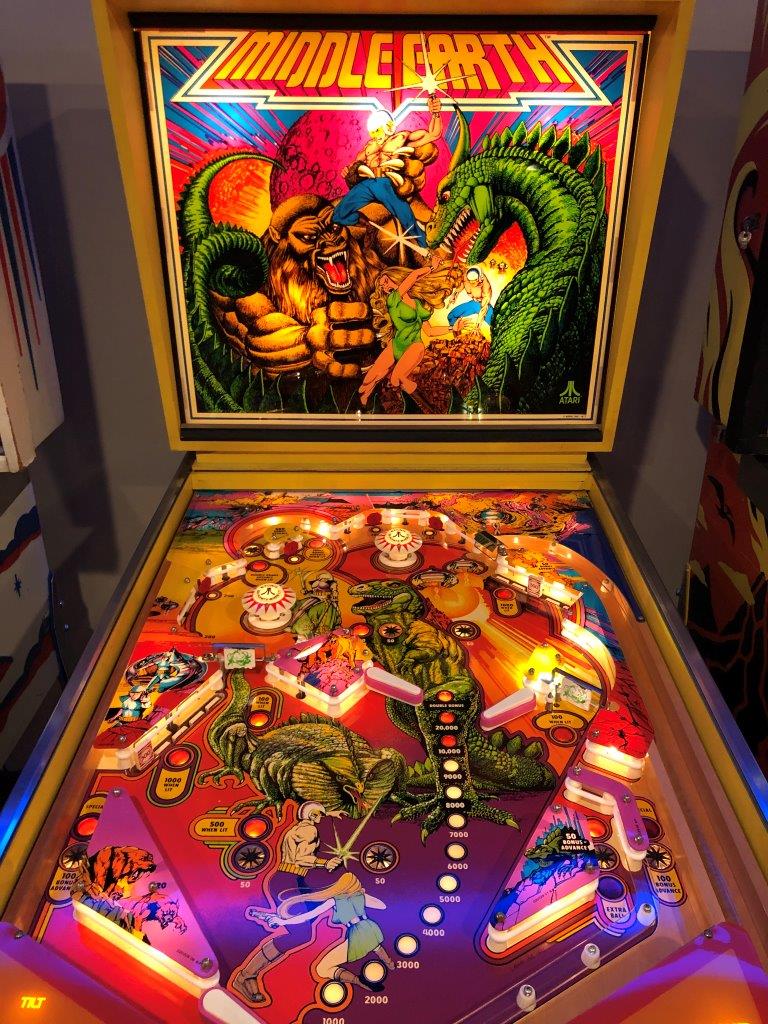
What’s A Fathom?
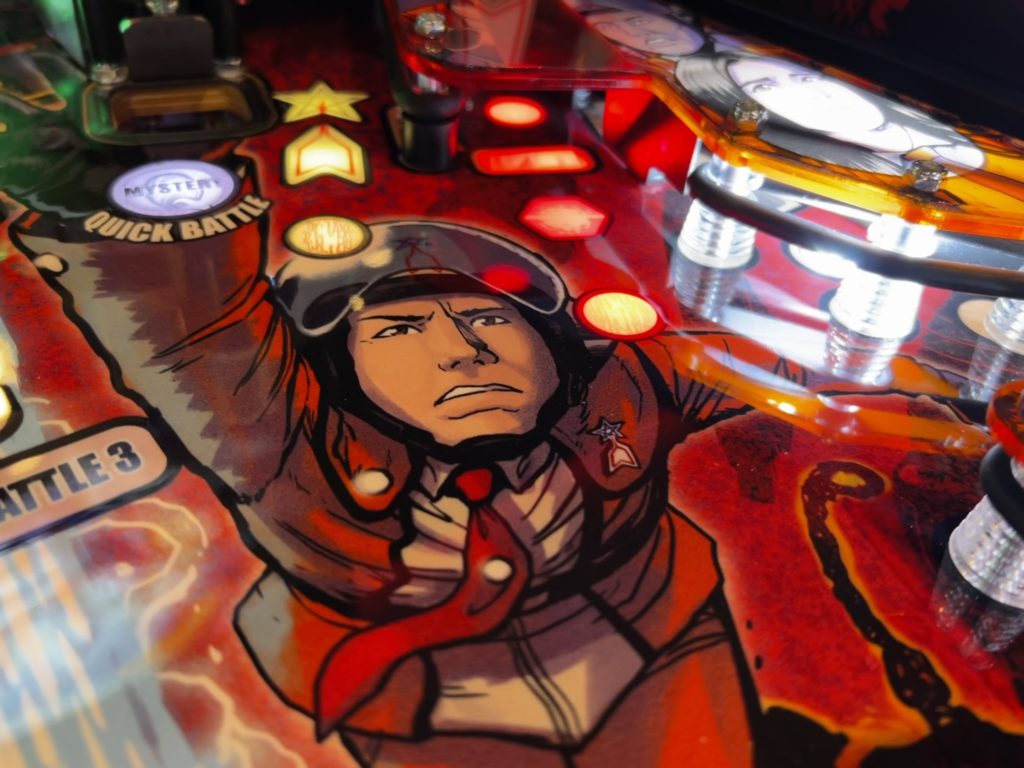
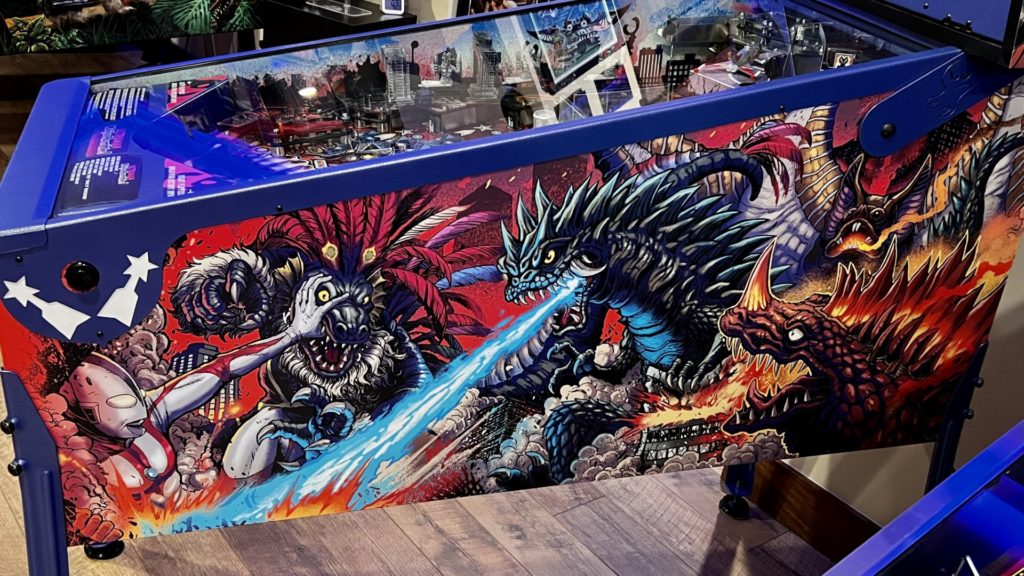
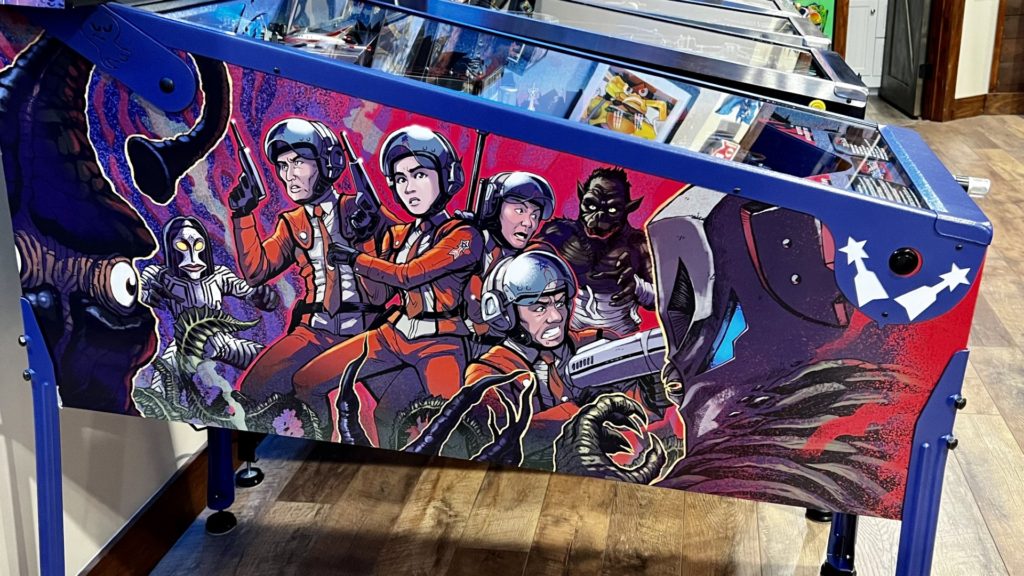
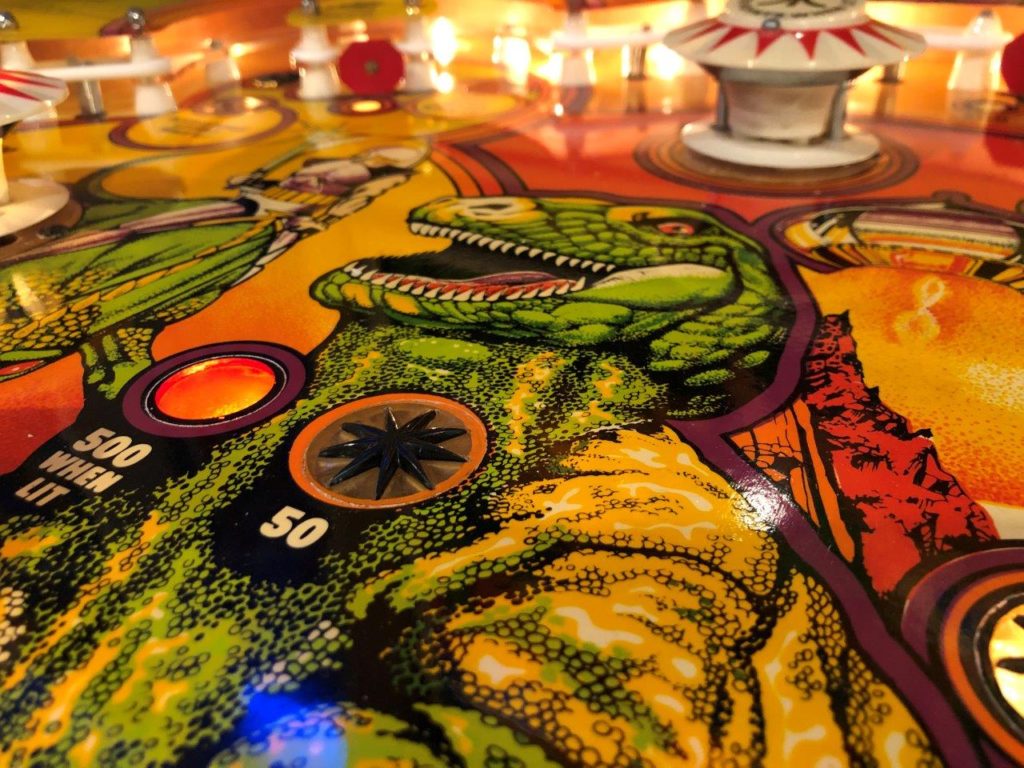
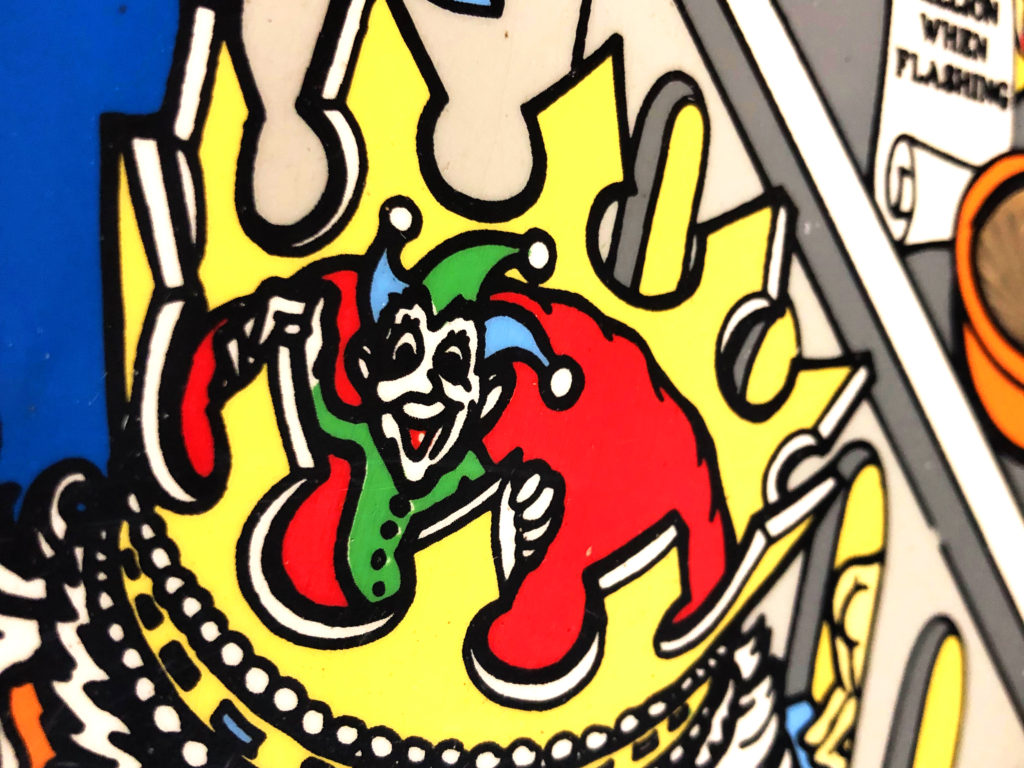
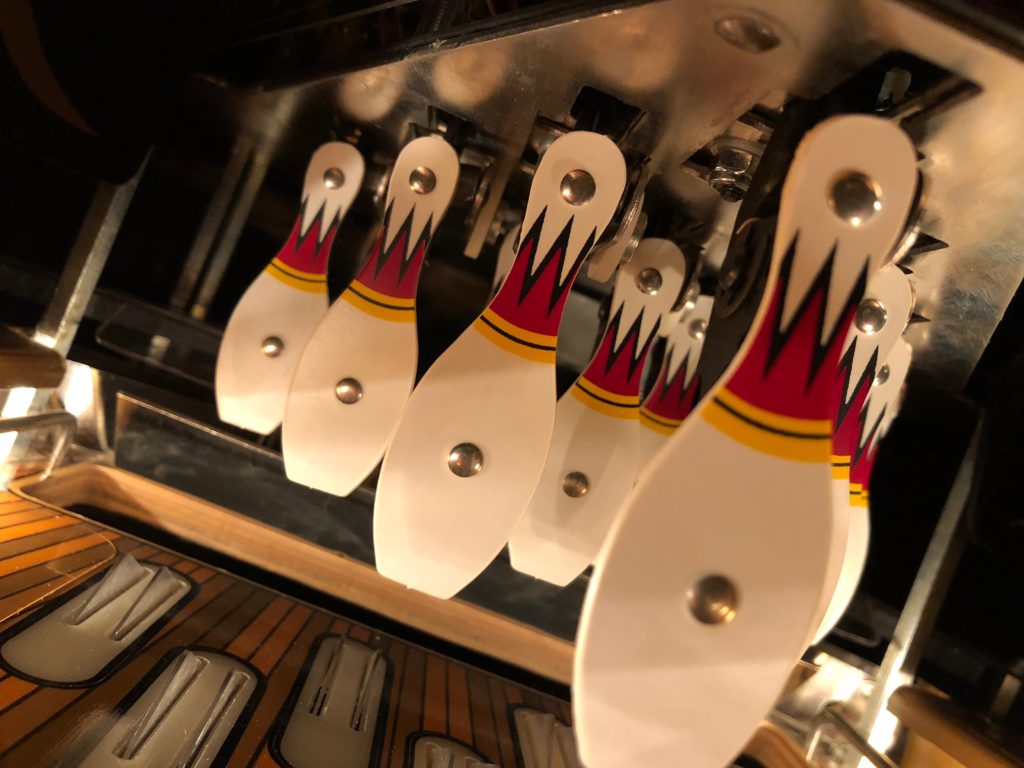
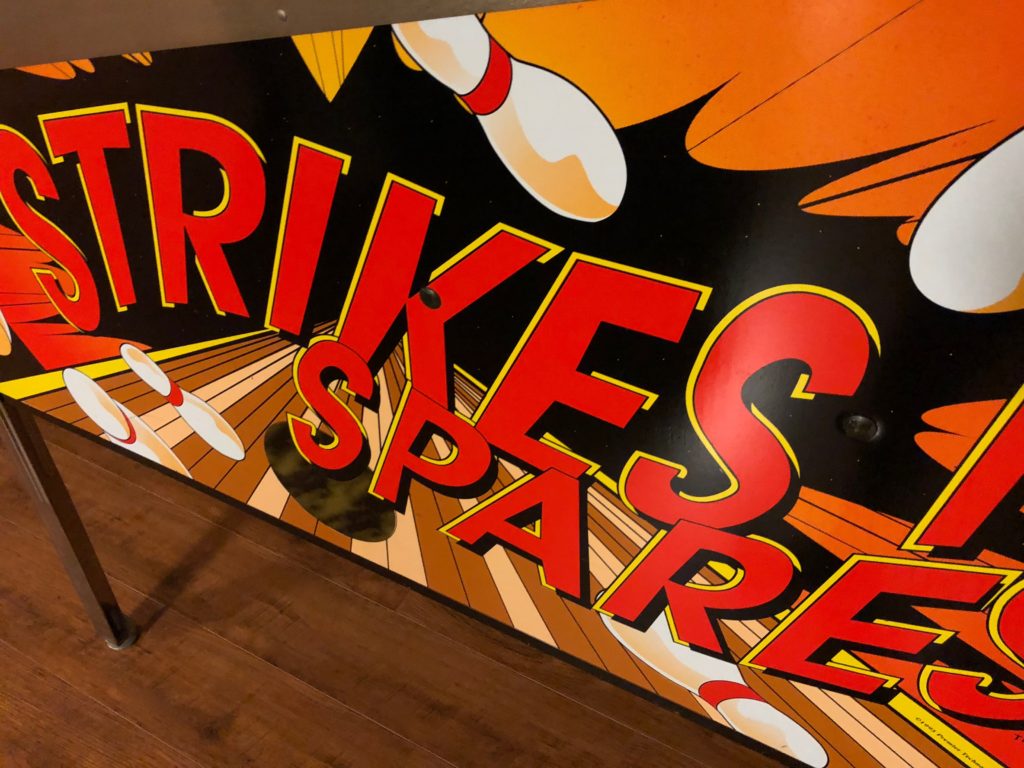
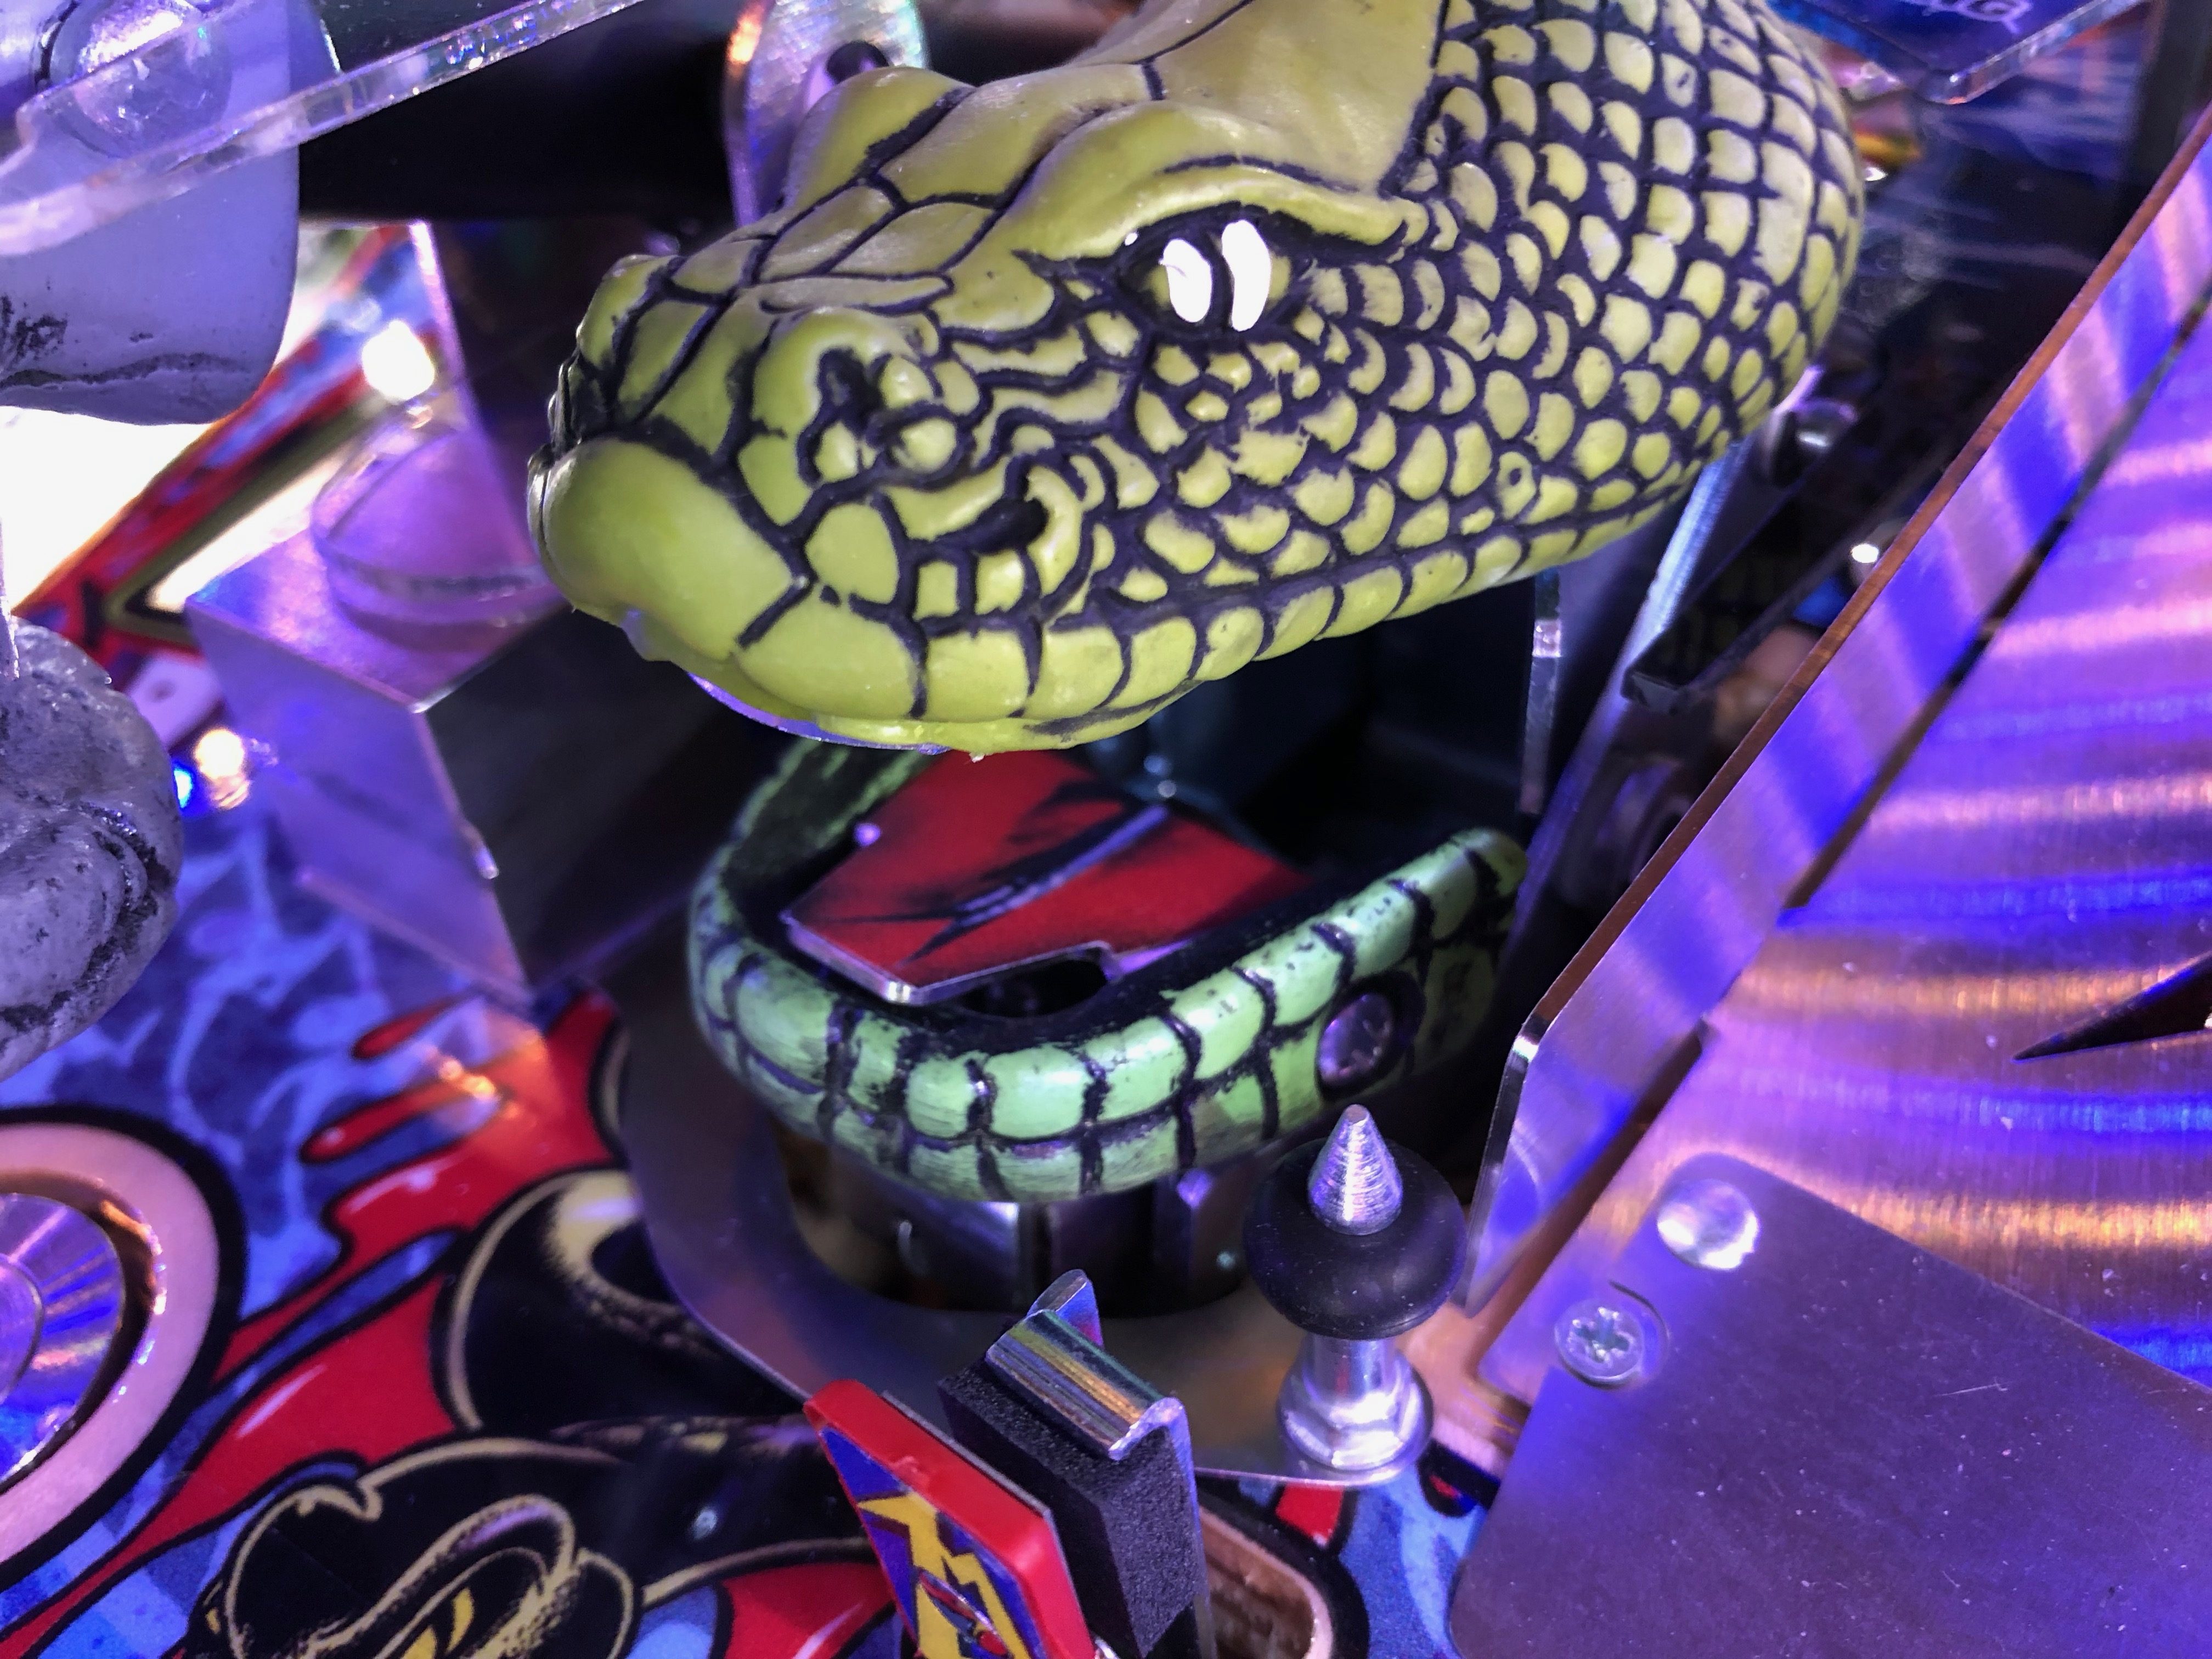
Fathom is a 1981 Bally pinball machine that is beloved by those that know pinball. Especially those that know this era. Like any other time in pinball history, some games were killer and others were duds. Fathom was on the homicidal side. Killer in every sense of the word. Heck, Mermaids are the theme but if you were expecting the “nice ones”, think again. They are trying to accomplish one thing – kill you.
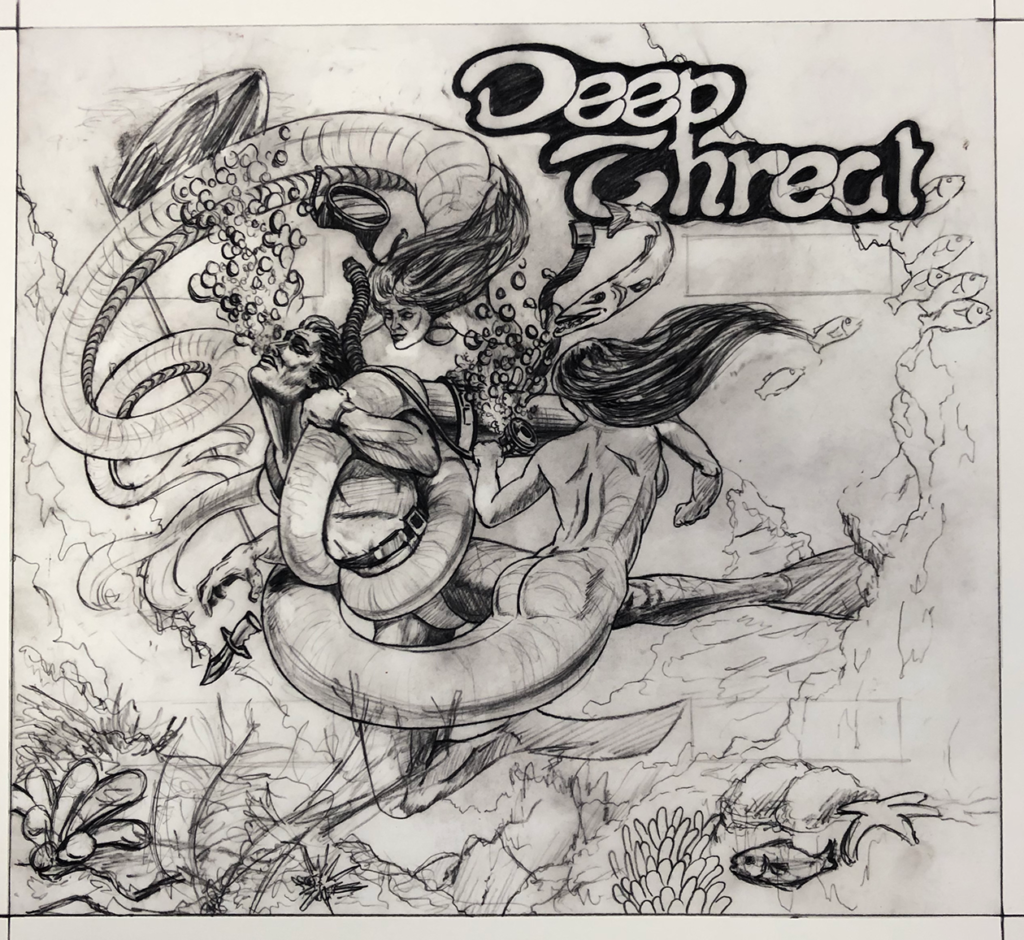
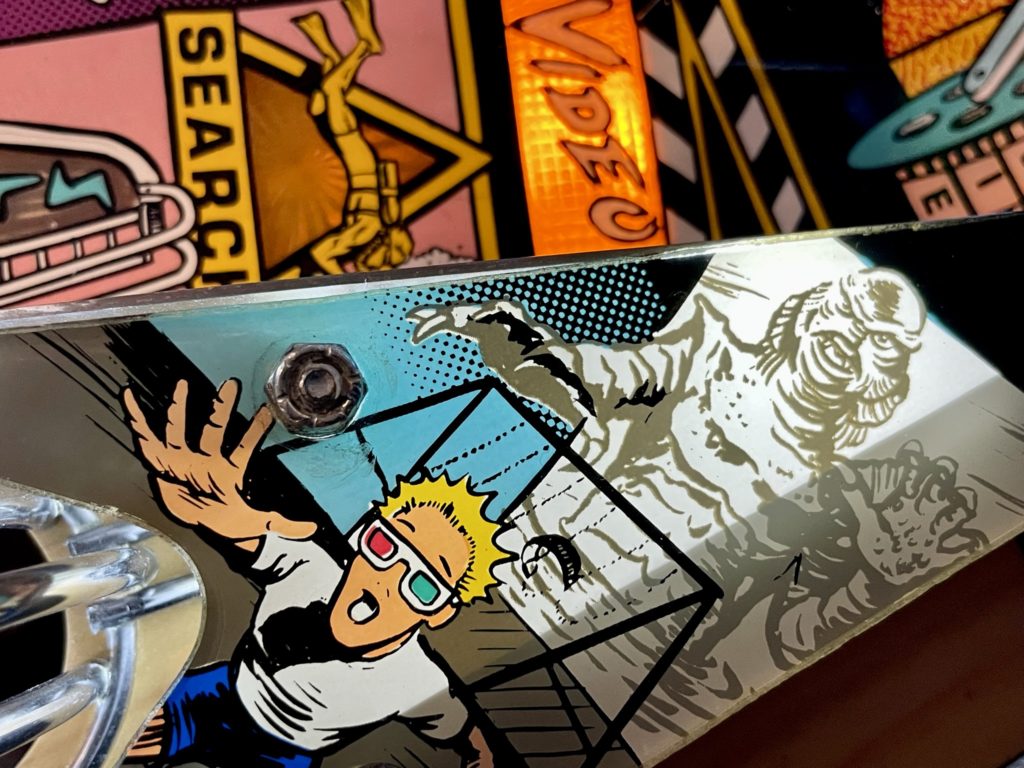
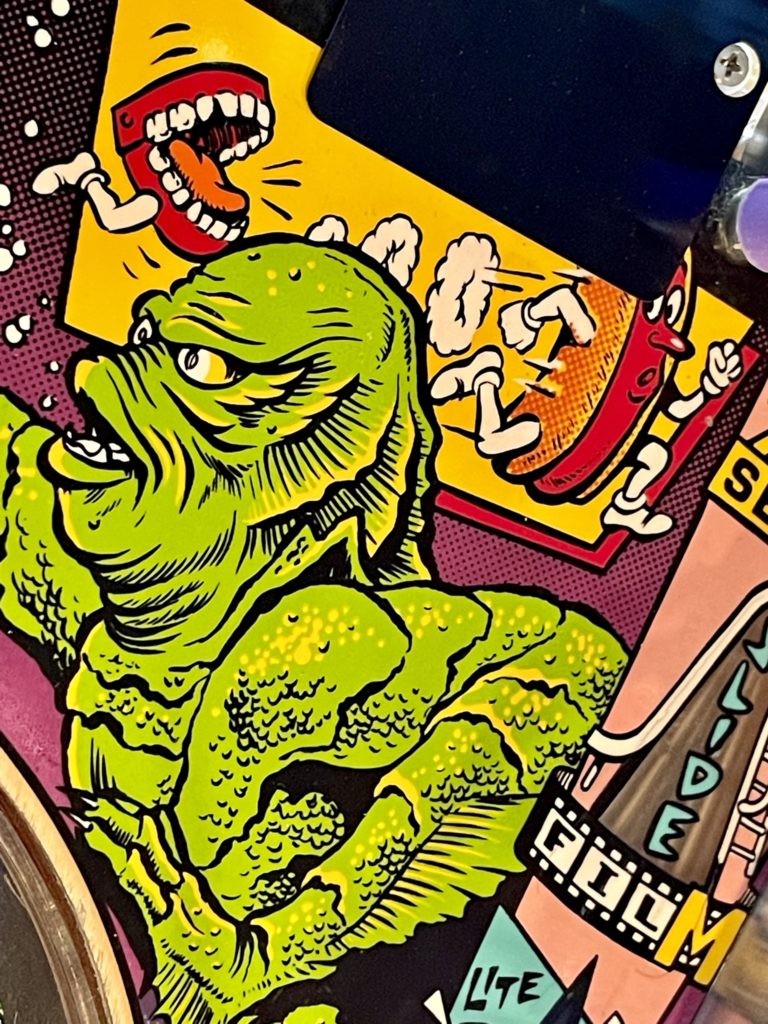
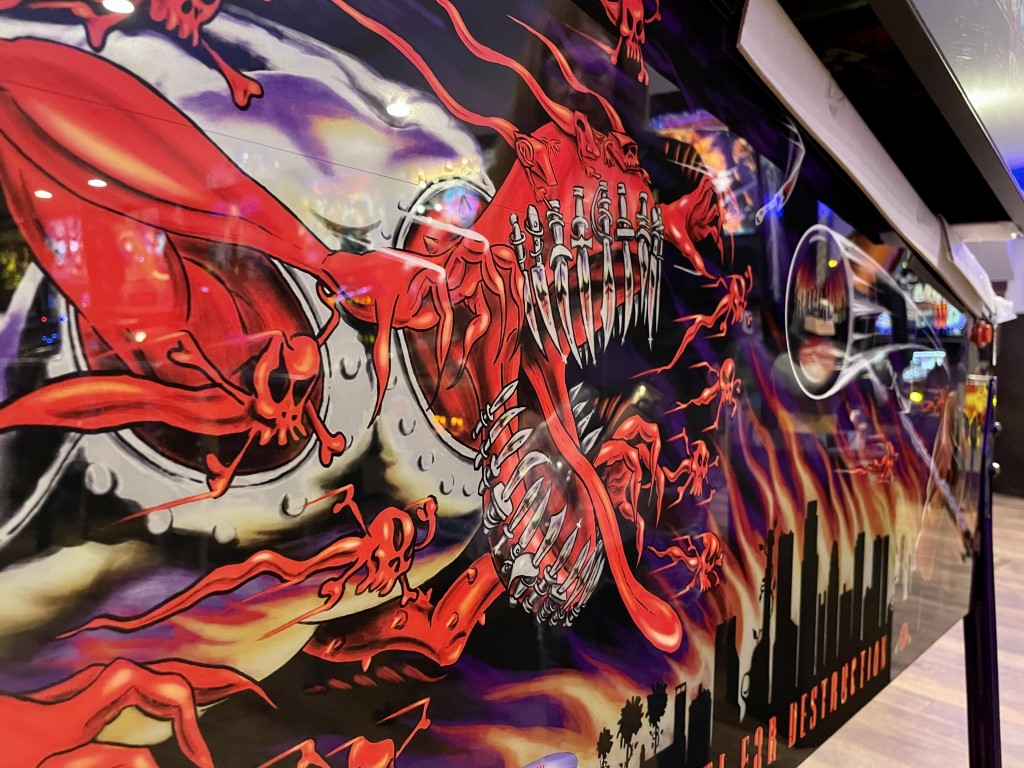
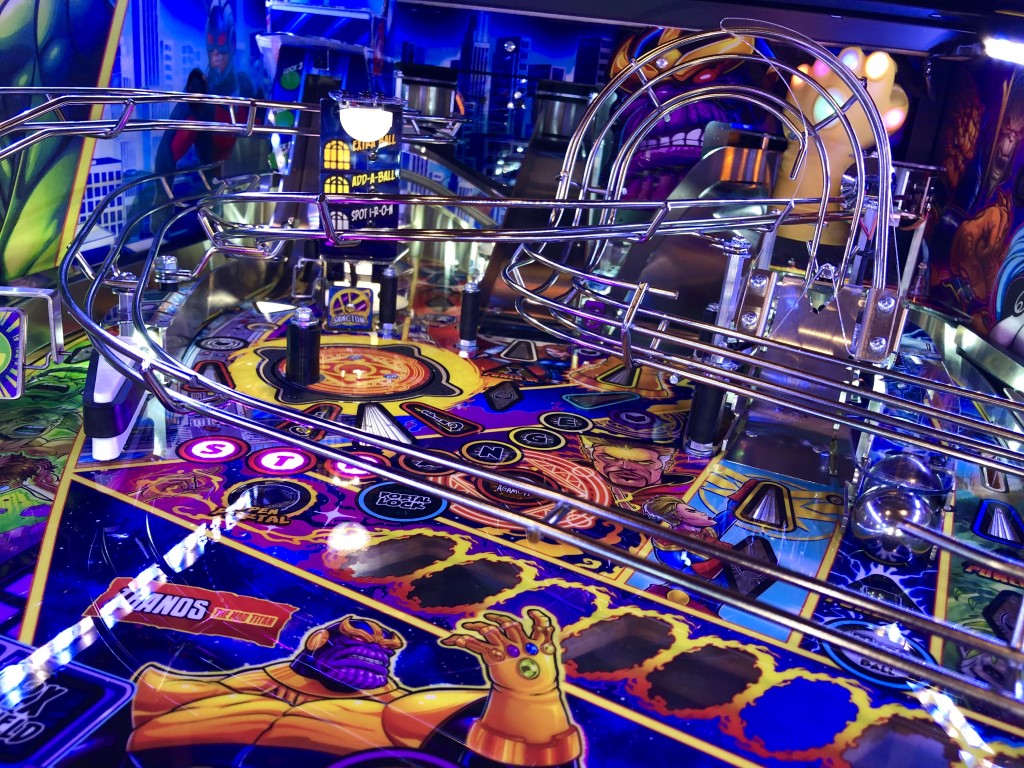
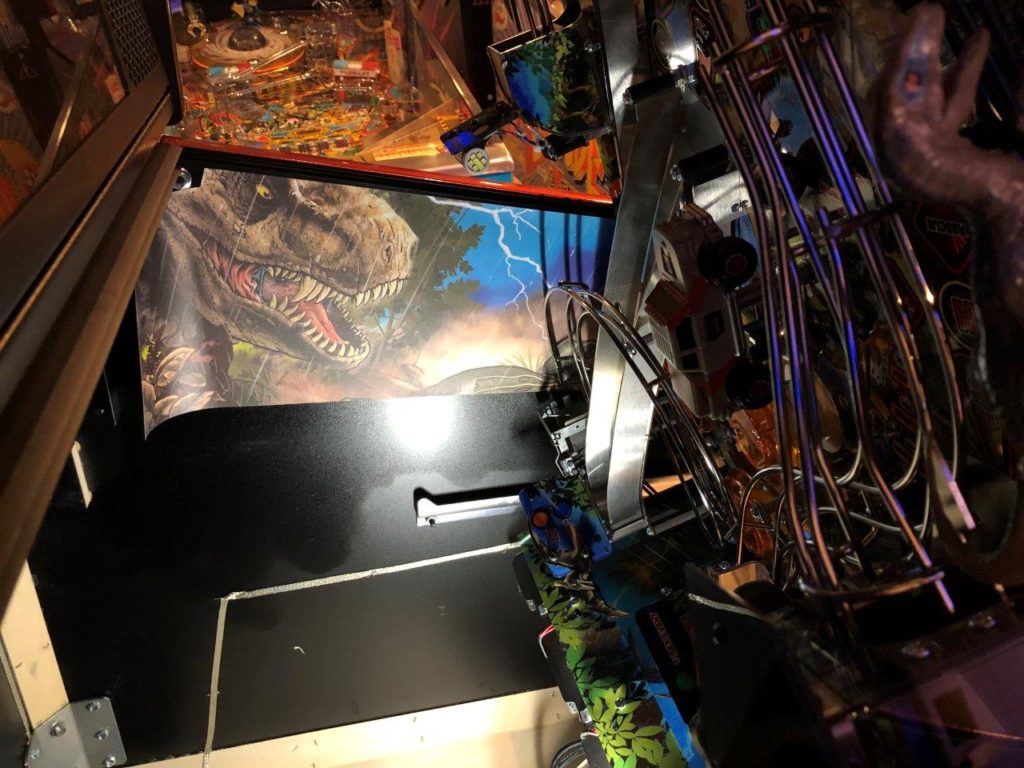
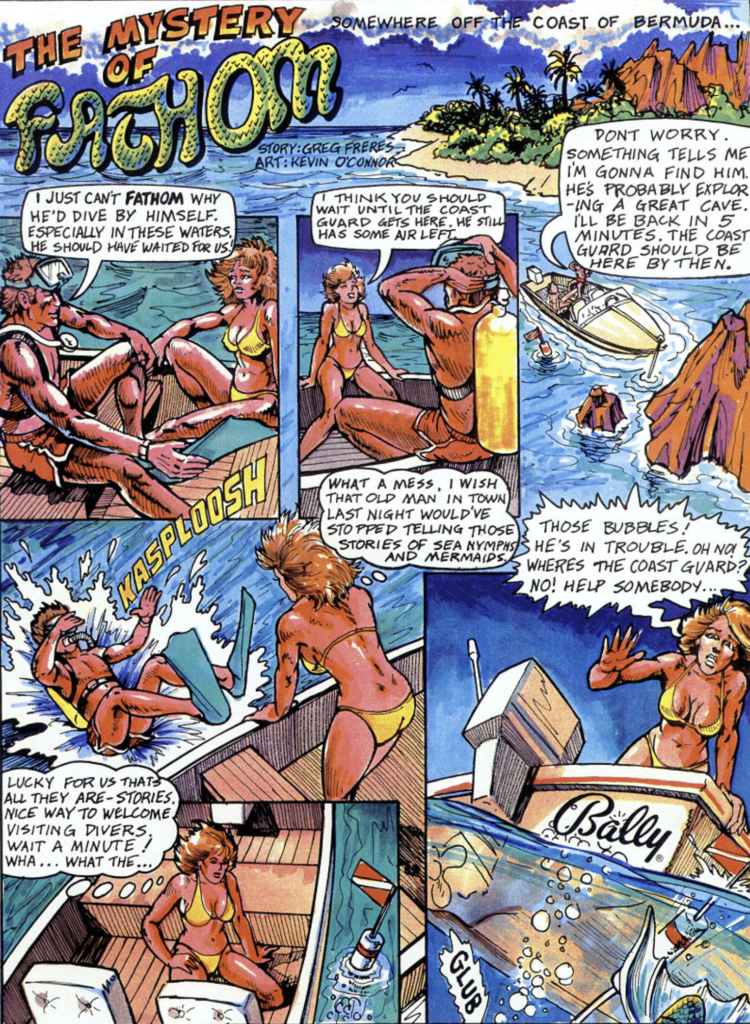
The game is fast, brutal at times, simple to understand but challenging to master. More than just myself view it as the most beautiful artwork to ever grace a pinball machine (nice work Greg Freres). The machine was the first to come with it’s own comic book storyline. While the original working title was “Deep Threat”, the Bally management team landed on “Fathom” in the end.
- Original Designer (1981): Ward Pemberton
- Original Artwork (1981): Greg Freres
- Original Production (1981): 3,500 units
Ward Pemberton (the original Fathom game designer) was interviewed in 2008 on the TOPcast Show (episode #56). When asked how he thought the original Fathom sold in the market said, “There wasn’t many games doing much more at that time”. He also went on to share that it was a positively reviewed game, by none other than Roger Sharpe (Roger giving it his thumbs up). Wards pinball origin story starts with his dad. Wards father worked at Bally for over 26 years and once Ward graduated high school, he got an opportunity to join Bally in 1978-79. He spent a few years toiling away before Norm Clark gave him a chance to design a game. Fathom was his FIRST game.
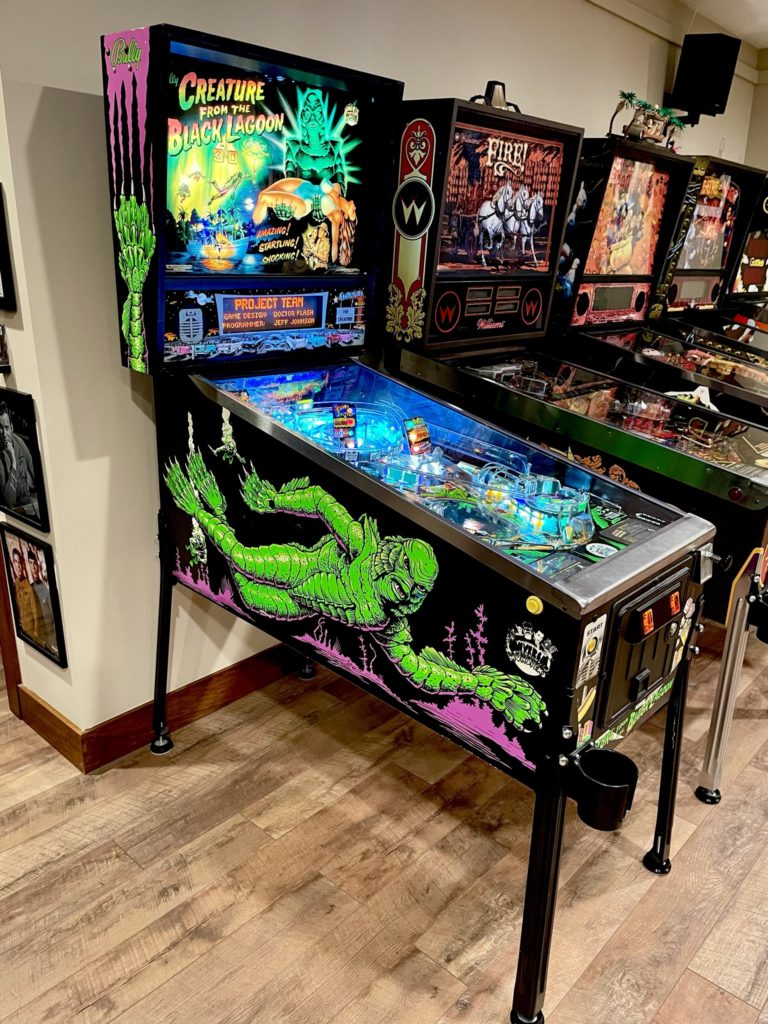
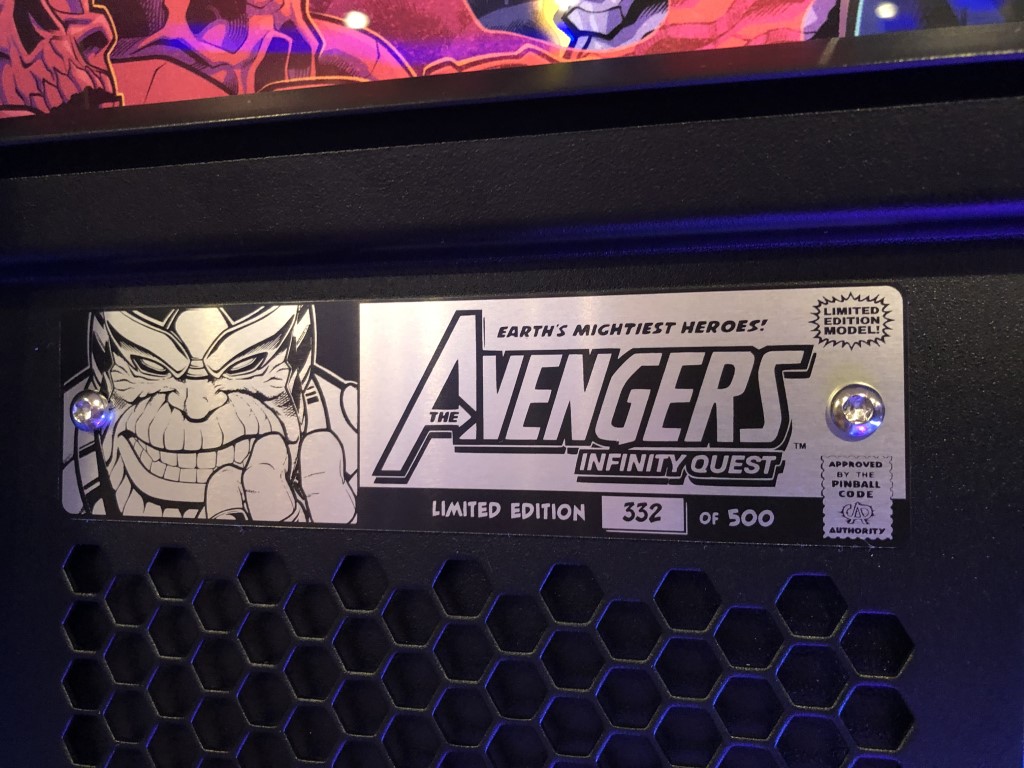
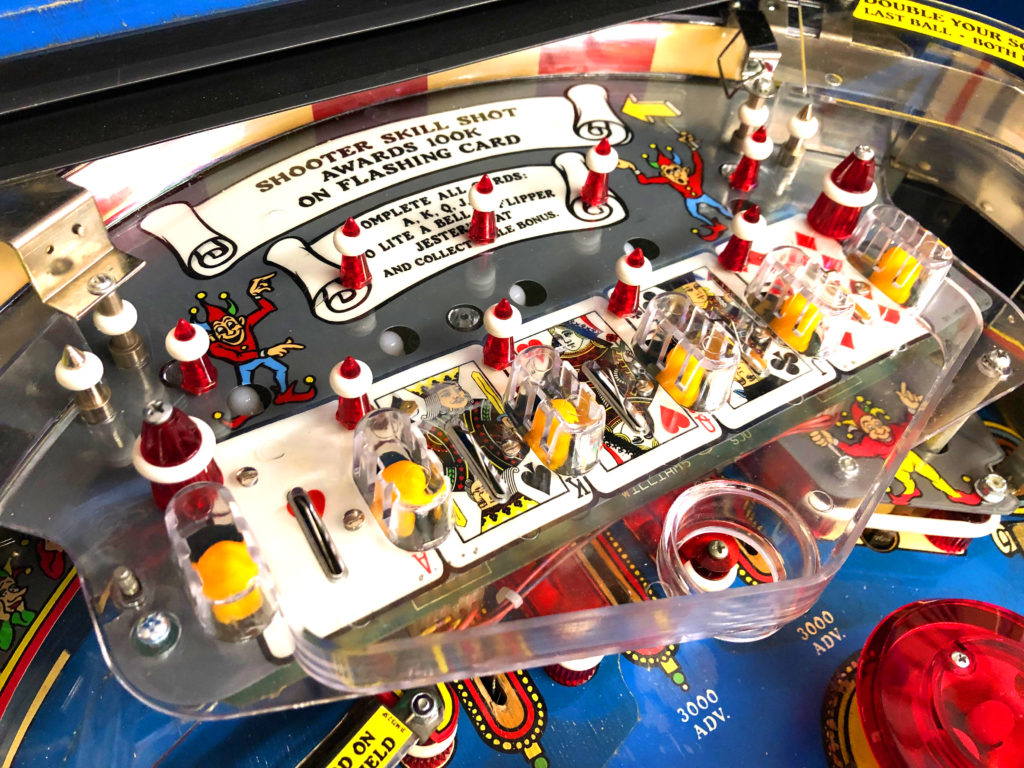
Fathom Mermaid Edition
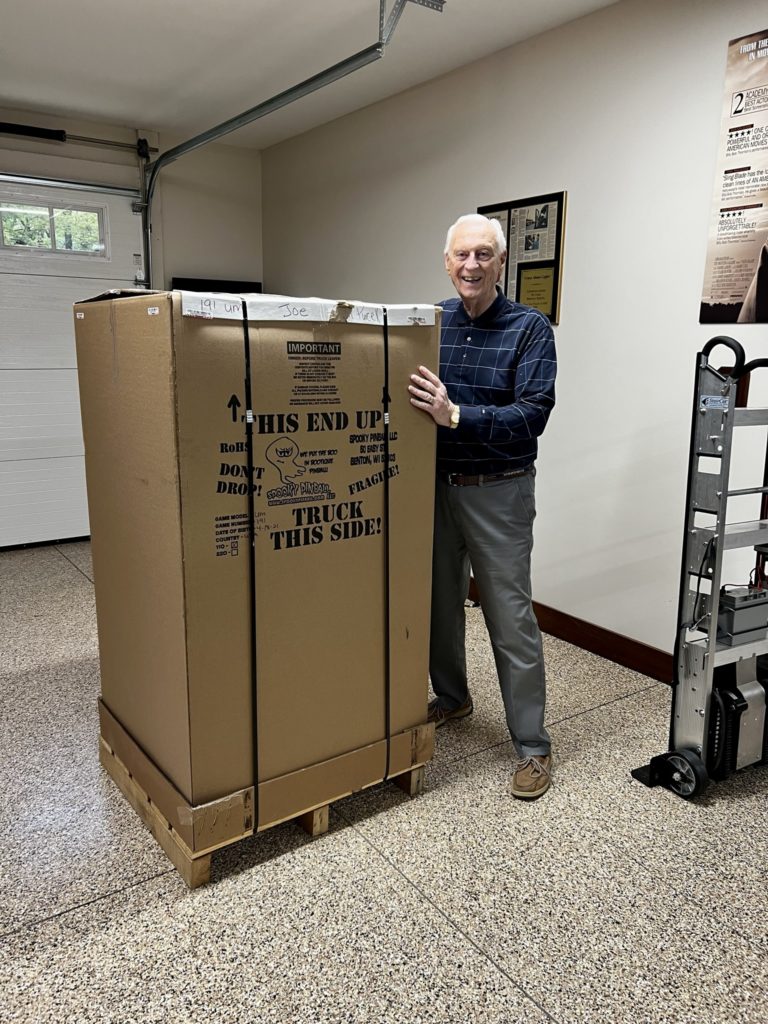
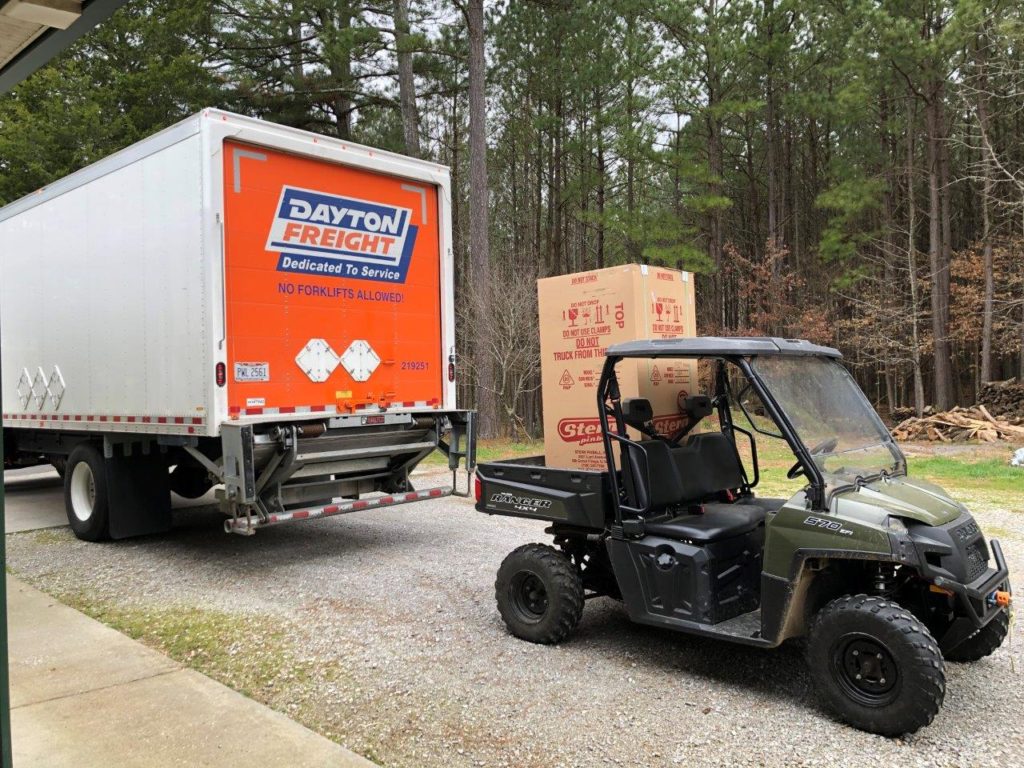
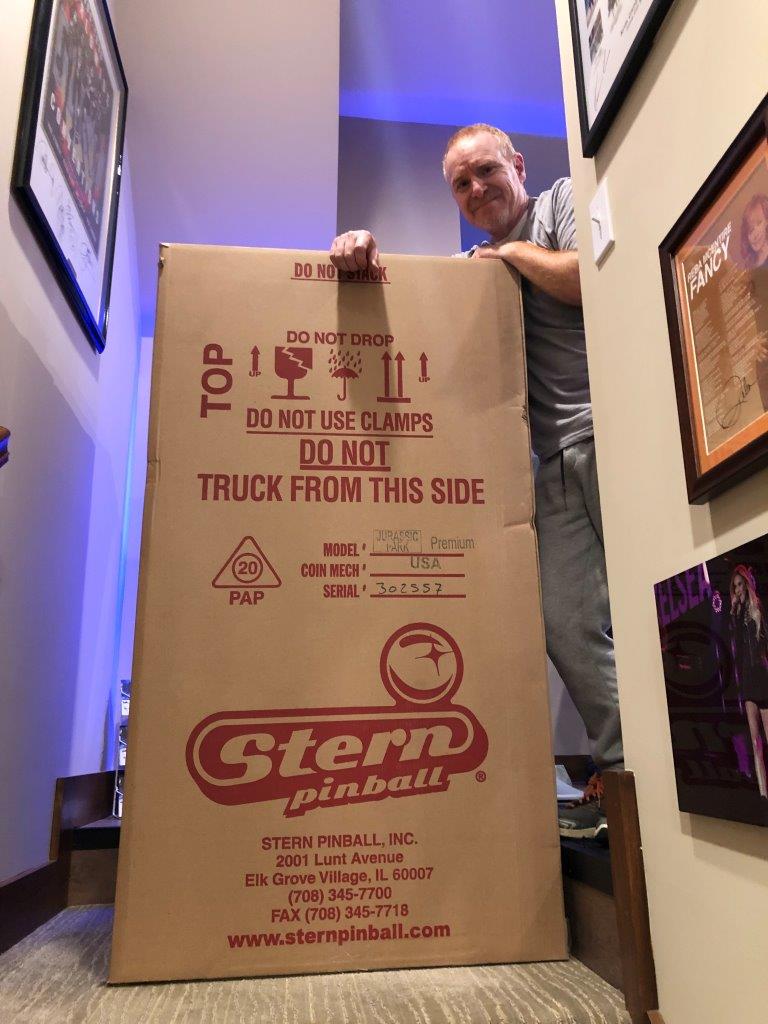
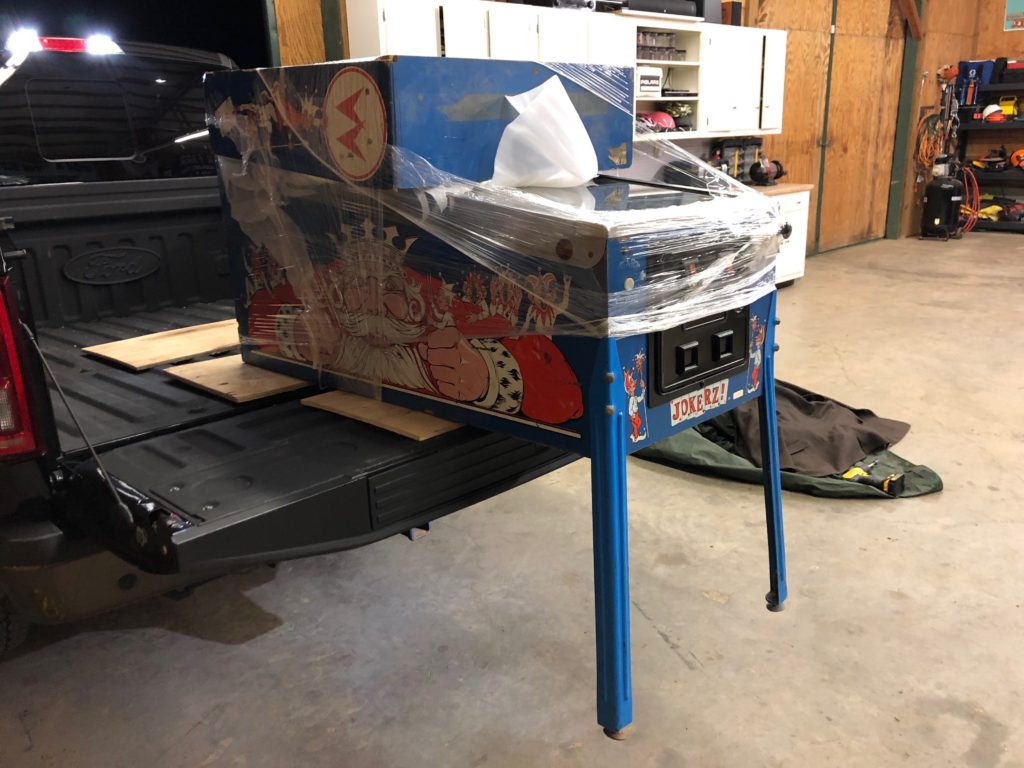
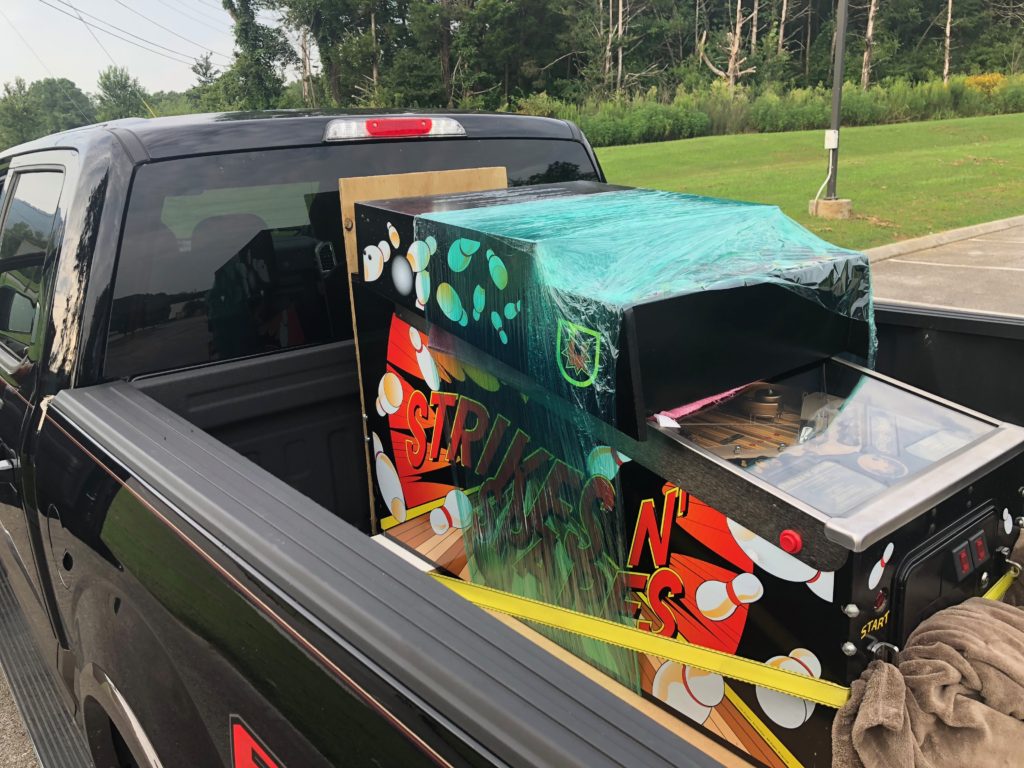
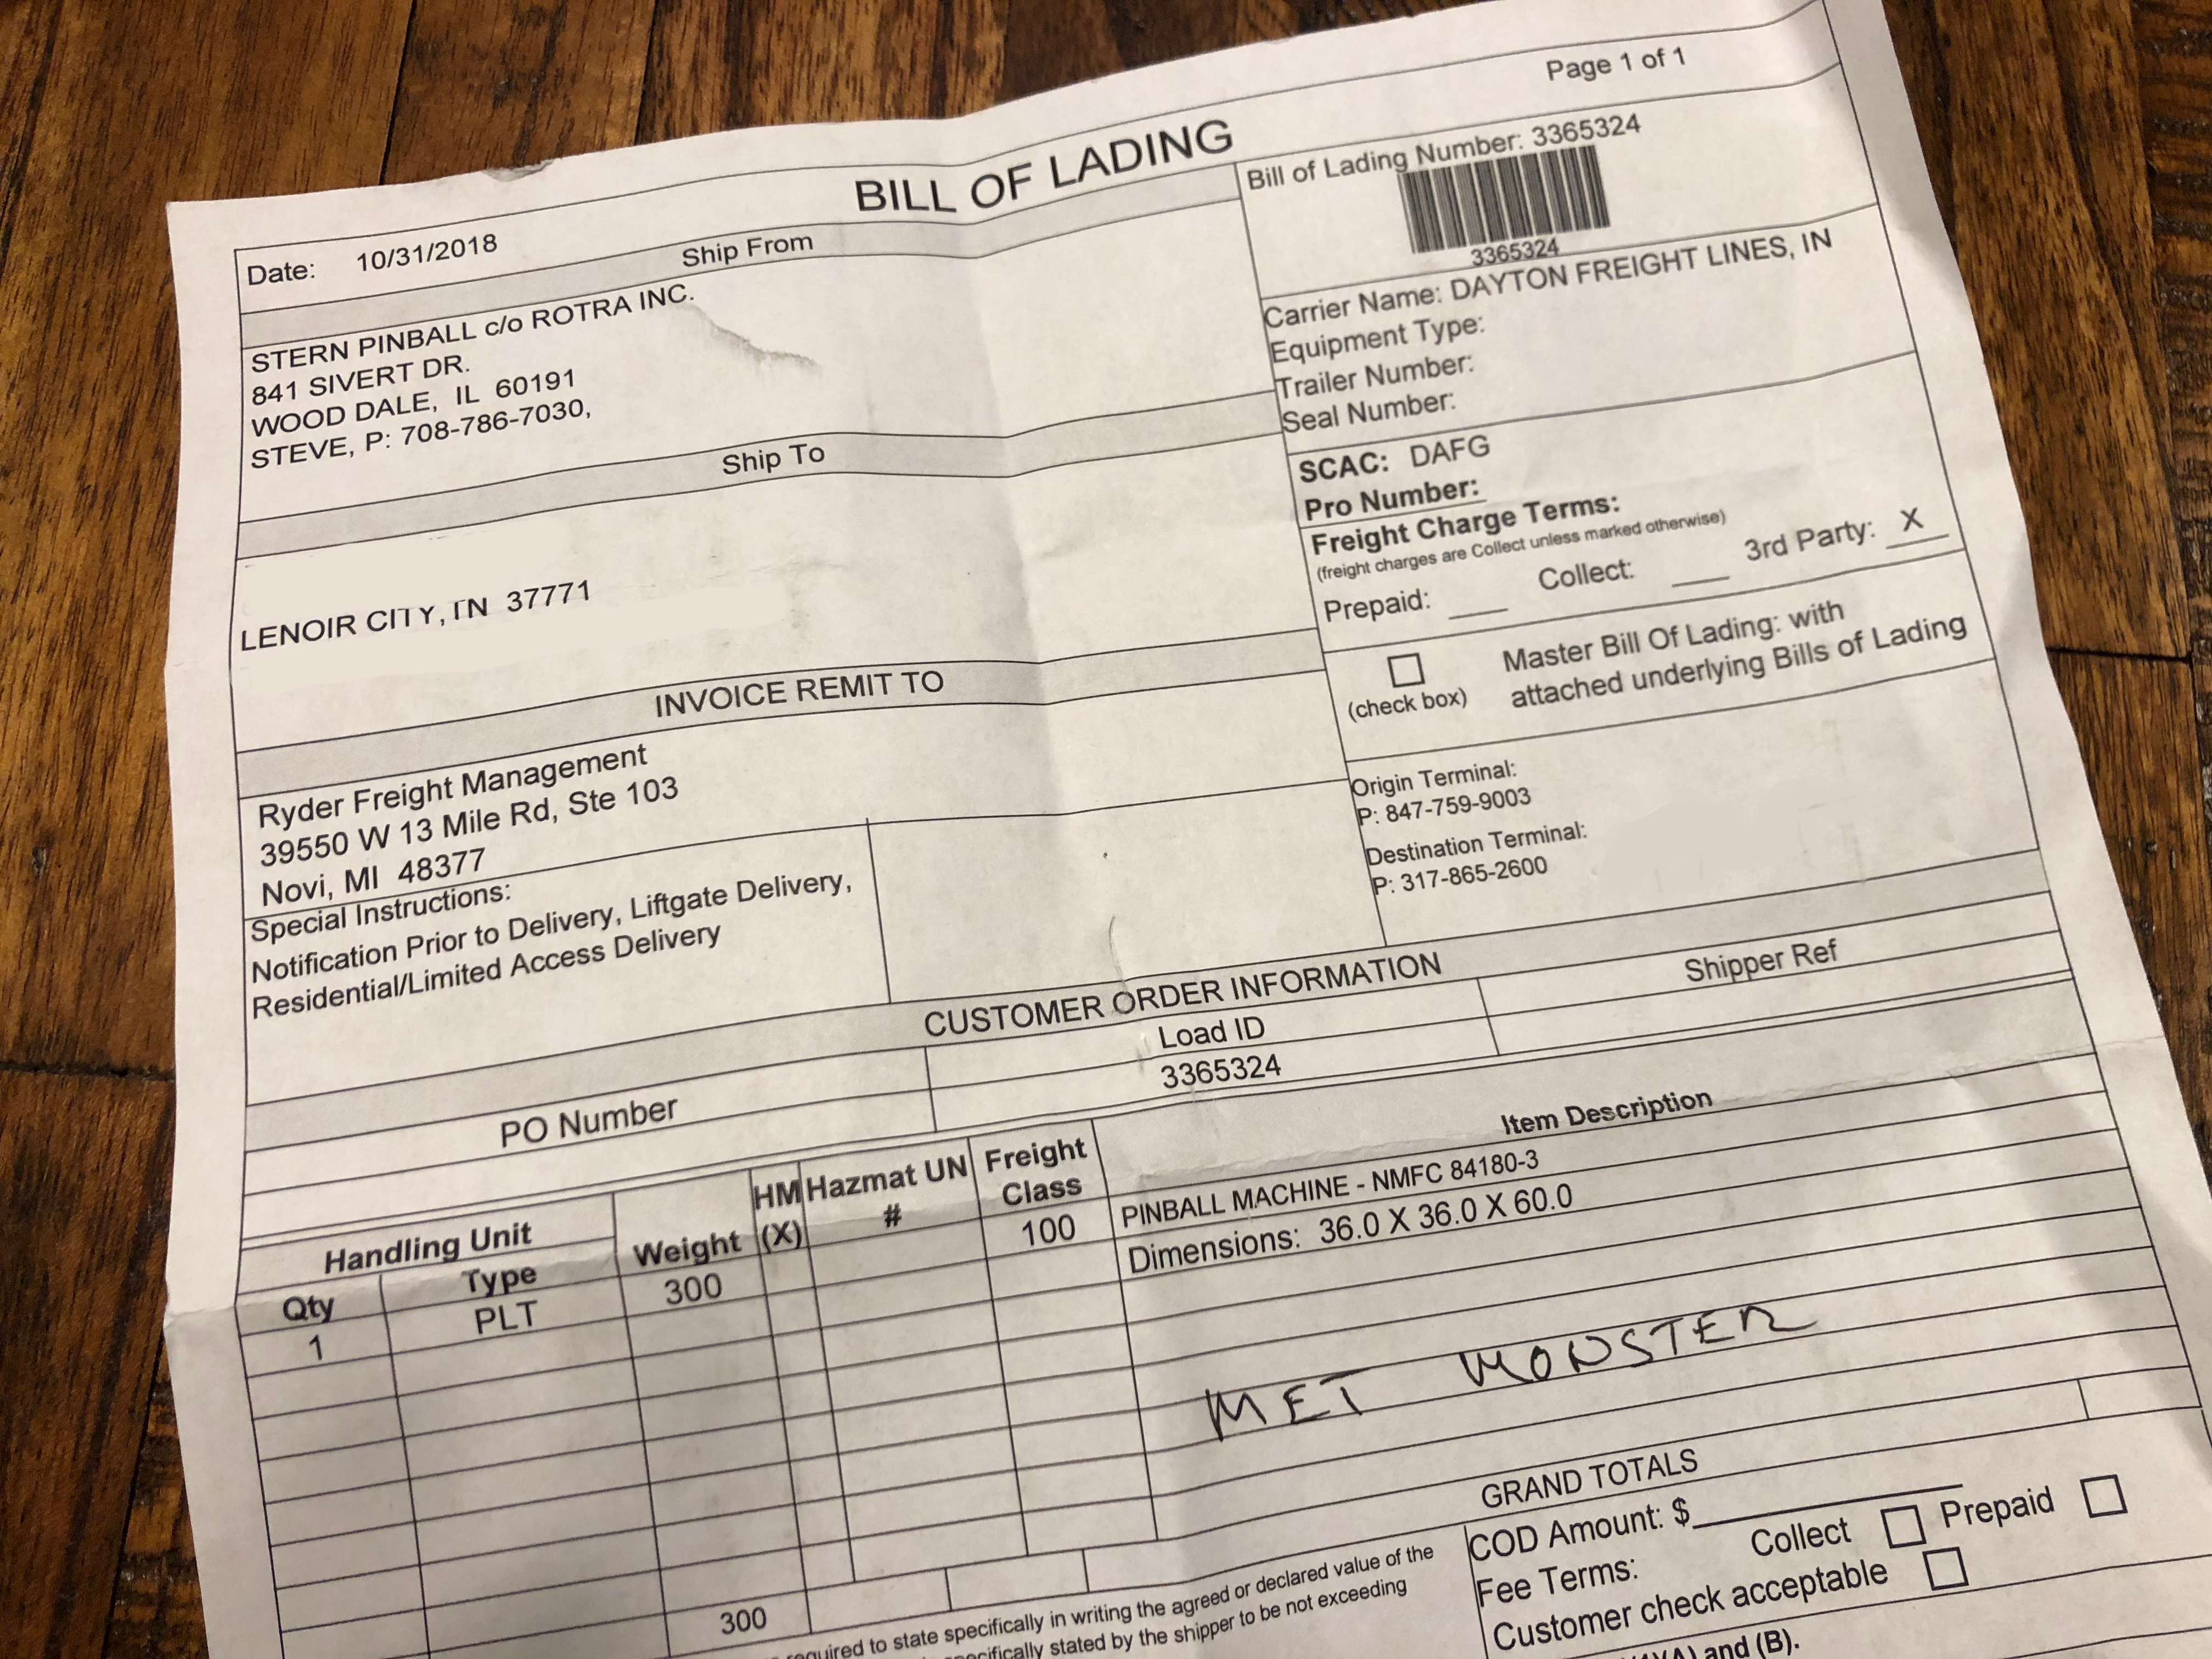
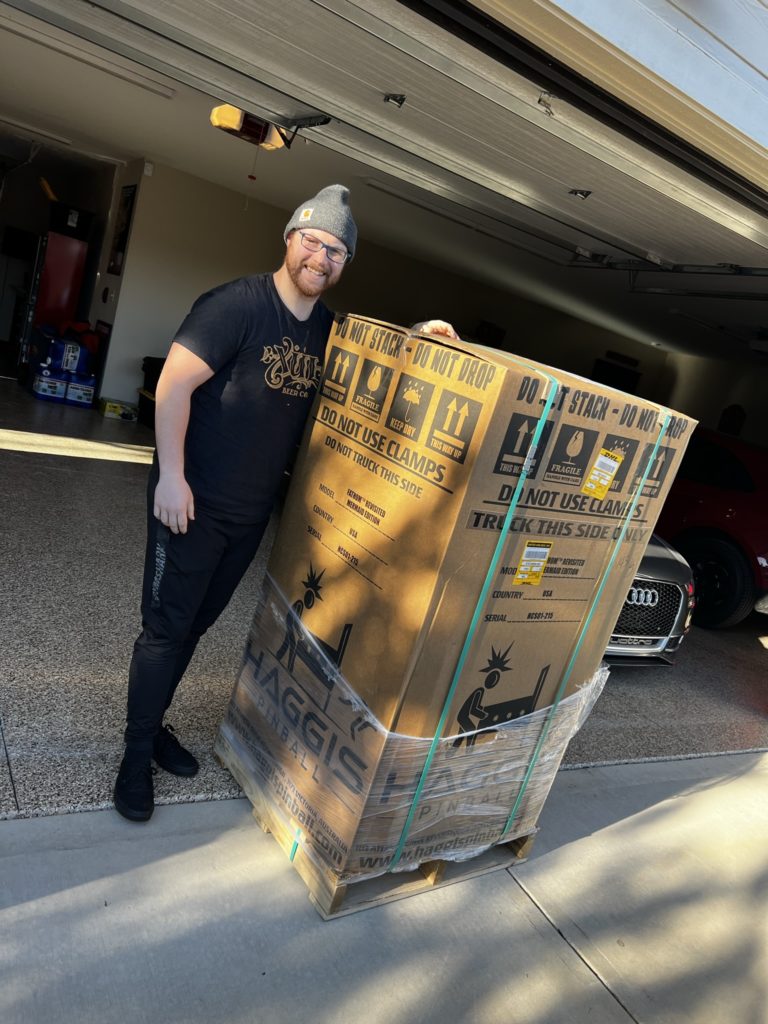
It wasn’t until nearly a year and a half later, on November 29th 2022 that I received a text from Zach. My Fathom was on a plane and on it’s way to the Cincinnati airport! Zach had to arrange to pick it up, then bring it back to his warehouse first. I had already planned to drive from TN to Evansville to pick it up during the upcoming Christmas break. In between all this Zach had some back issues and was laid up in a hospital bed – it was serious enough that he was unsure if he and Nicole would even make it home for Christmas. Thankfully he healed enough to be released and enjoy Christmas with his family. I really did not expect to see my Fathom until sometime in January – and that was just fine with me. Surprise! I got a message from Zach just a few days after Christmas that Fathom had landed at his warehouse and I could pick it up anytime.

I checked with my son-in-law Chris to see if he was available to ride along on the 4 1/2 hour trip (each way) on a day in the coming week. He said he was and we planned to drive up to Evansville on Wednesday as it appeared to be a sunny day both in TN and Evansville Indiana. Good weather makes the drive and the haul easier all the way around. We had just experienced some of the coldest weather we have seen in East TN since moving here almost 28 years ago and the forecast for our travel day seemed downright tropical (45 degrees!) vs what we had just gone through.

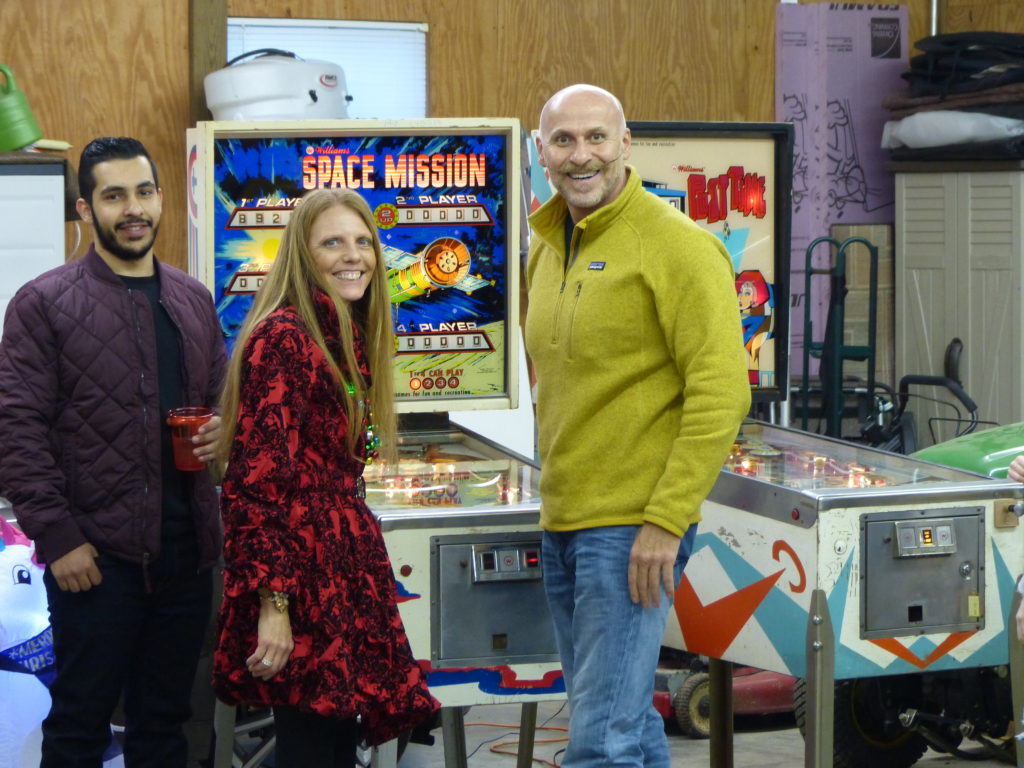
I met Chris at the old ranch house at 5:45 am with hot coffee and a cooler full of water and drinks for the road. We made excellent time – in fact too excellent! I forgot to account for the 1 hour time change as we left EST and moved to CST, so I texted Zach and let him know we would be an hour early. We arrived around 9:30 and were unexpectedly greeted by the dynamic duo themselves – Zach and Greg! The “pinball stars” of SDTM fame were there to say hello and Greg was present to provide the muscle to load the game (recall that Zach was in no shape to lift anything). I had never met Greg in person and he was just as kind and easy going as he appears on camera. Though standing side by side with him and Zach made me feel like a toddler – gosh those two guys are tall.
Zach gave me a choice of several game numbers but it was just as easy to take the “game on the end” (Game #215) than any of the others, so that’s what I did. After we tipped the game into the bed of my pickup, Zach was kind enough to give us a tour of his super nice Pinball Gameroom. The games are absolutely stunning. Even the older classics look as if they just came off the factory line (or better). We shot the breeze for a bit on the topic of pinball and after a few handshakes and goodbyes, we were back on the road again headed home.
Count On Zach
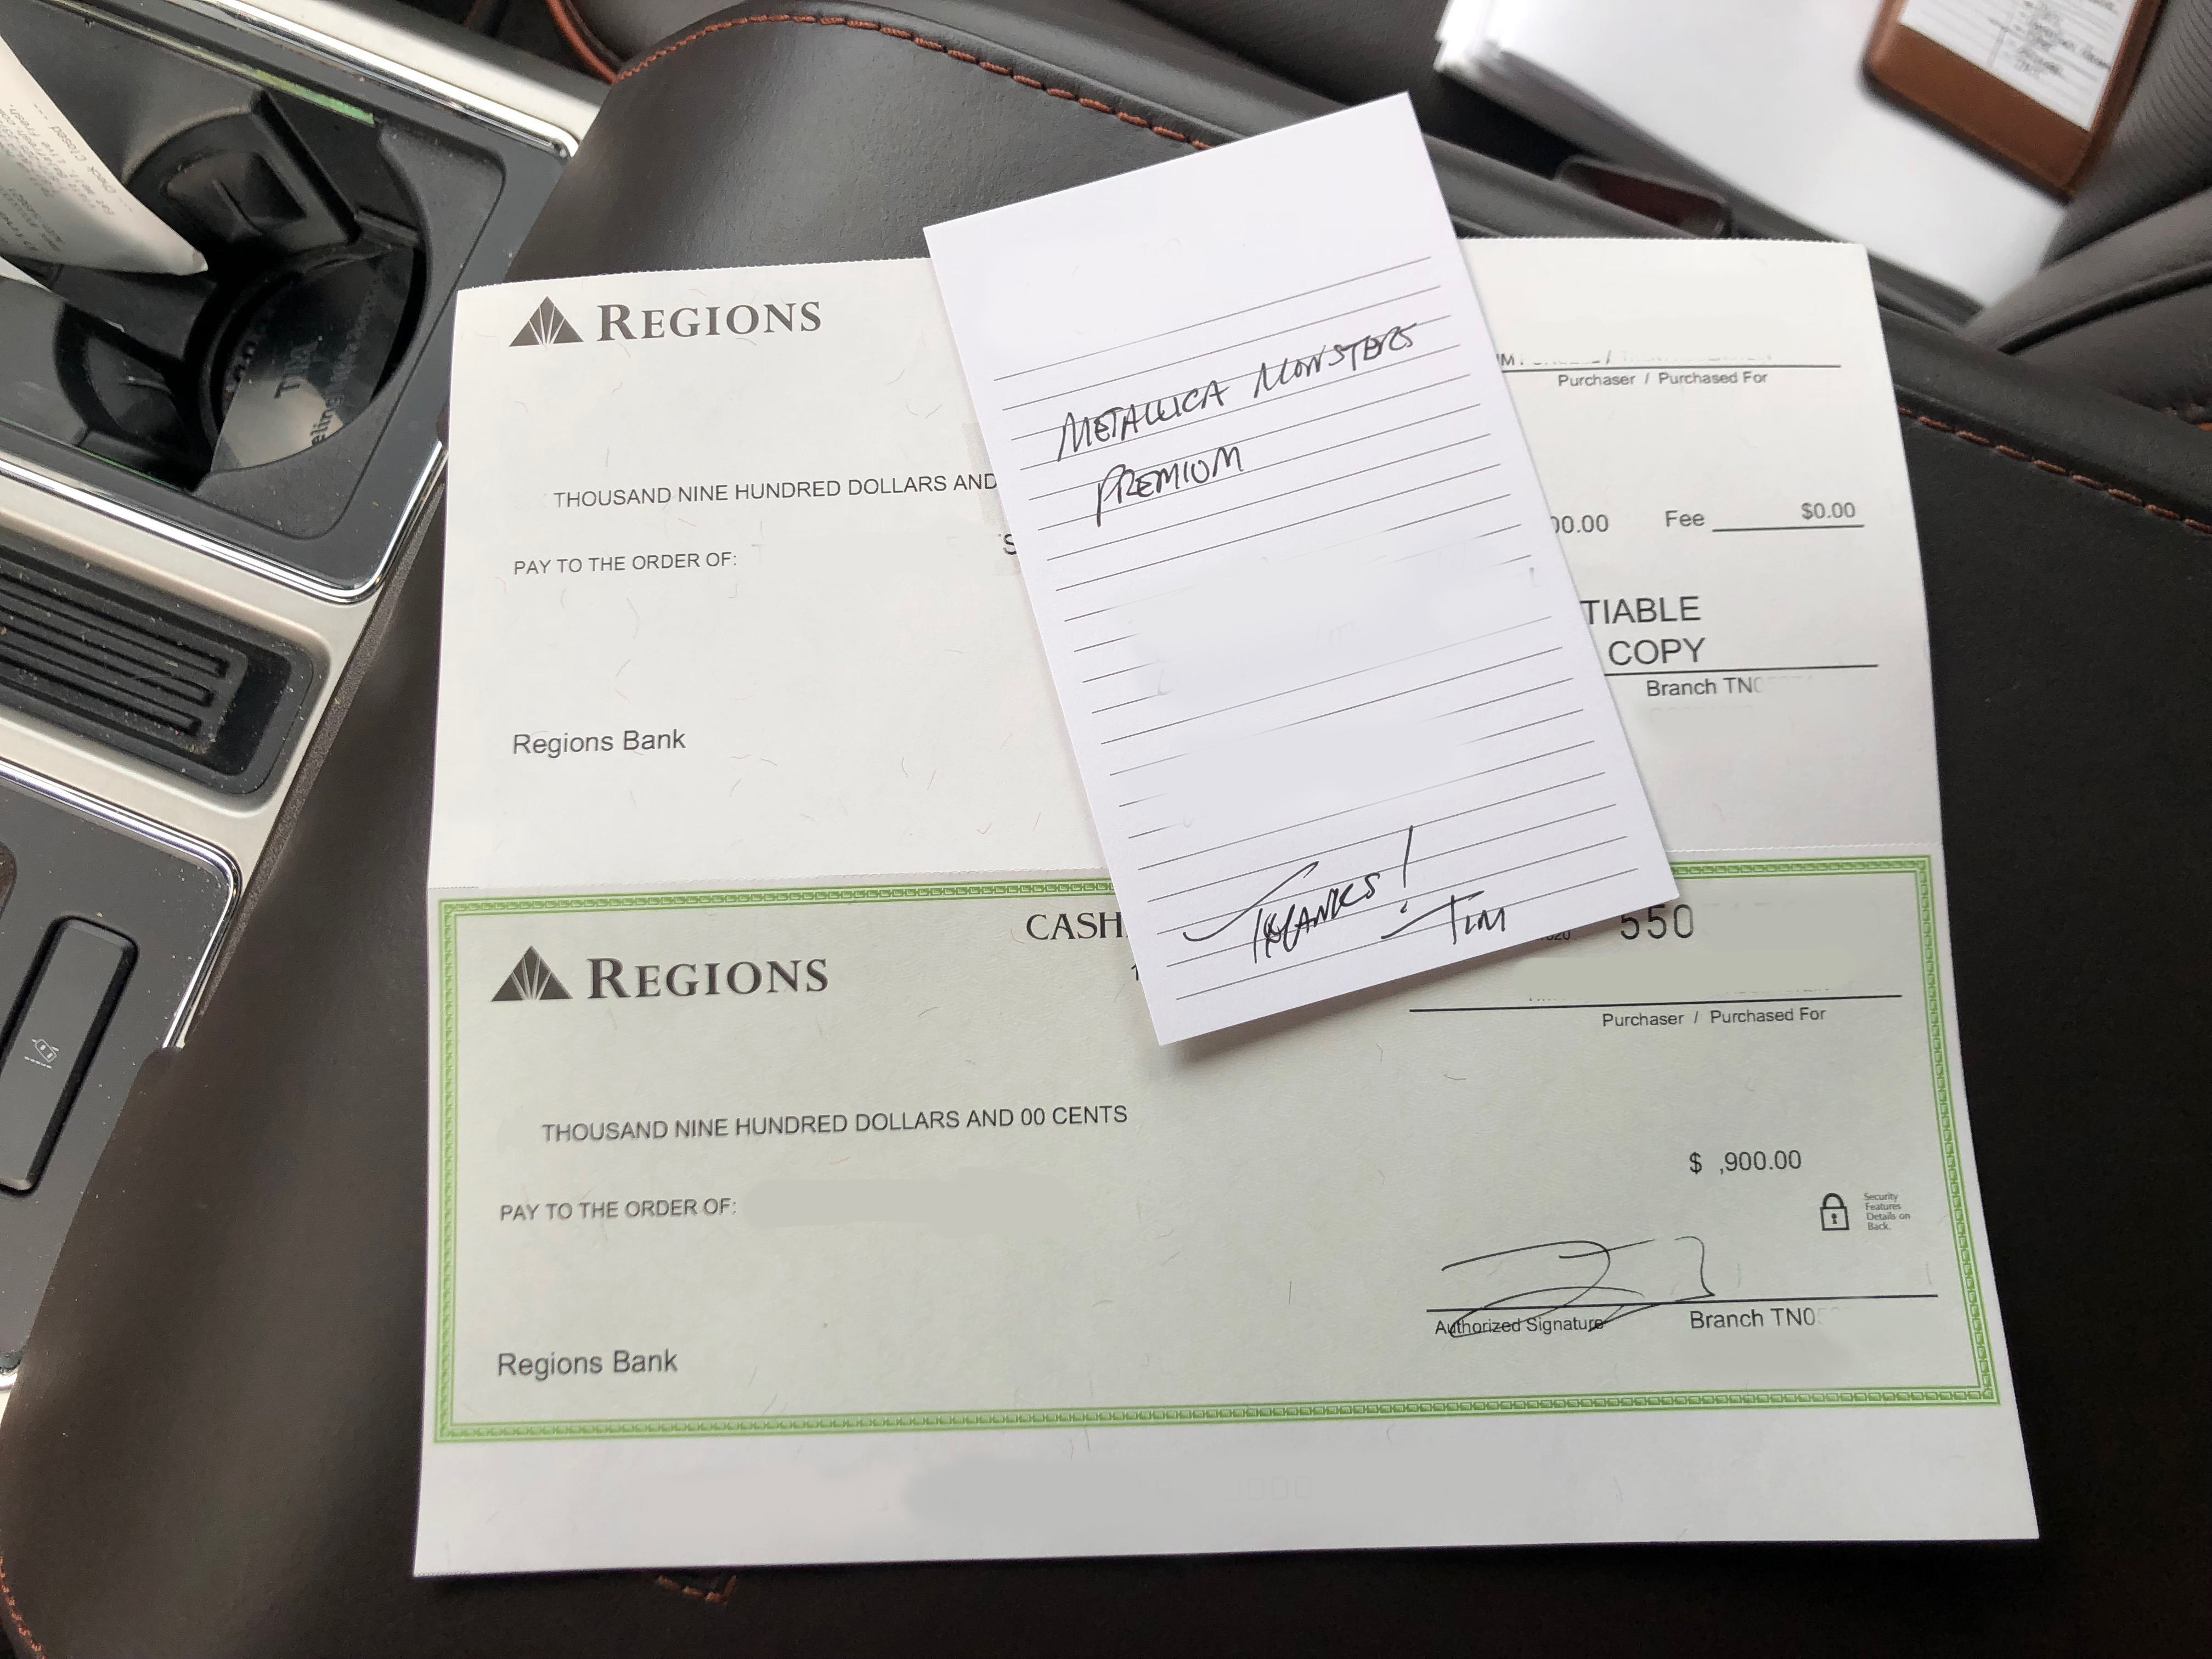
As we drove away, I thought about how Zach runs his business and how it’s different than others and why those differences are better. Here’s the bottom line – he trusts people and he is trustworthy. Yes, there is risk in that but he takes those risks and sees value in the outcomes. Our “deal” on Fathom was a few emails only. No deposit. No upfront payment of any kind. Zach took all the risk up front. He protects his customers. On the customer side, he is a trustworthy person. That means an email reserved my Fathom spot at the market price and I was confident in that. When I asked him if I could send a deposit, he declined and said he had a spot saved for me. When the game arrived, he did not try to sell it to someone else. He didn’t tack on a upcharge (though the game could easily have justified it) No. Instead, he actually helped me save almost $1,000 by allowing a direct pickup and a payment method that saved him a few dollars as well. So on the promise of an email I secured and took delivery of a very hard to find game. That’s why Zach is my go to guy for my game needs AND for all the folks that I’ve sent his way. I trust him. You can too.
Unboxing
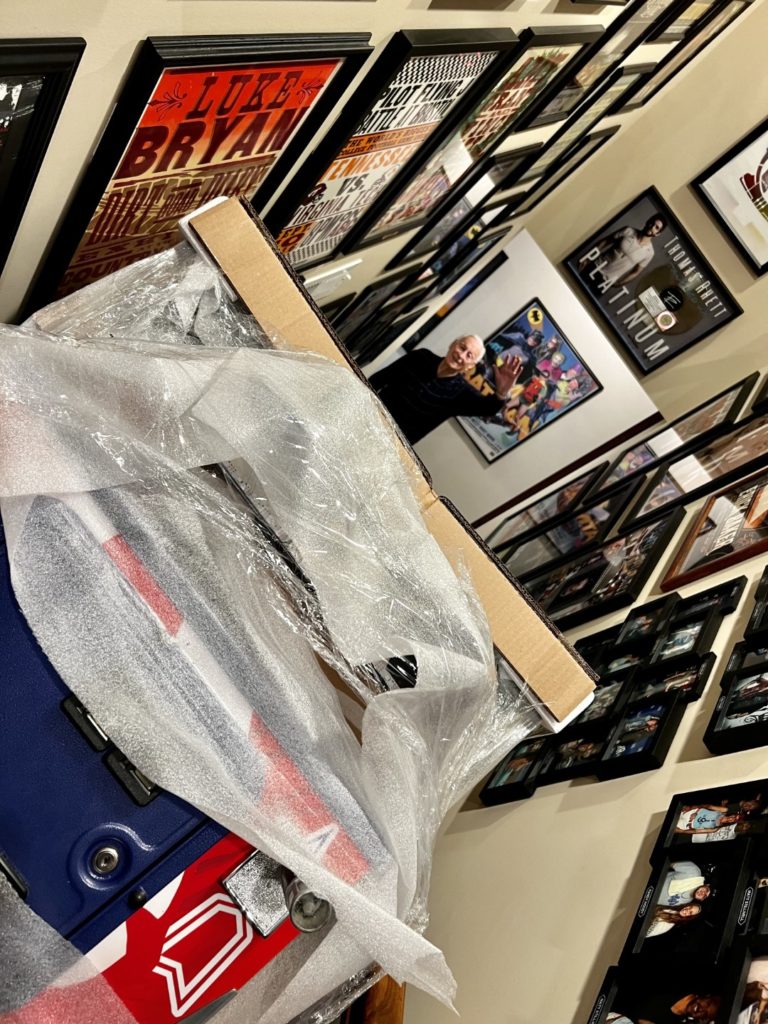
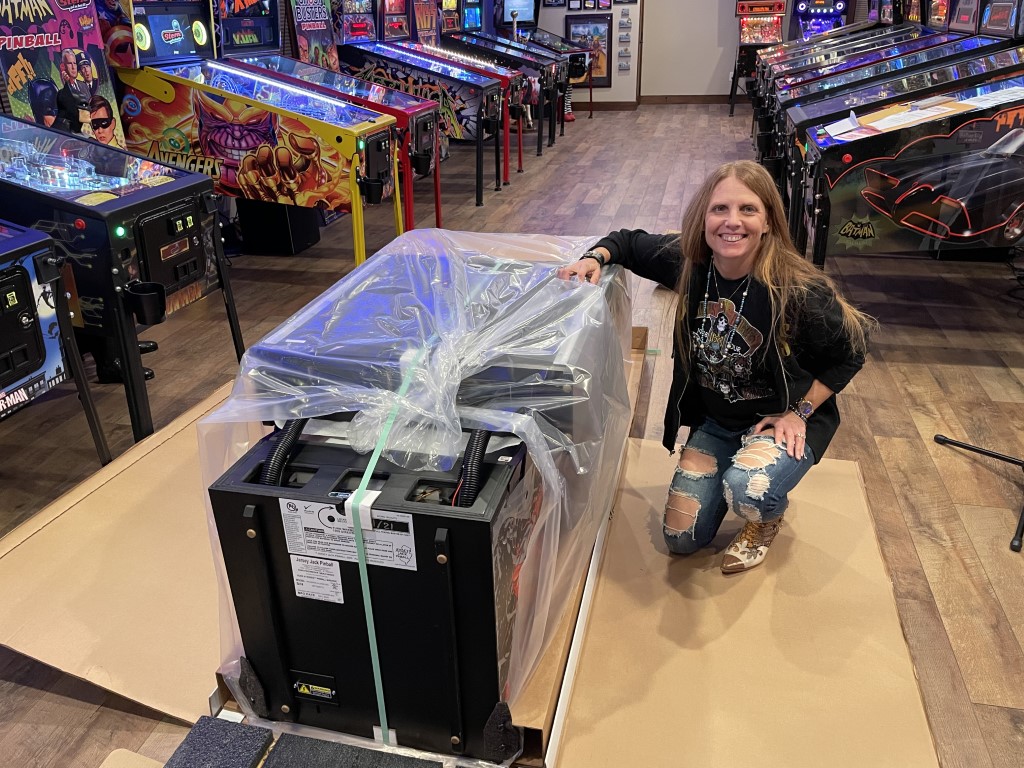
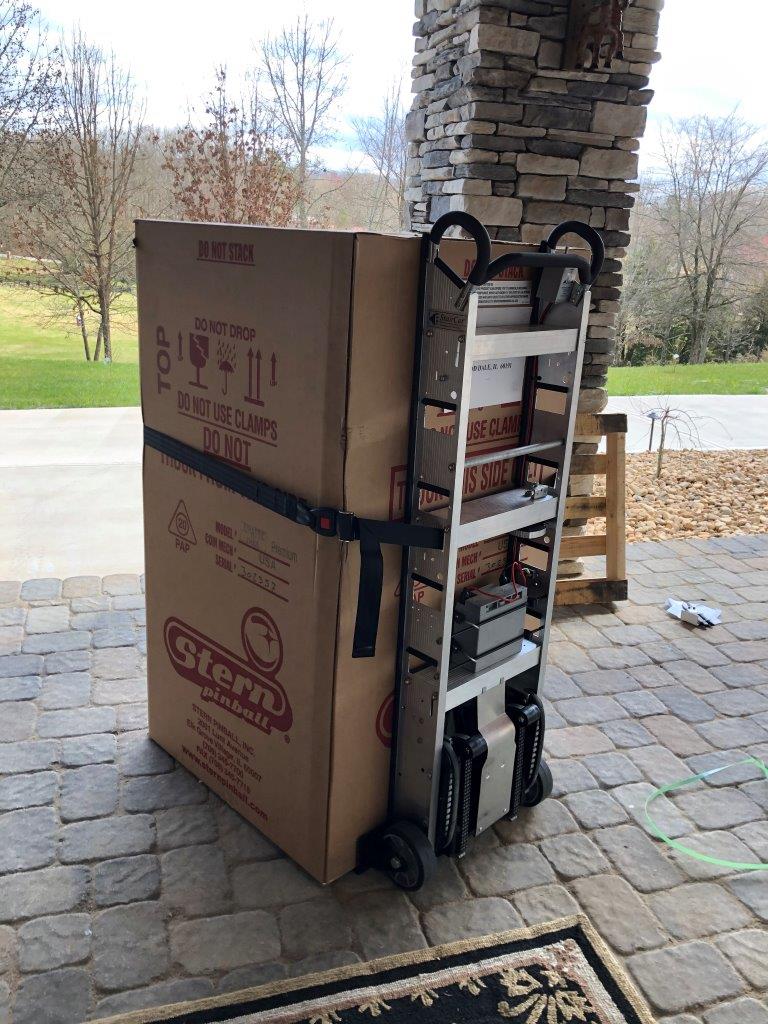
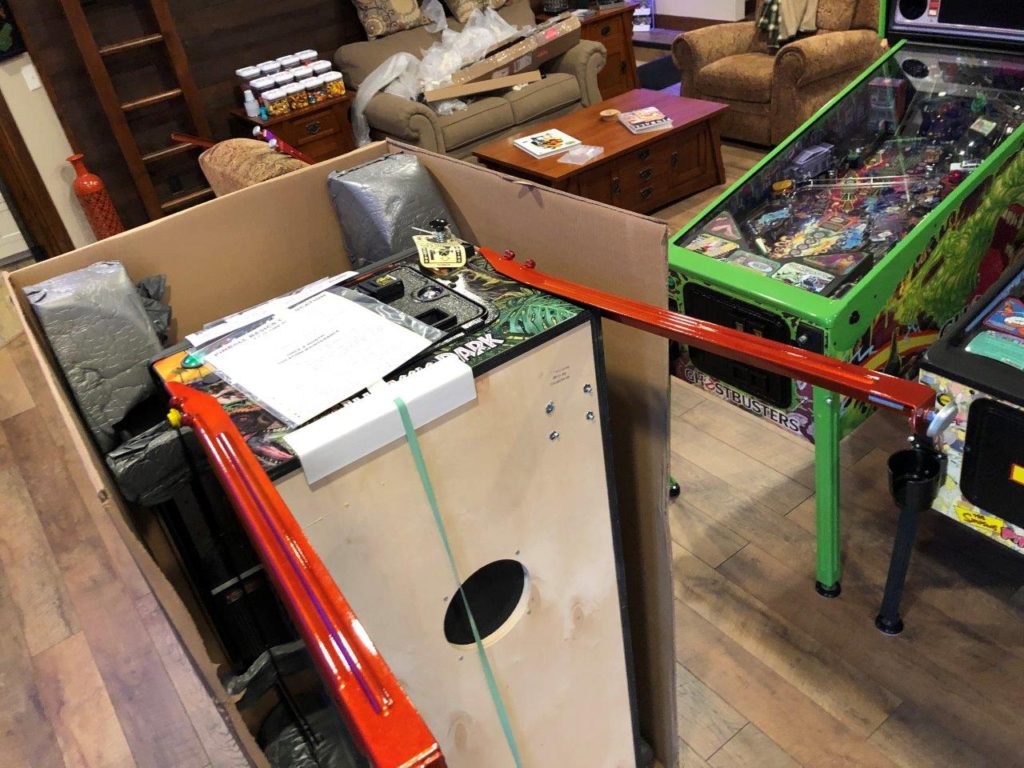
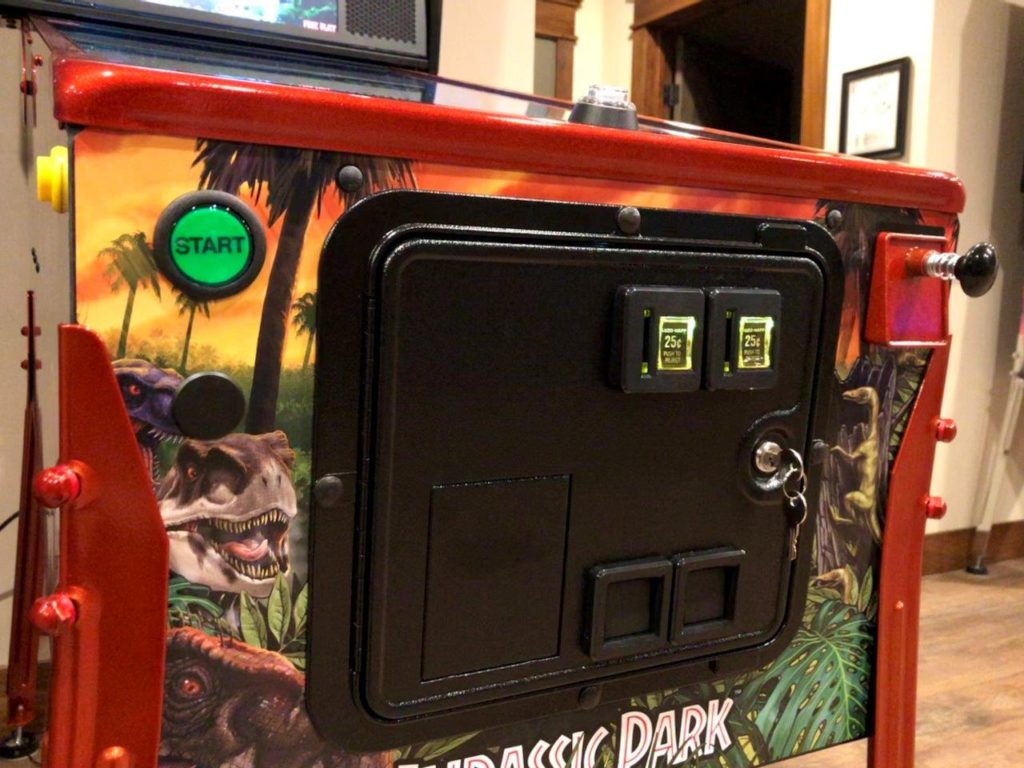
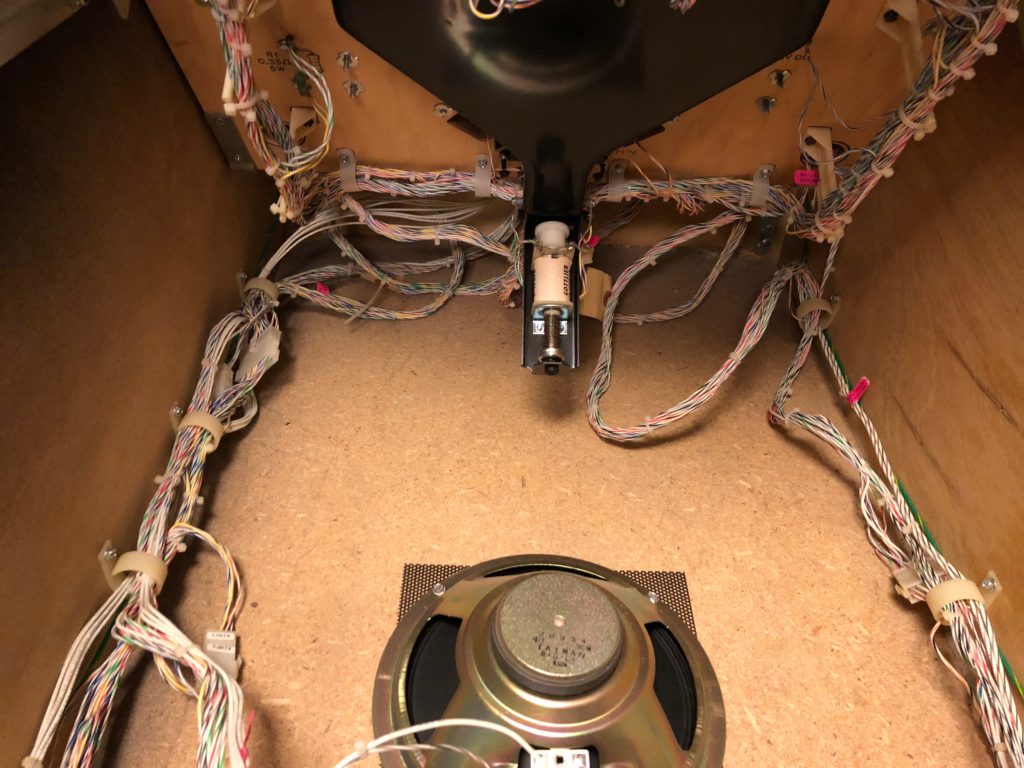
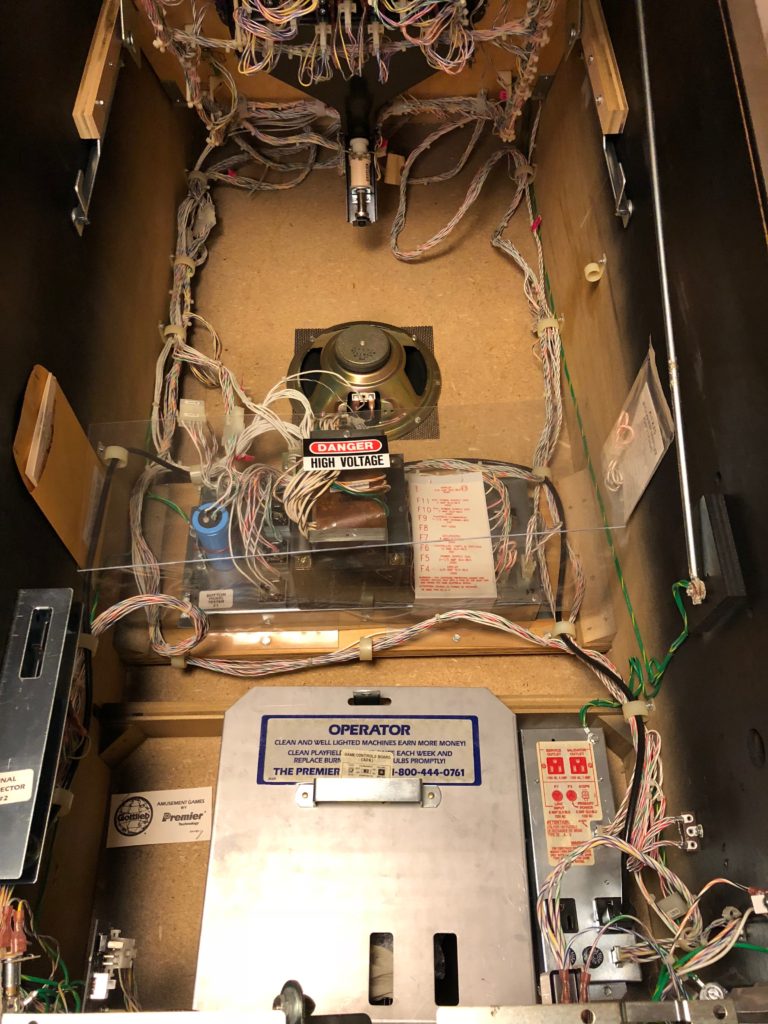
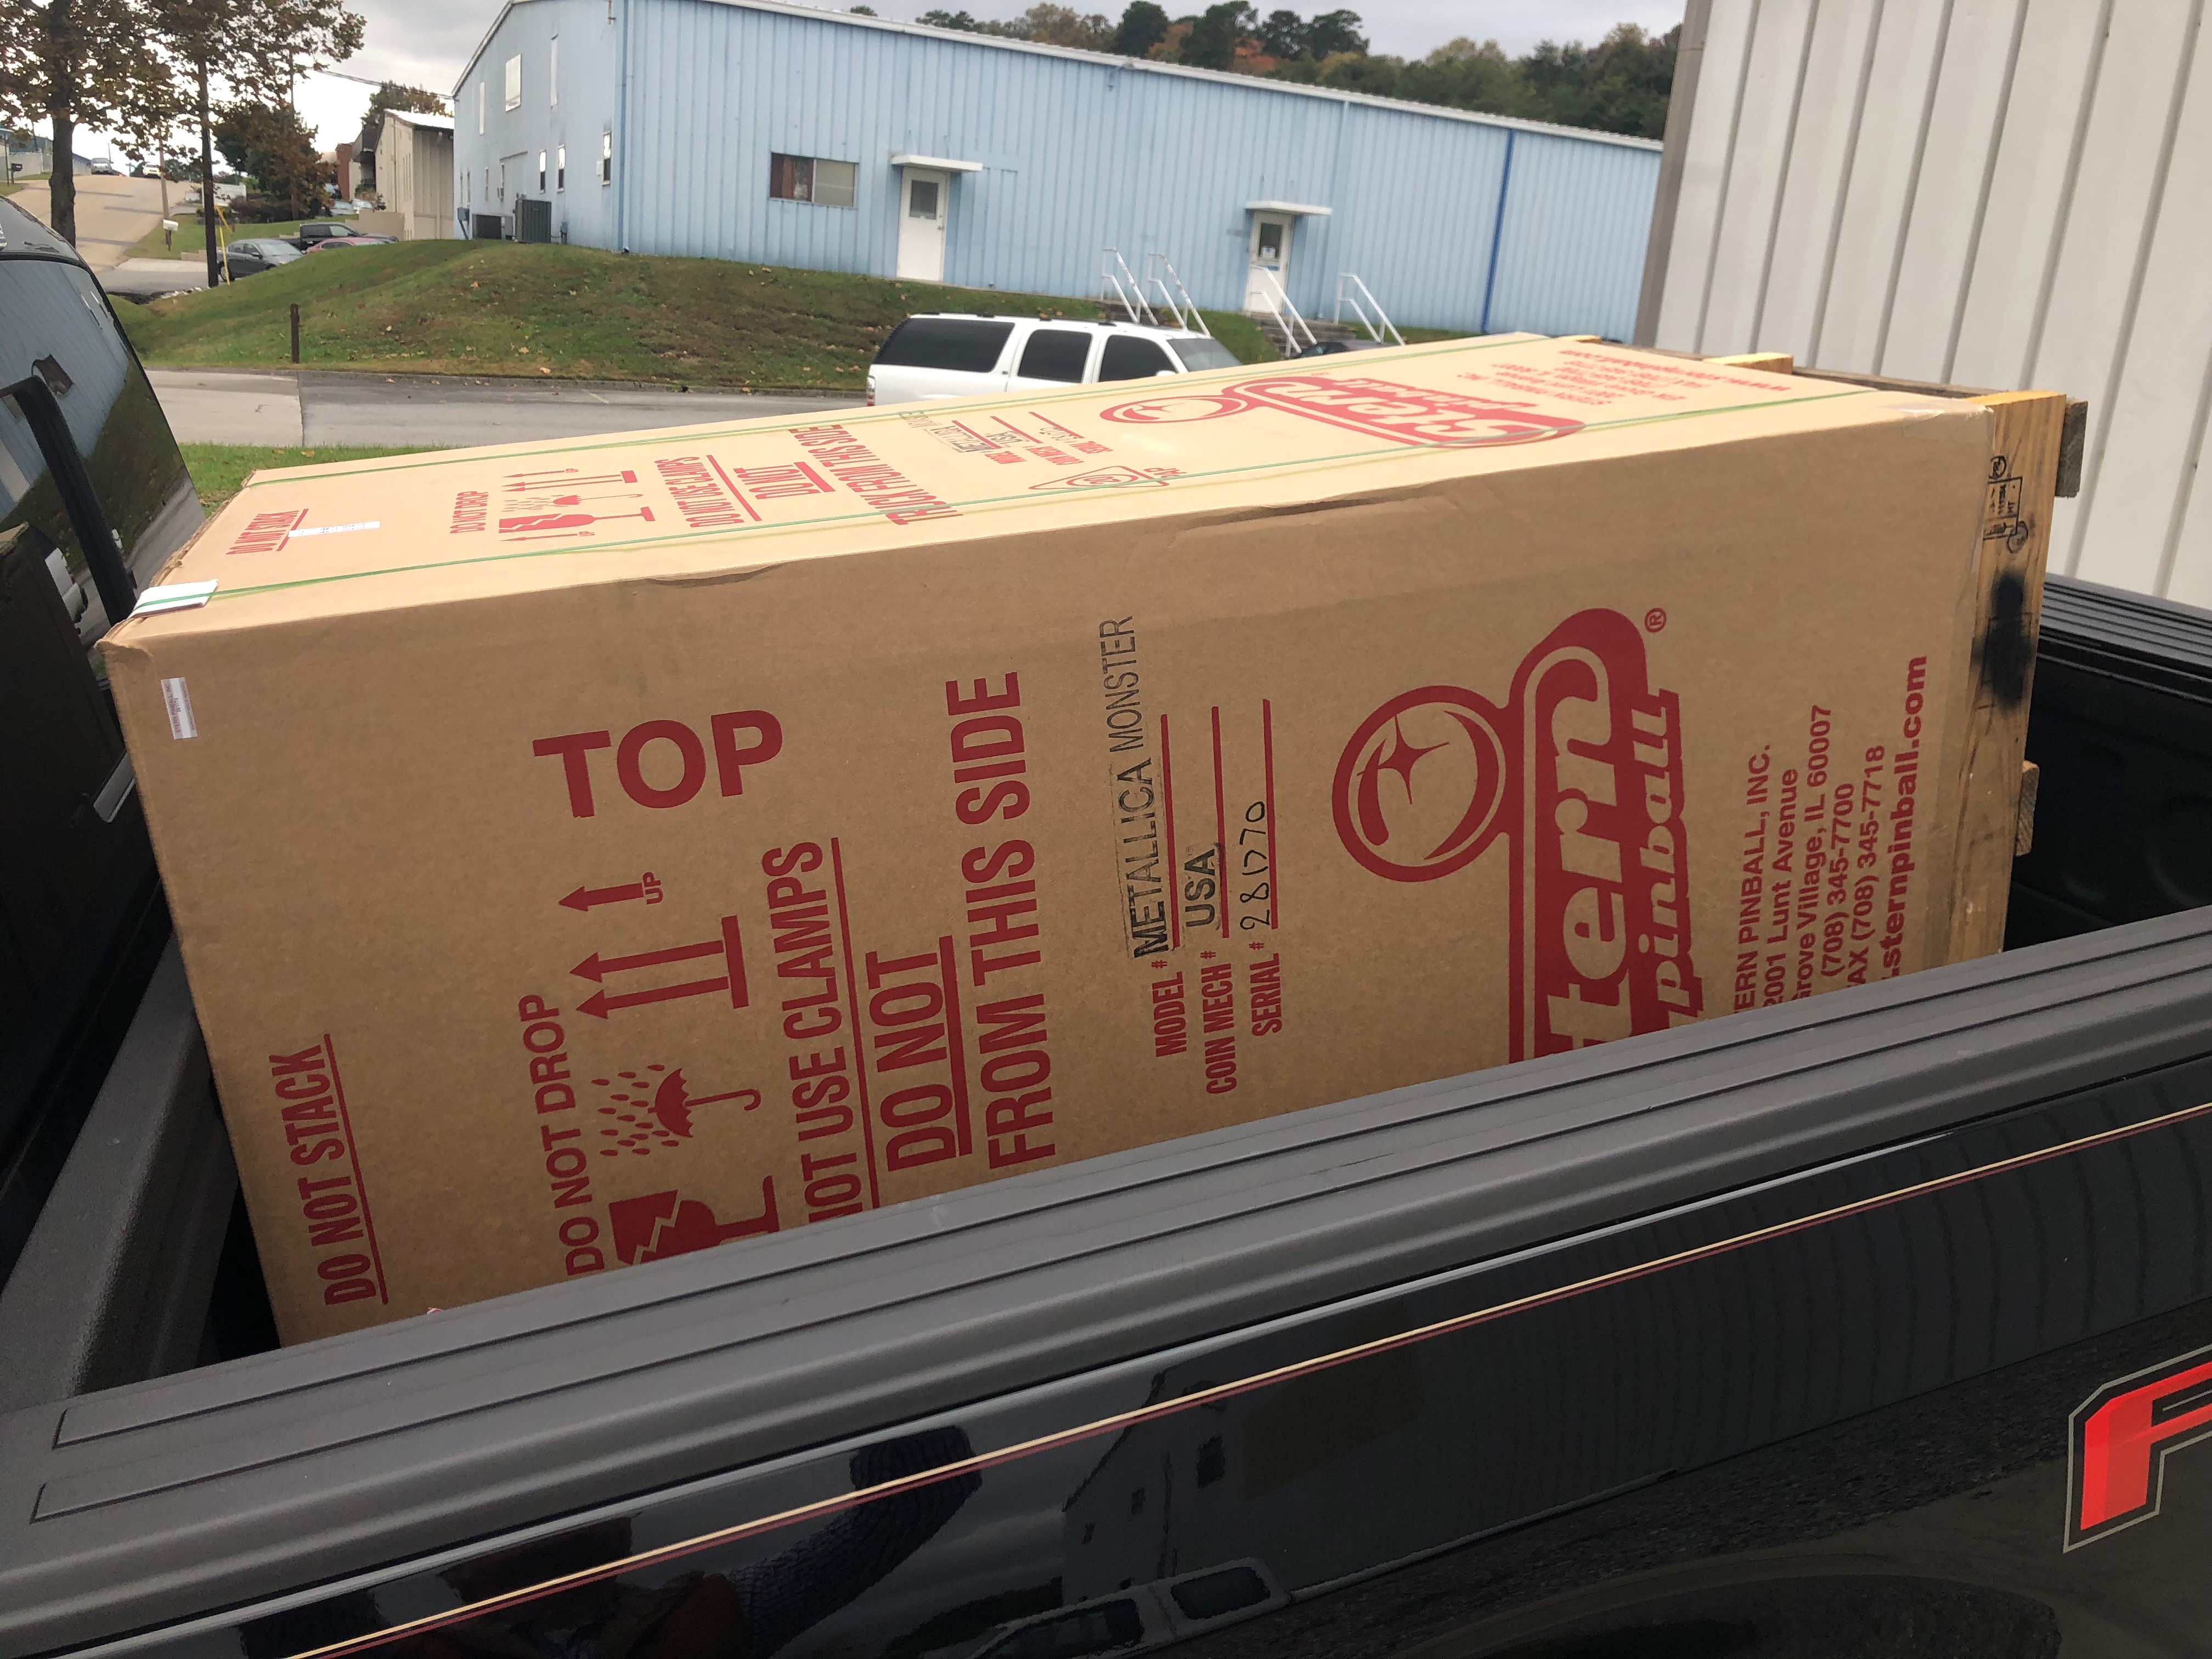
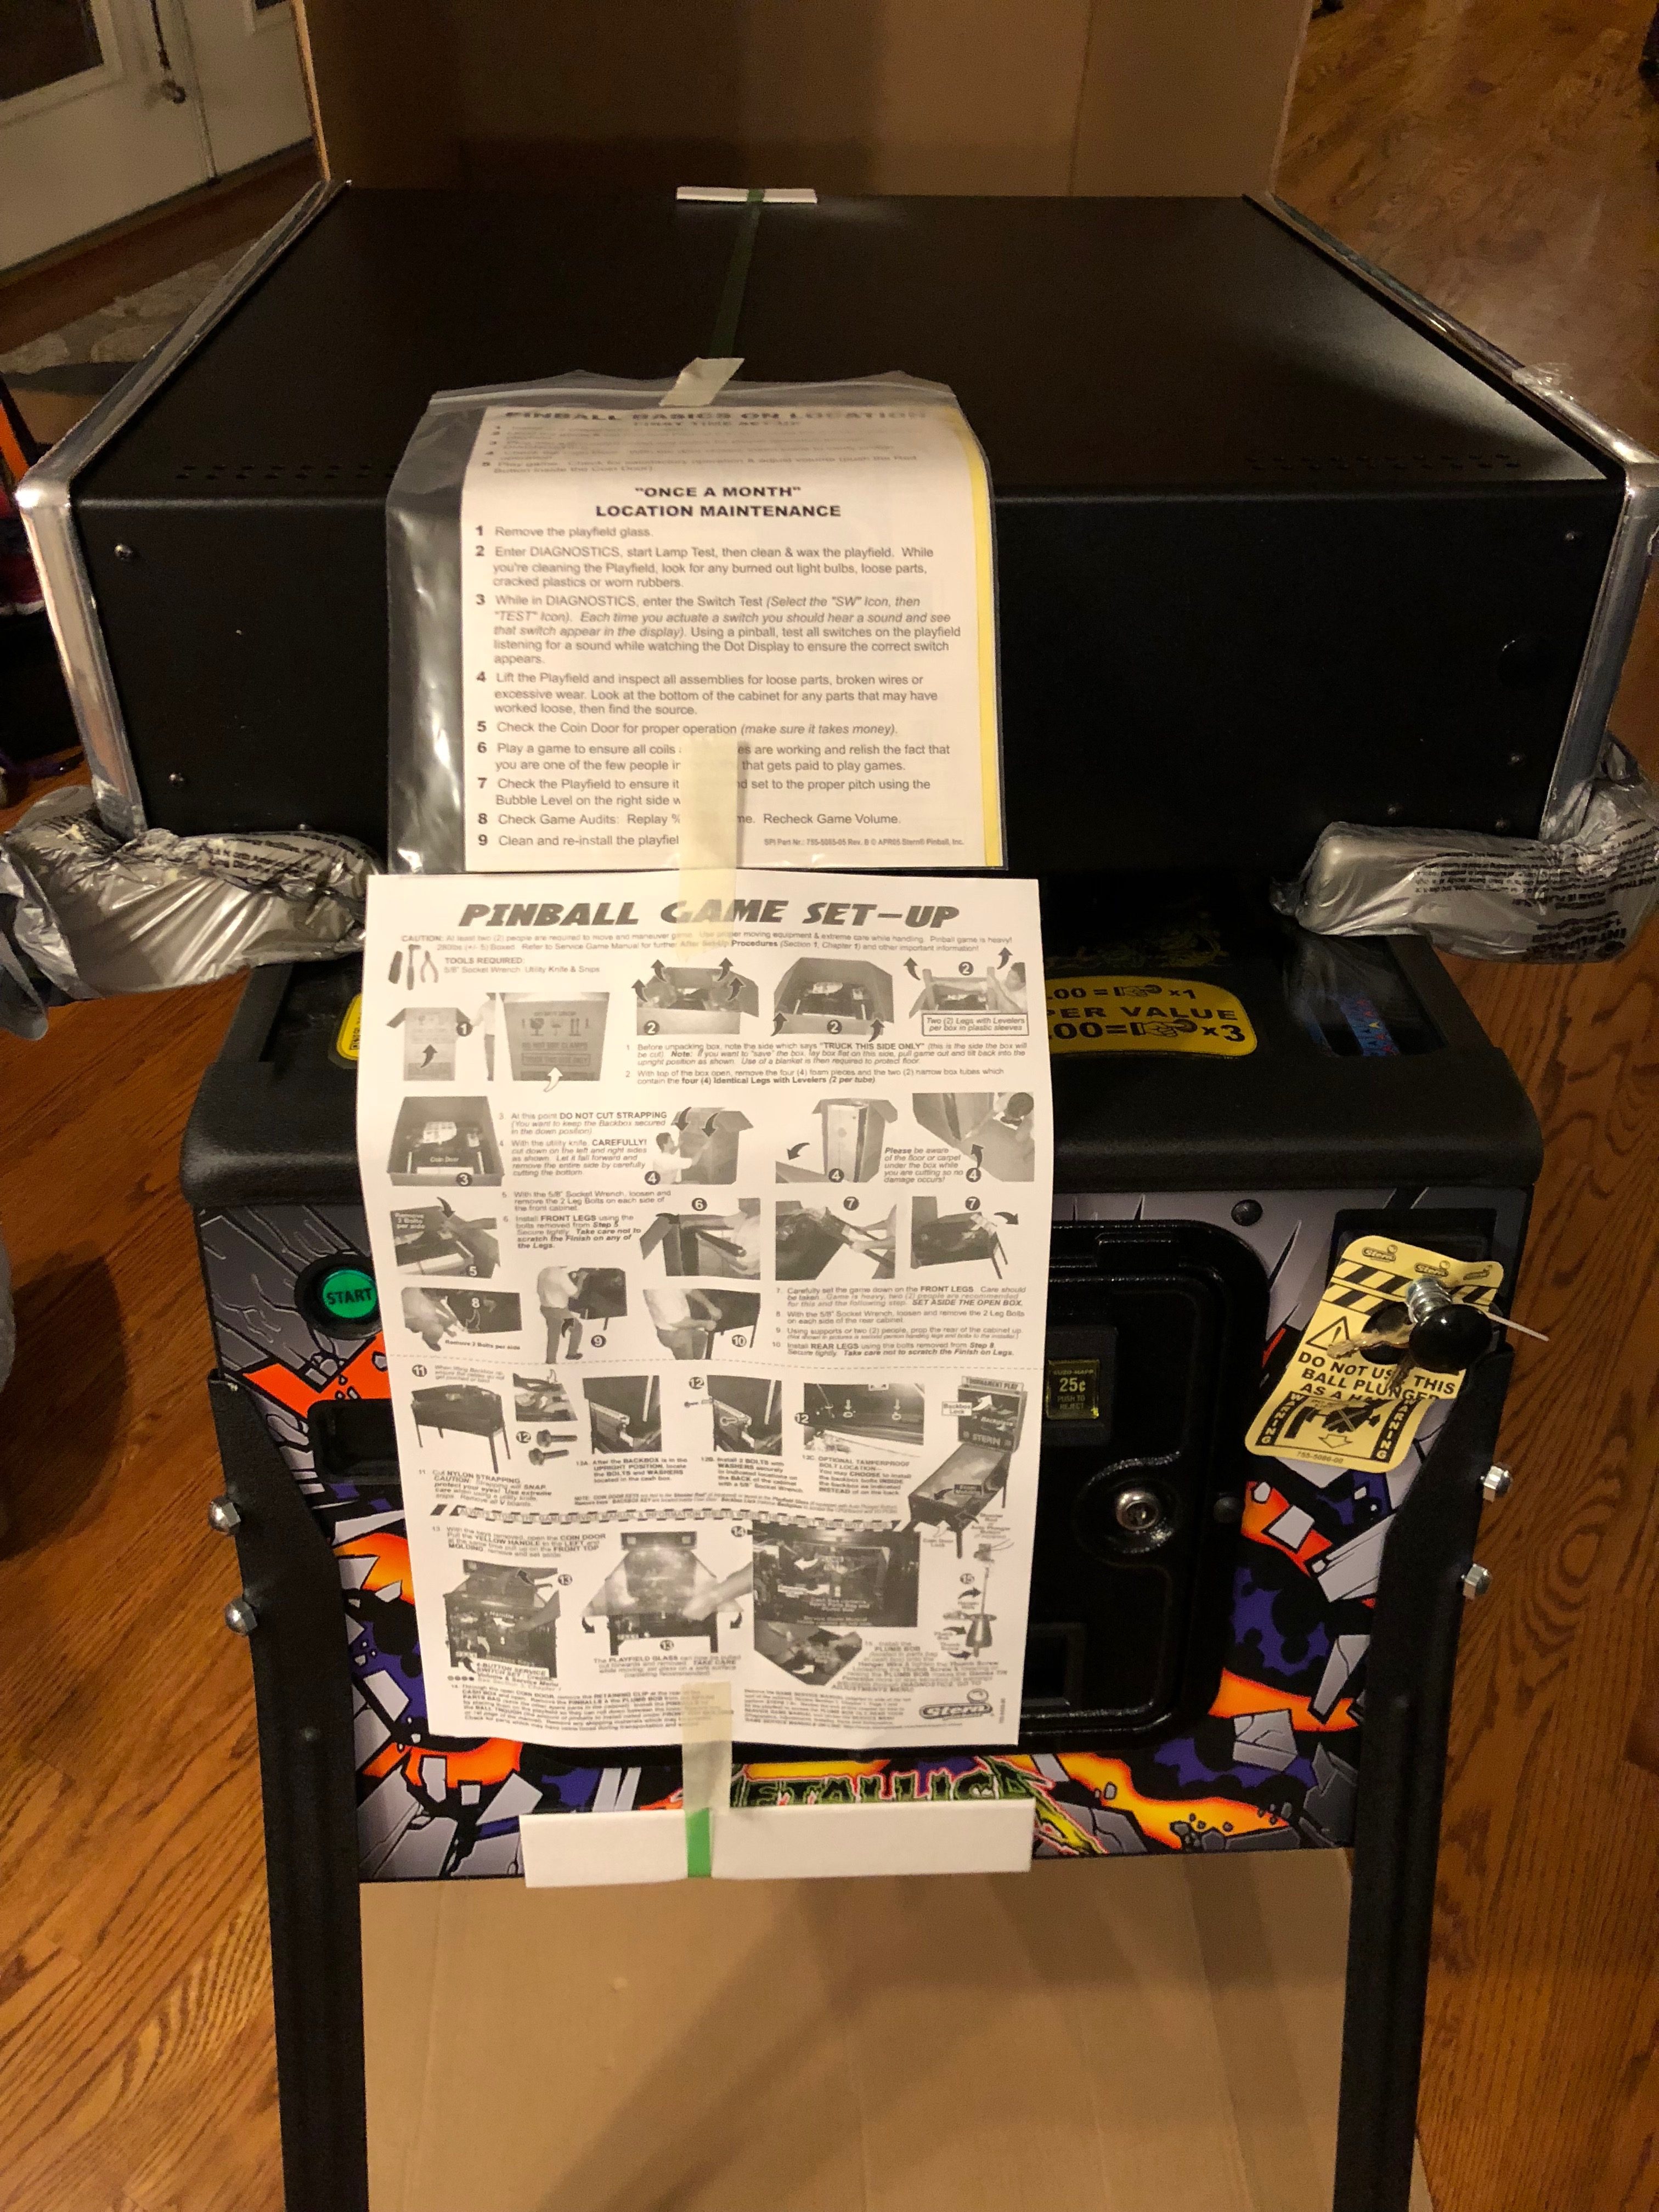
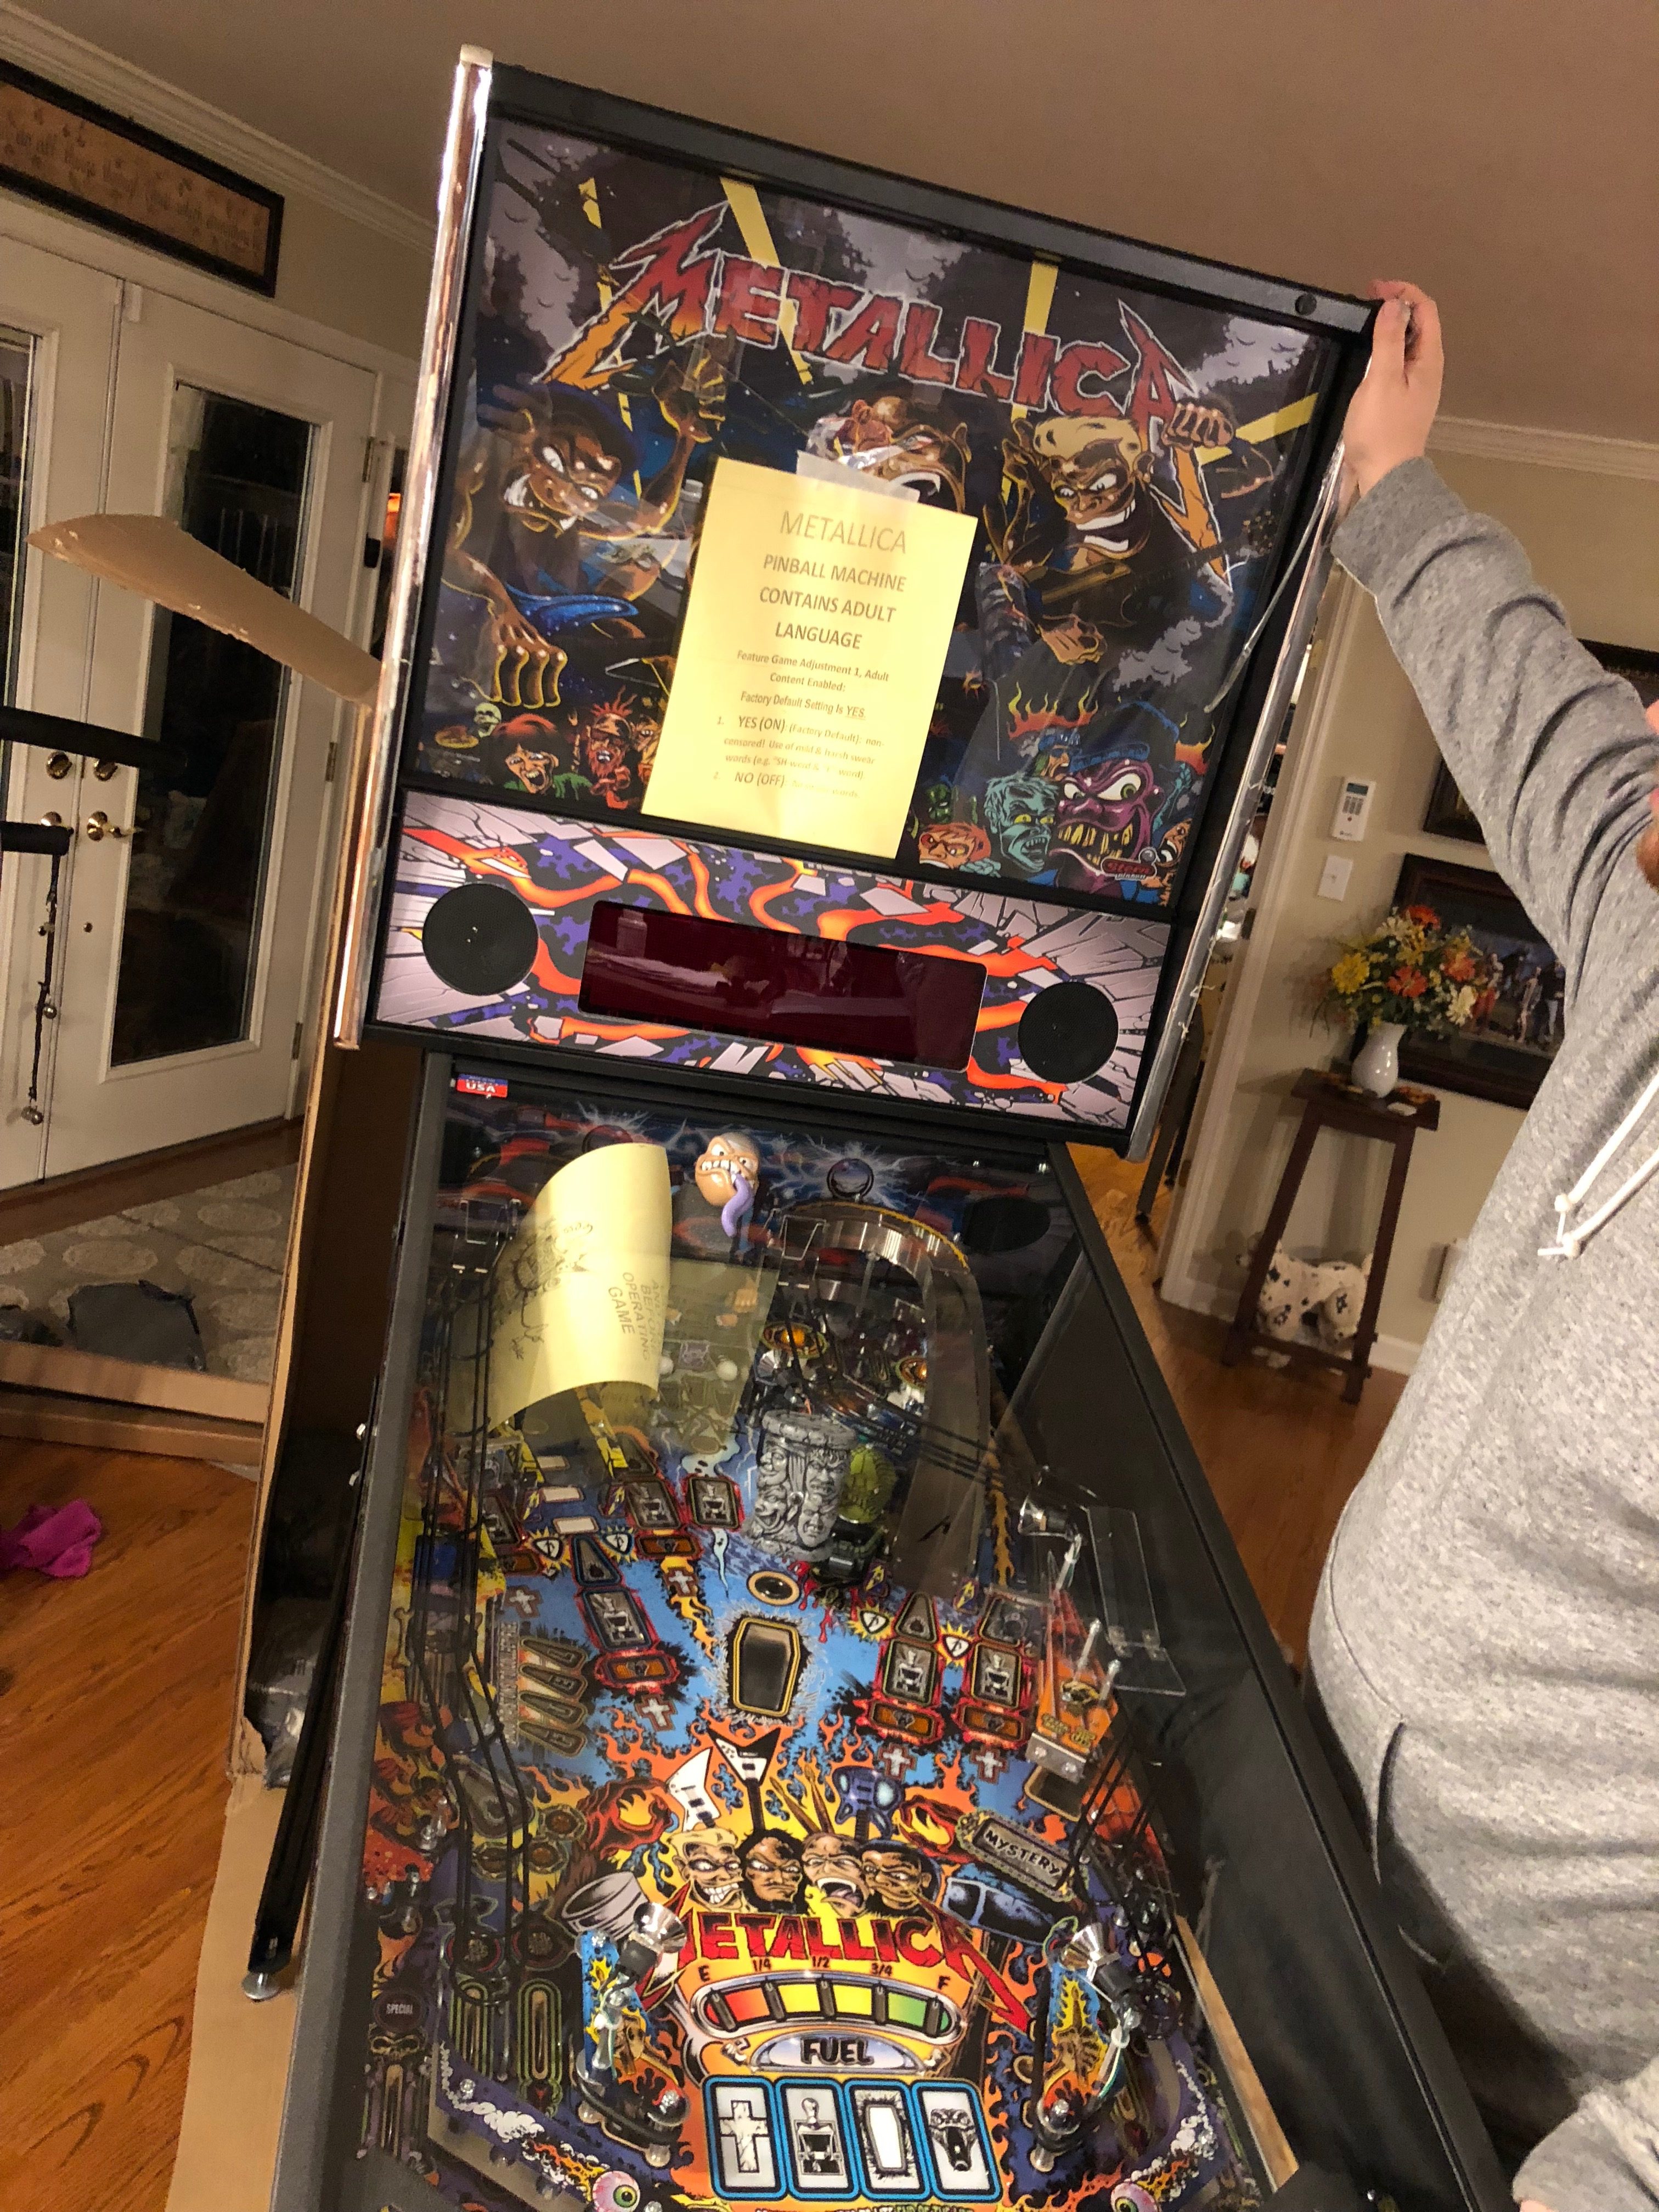
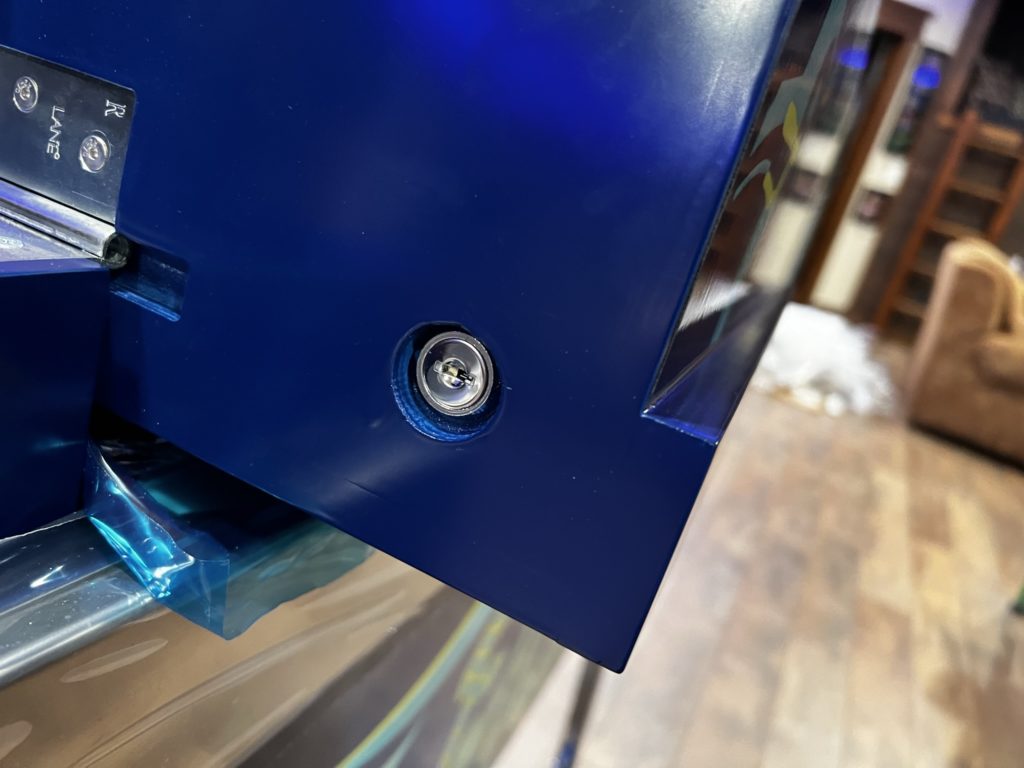
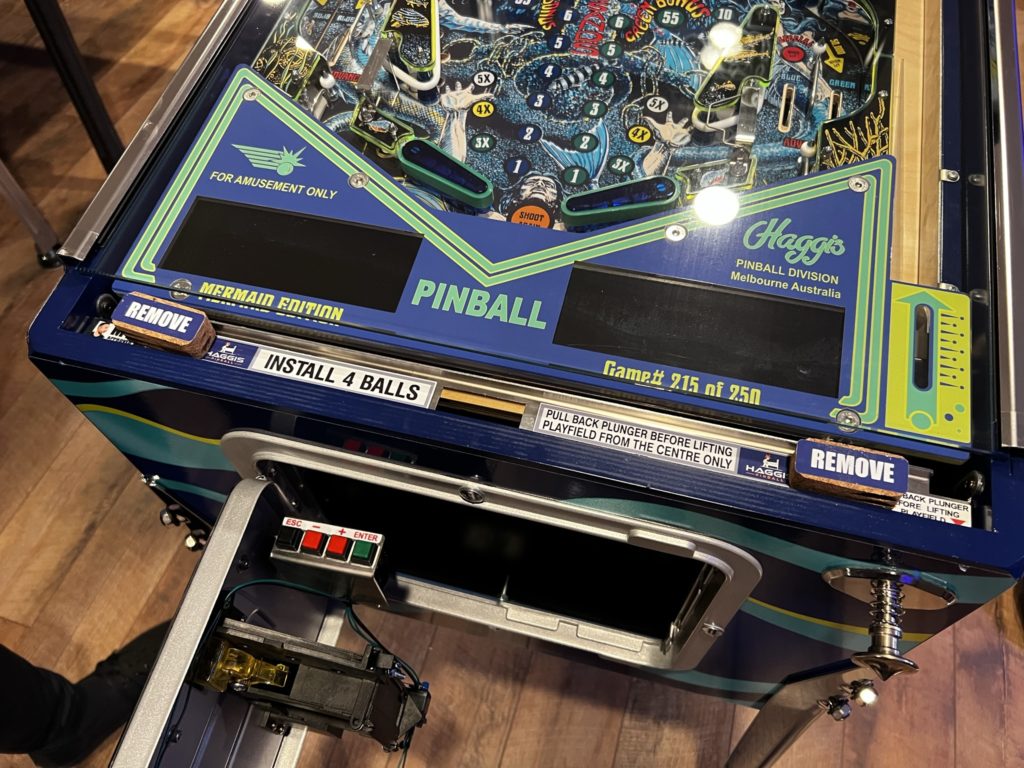
It’s hard to unbox this game without noticing that you are unpacking something special indeed. I could not help but take photographs along the way. Again and again I was seeing new and thoughtful features added to a game originally released in August 1981. The lock for the back box is in a place you can REACH! It’s positioned to the lower left of the head so the vertically challenged don’t need a stool anymore.
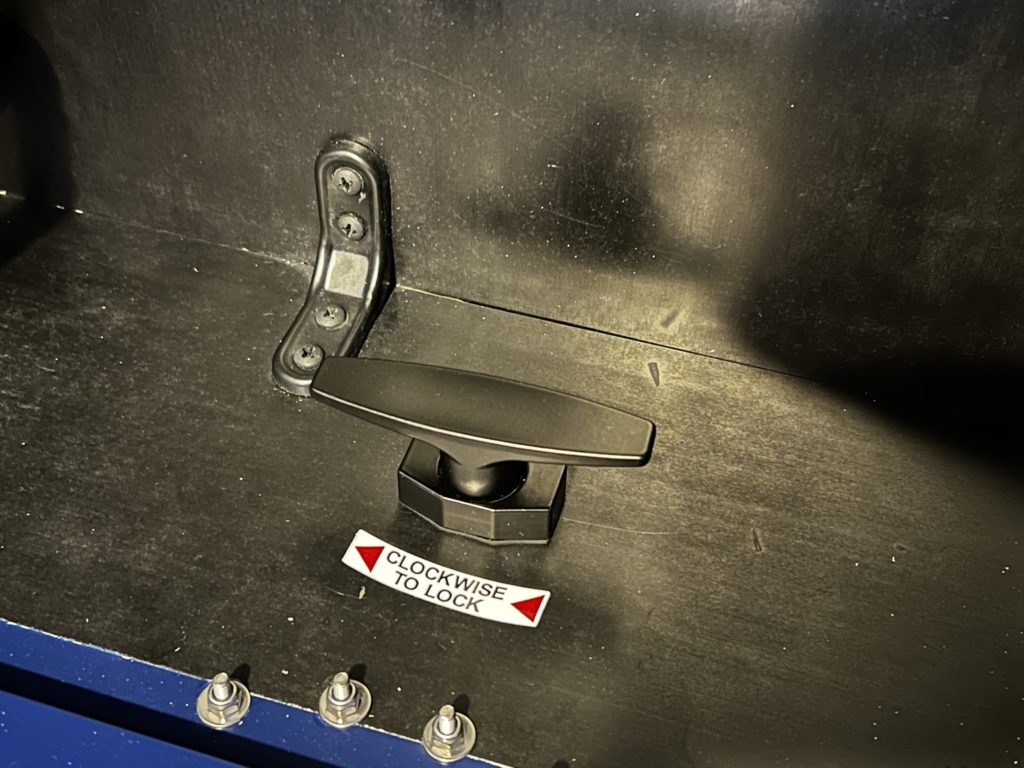
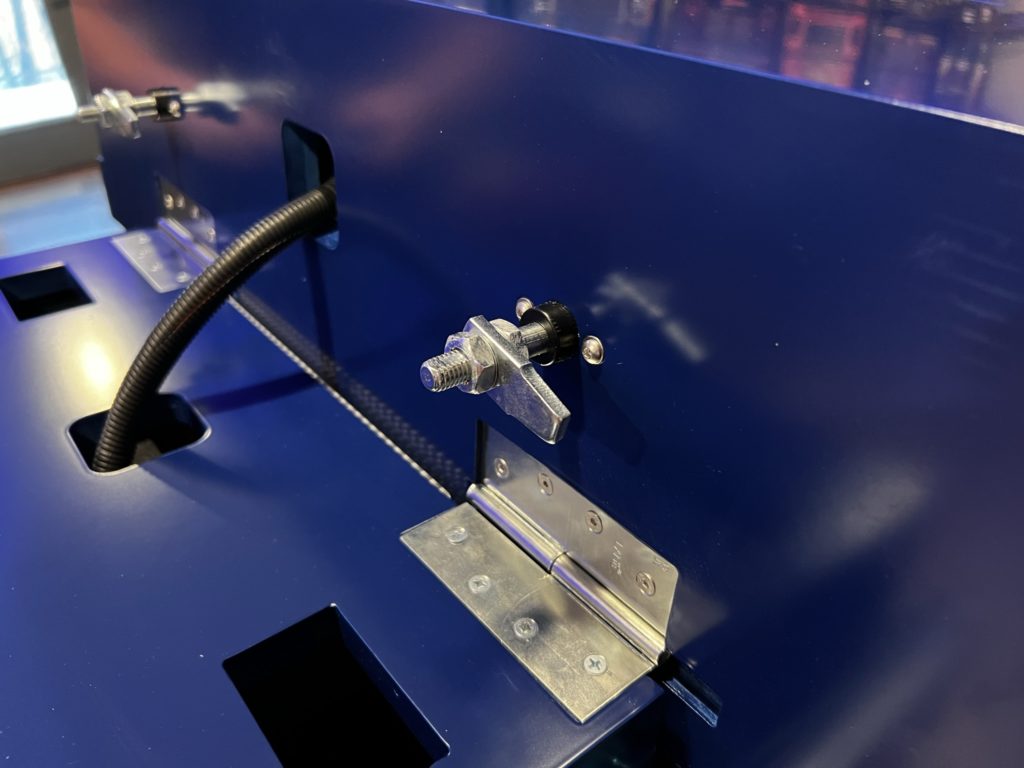
The backbox locks to the cabinet with turnbuckles. Simply raise the head to playing position and turn the “T” handle about a half turn and you’re done! No more scratching up your floor with those Williams style clips. No more trying to line up the large head bolts of the Bally days. Simple. Thoughtful. Useful.
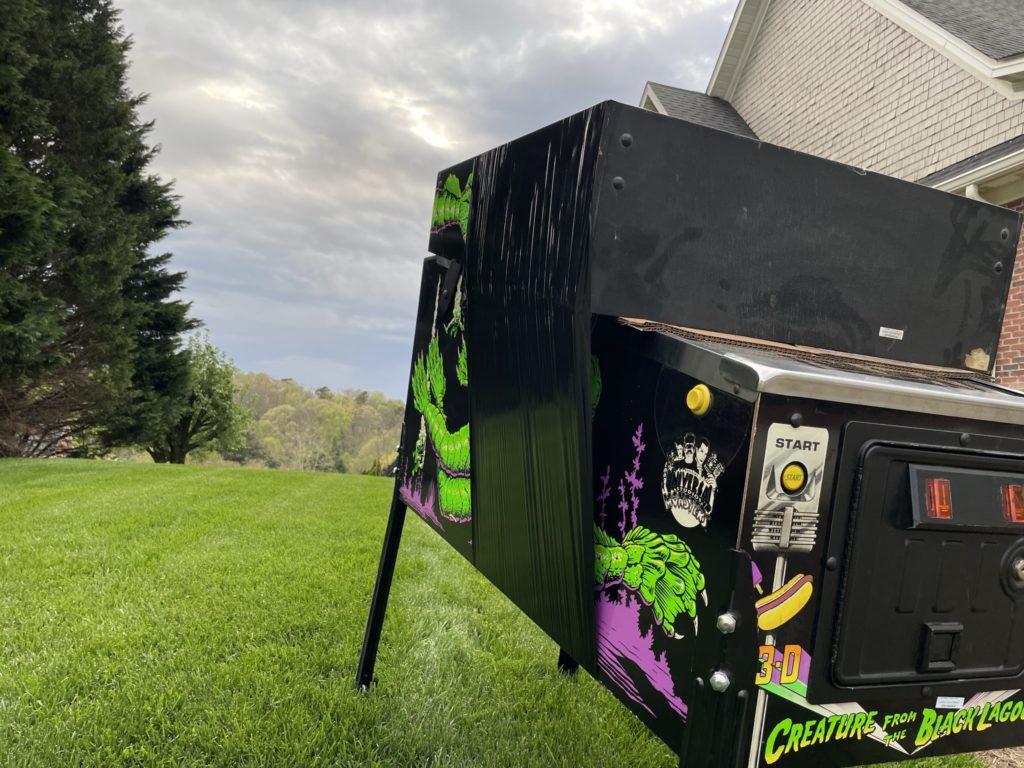
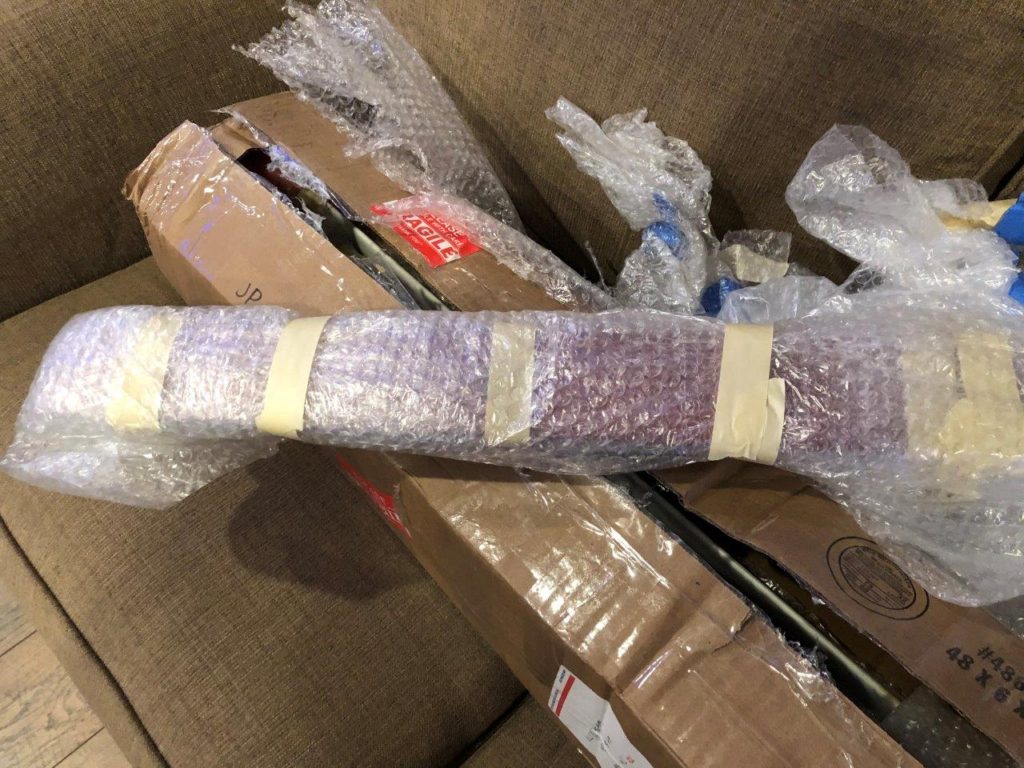
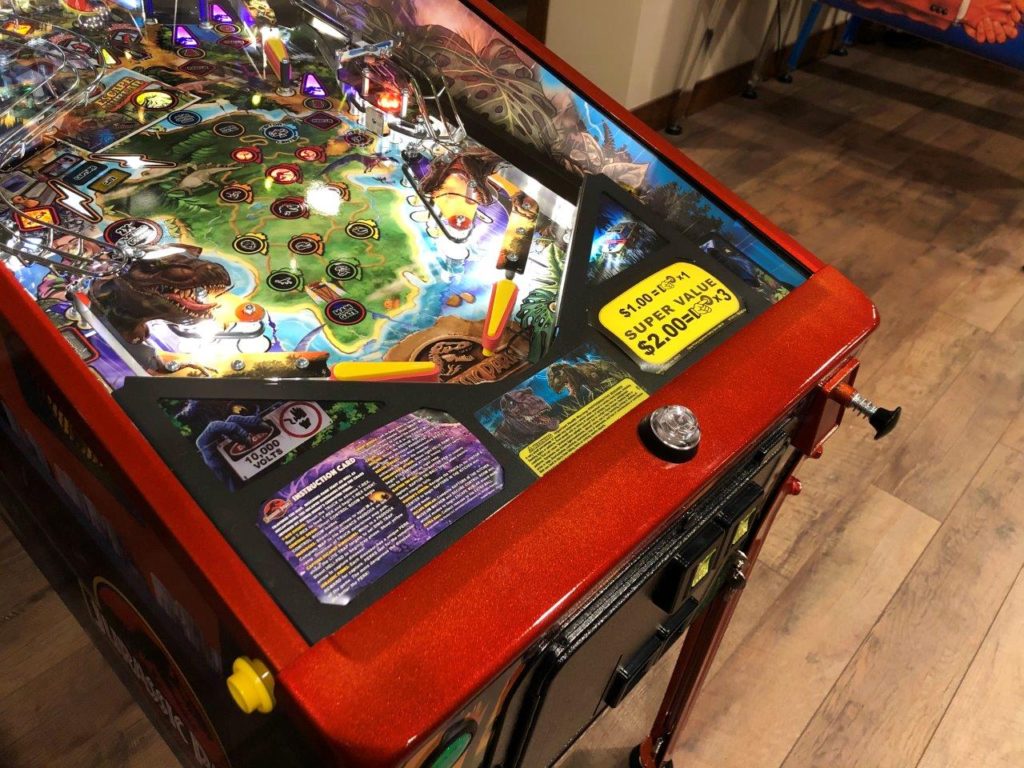
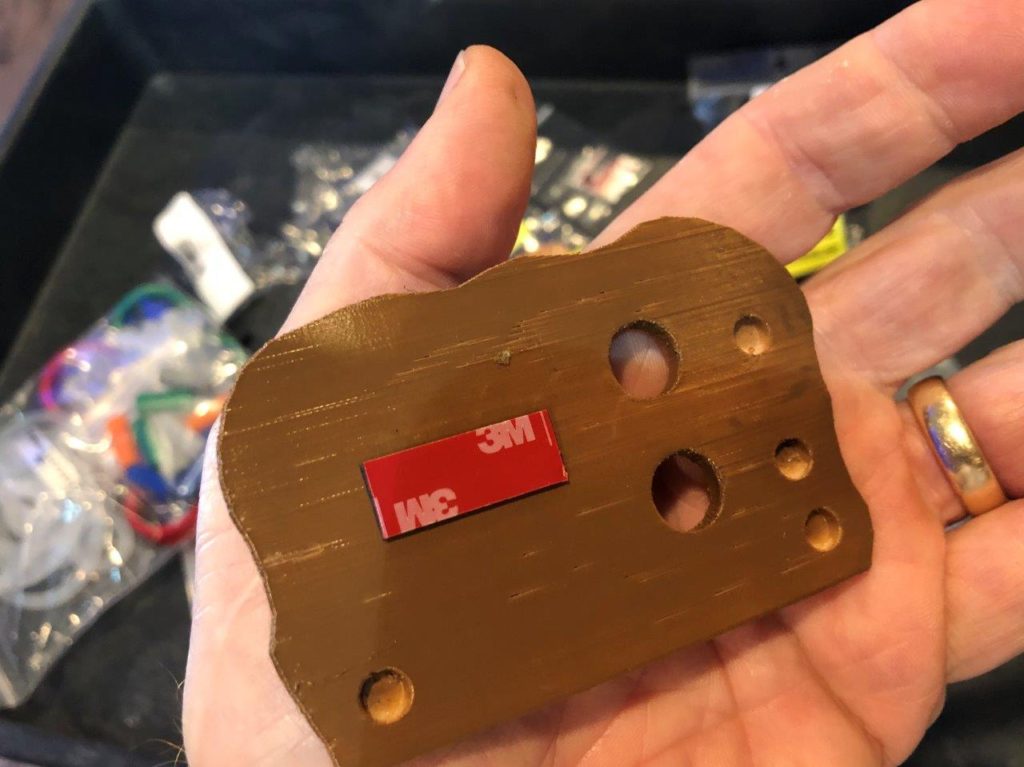
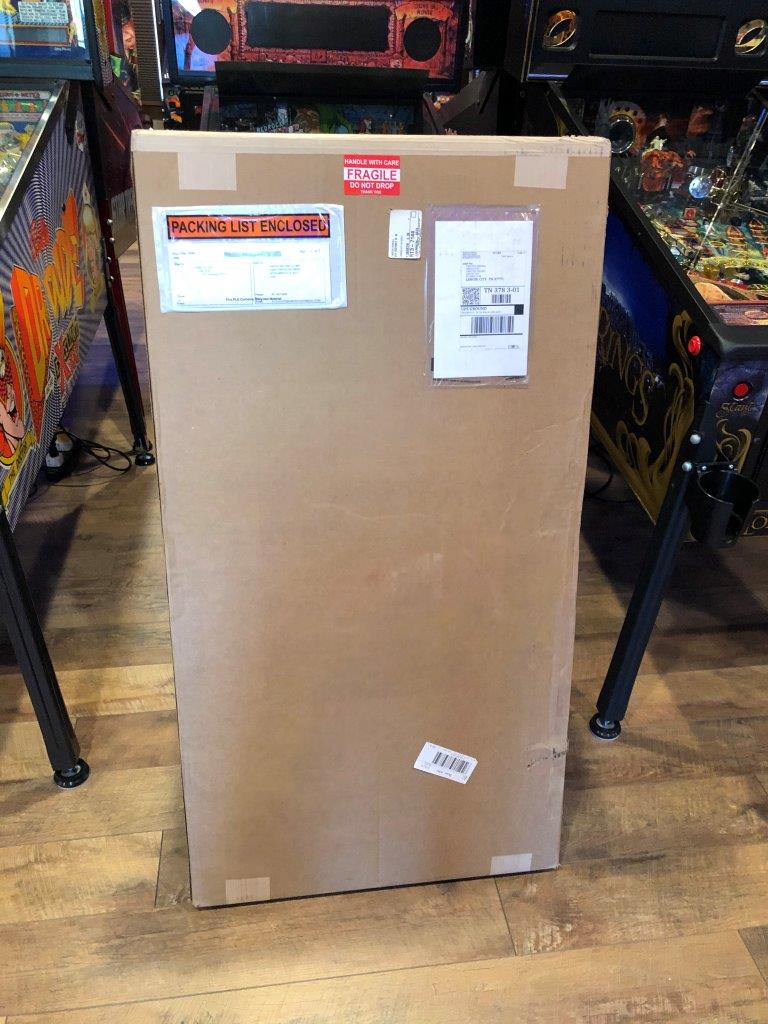
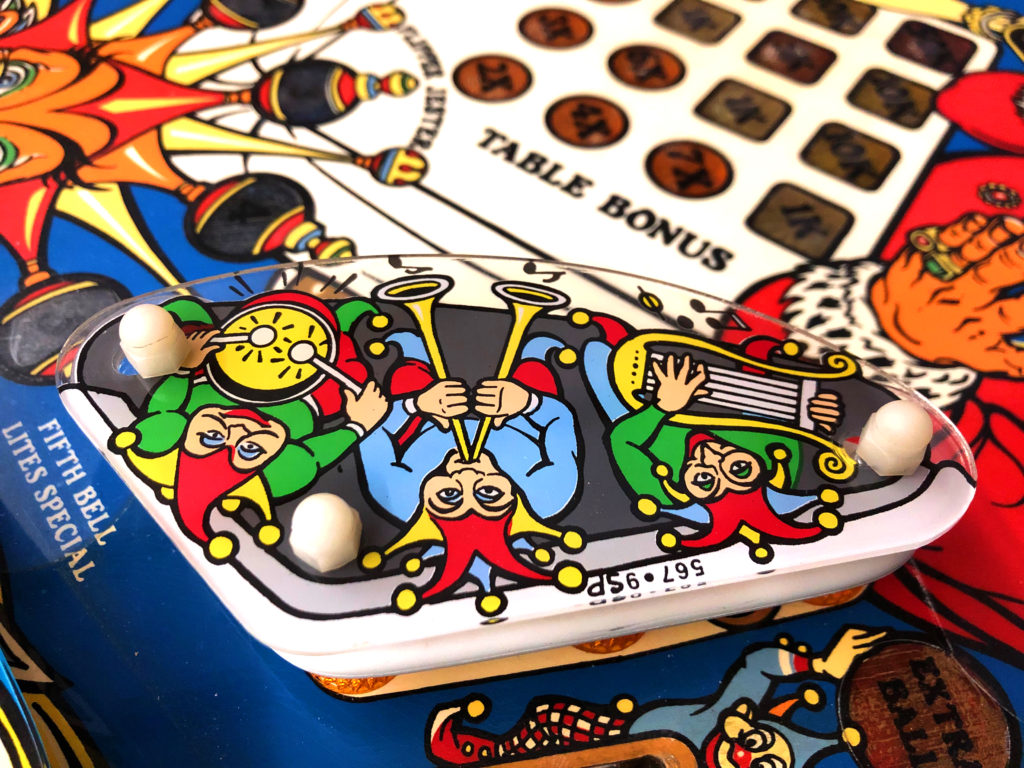
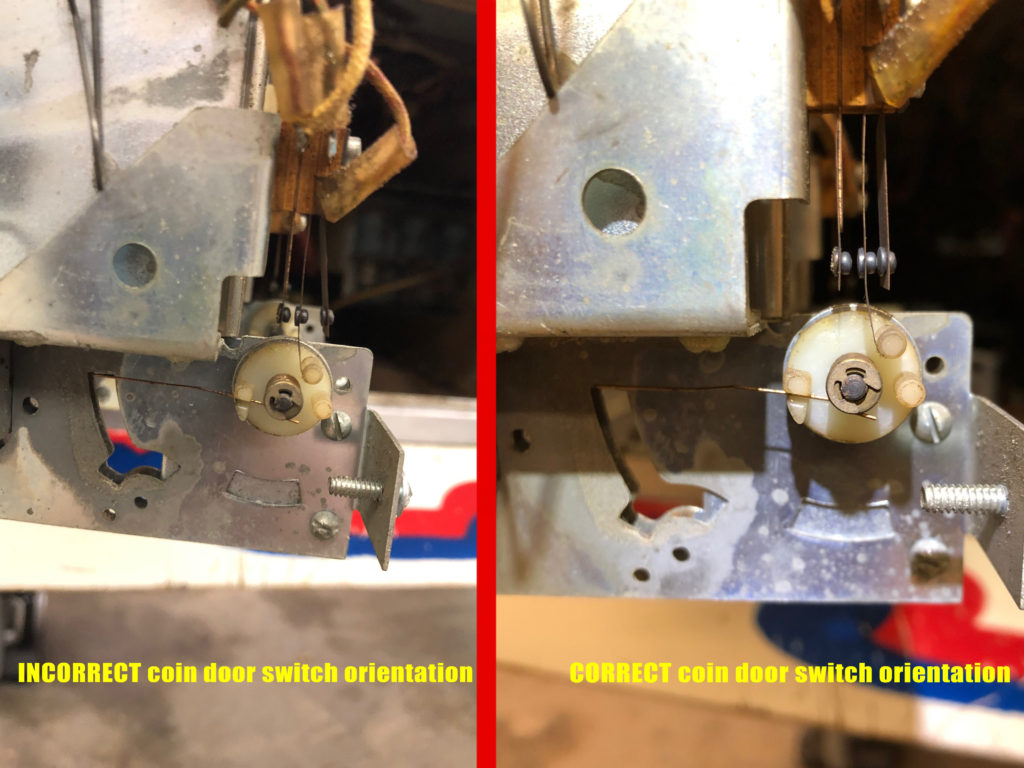
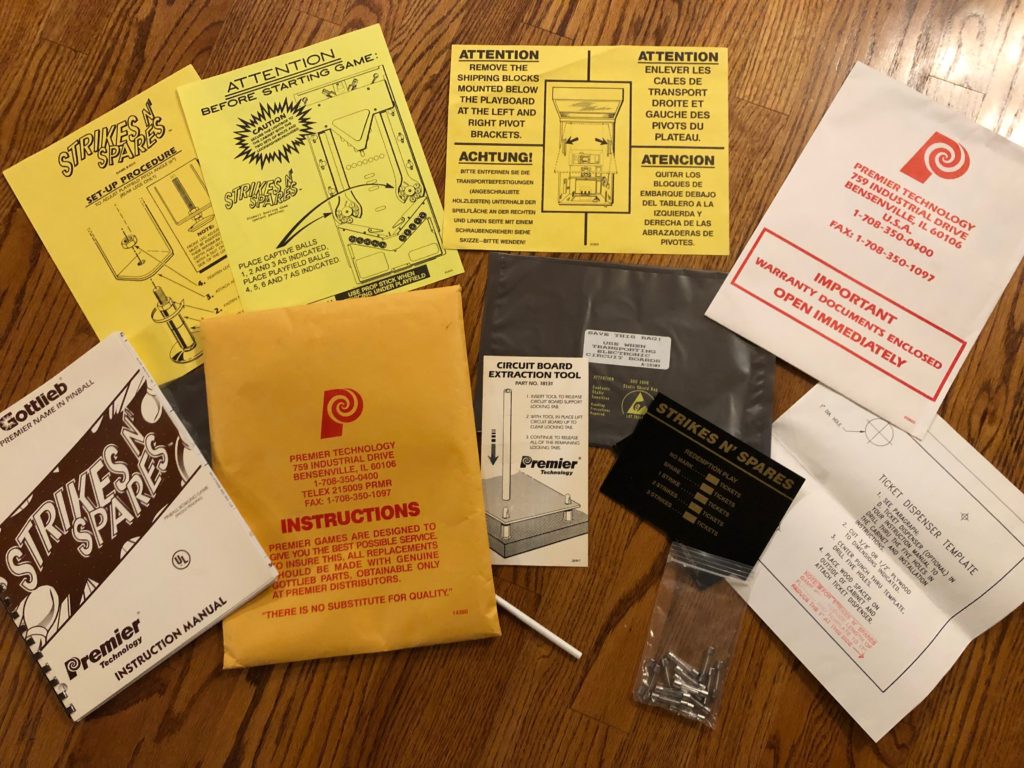
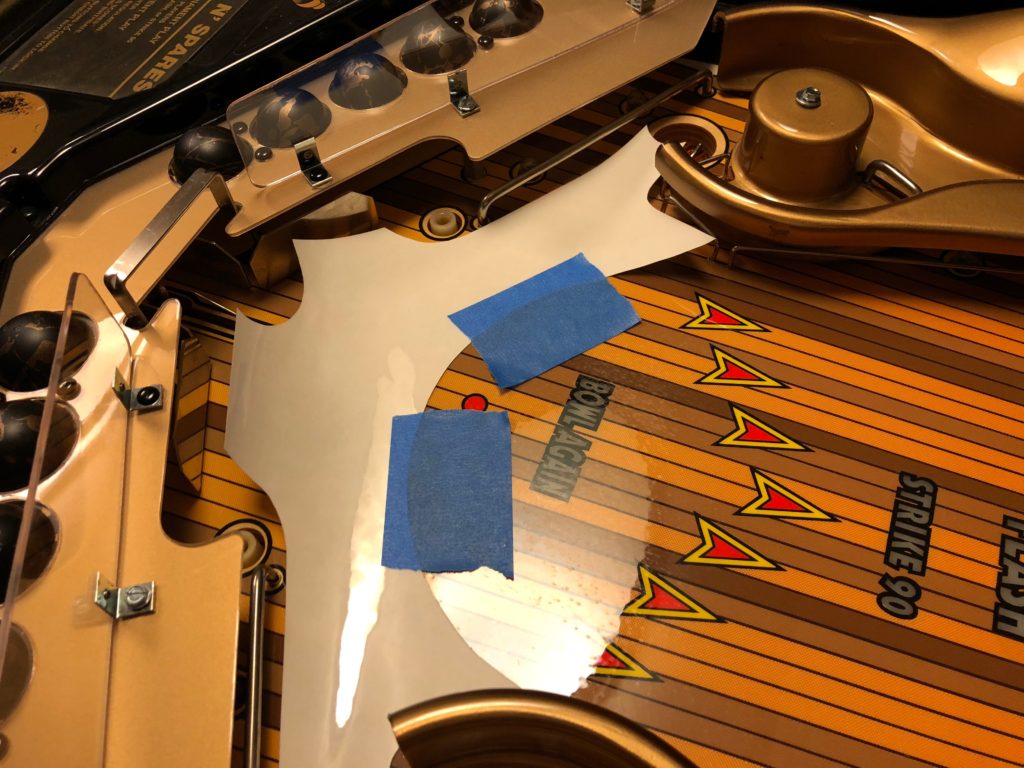
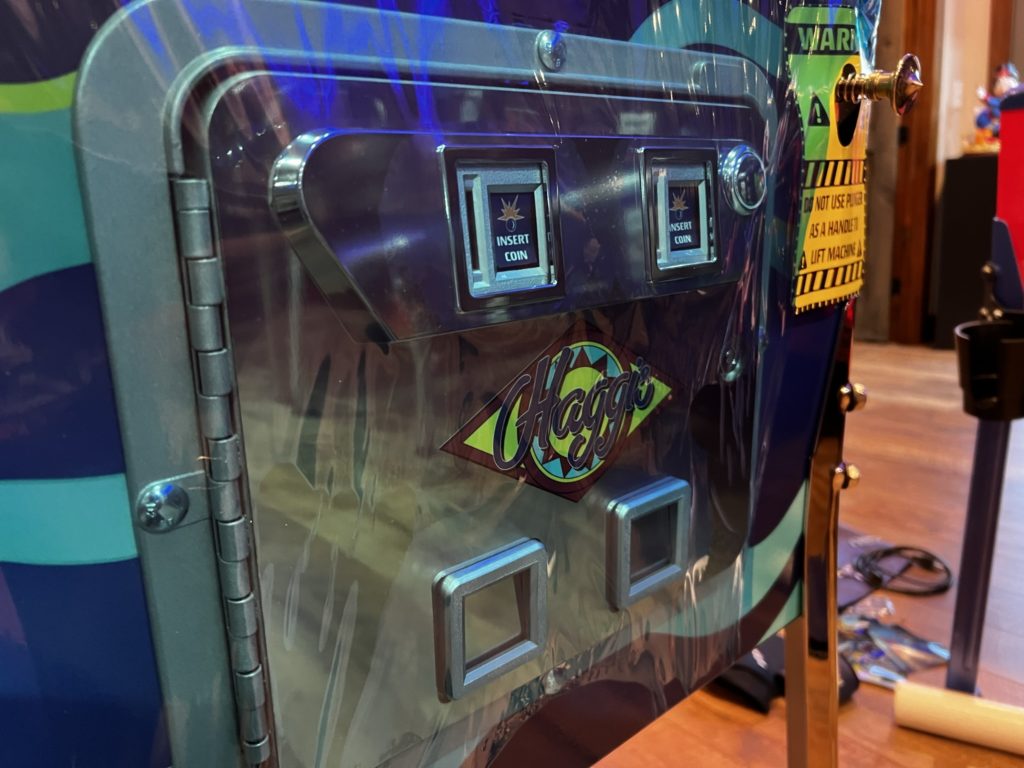
Moving on to the packaging. I know, right? The packaging. It was phenomenal. Clear blue tape to protect the artwork in key areas. That same blue tape was across the entire coin door and the playfield glass as well. There was foam padding and cardboard “blocks” wherever the outer carton could conceivably be crushed in transit. See the image of the front of the coin door to see how protected the machine was.

Even the cabinet corners came with temporary plastic corners to protect them from crushing or dings in transit. When we popped off the lock down bar, there were 2 strategically placed cork pads underneath it to prevent any denting or movement during travel. Quite a bit of thought went into ensuring that I got my game in one piece.
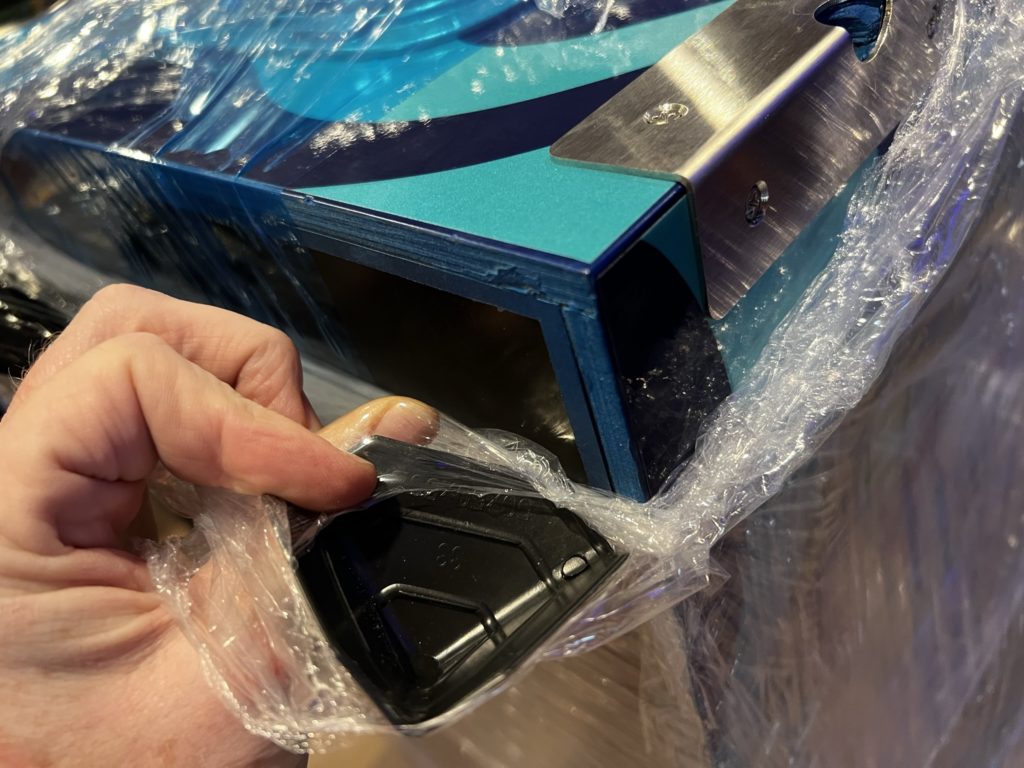
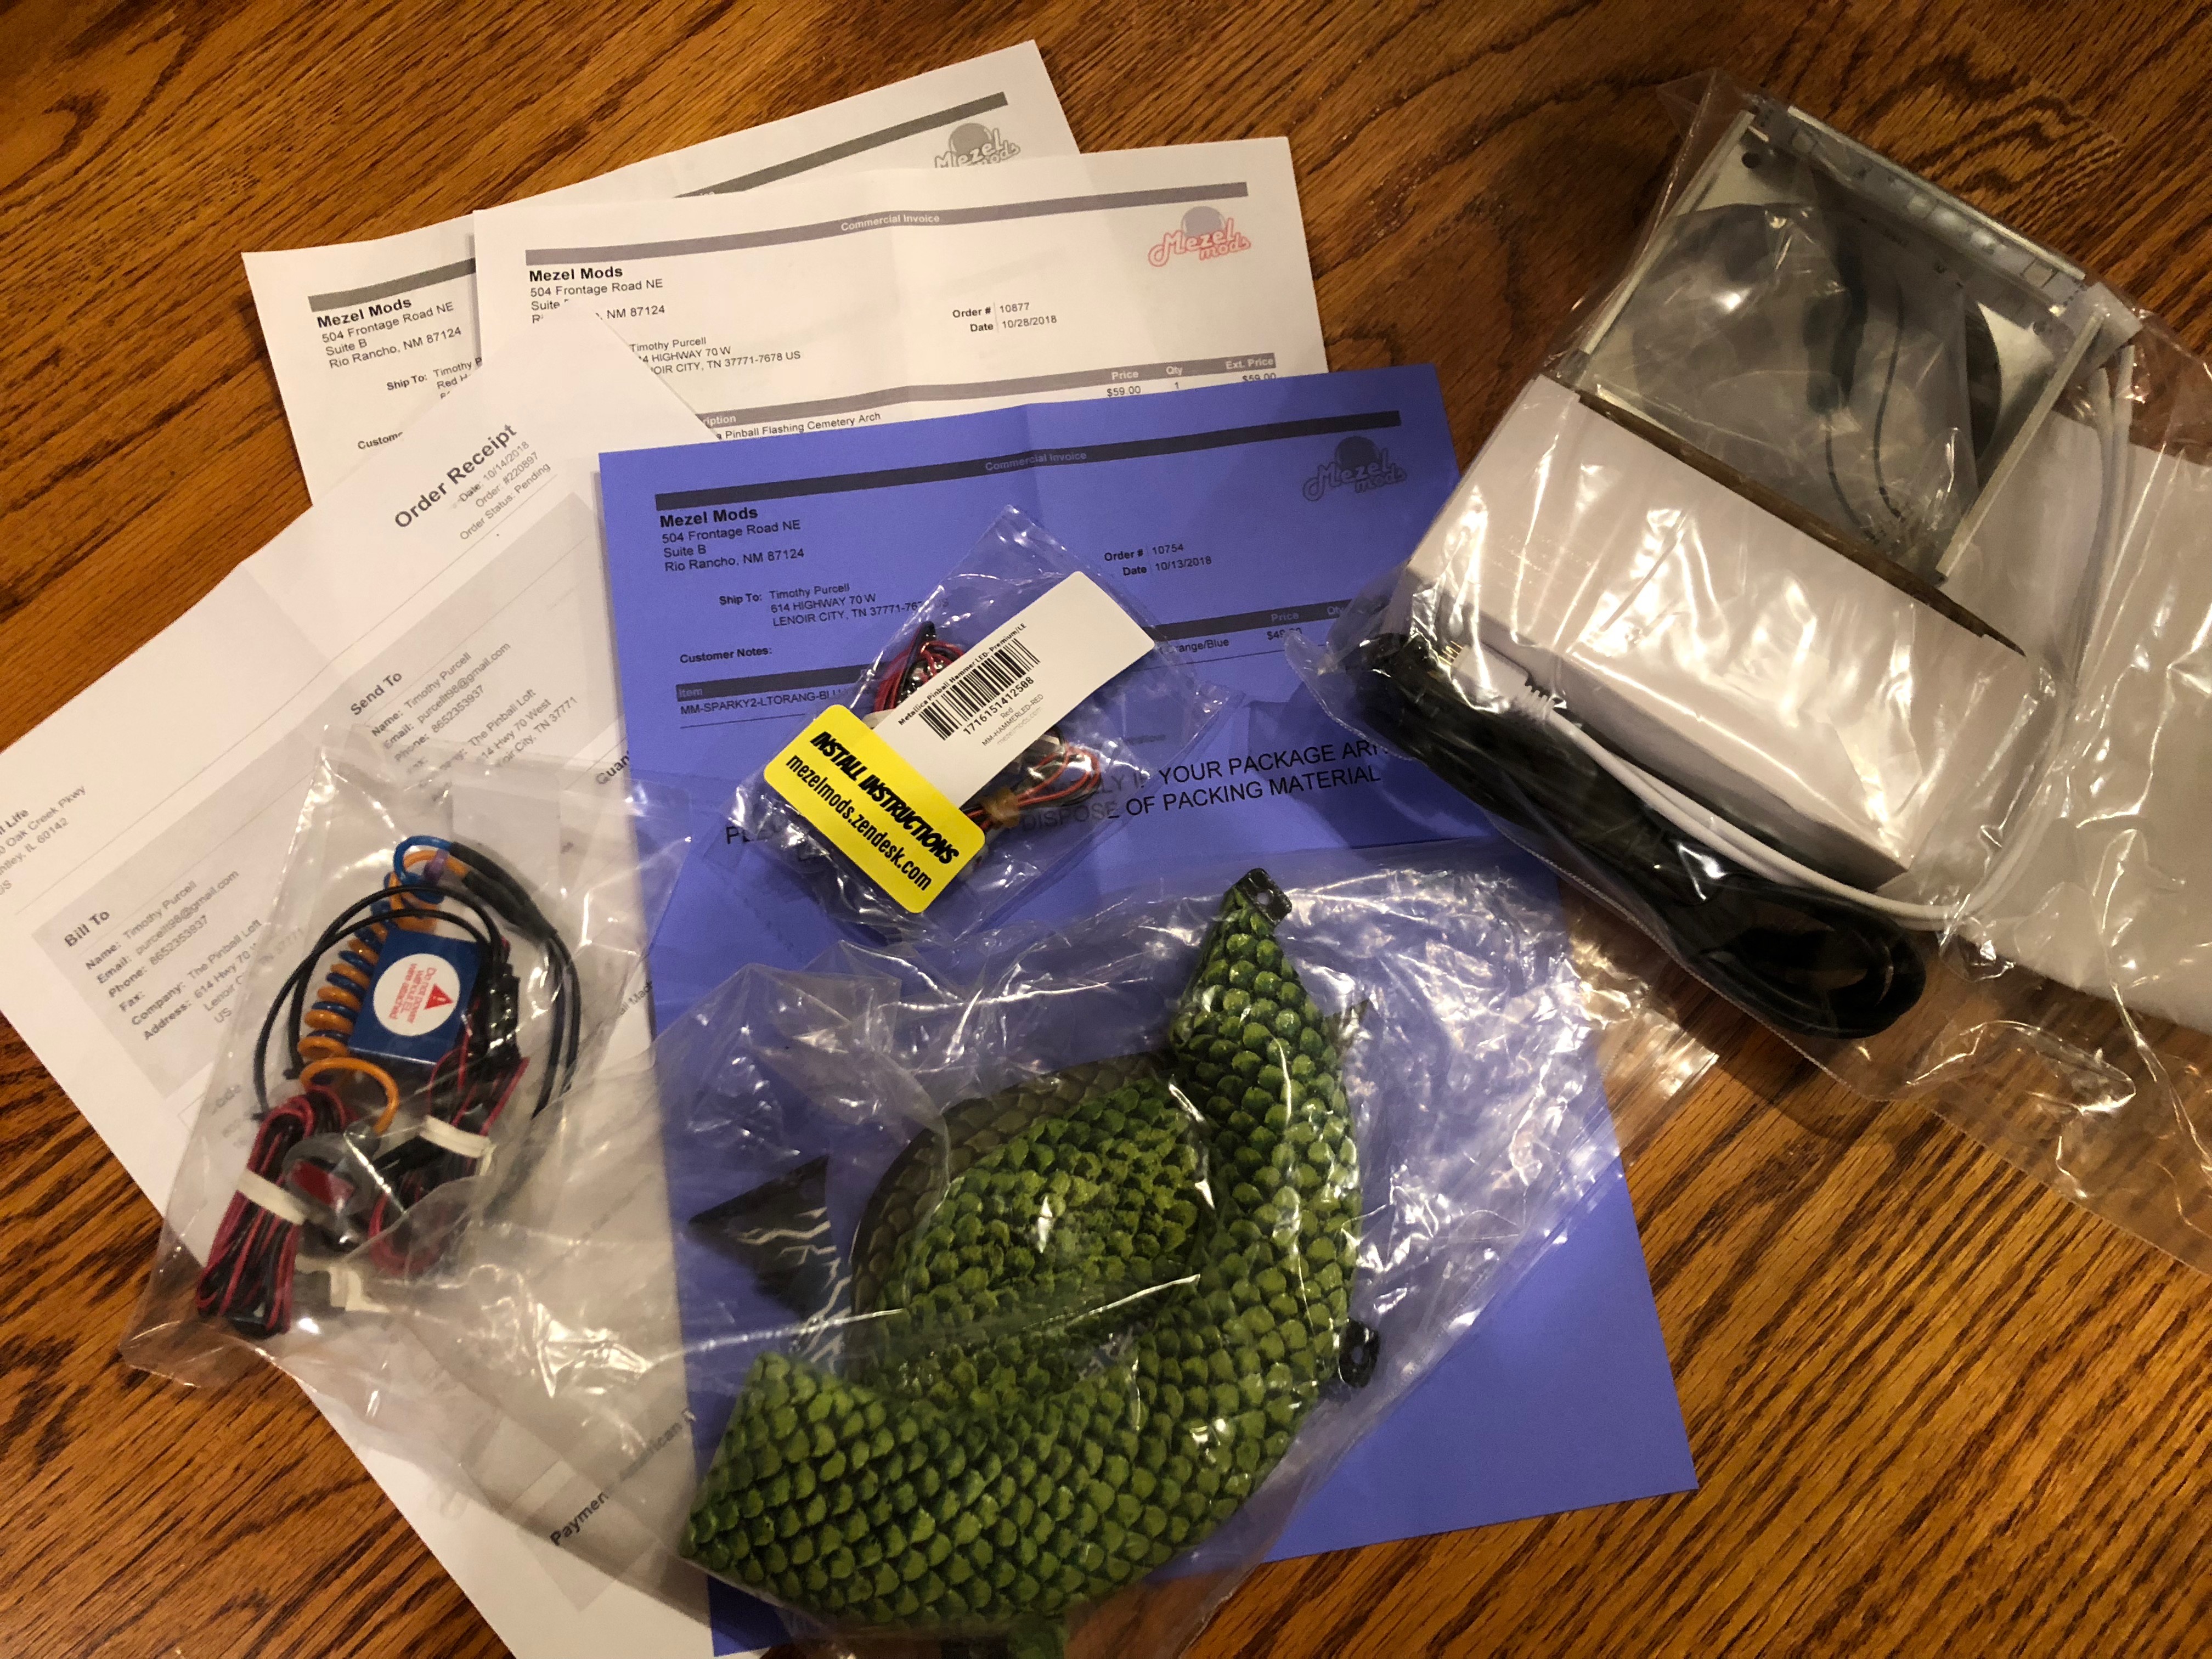
The goody bag was a nice Haggis logo bag taped onto the front of the machine under the plastic wrapping. There was a BUNCH of stuff in there so I’ll list it out:
- Haggis baseball cap
- Haggis Koozie
- Haggis car decals (2)
- Haggis key chain
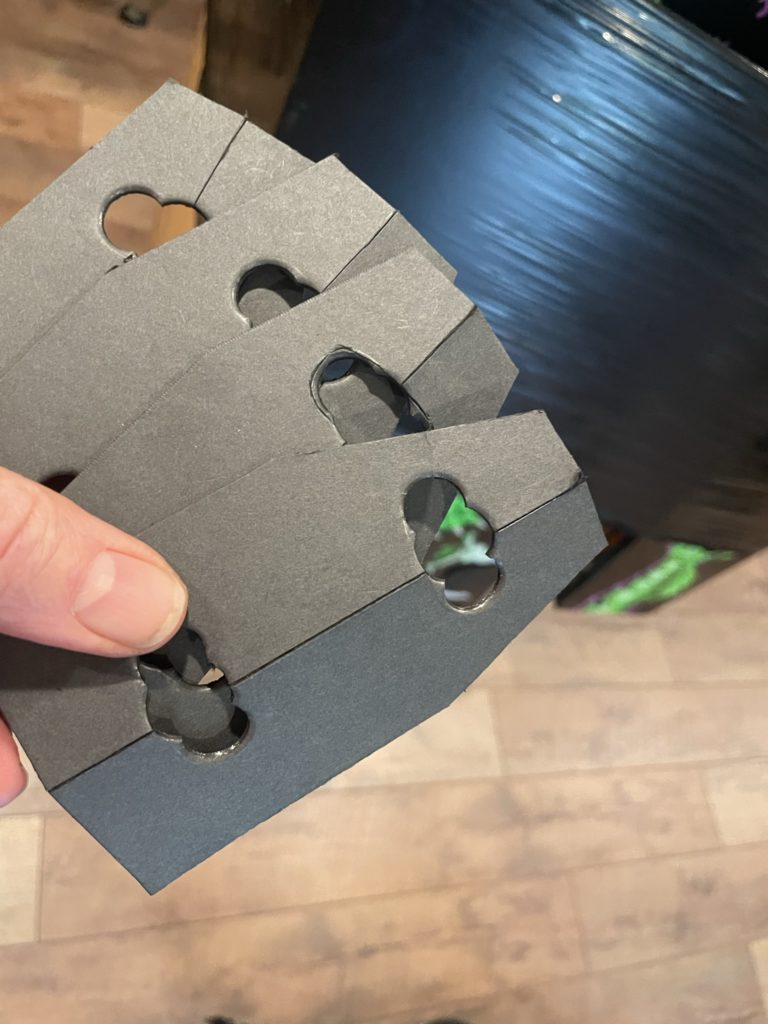
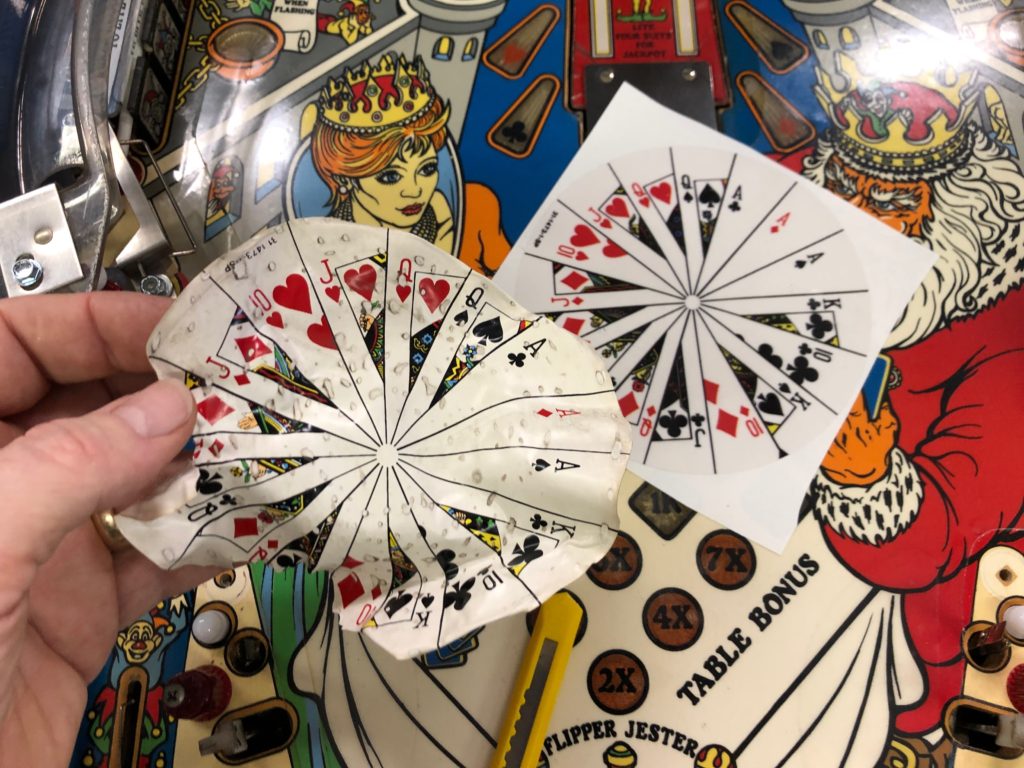
- Fathom art cards (3 wrinkled)
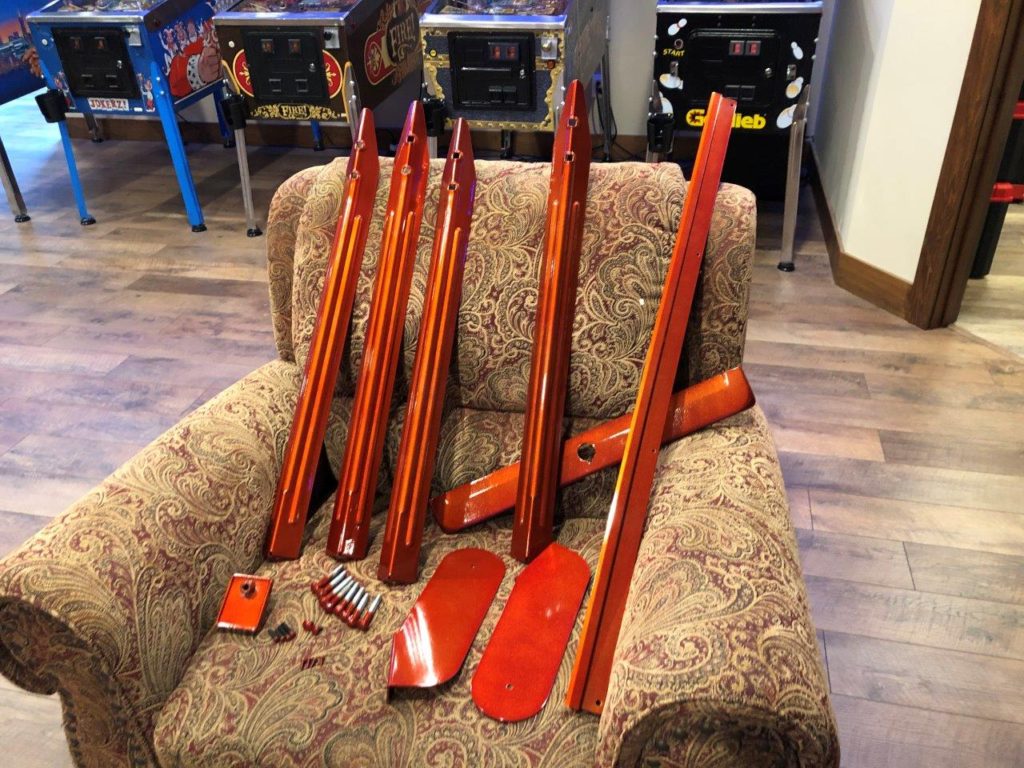
- Rubber floor protectors (4)
- Balls (4)
- Feet (4)
- Leg bolts (8)
- Leg bolt washer/protectors black (8)
- Goodie bag: extra decals/plastics
- Plumb bob
- Key sets
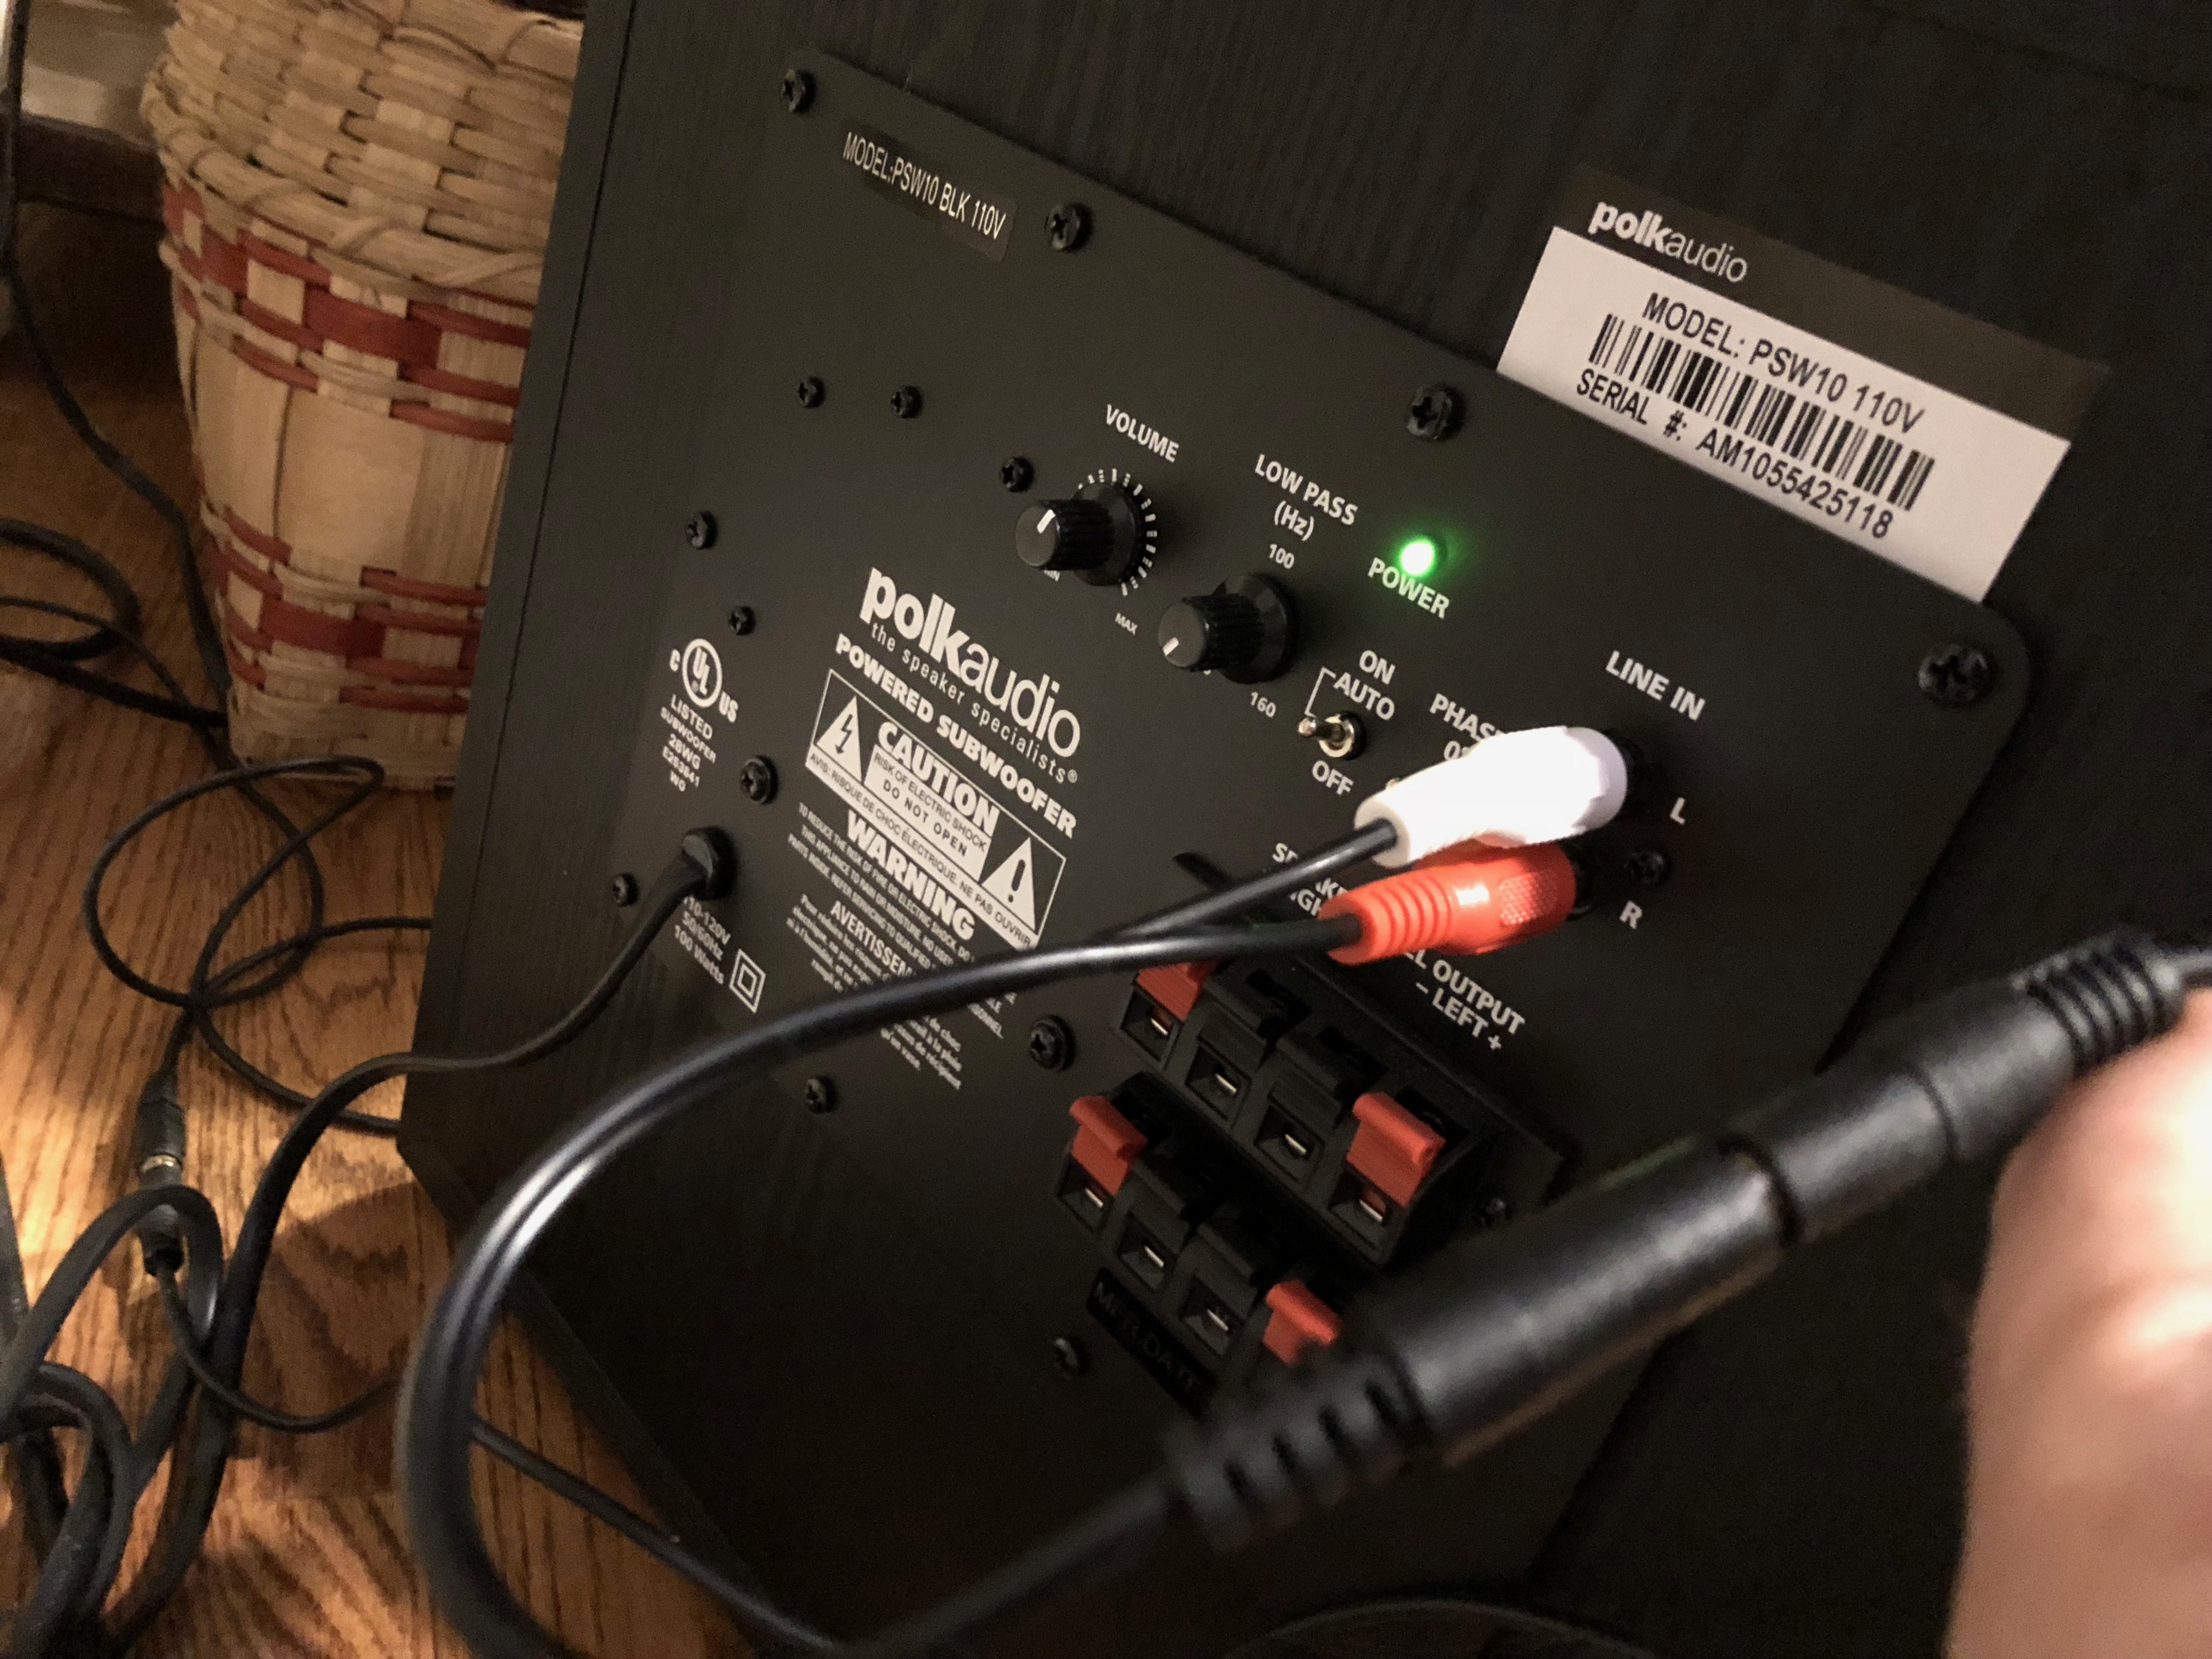
- Power cable
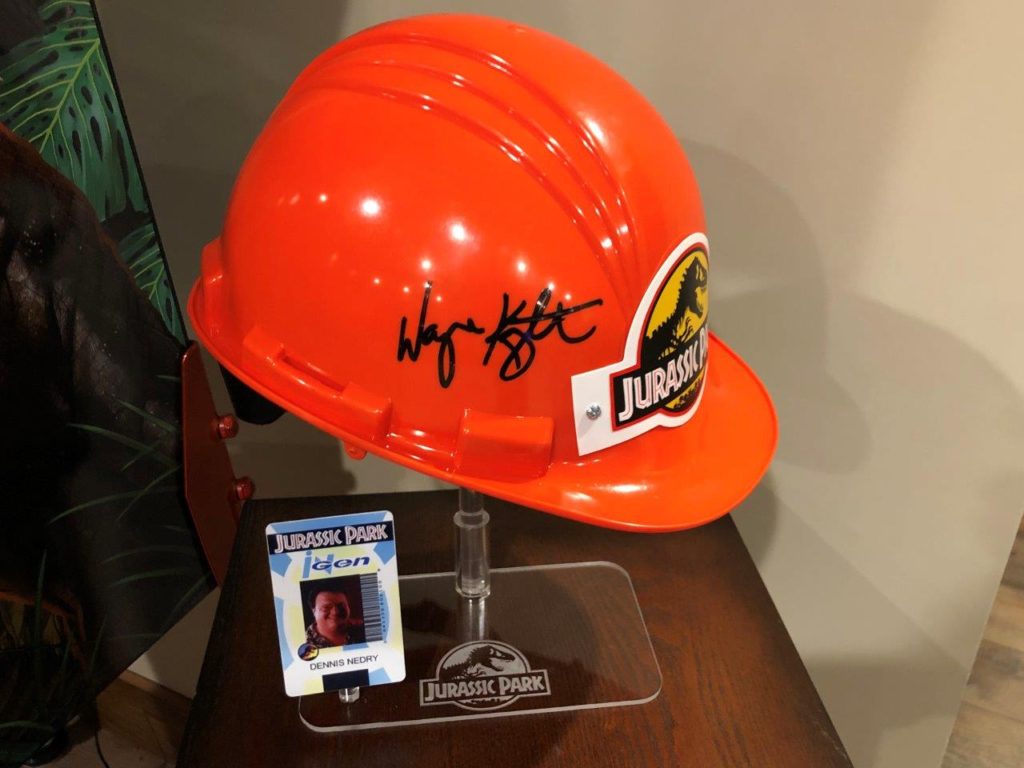
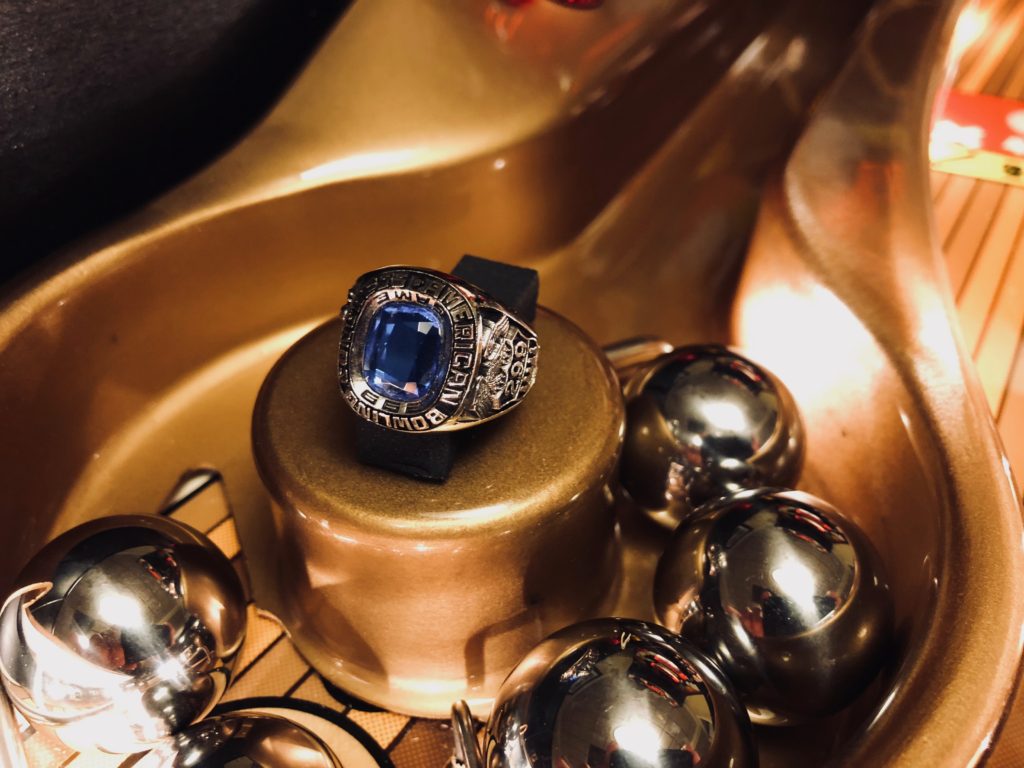
Also included and carefully packed in a shipping tube was a custom poster with my game number on it and signed by the entire Haggis team – very nice. The poster is in the process of being framed

Mind Blown First Impressions
When we got the game set up, I flicked the power switch and the game came alive and as it launched into attract mode, I reflexively said – Holy Sh&t!
Followed by:
- Holy cow!
- Oh my gosh!
- Wow, just WOW!
The hair stood up on my arms and for a few seconds as I stood there literally speechless.
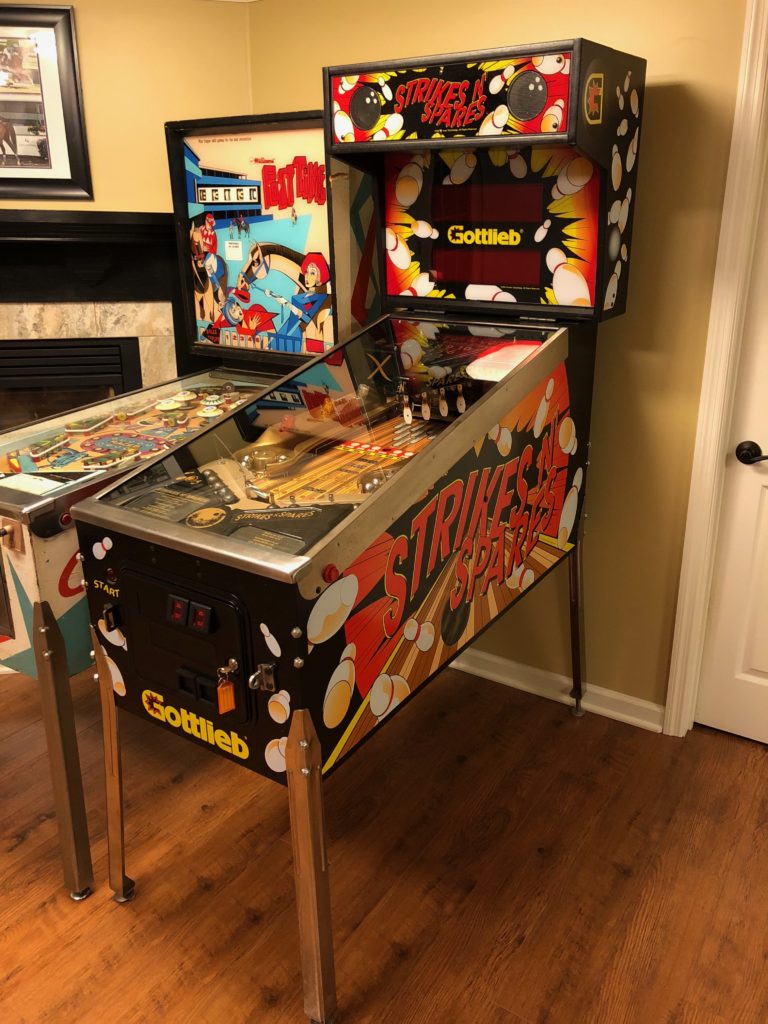
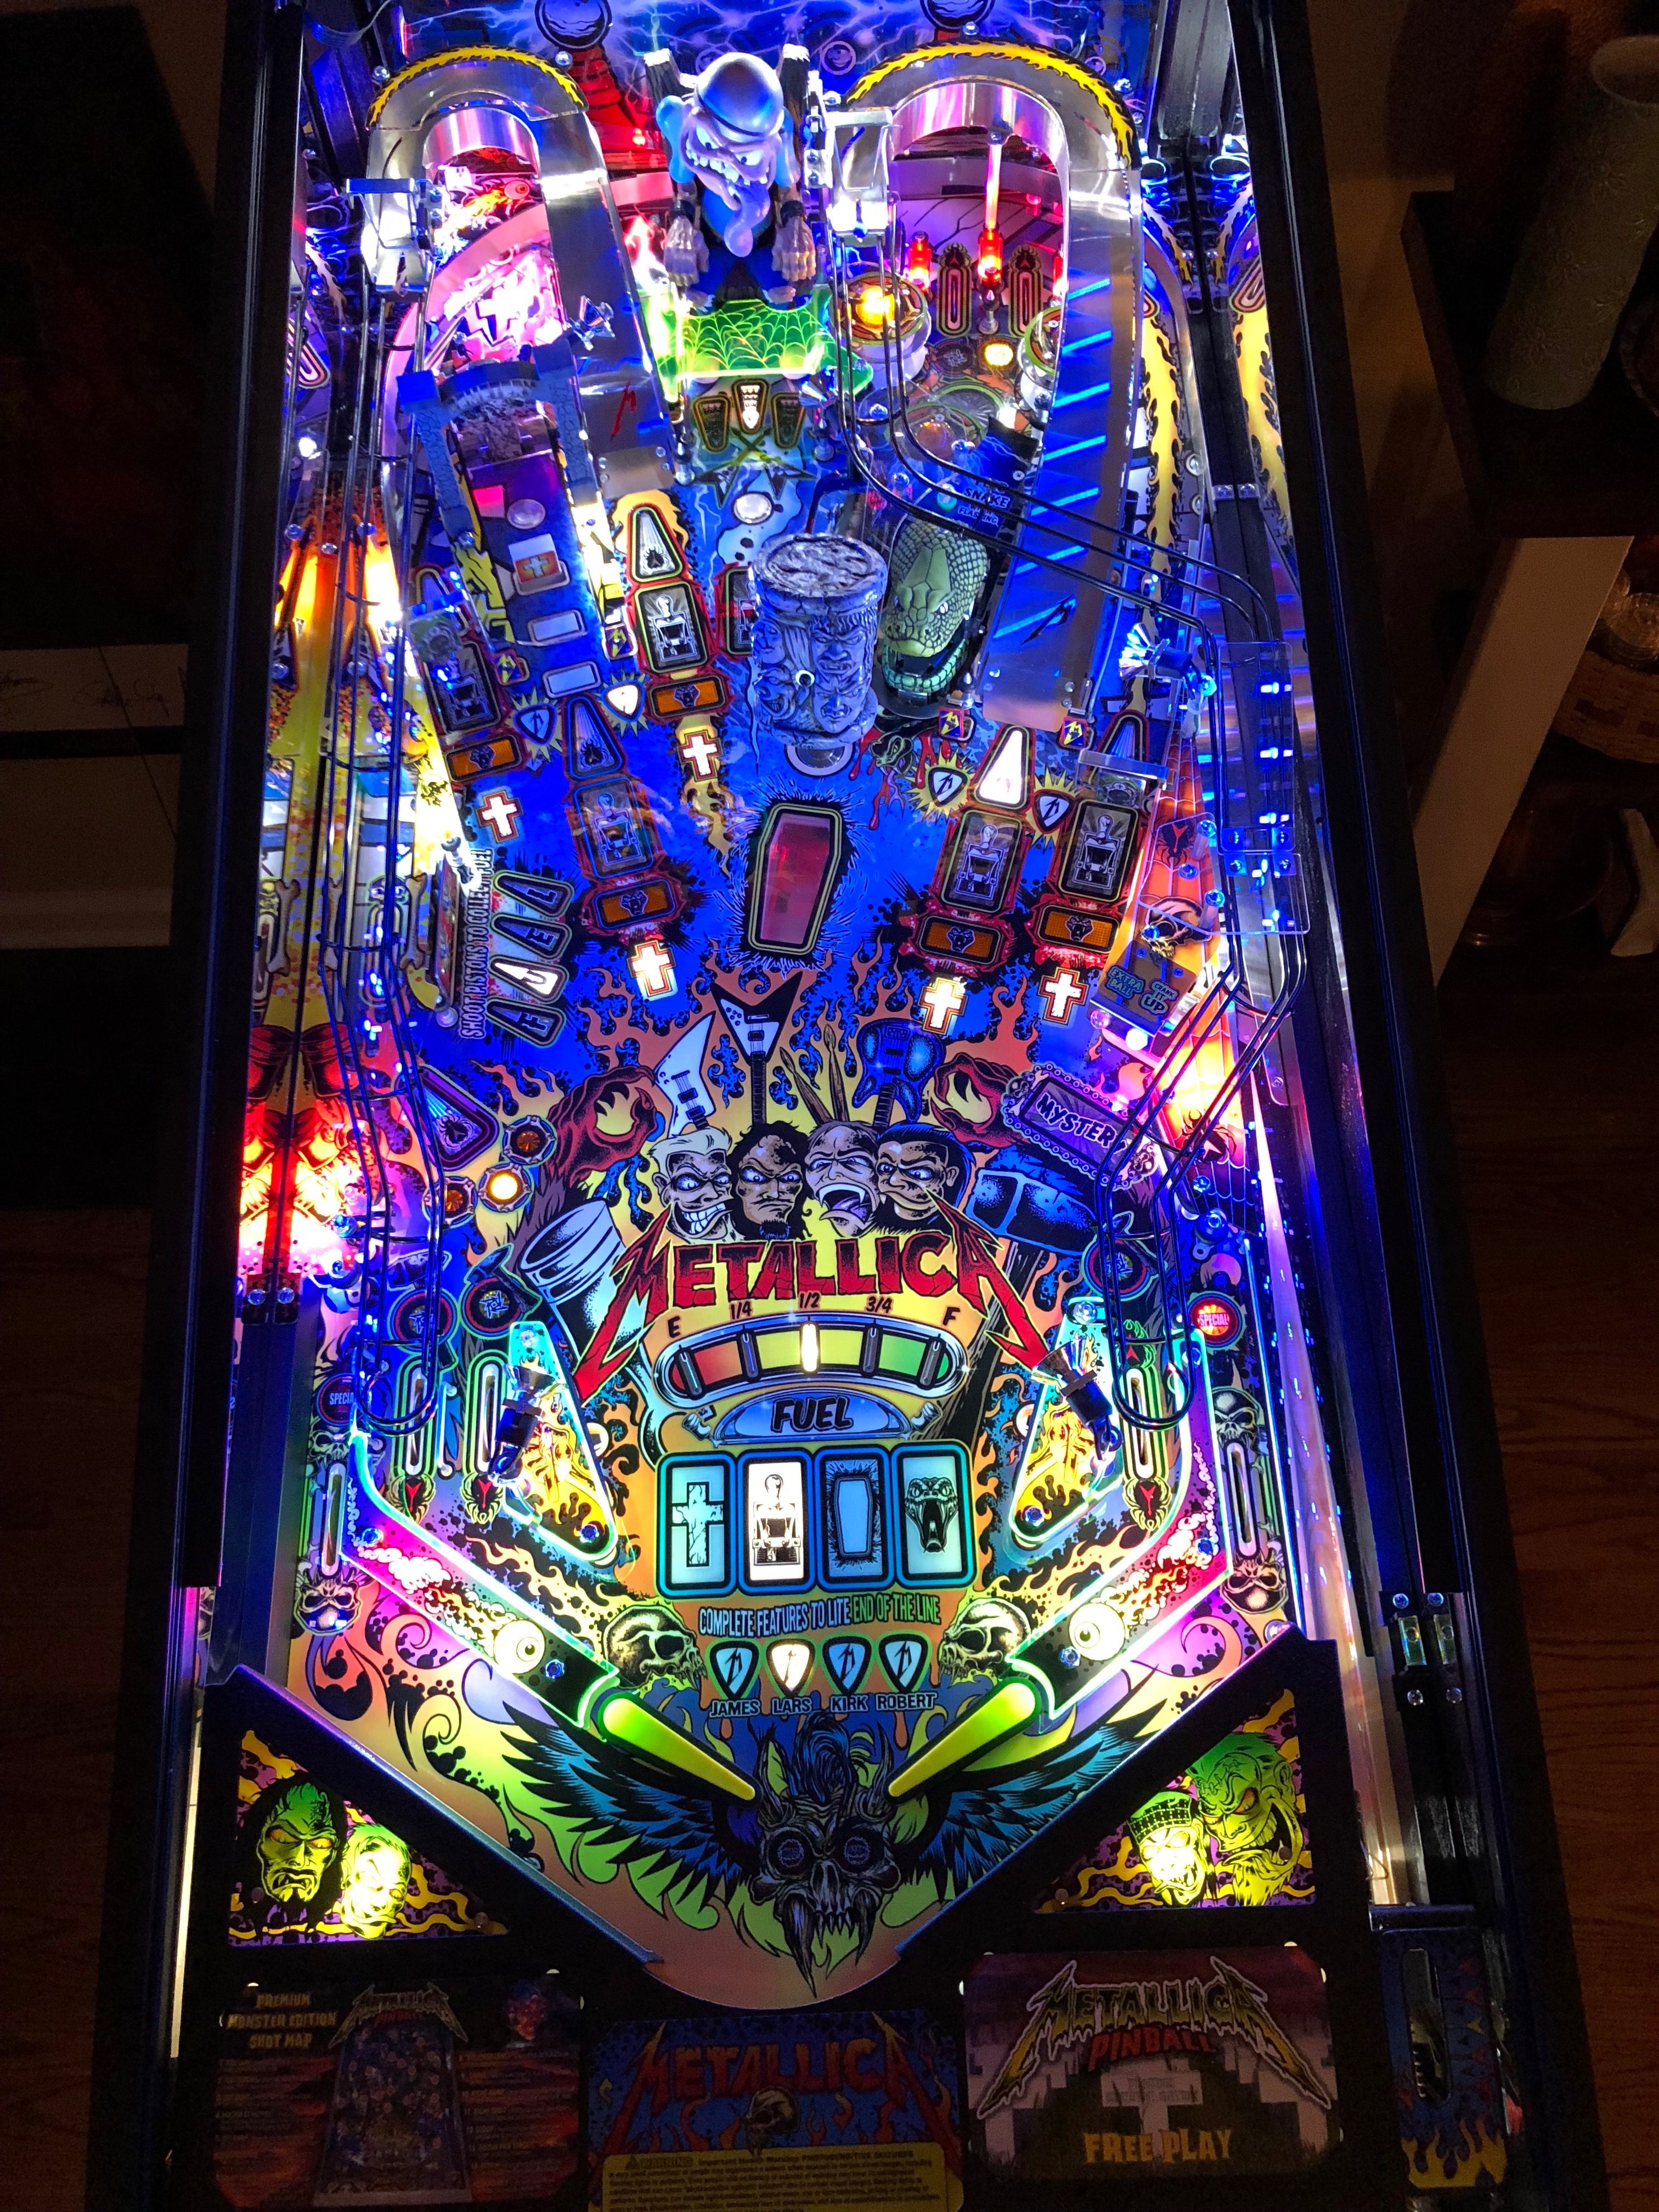
Listen, I’m not a fan of cussing. To be fair, I’m really good at it, but I try not to practice it. In the moment, the expletive was just uncontrollable. Turning this game on and experiencing the sound and light show for the very first time was simply astounding. Very few games sound as good (save for TNA) or look as good as far as the light show (save for GnR). The sound is visceral and at first I was convinced there was a shaker motor installed. The light show is in a word – startling. I say that because when I set the game up I put it next to my fully restored Harlem Globetrotters. I have a pretty good idea of the light show in Harlem (non-existent right?) so to see a VERY similar era game right beside it literally BLAST to life was unreal. The visual and sonic experience was obviously without compare to Harlem (or any game of that era) and in my opinion in many ways it easily exceeds many modern games. OK, Fathom, you got my attention. Seriously – I couldn’t stop looking at it.
First Game Impressions
OK, I wrote this part first to “get it out of the way”. Listen, I love this game. It’s challenging, beautiful, rare, loud, fun, interesting and a whole host of other superlatives BUT … my first day of ownership was a struggle. The game was not playable out of the box. Here is what went wrong:
- The right flippers had intermittent power or in the case of the upper flipper, at times did not work
- The manual ball launch could not put the ball in play (went about 3/4 up shooter lane at best)
- The right side (outer green) lane would never return the ball to the flippers – an automatic drain
The first issue (the flippers) meant the game simply couldn’t be played. The second problem related to the manual ball launch would still allow me to play a game but you had to wait for the game logic to kick in and auto-launch the ball. This took about 4x as long as a simple/manual plunge and essentially killed the vibe. The last issue concerning the right side outer lane draining was simply an annoyance as I now had TWO drains on the right vs one (proper) on the left.
Here’s my take on this. For me, this was frustrating but I’ve bought enough NIB games to know ALL manufacturers suffer from this to some degree. I’m also a expert mechanical tech. If the problem is mechanics or engineering, I got it. I’m also more than passable on electronics. So when I have problems with new games – well, I just fix them. I had all 3 of these sorted within 24 hours. I posted my solutions to Pinside so it might help others as well. So for ME – hey, it was no big deal. For folks that are new to the hobby OR rely on a tech of their own to help them out … well that’s a horse of a different color. When the game issues rise to the level that they make it unplayable, then that’s when said manufacturer will have a problem. To be fair, Haggis is new at this, I’m confident they will improve. If they bring the same passion that created this wonderful machine to the QC process – they’ll sort it out I’m sure.
As I mentioned all 3 of my issues were corrected (by me) within 24 hours. See the end of this post for details on the “fixes” should you run into the same issues.
I had some other minor issues as listed below:
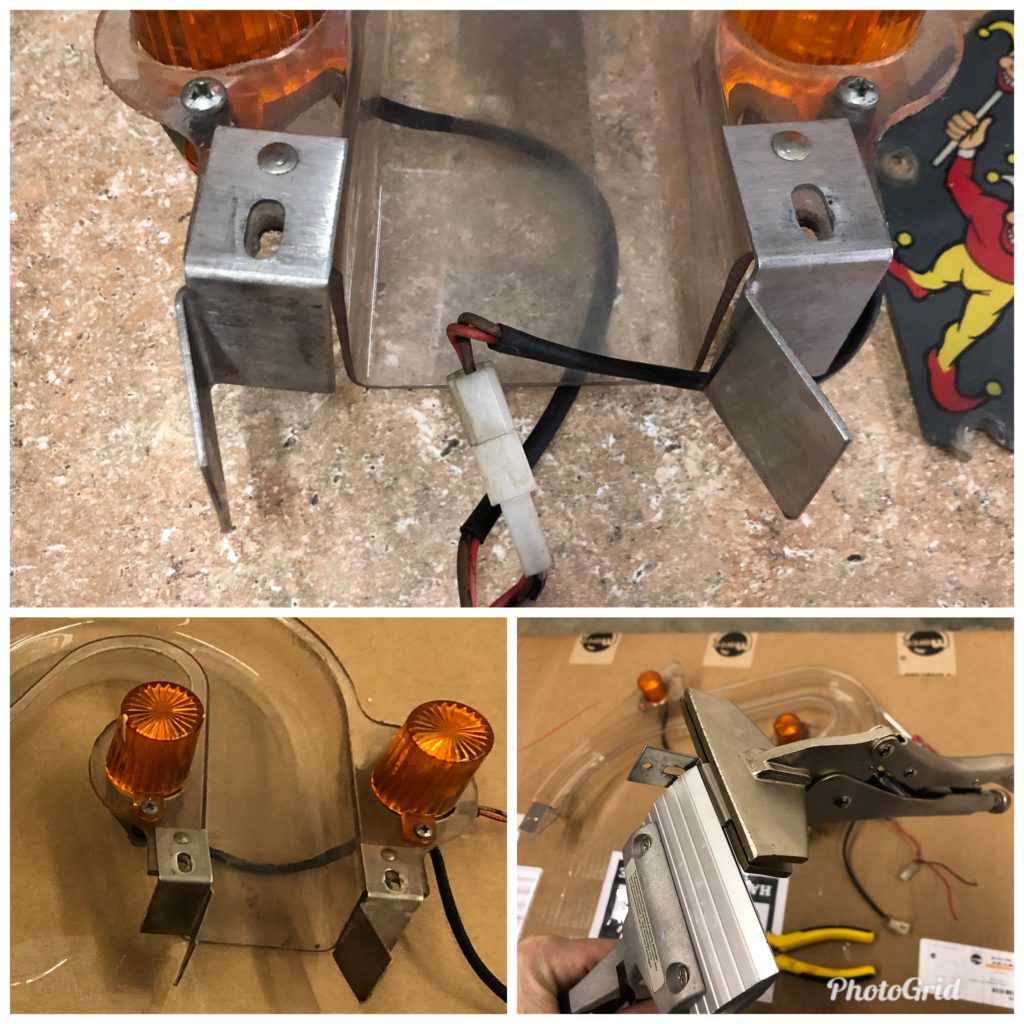
- Lower one way wire gates are pulling out of their frames (gate wire is too short in the frame)
- A few stuck balls (recurring on left edge of top/left pop bumper, forces pulling the glass)
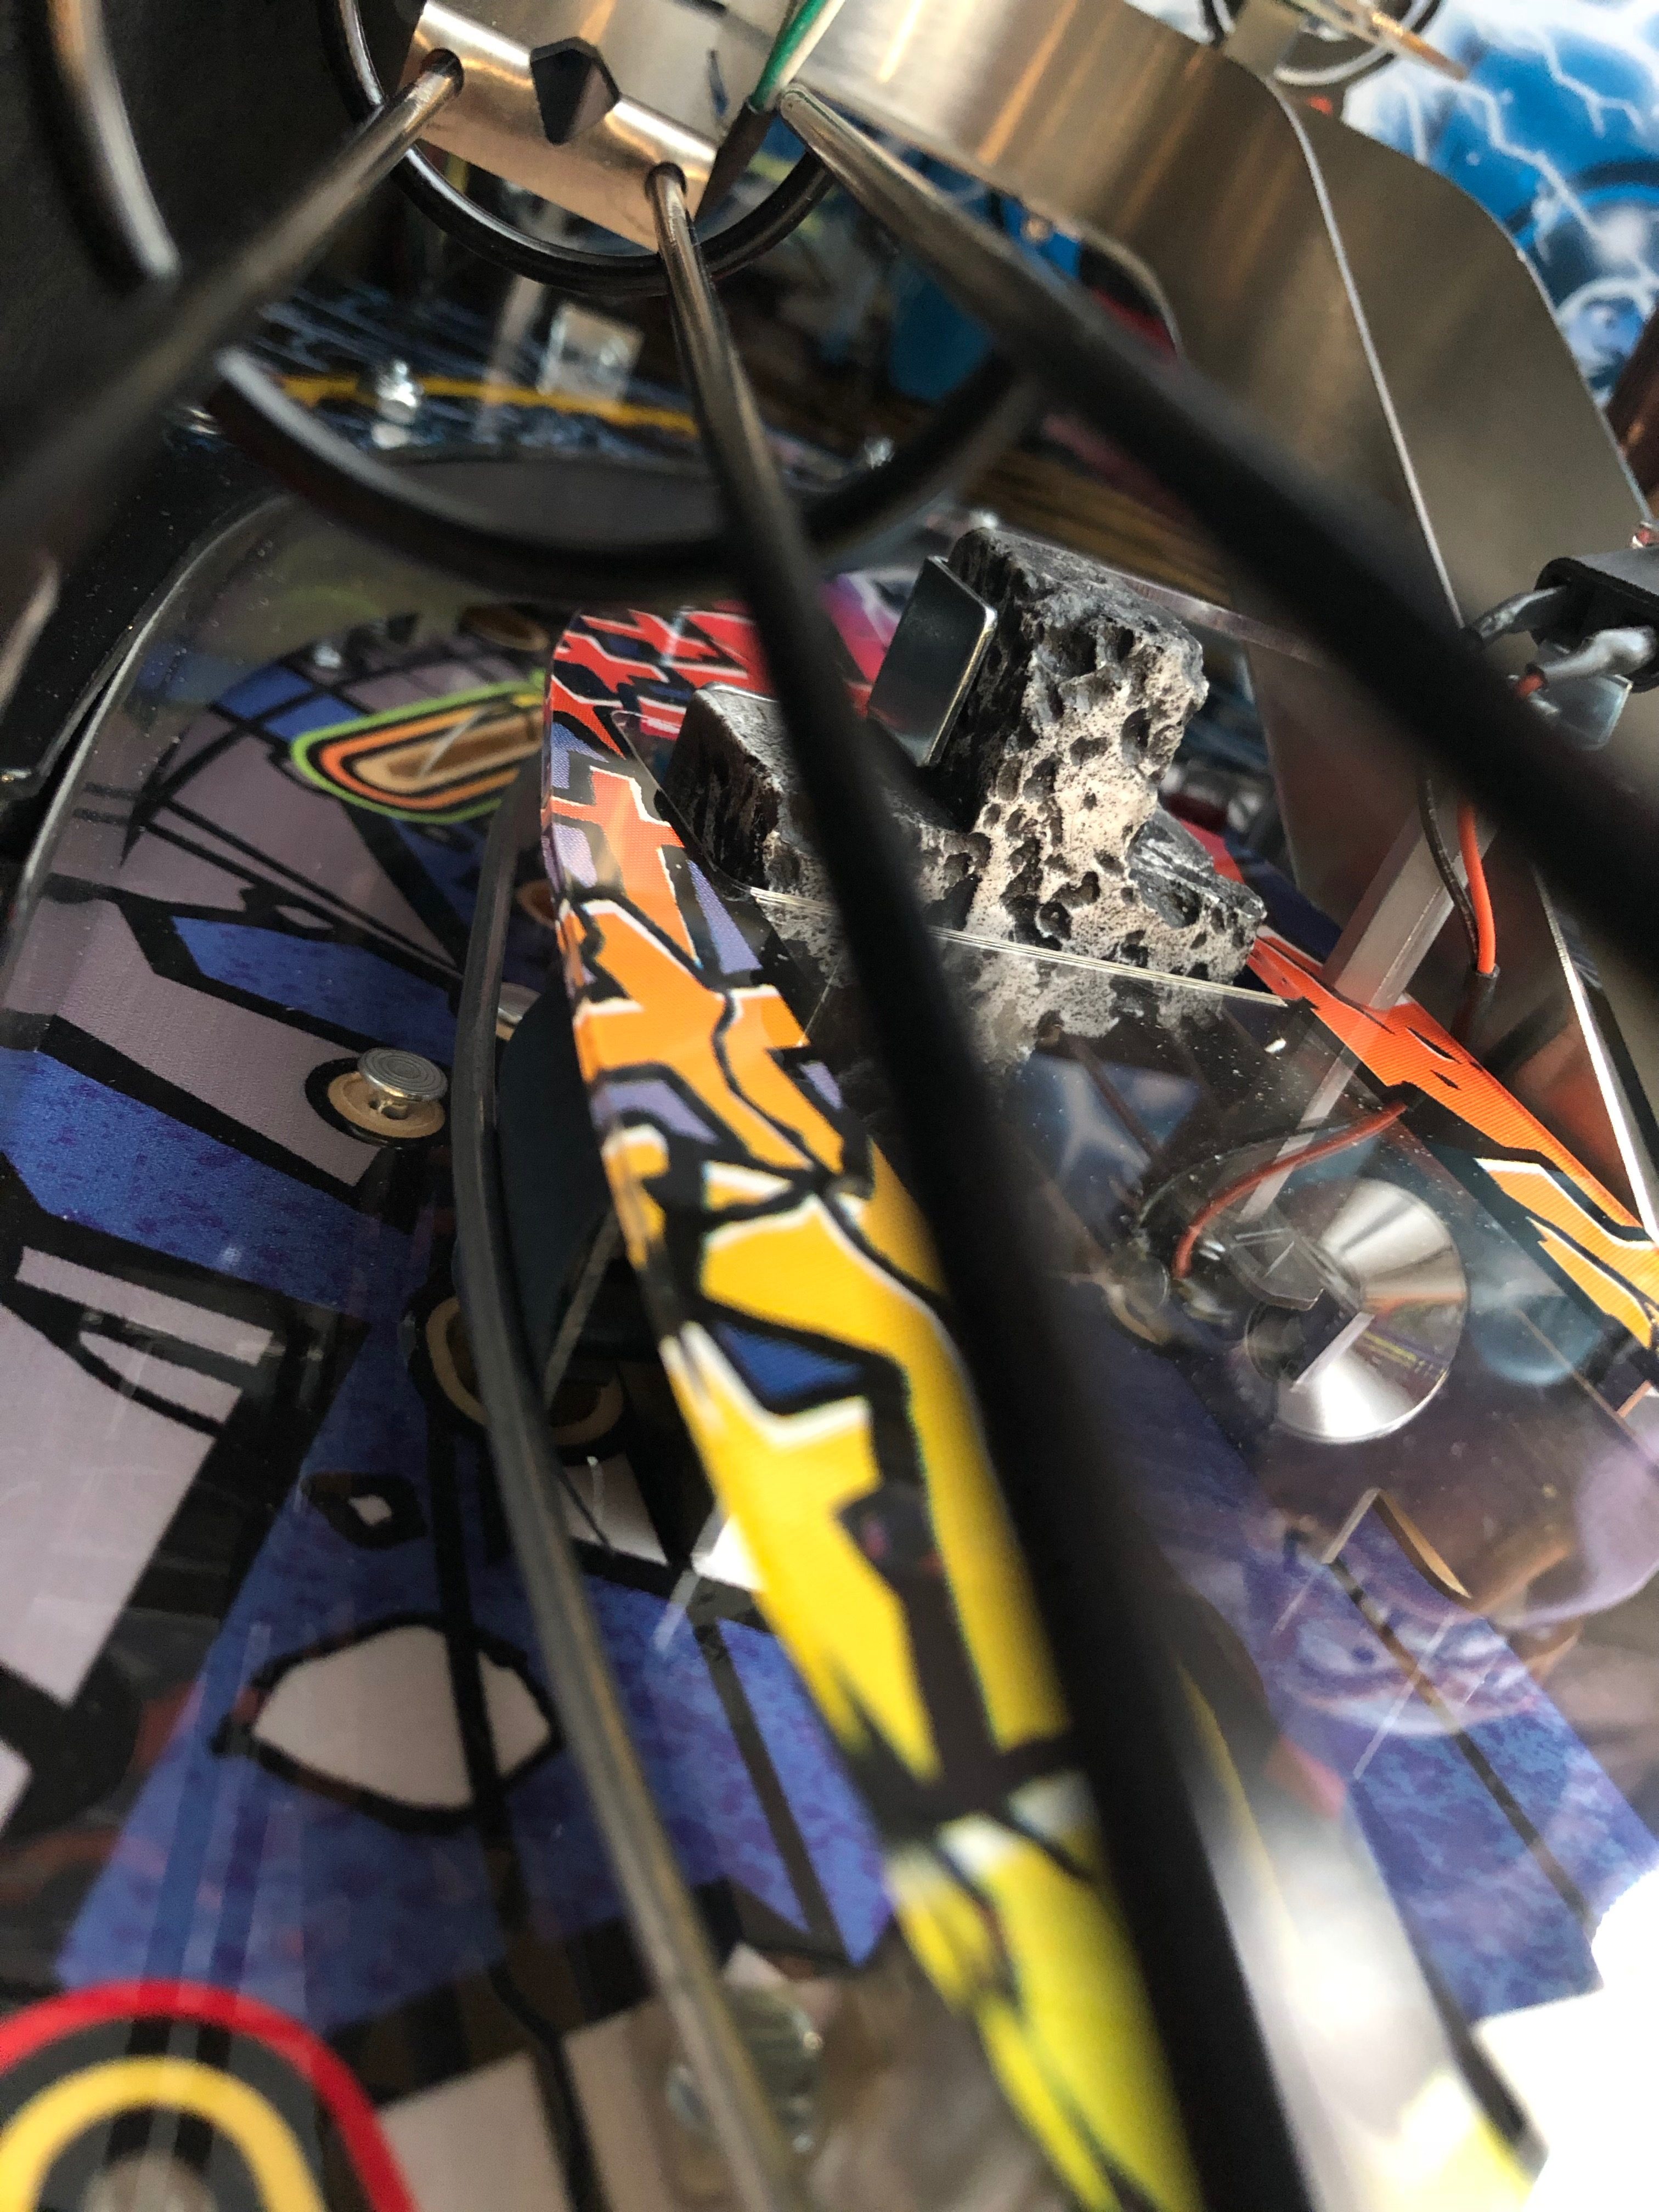
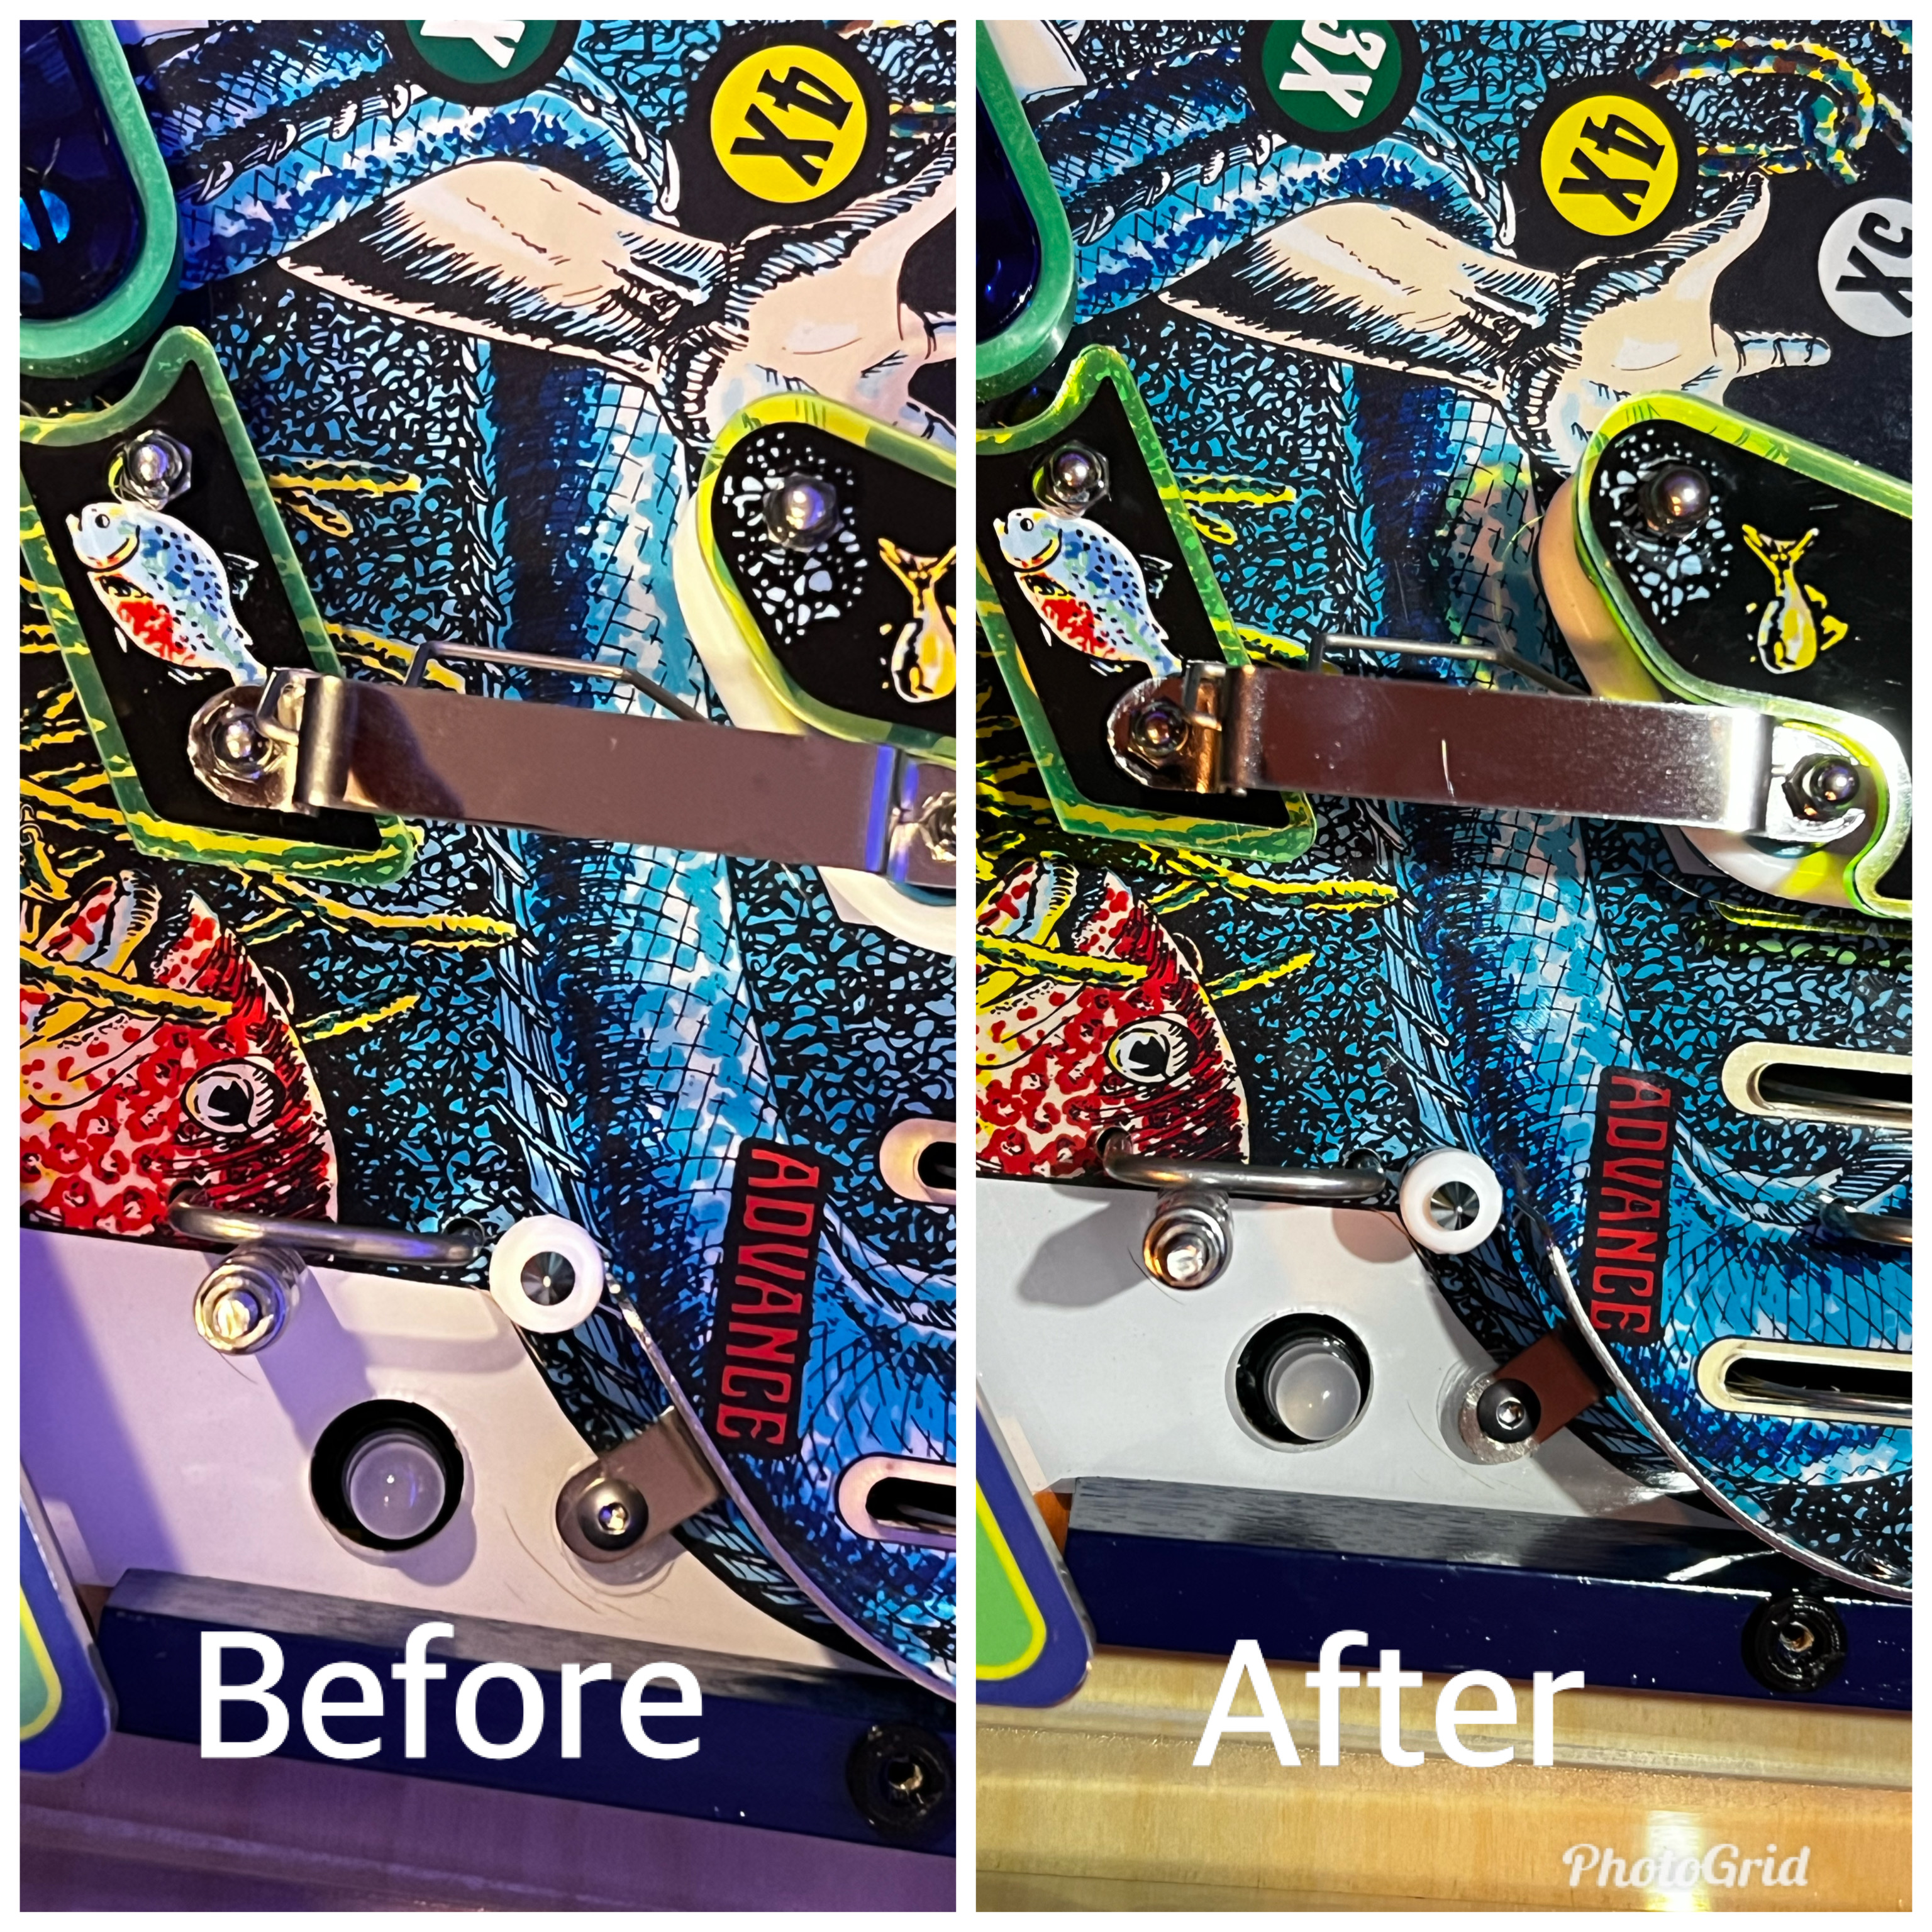
- Glass has a permanent “wear mark” (right side of spinner gate rubbed in transit). Even though there is clearance from the spinner frame to the glass, when the game is on its end, the PF is so heavy that in transit, it pulls toward the glass and the spinner frame rubs until it has created a permanent mark.
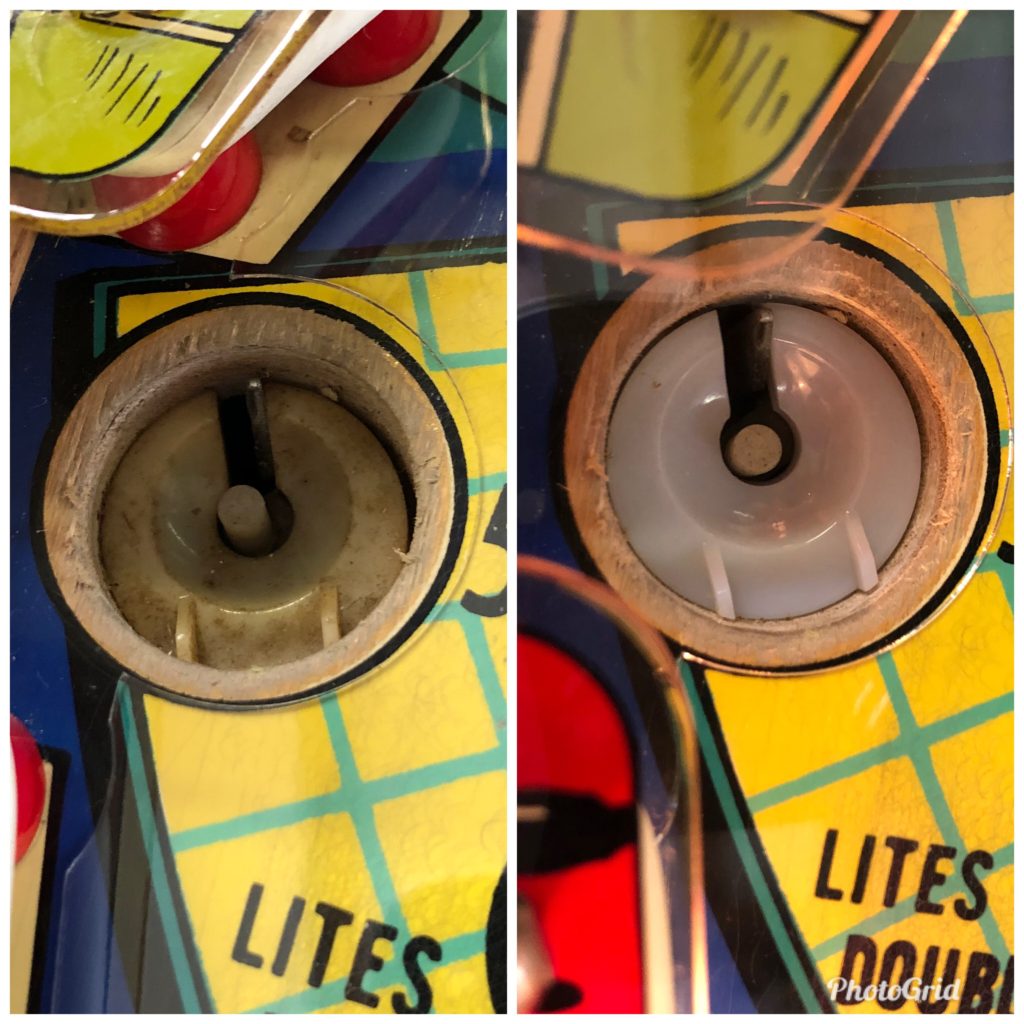
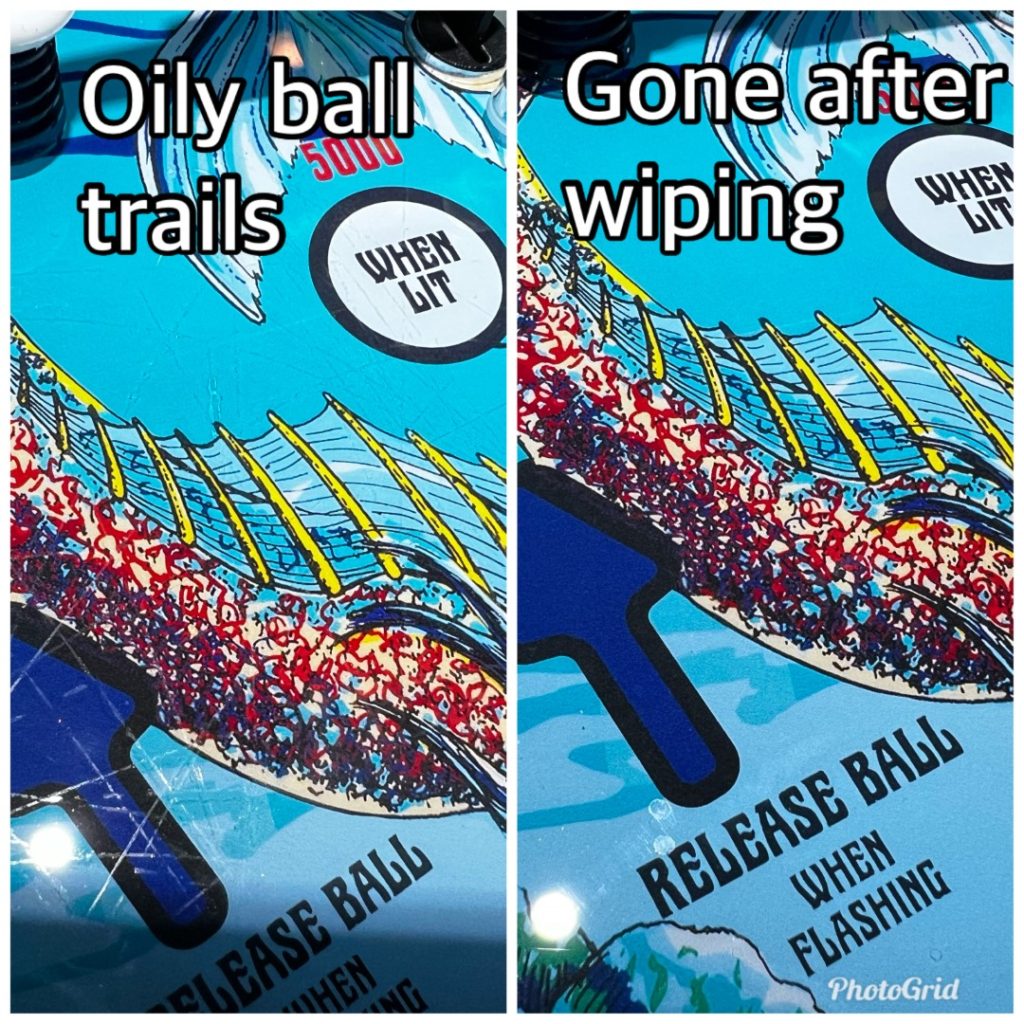
- There must be some oil residue remaining in the ball trough as I just about panicked when I saw the below image. It looked like playfield scratches but turned out to be ball trails of oil or some substance. They have lessened with 50+ plays but still appear. Good news? They wipe right off with a cotton cloth


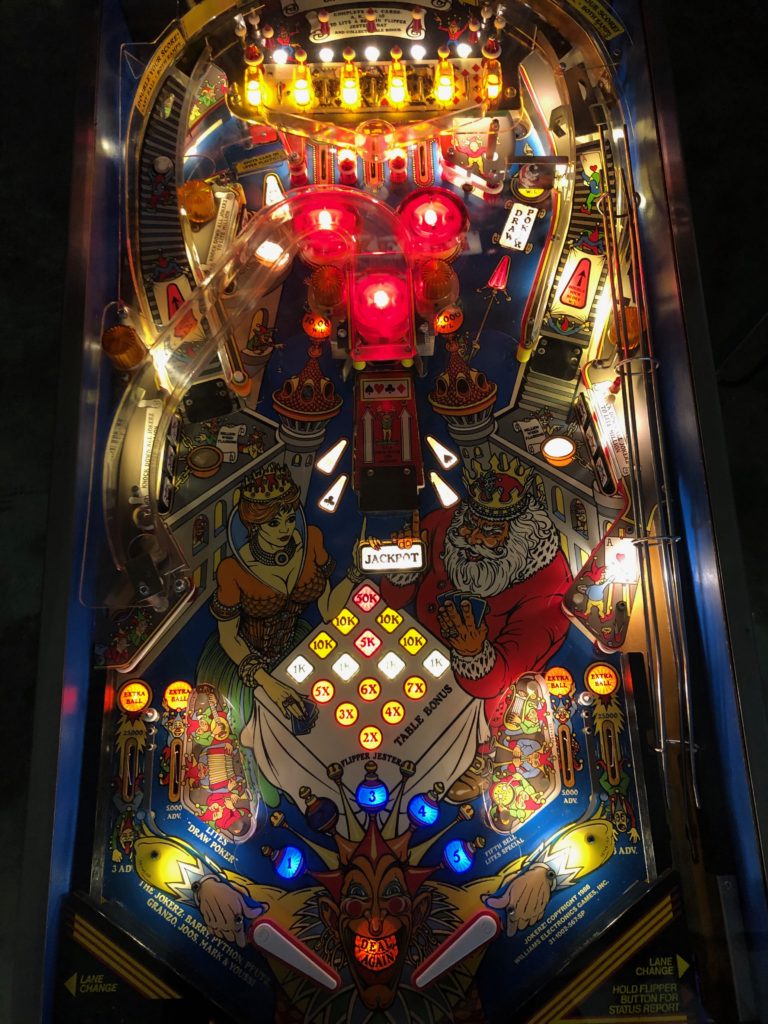
In Love With A Mermaid
You know, this game has a thousand reasons to love it and almost none in the negative column. Yes the code has a few bugs but the Haggis team is diligently working to improve it (my game came with 0.76 installed), but aside from that and some “normal boutique pinball tweaking upon arrival”, it’s one heck of a game. It’s a special game and that specialness is reflected in the dozens of “extras” I keep finding as I play it. Who does this? Who invests in over the top features? Haggis – that’s who. Let me introduce you to an extremely passionate group. I know this not because I’ve met them, but because I own a copy of a game that reflects that passion:
- CEO: Damian Hartin
- Game Developer: Greg Sealby
- Creative Director: Scott Seedsman
- Musical Director: Casey Dean
- Mechanical Engineer: Lachlan Dowd
- Game Designer (2.0 Rules): Martin Robbins
- Price: $8,900 USD + shipping

Passion Looks Like
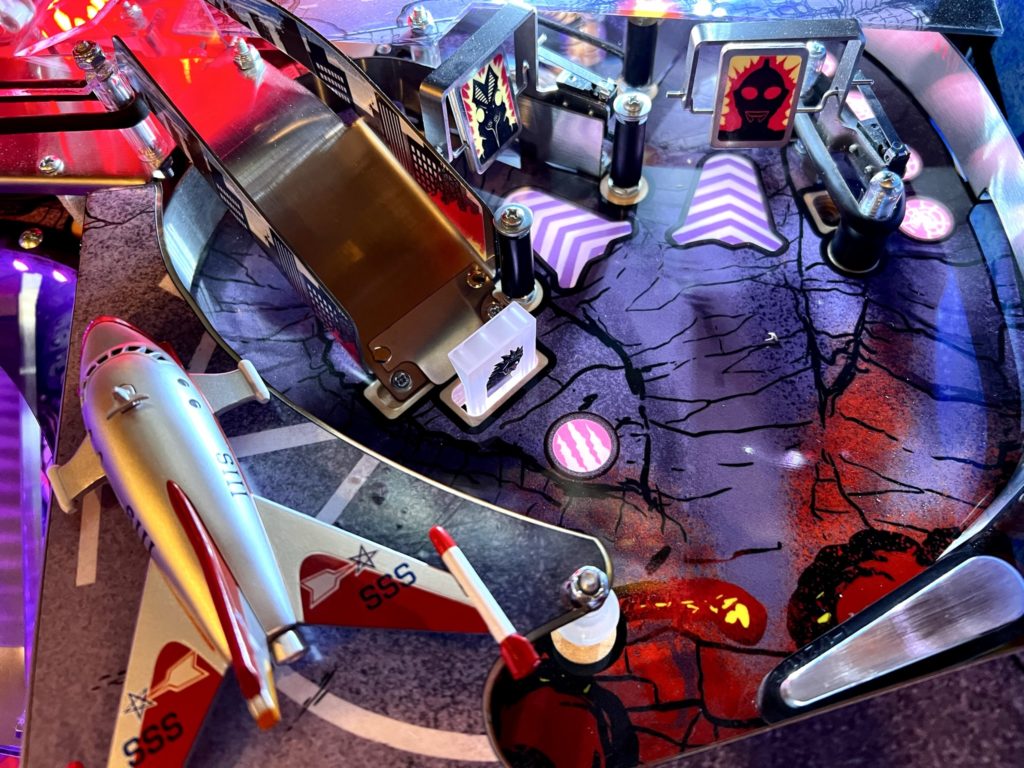
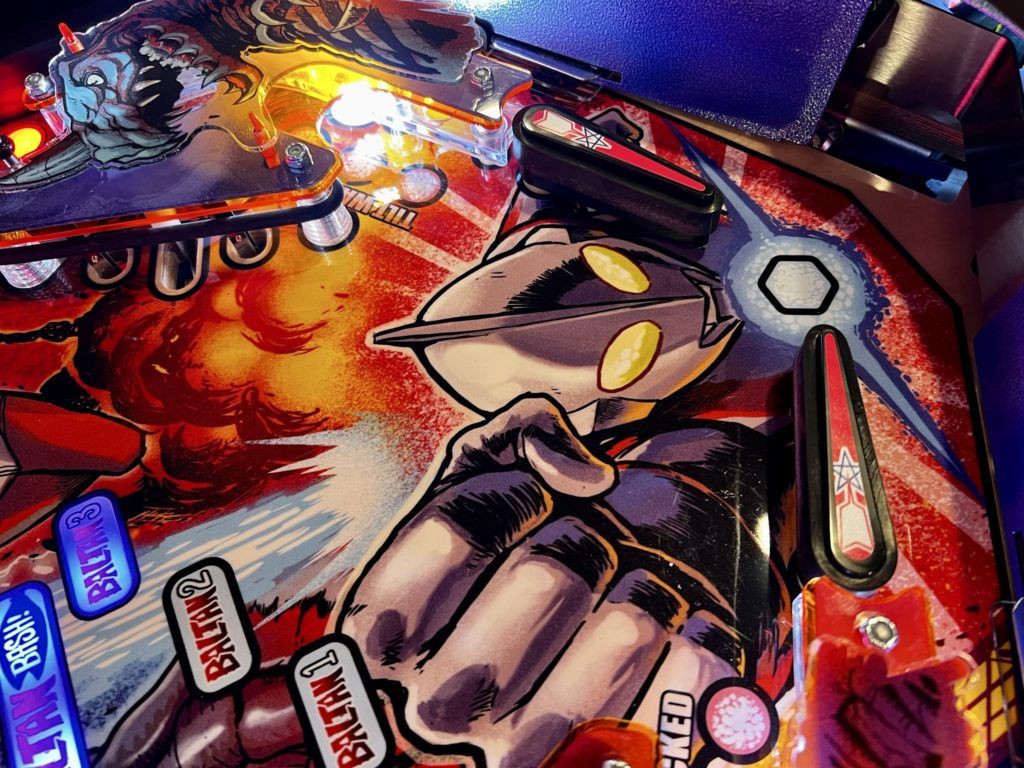
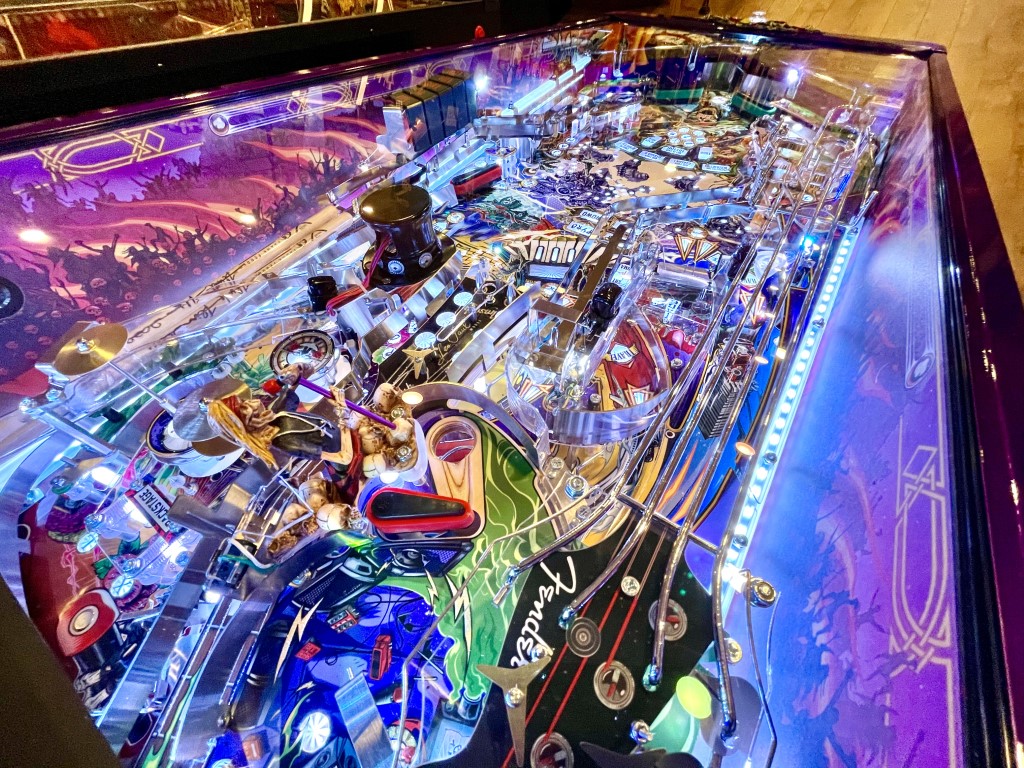
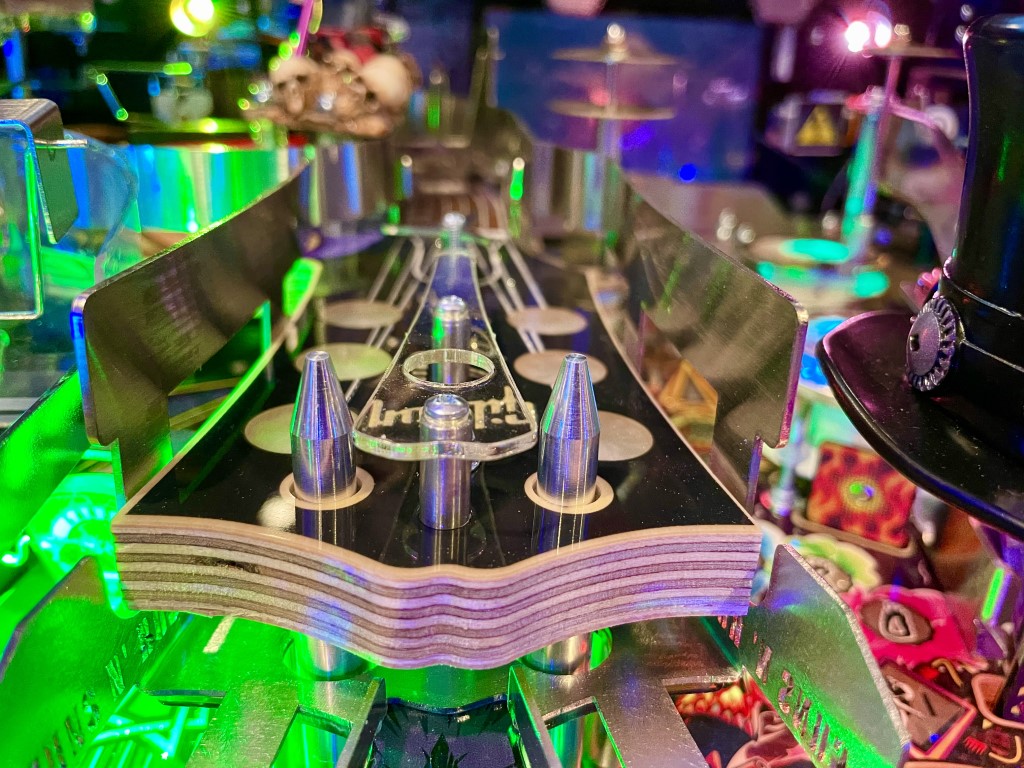
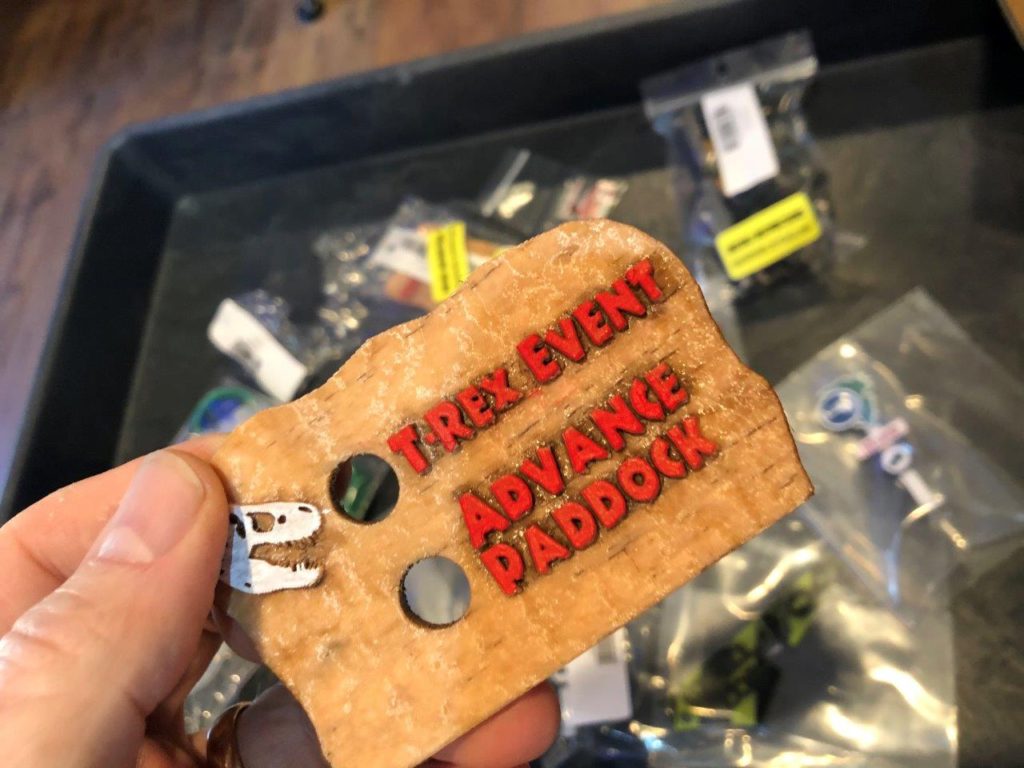
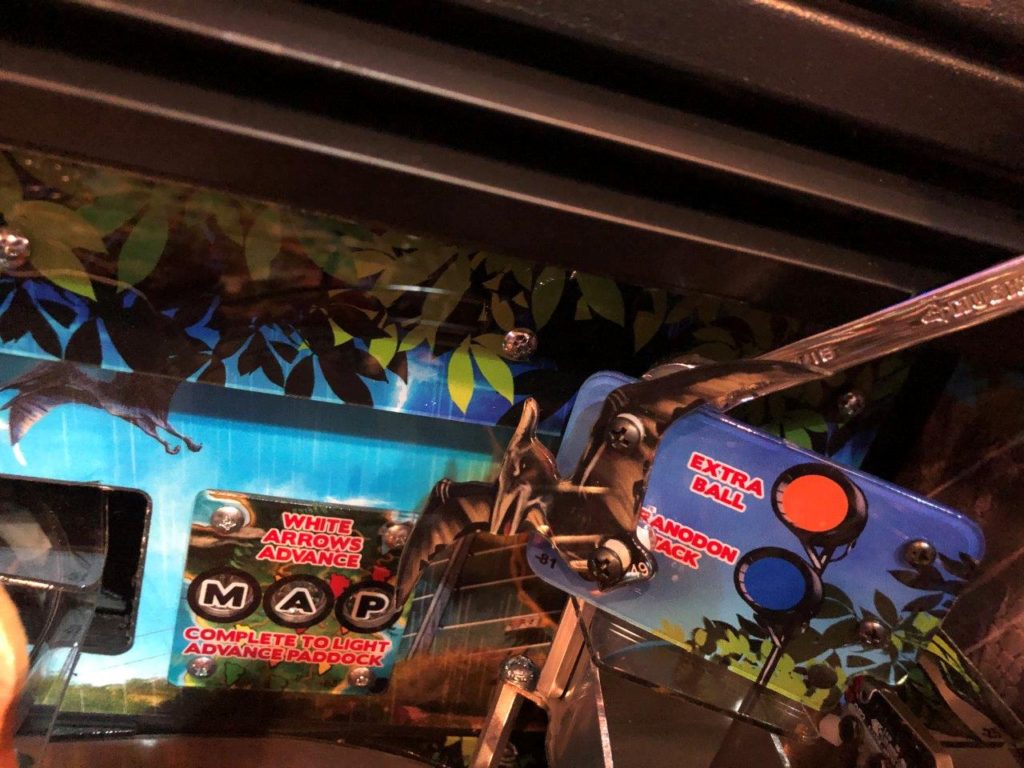
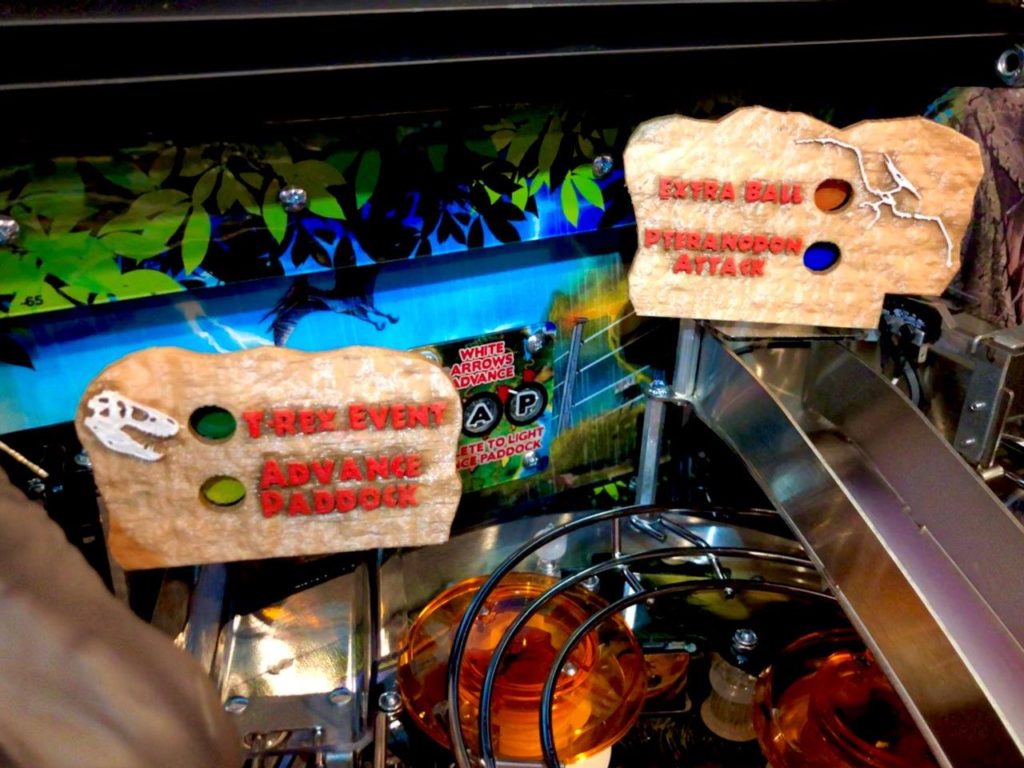
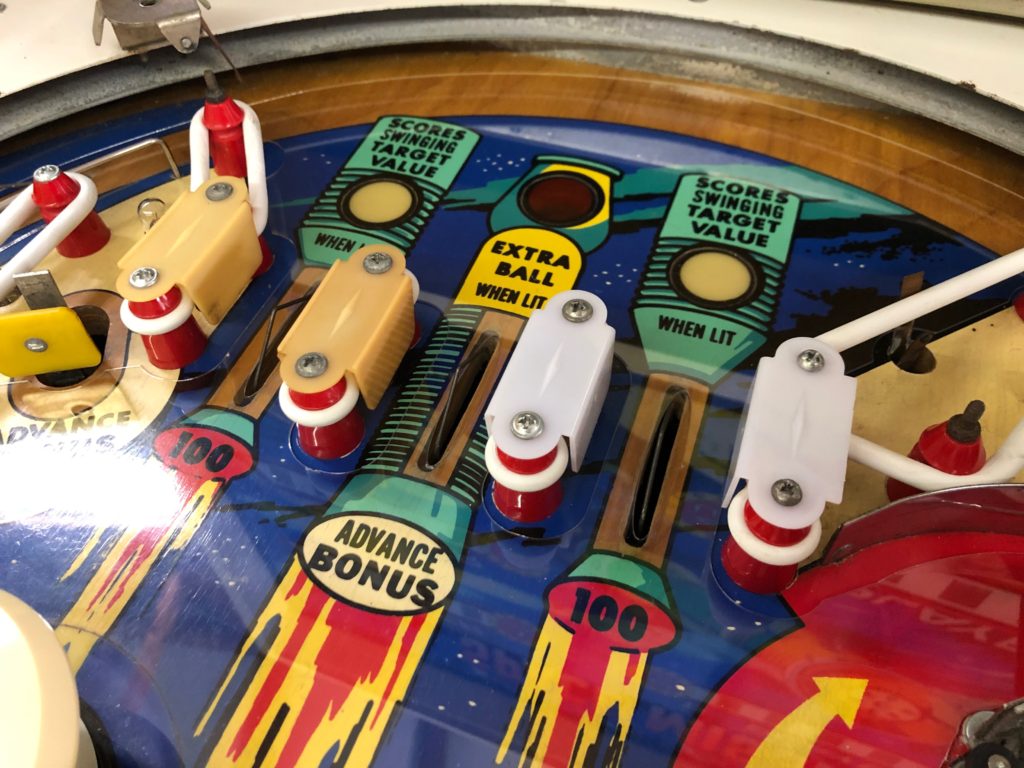
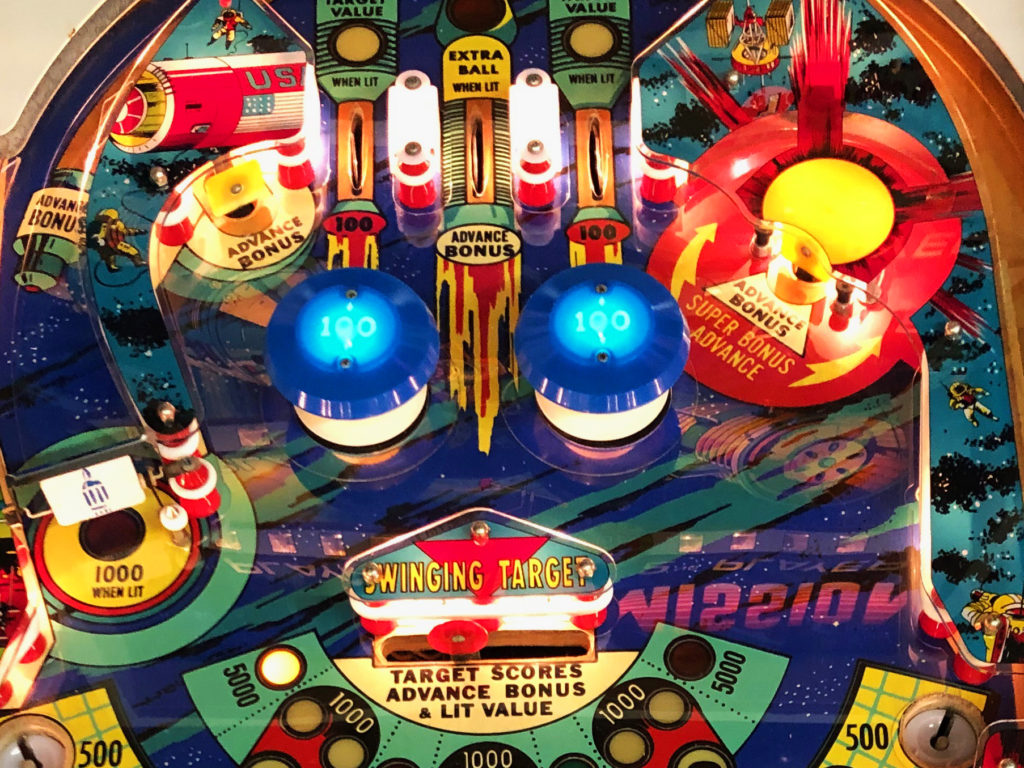
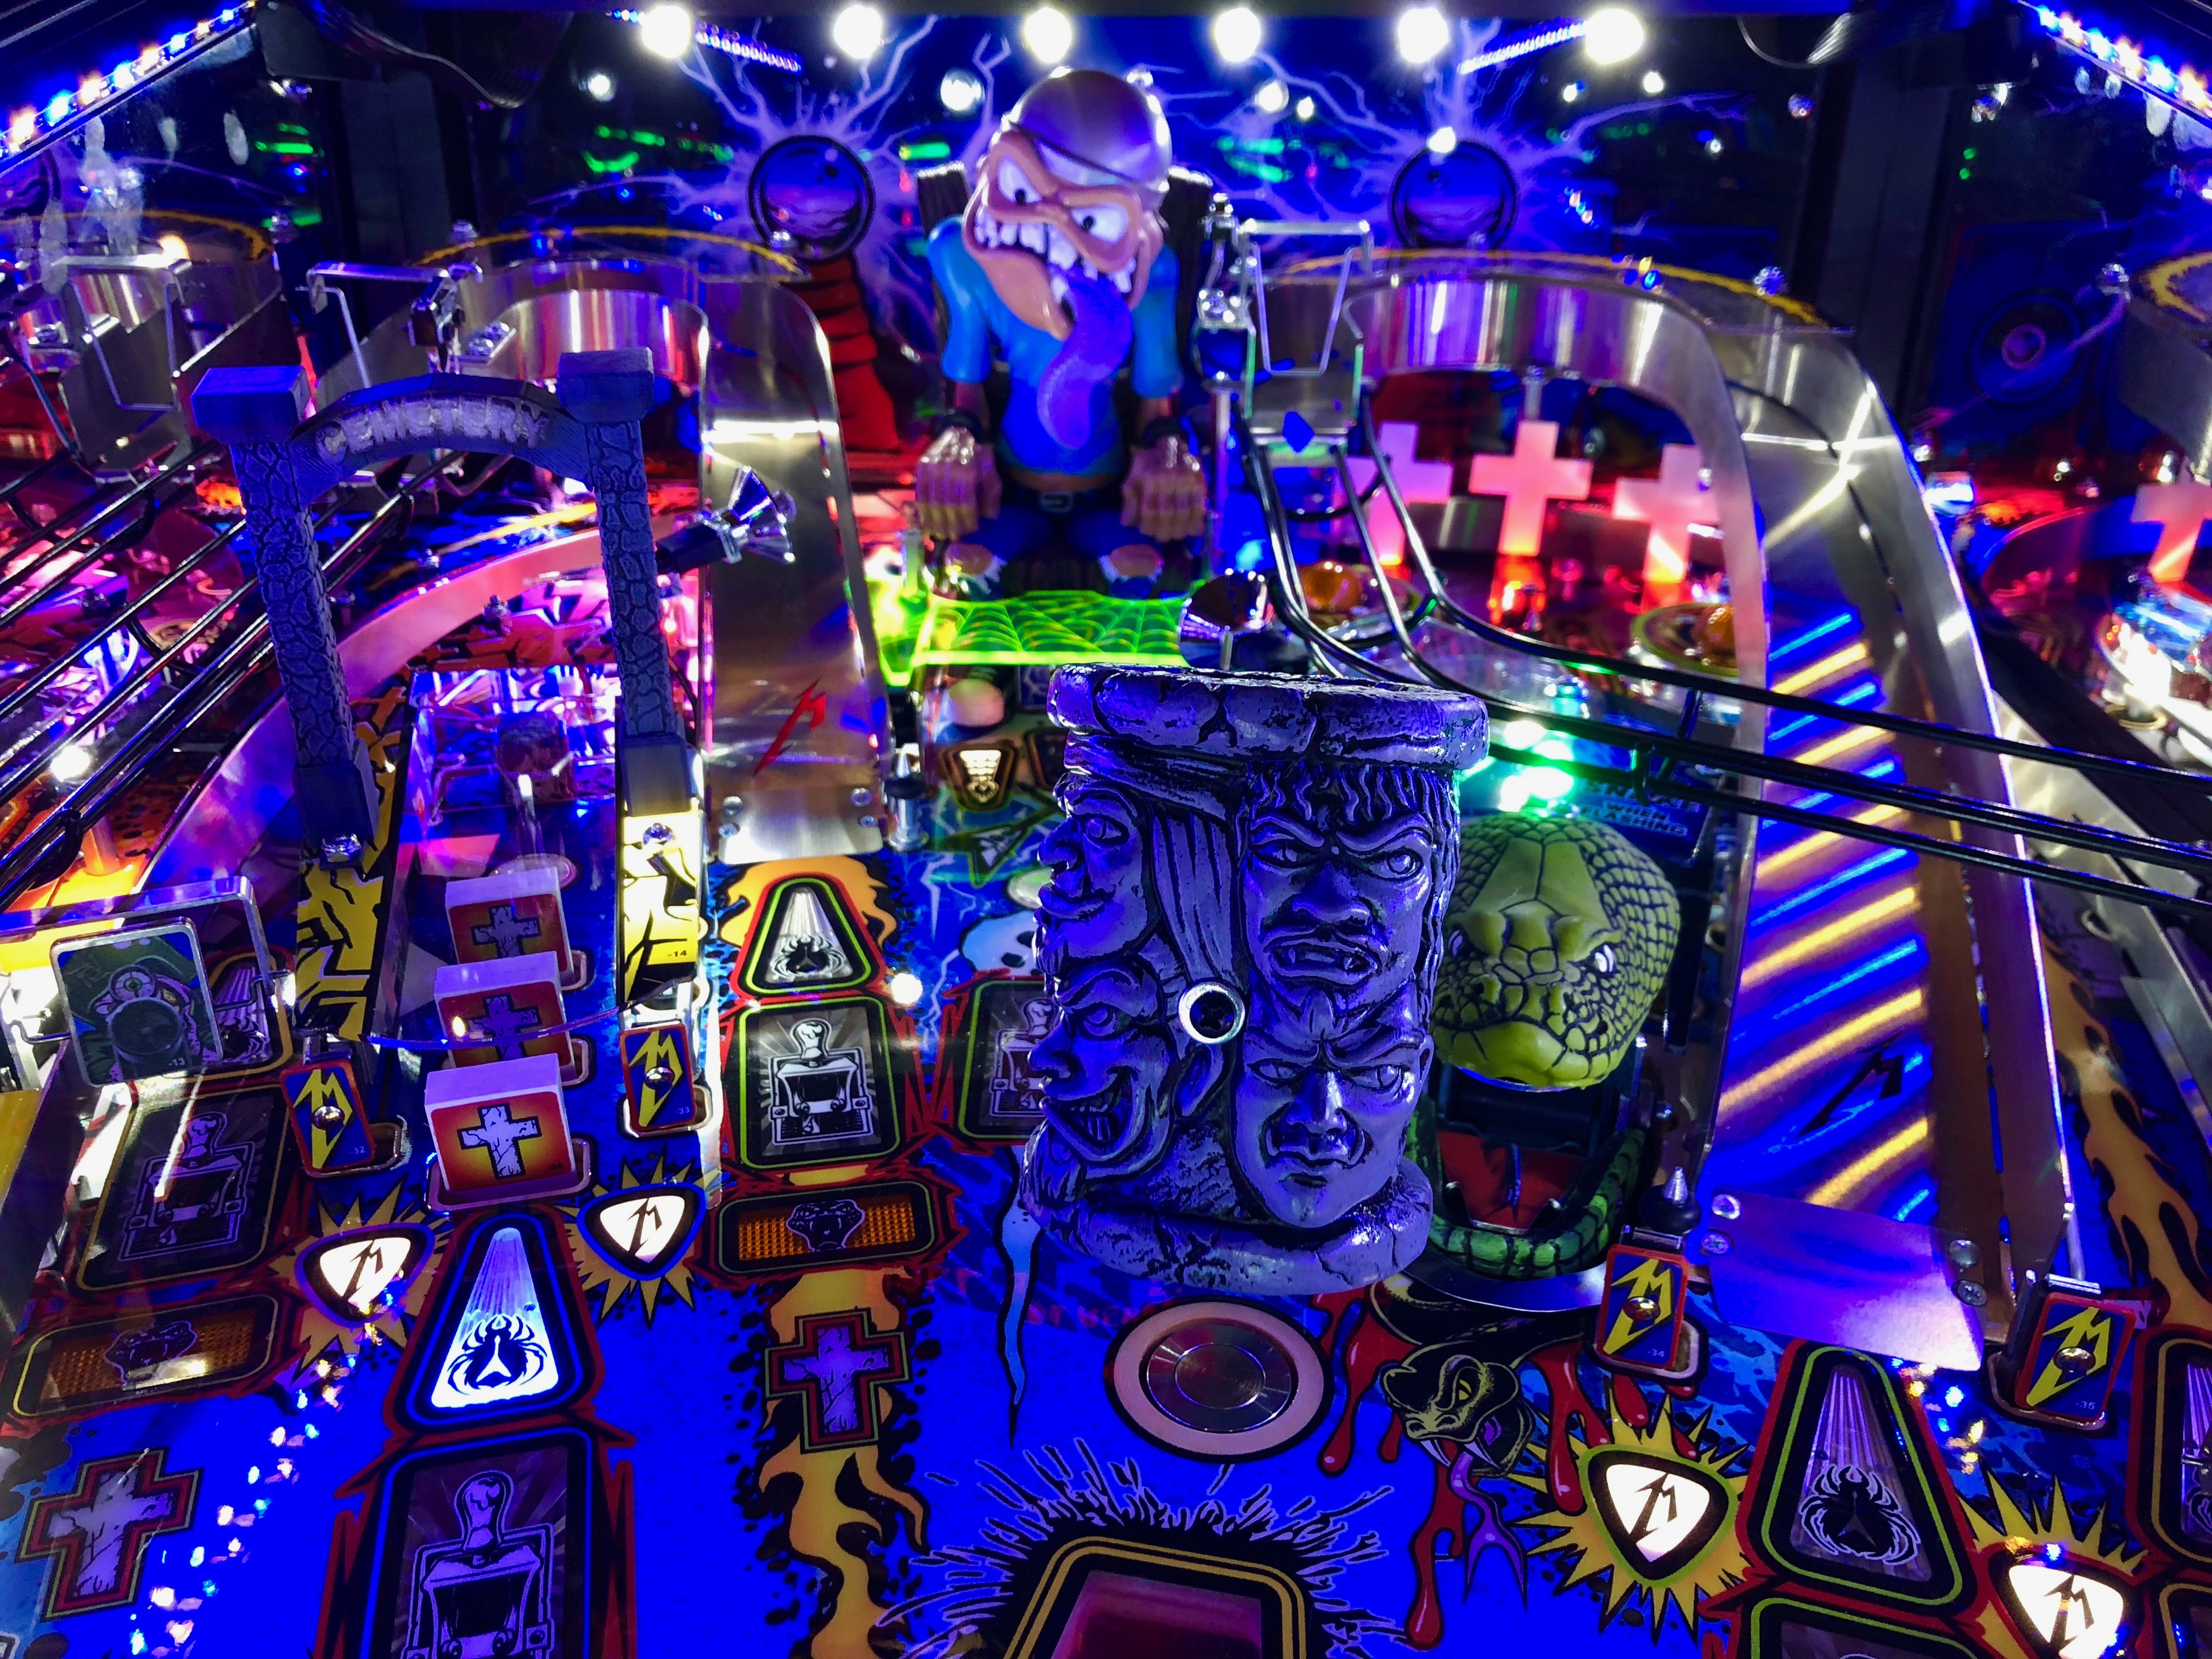
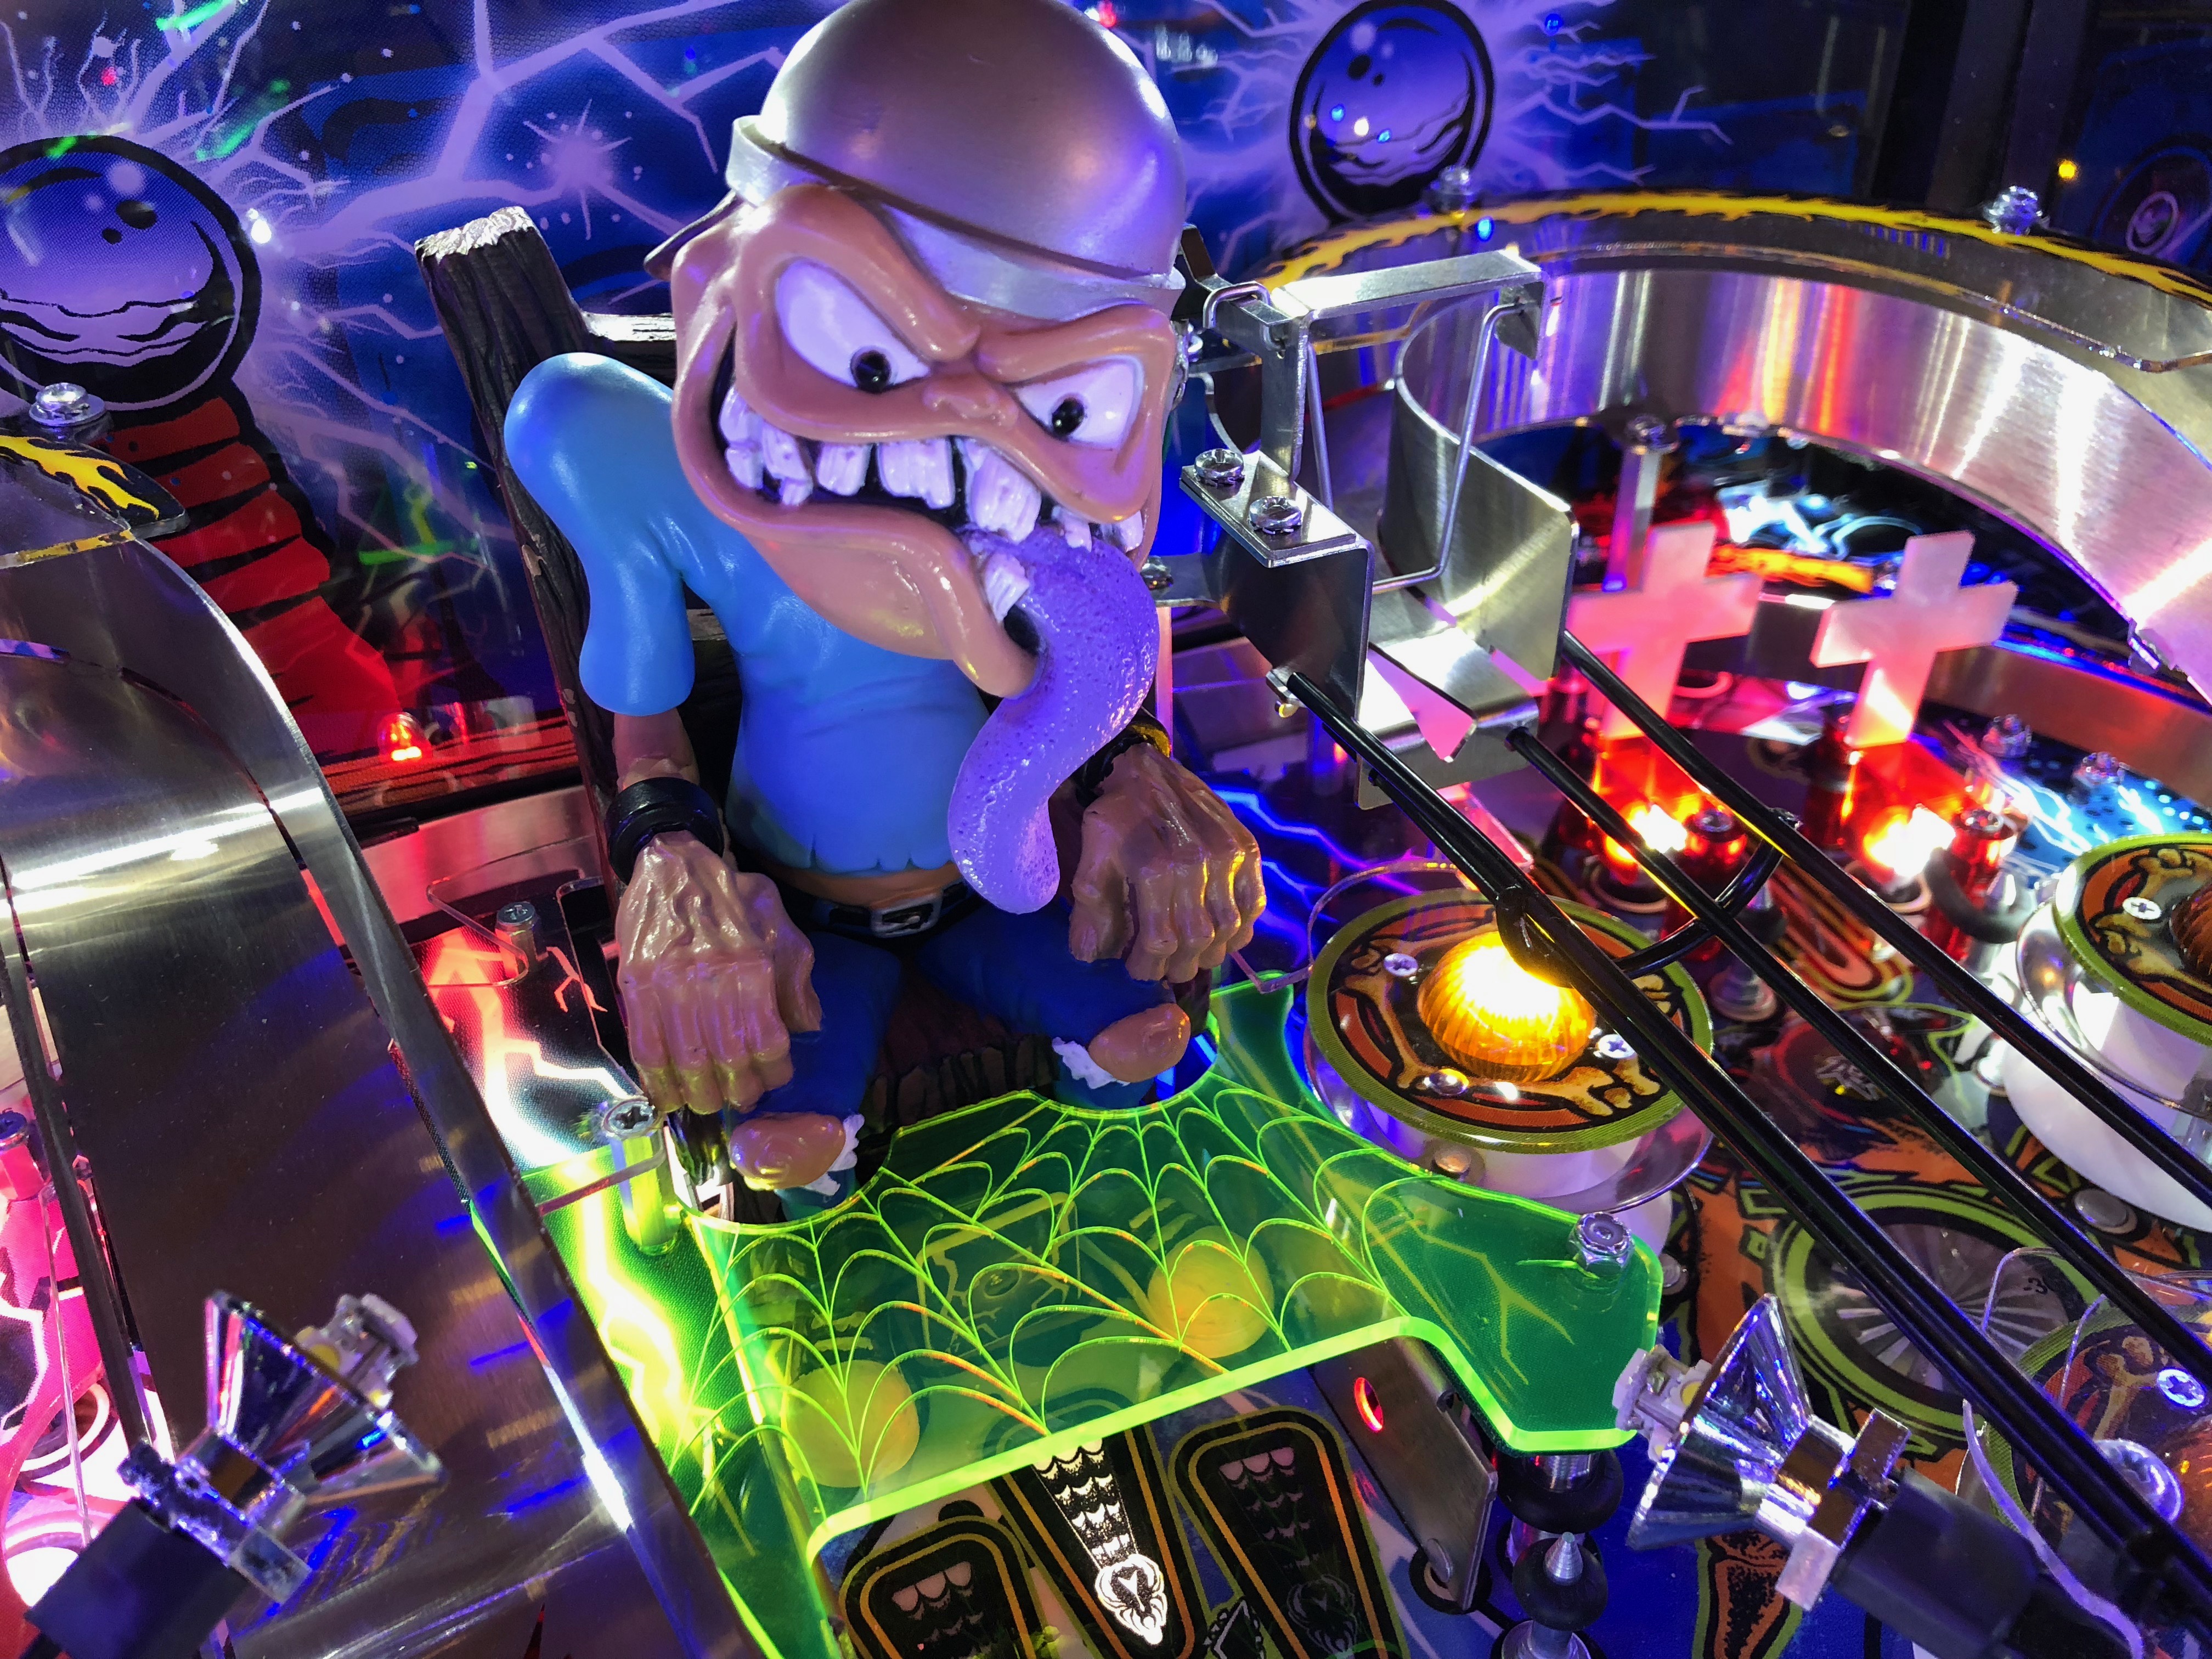
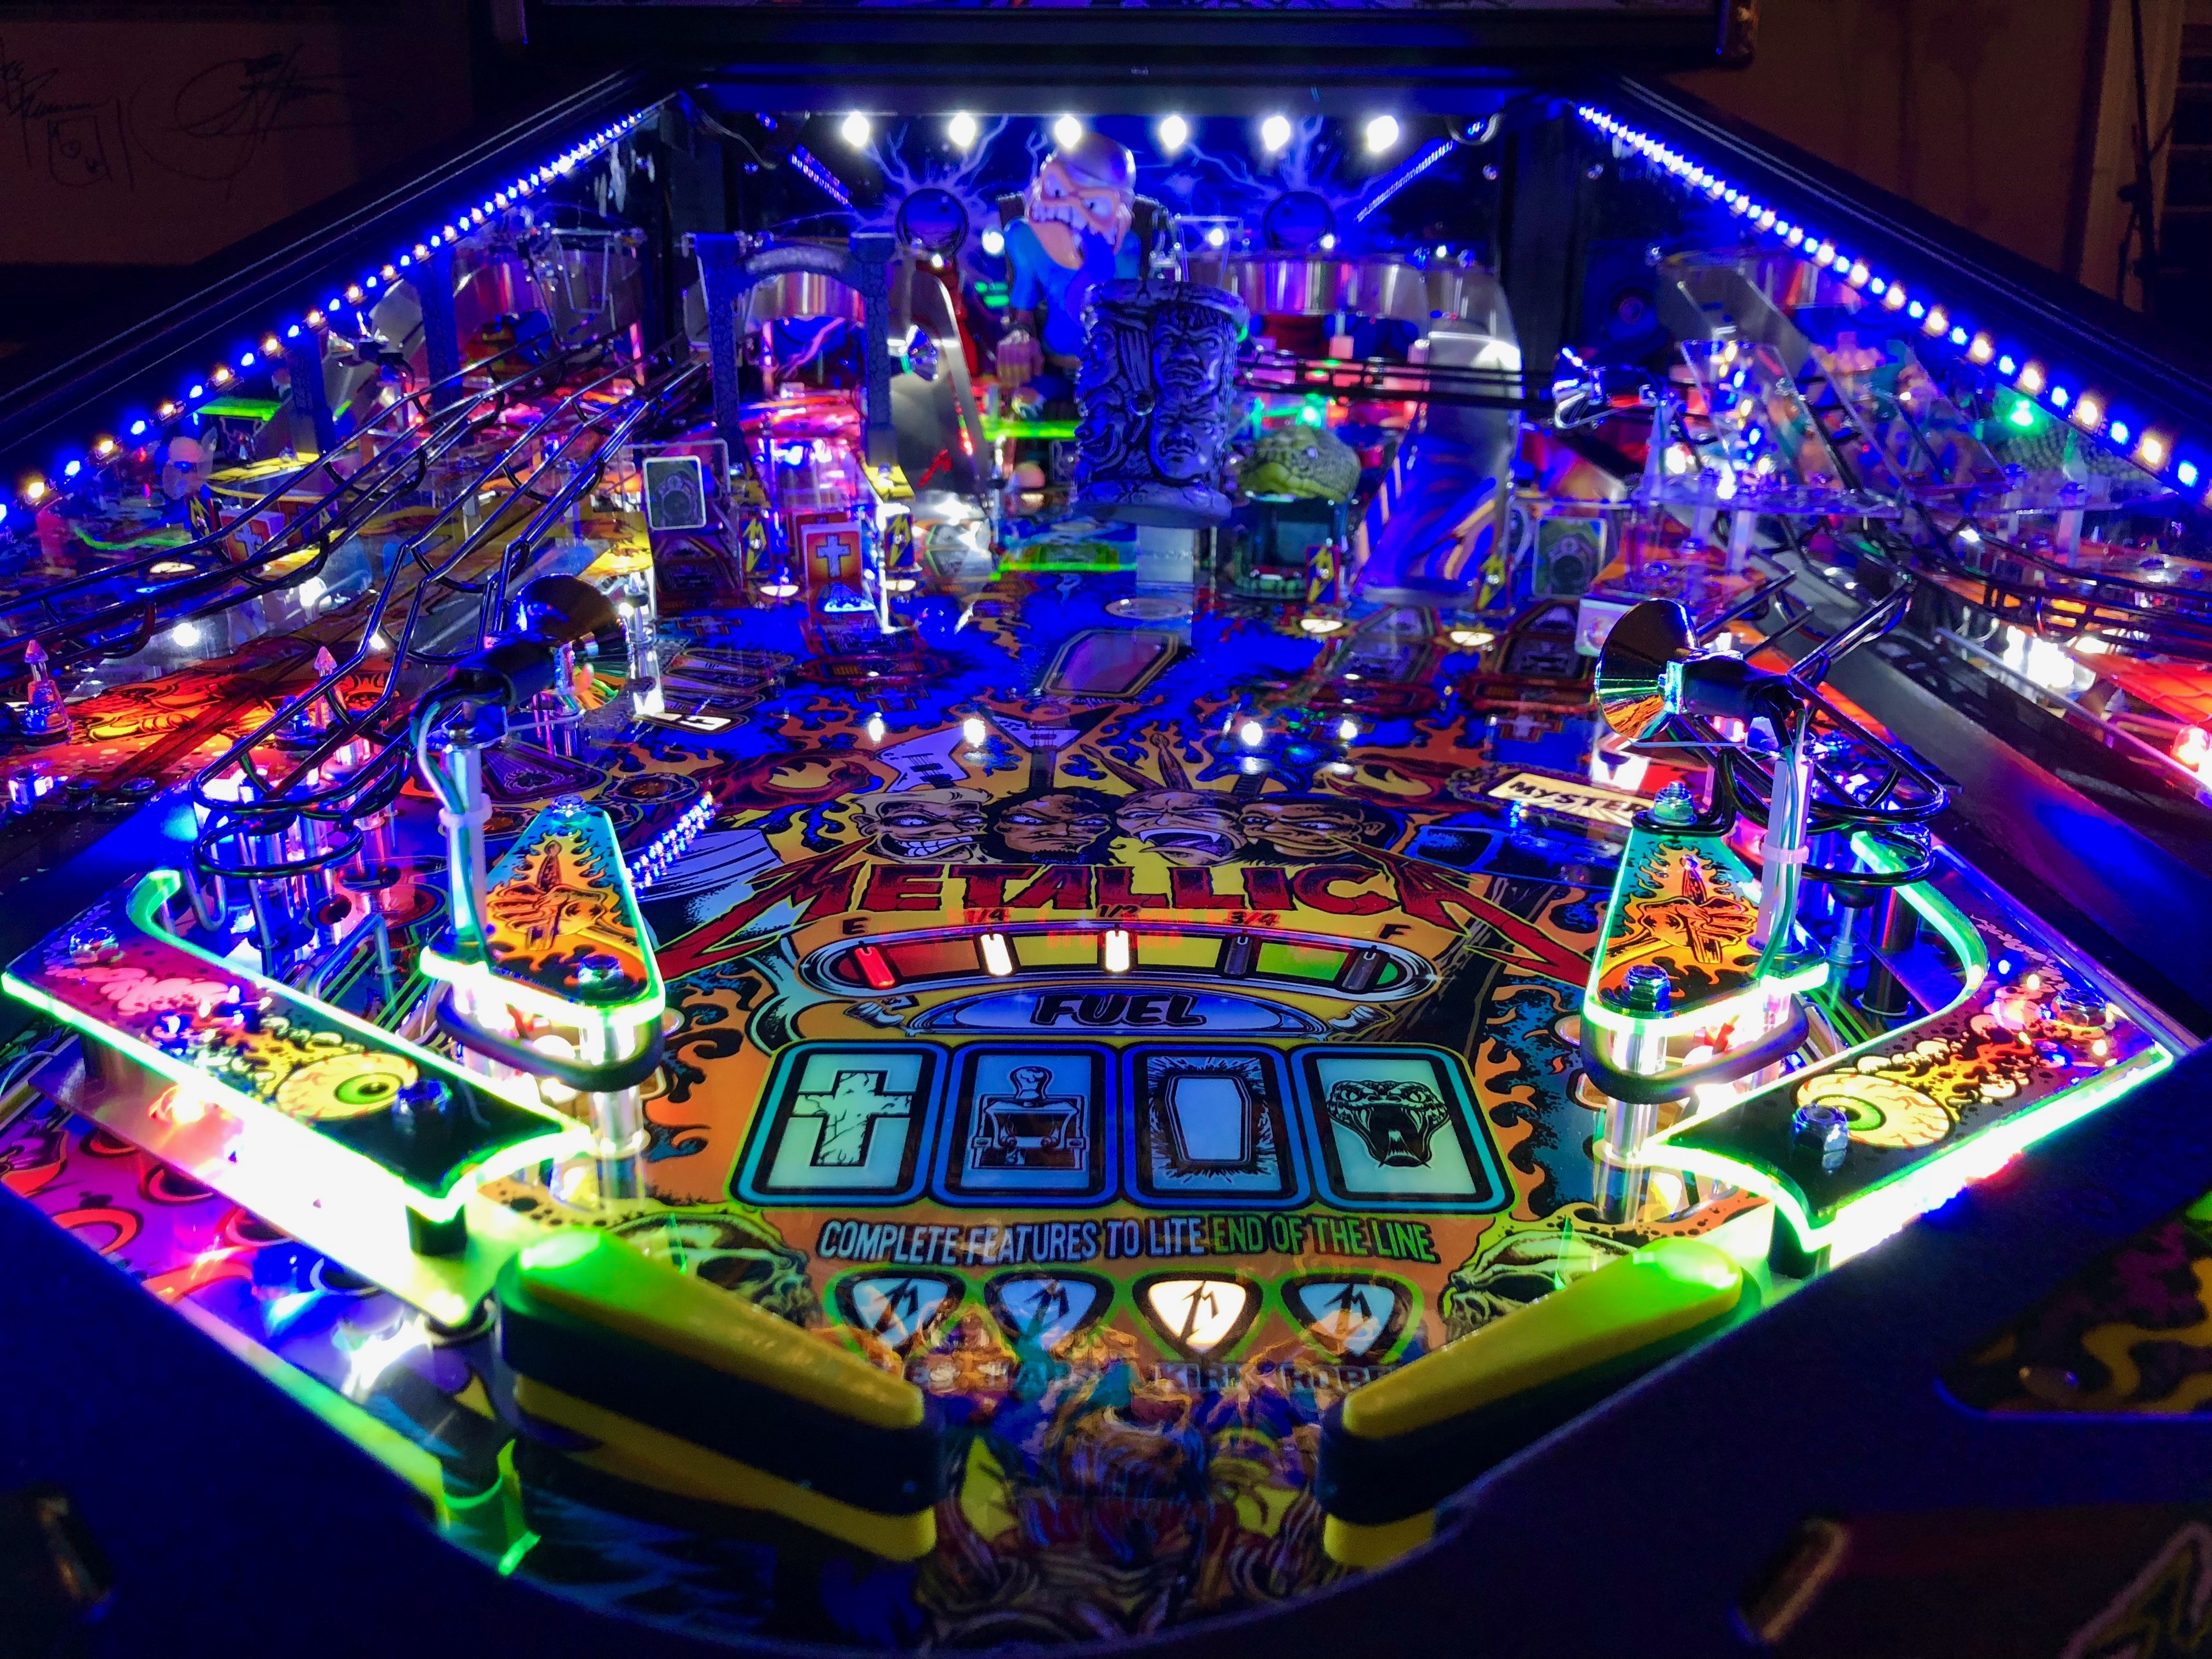
People who really care about what they are doing end up building, creating, designing or sharing some of the most wonderful things on earth. This Fathom Mermaid Edition is no exception. What follows is a long list of special features, small design improvements and overall thoughtfulness that can only come from the minds and hands of people who care deeply:
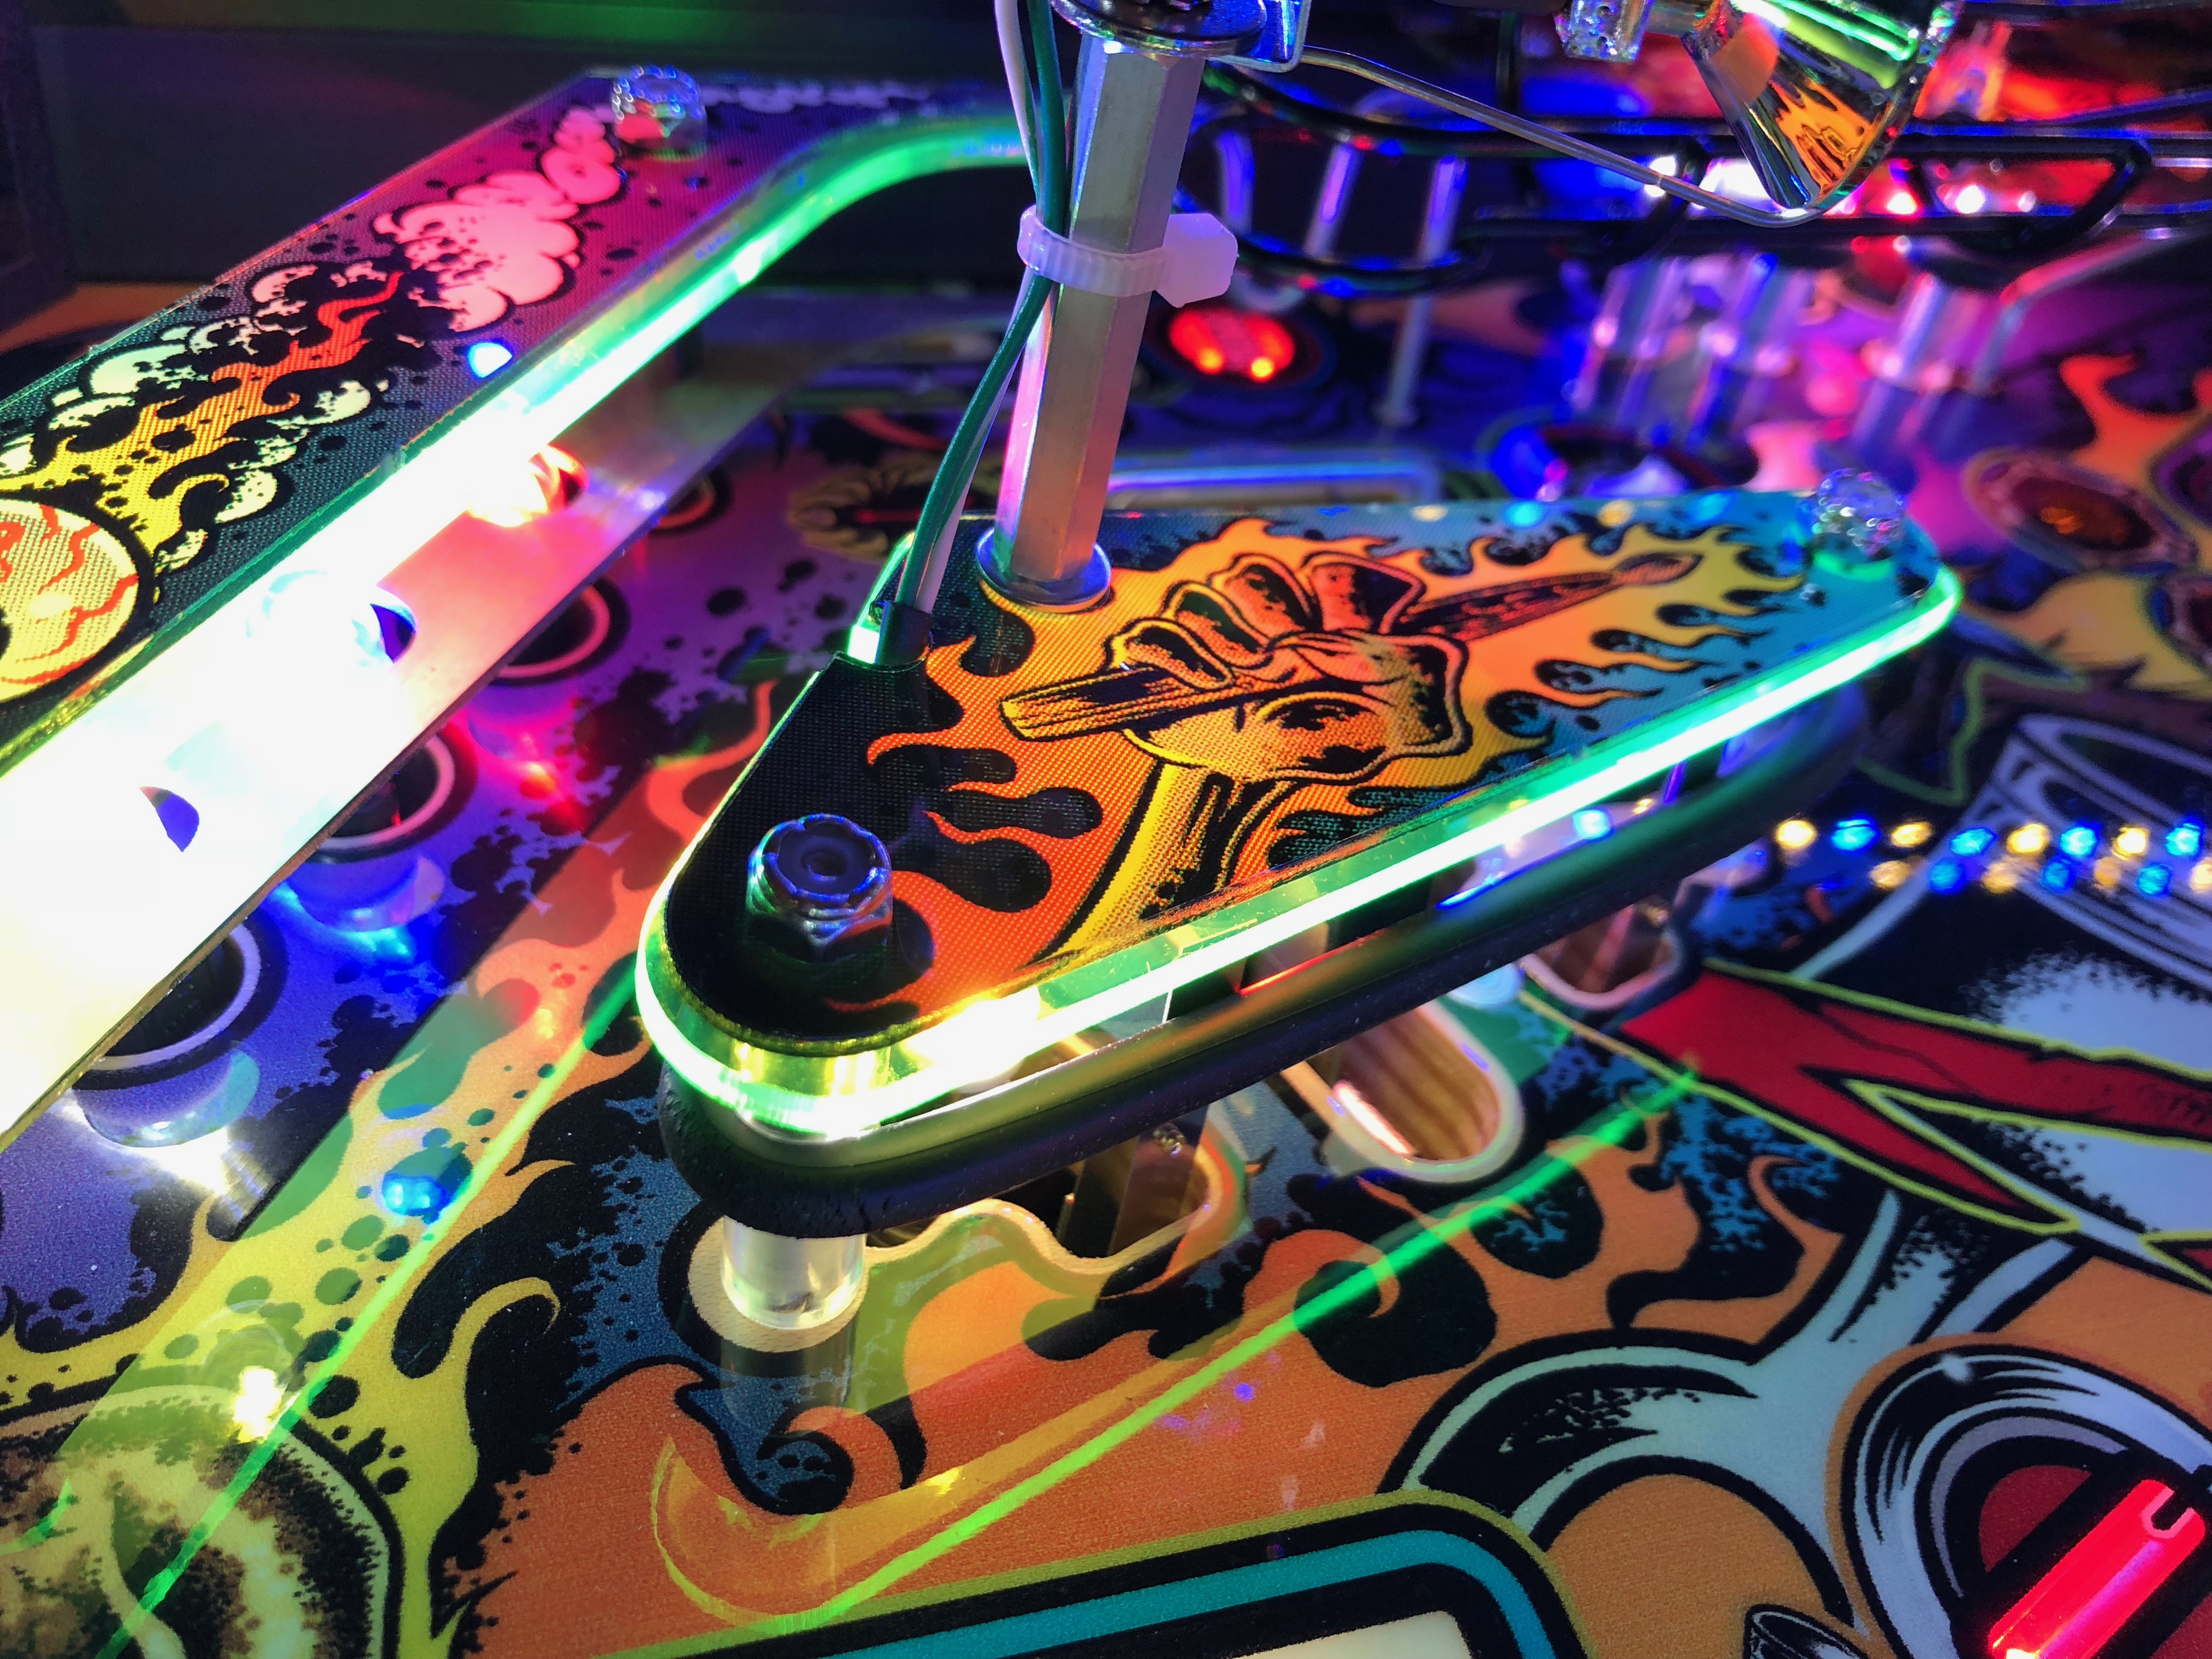
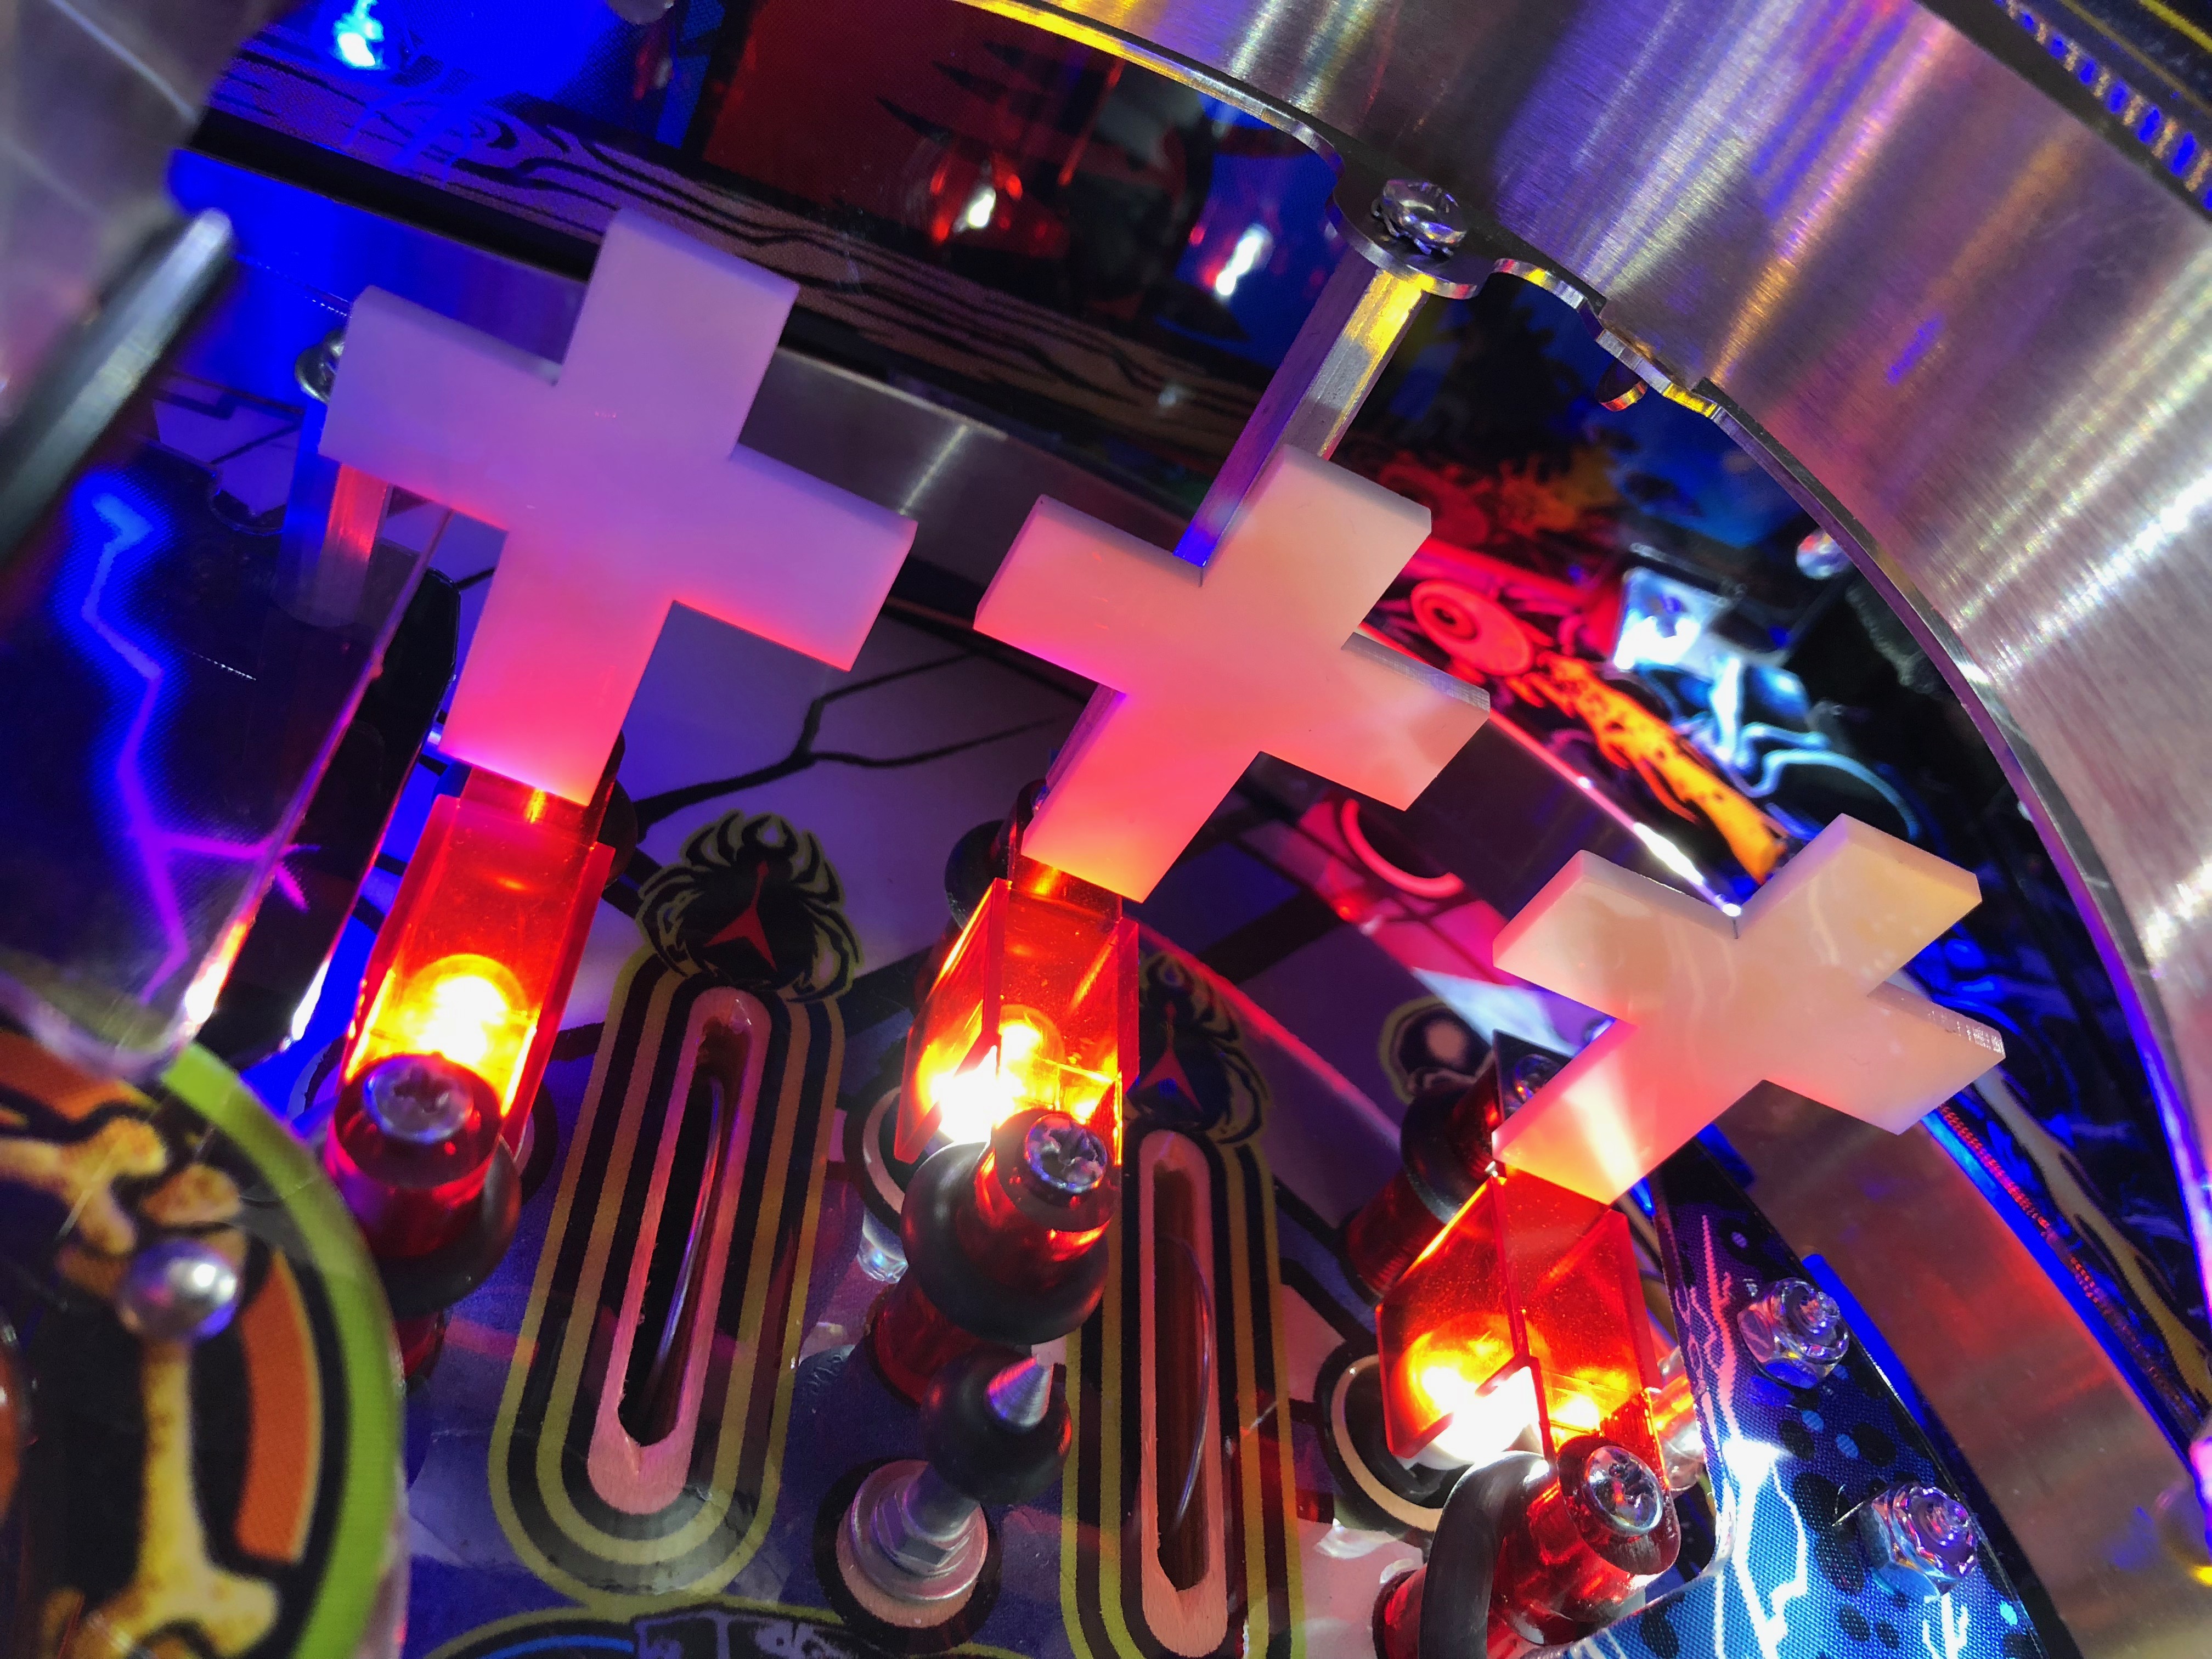
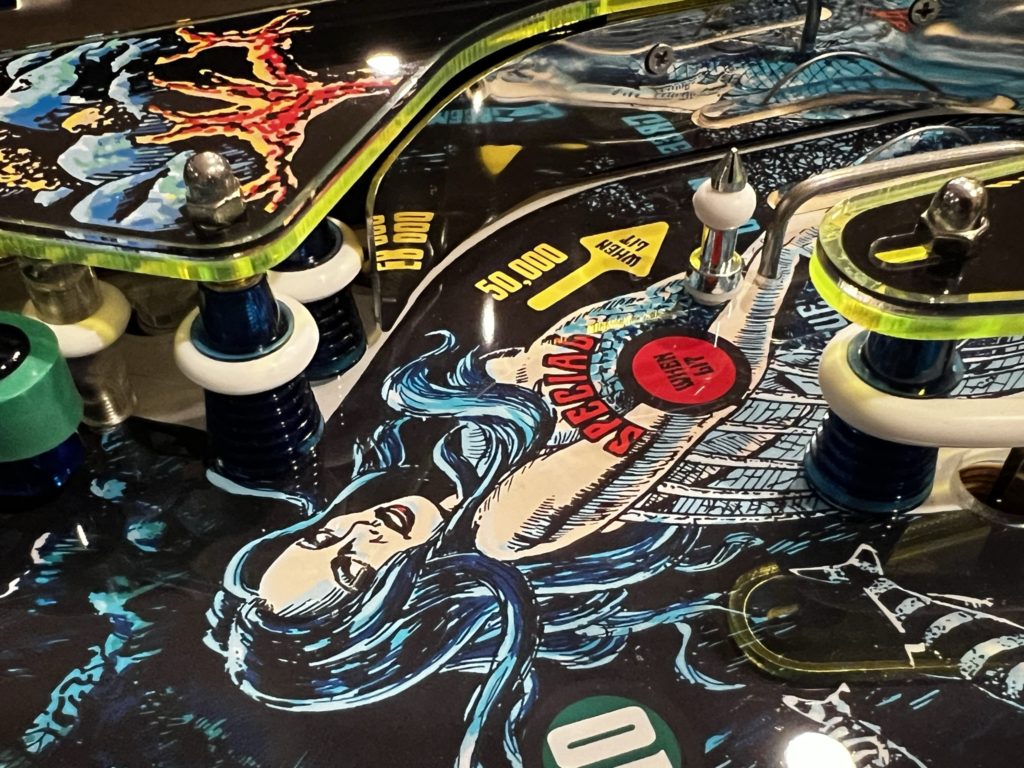
- Score display changes color (to red) when under Mermaid attack
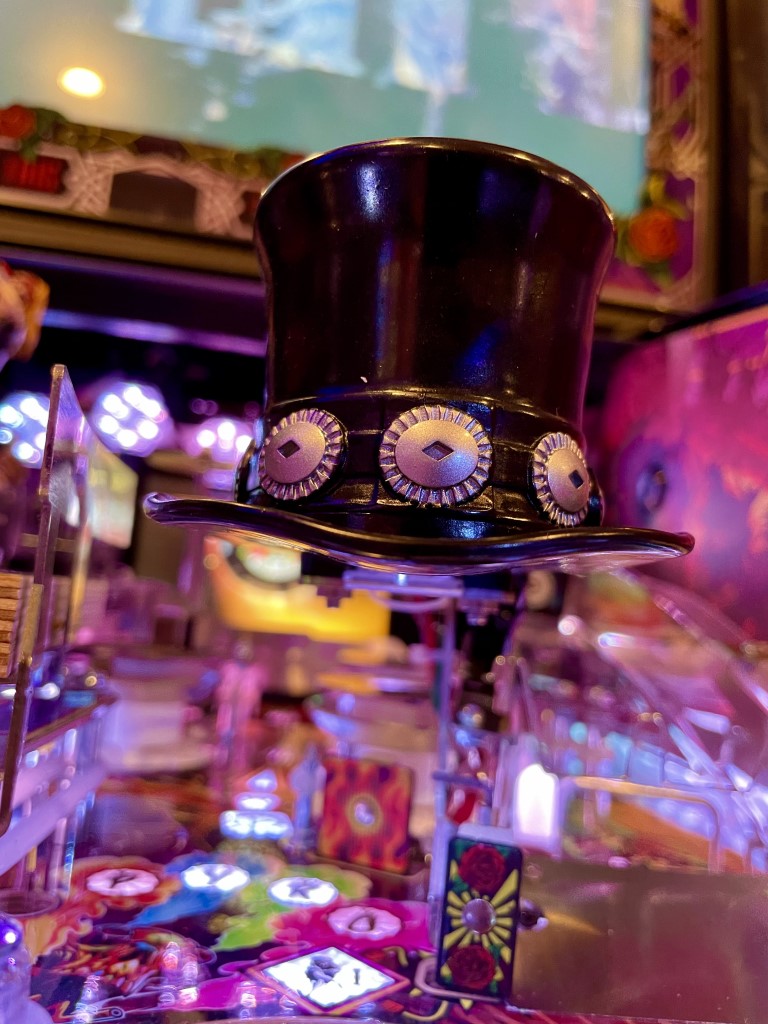
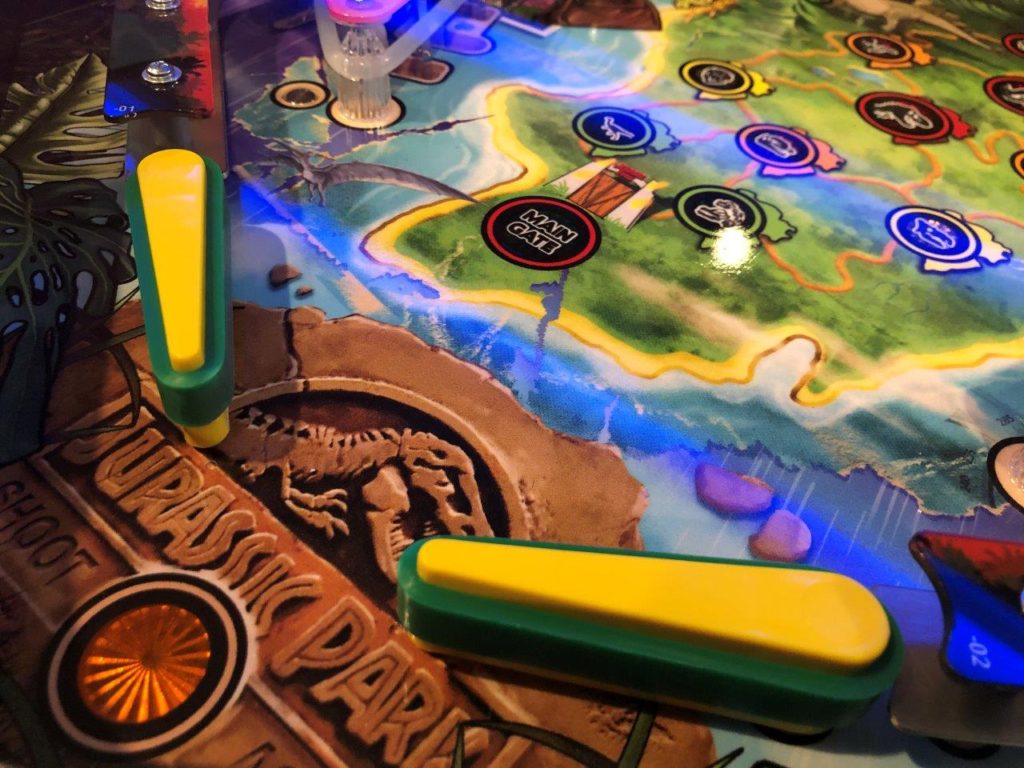
- The backbox lock is on the lower left side of the head (where you can reach it)
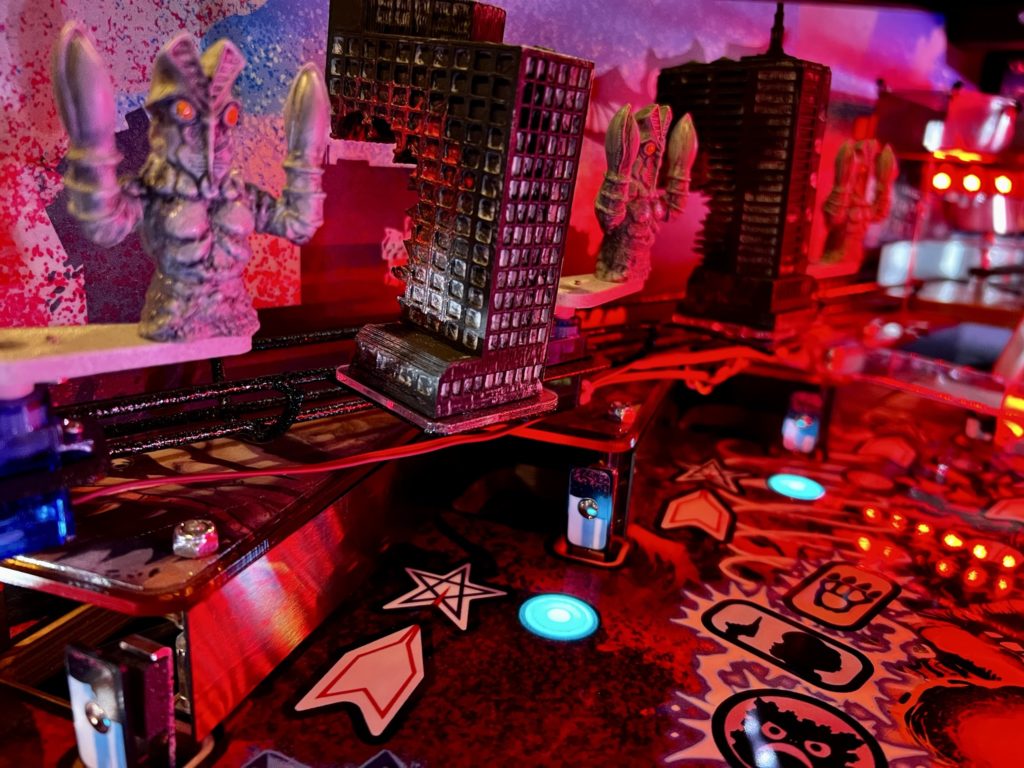
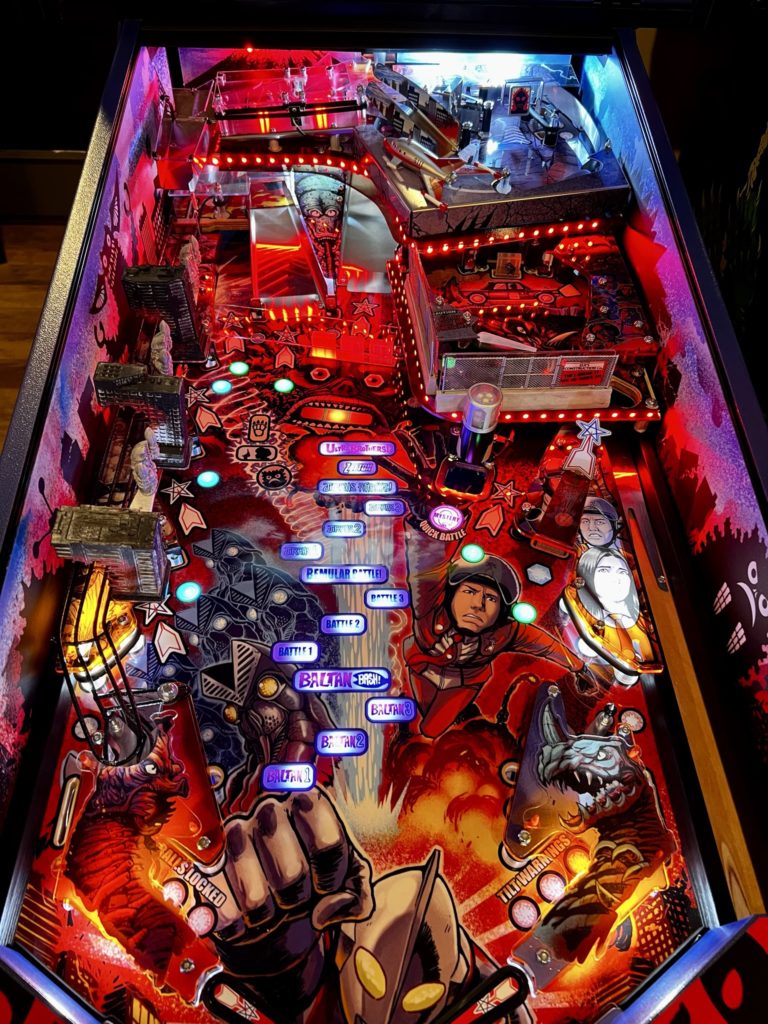
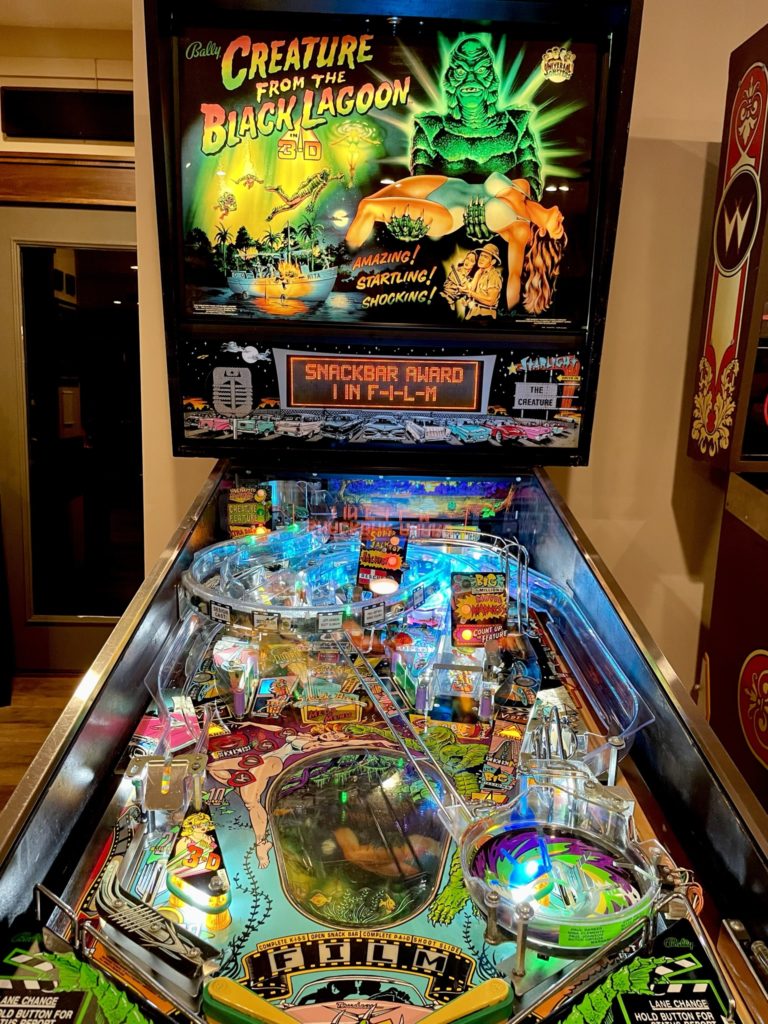
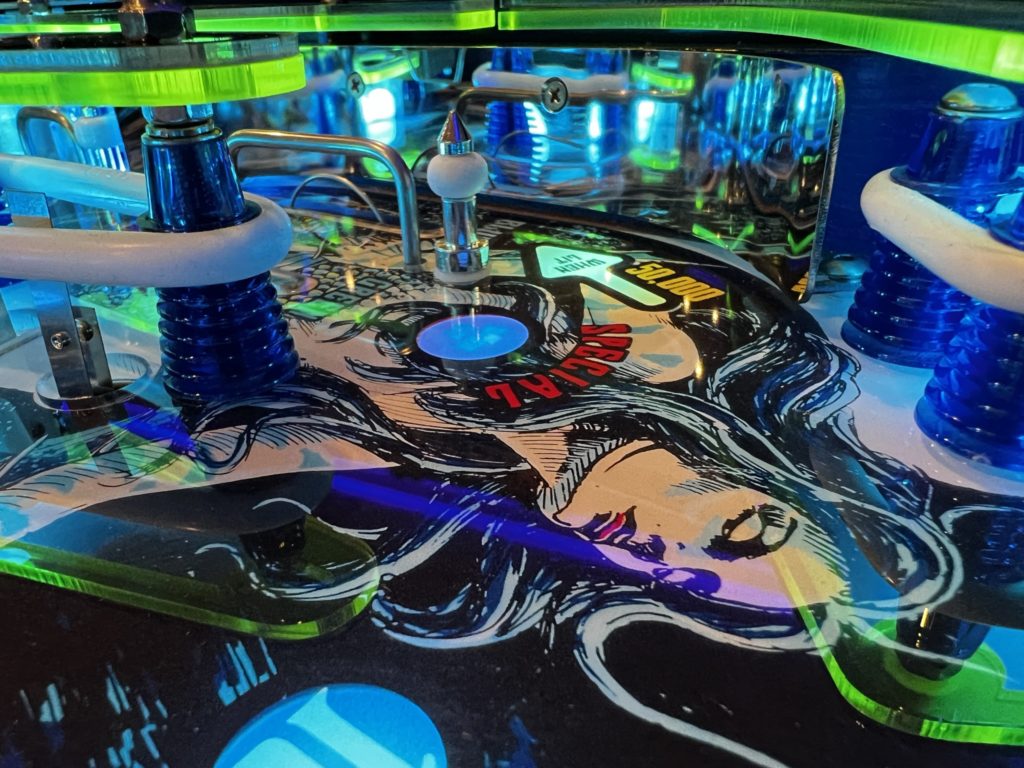
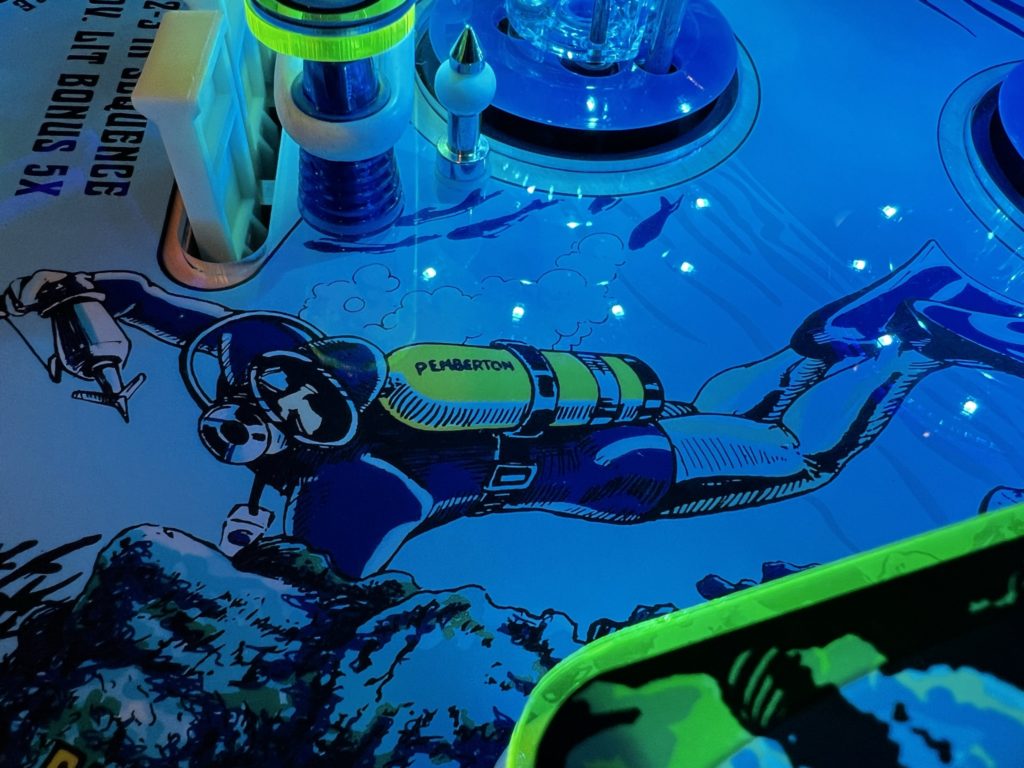
- There is a built in projector to give the appearance of being near or under water
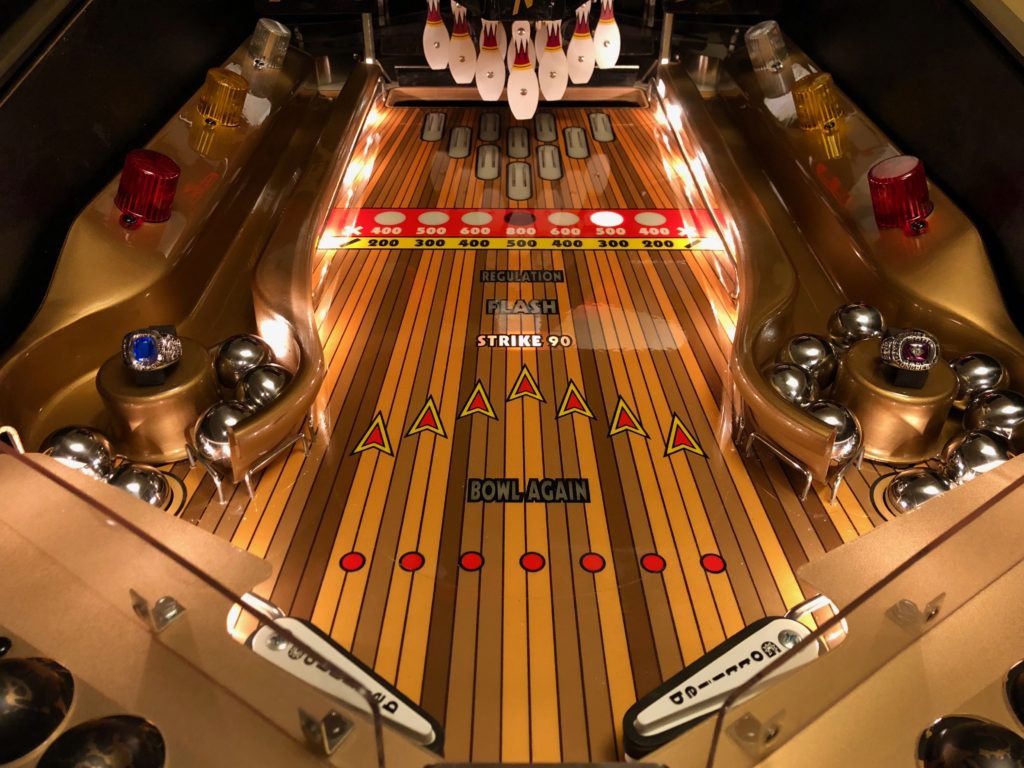
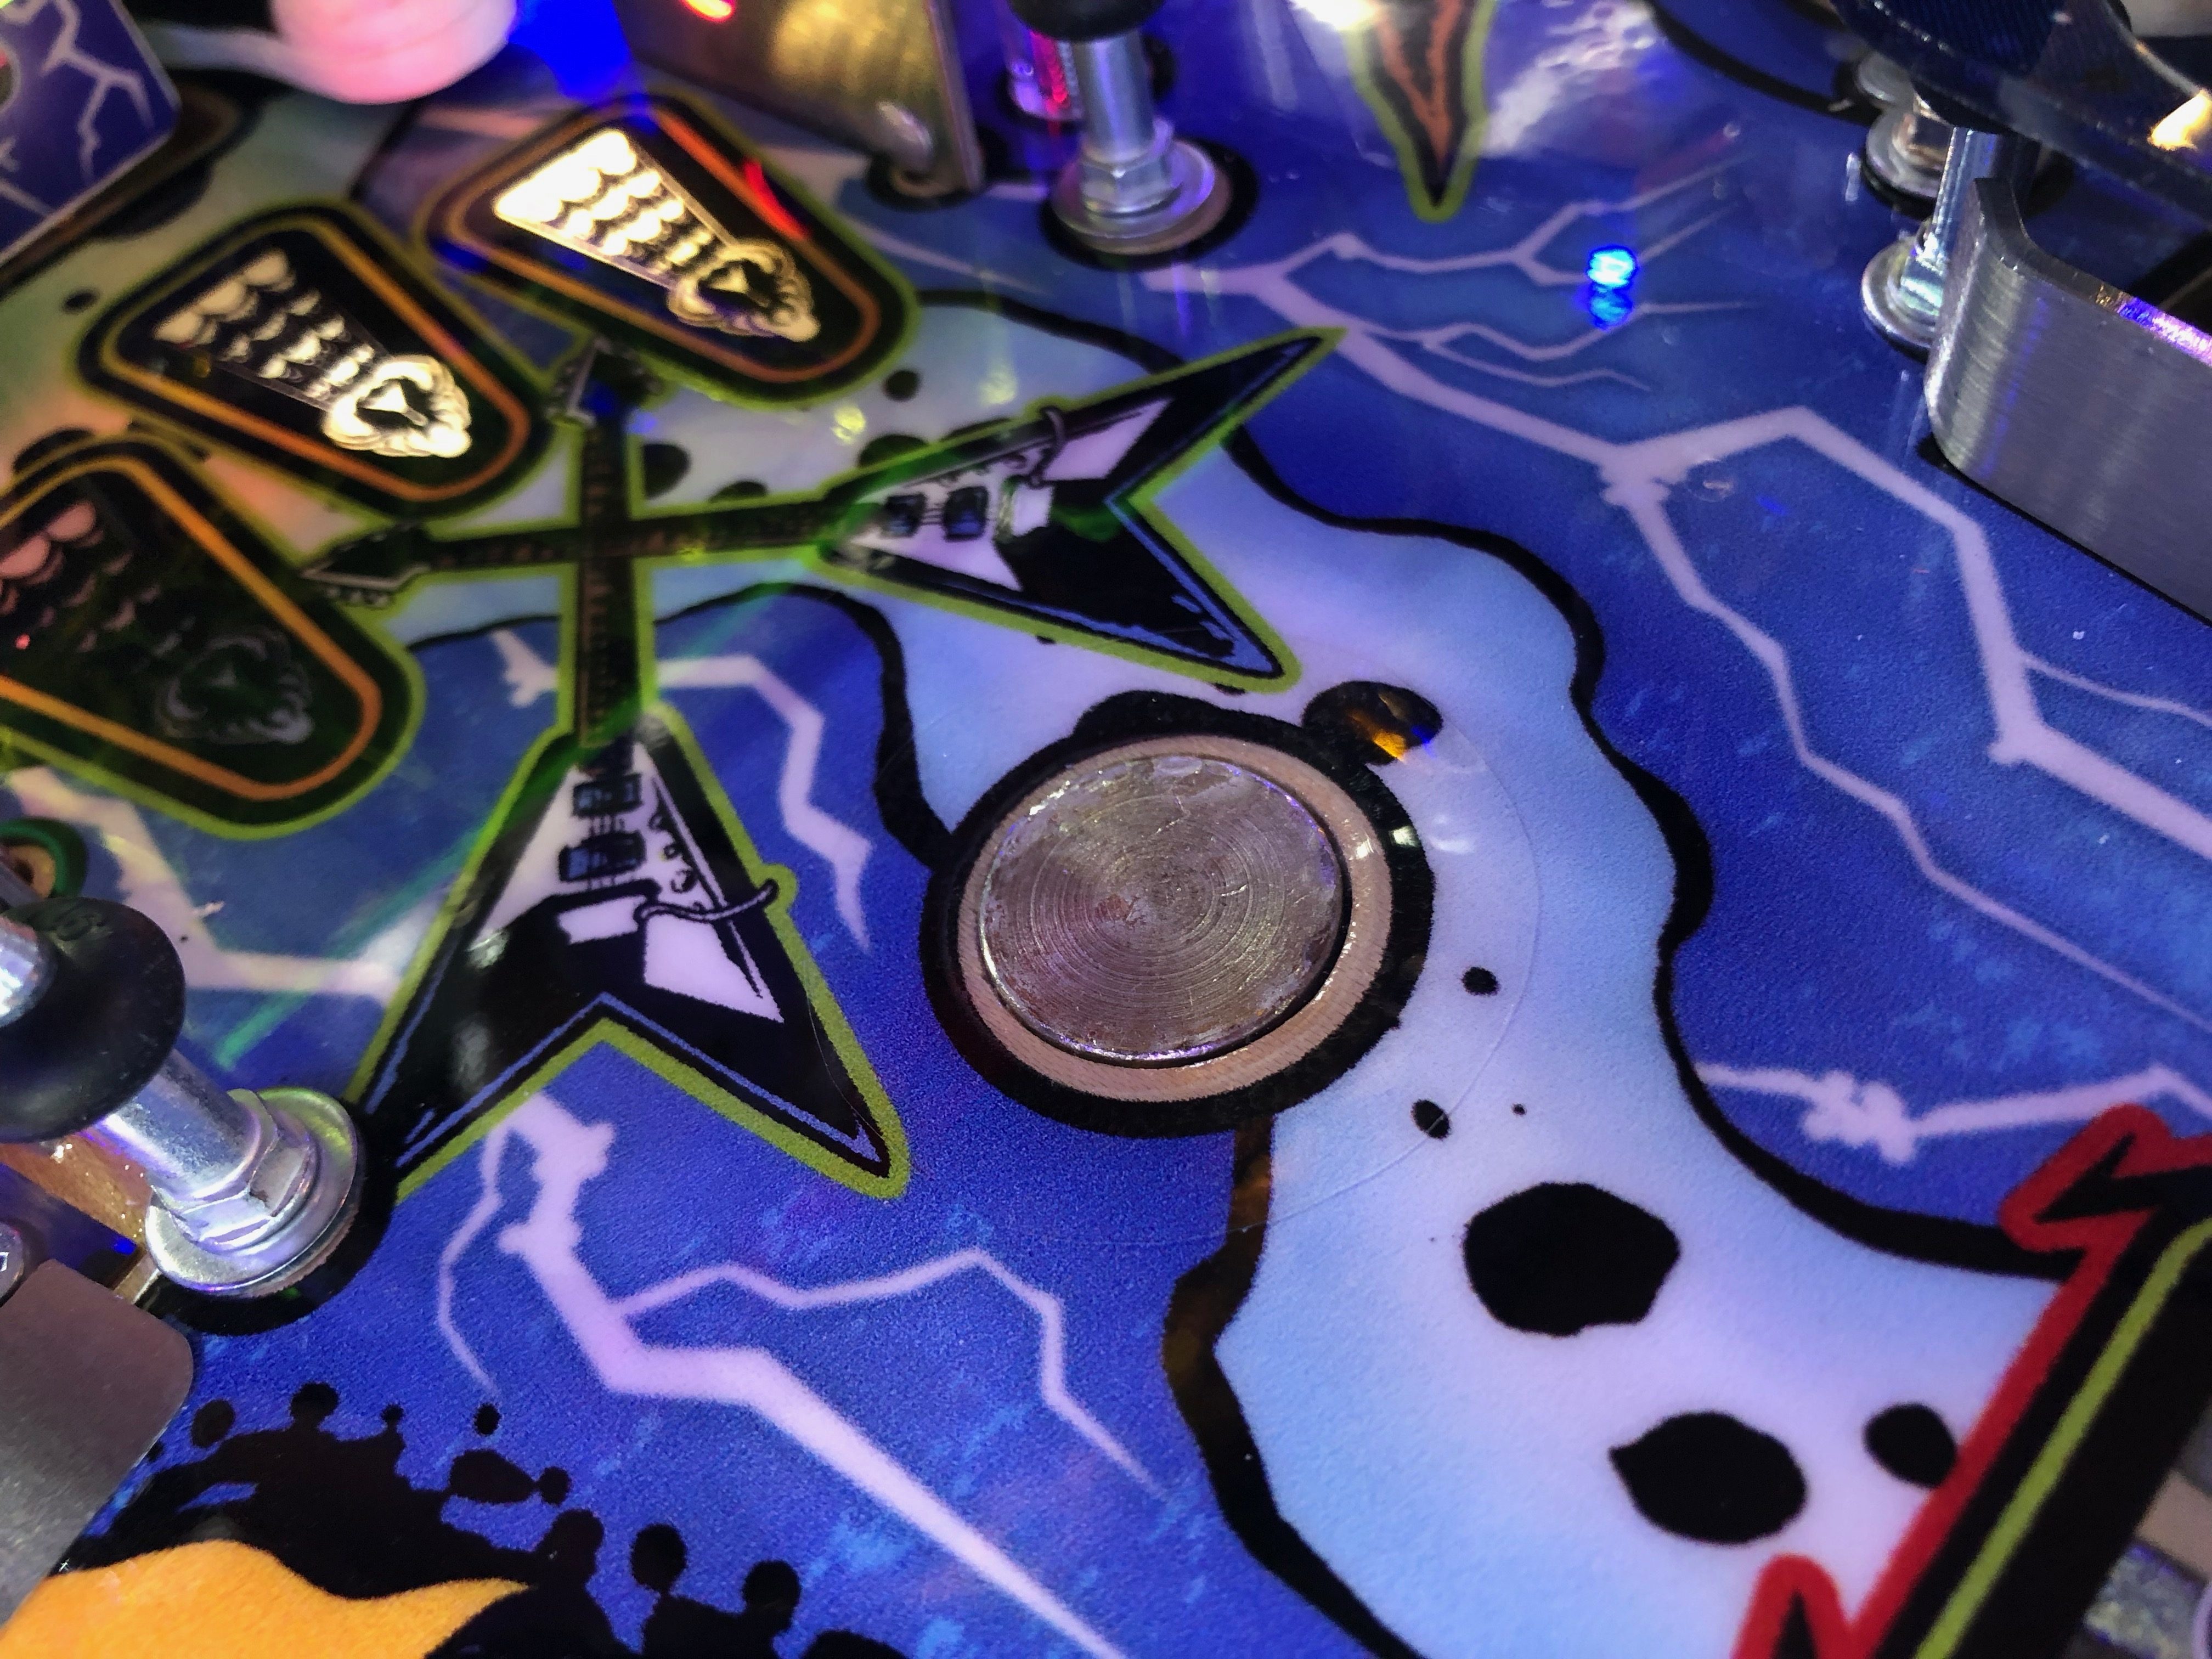
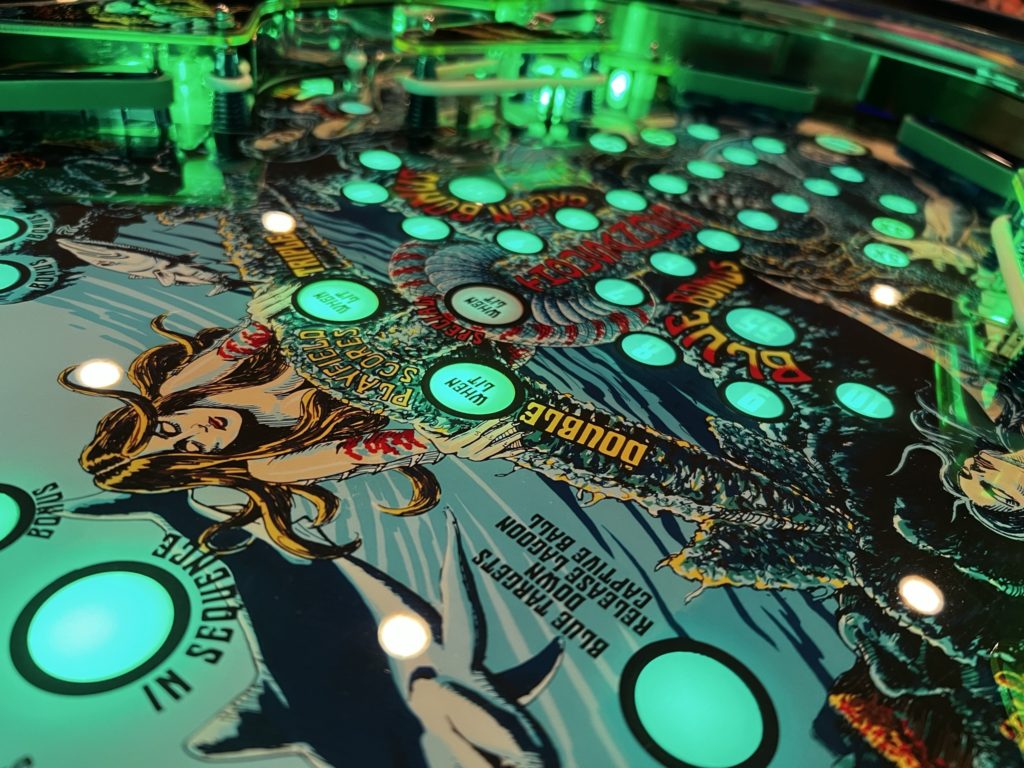
- The implementation of the small apron screens is simple genius as a perfect way to deliver a 2.0 experience but NOT ruin the classic game looks or feel
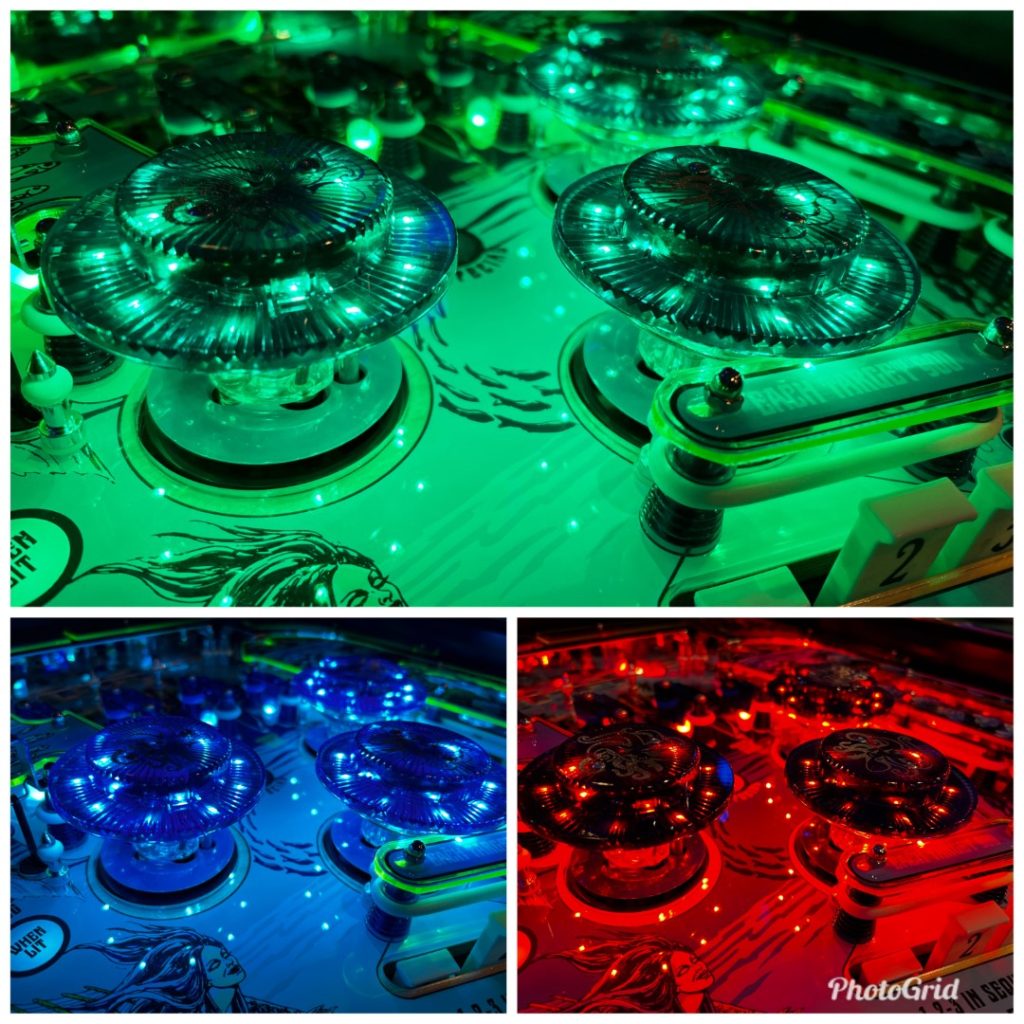
- The pop bumpers RGB implementation is just perfect. They turn red to give you visual cues when adding to Super Jackpot or battling Mermaids
- The signed Haggis comic/poster is well done and is meaningful to me (framing IP as we speak)
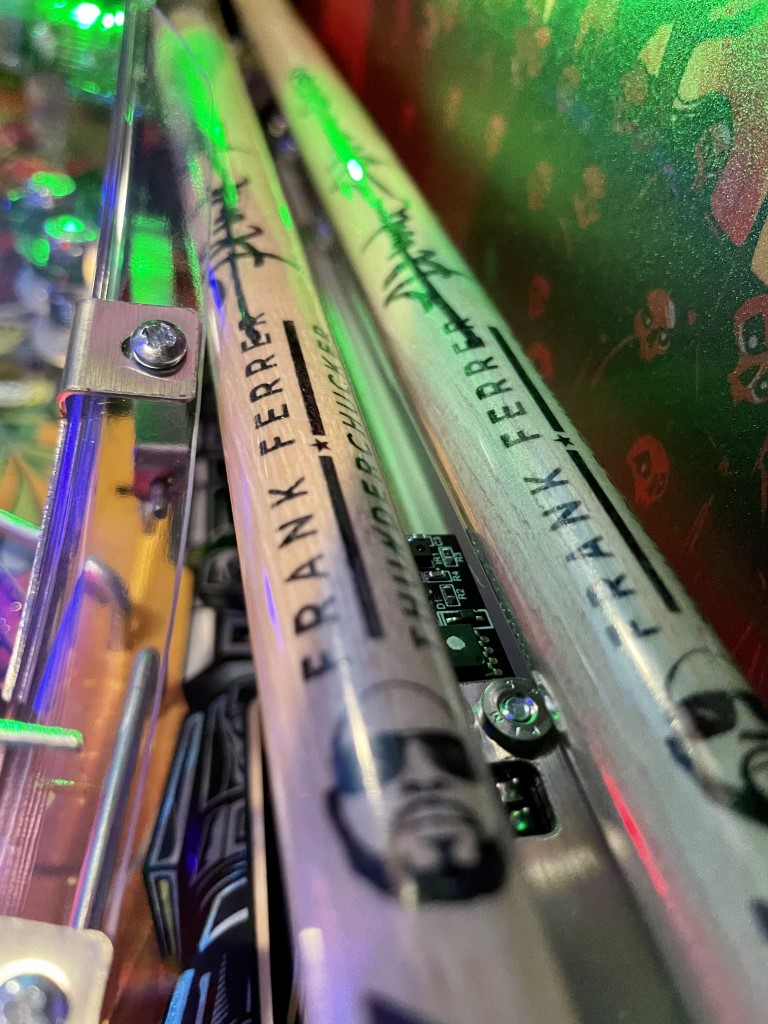
- The game comes with pre-installed Titan flipper rubber
- After 50 games or so, I still can’t see a single mark on the playfield due to Damien’s specially engineered acrylic overlay
- Rubber feet and leg protecting washers are provided in the goodie bag
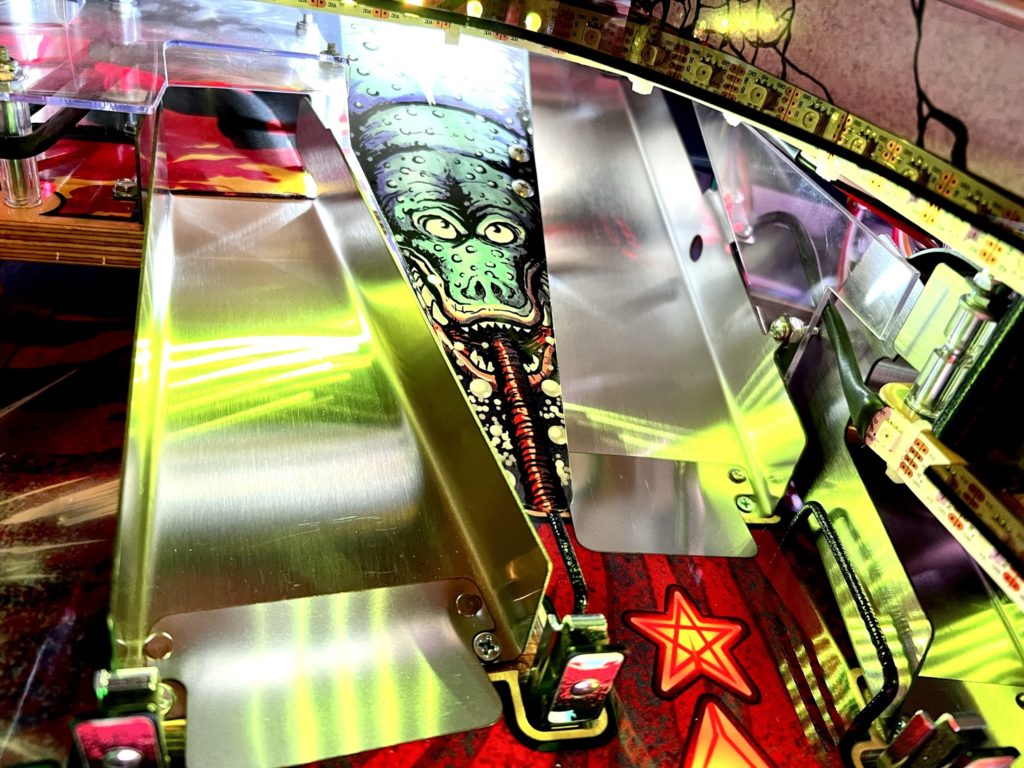
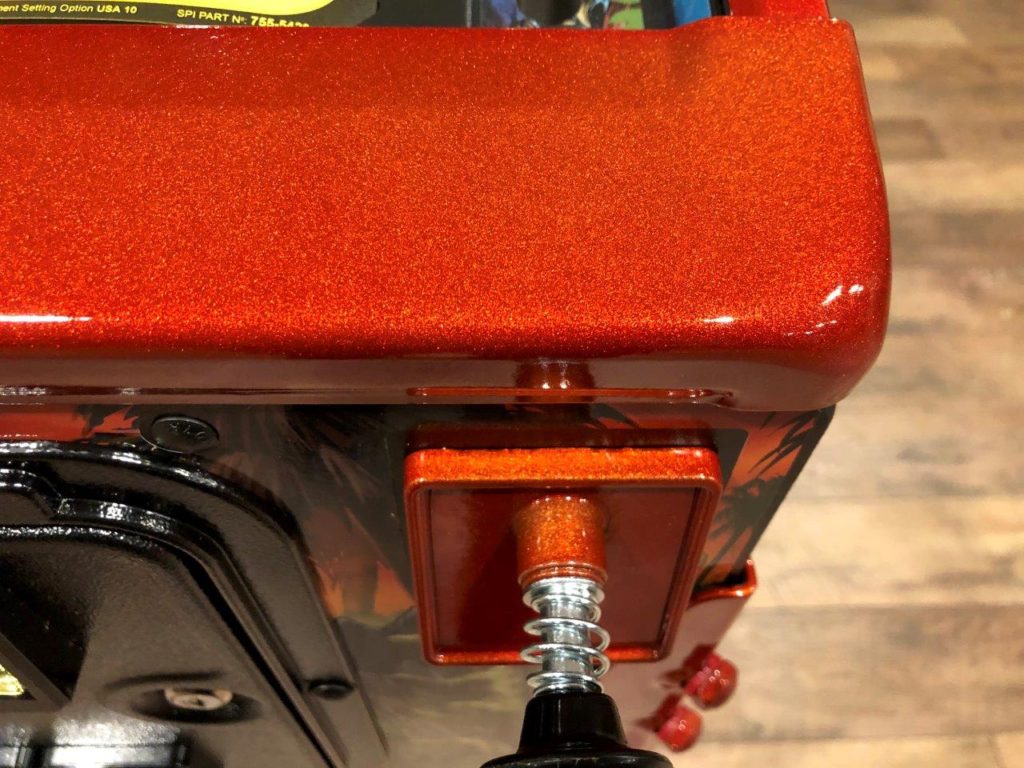
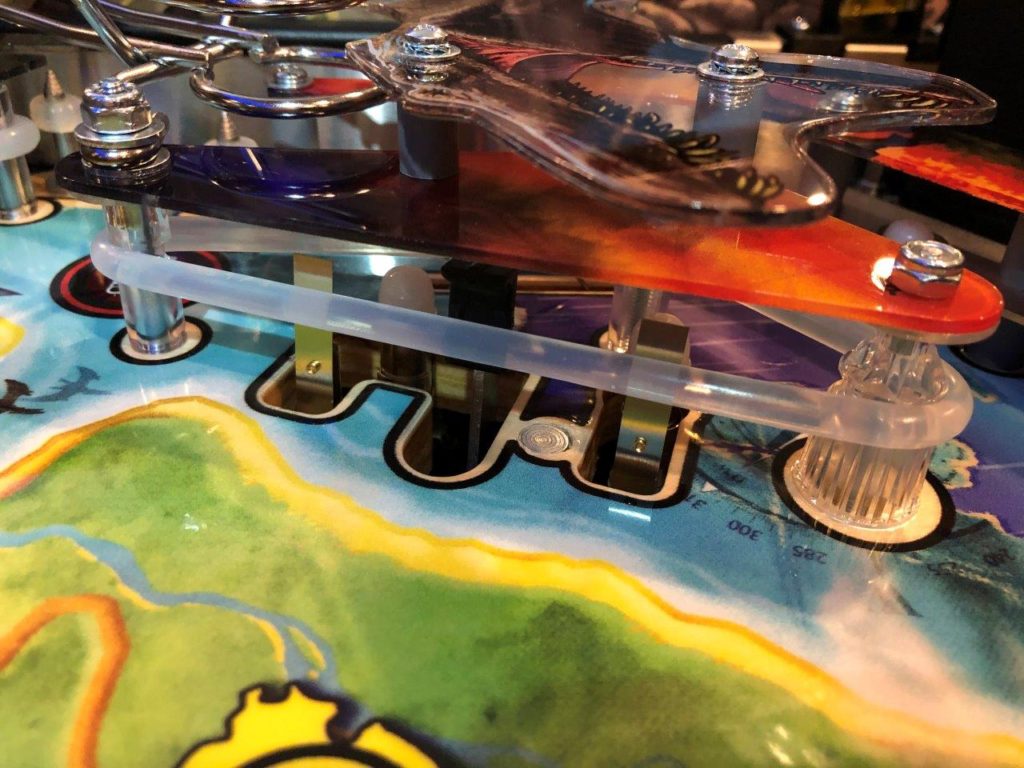
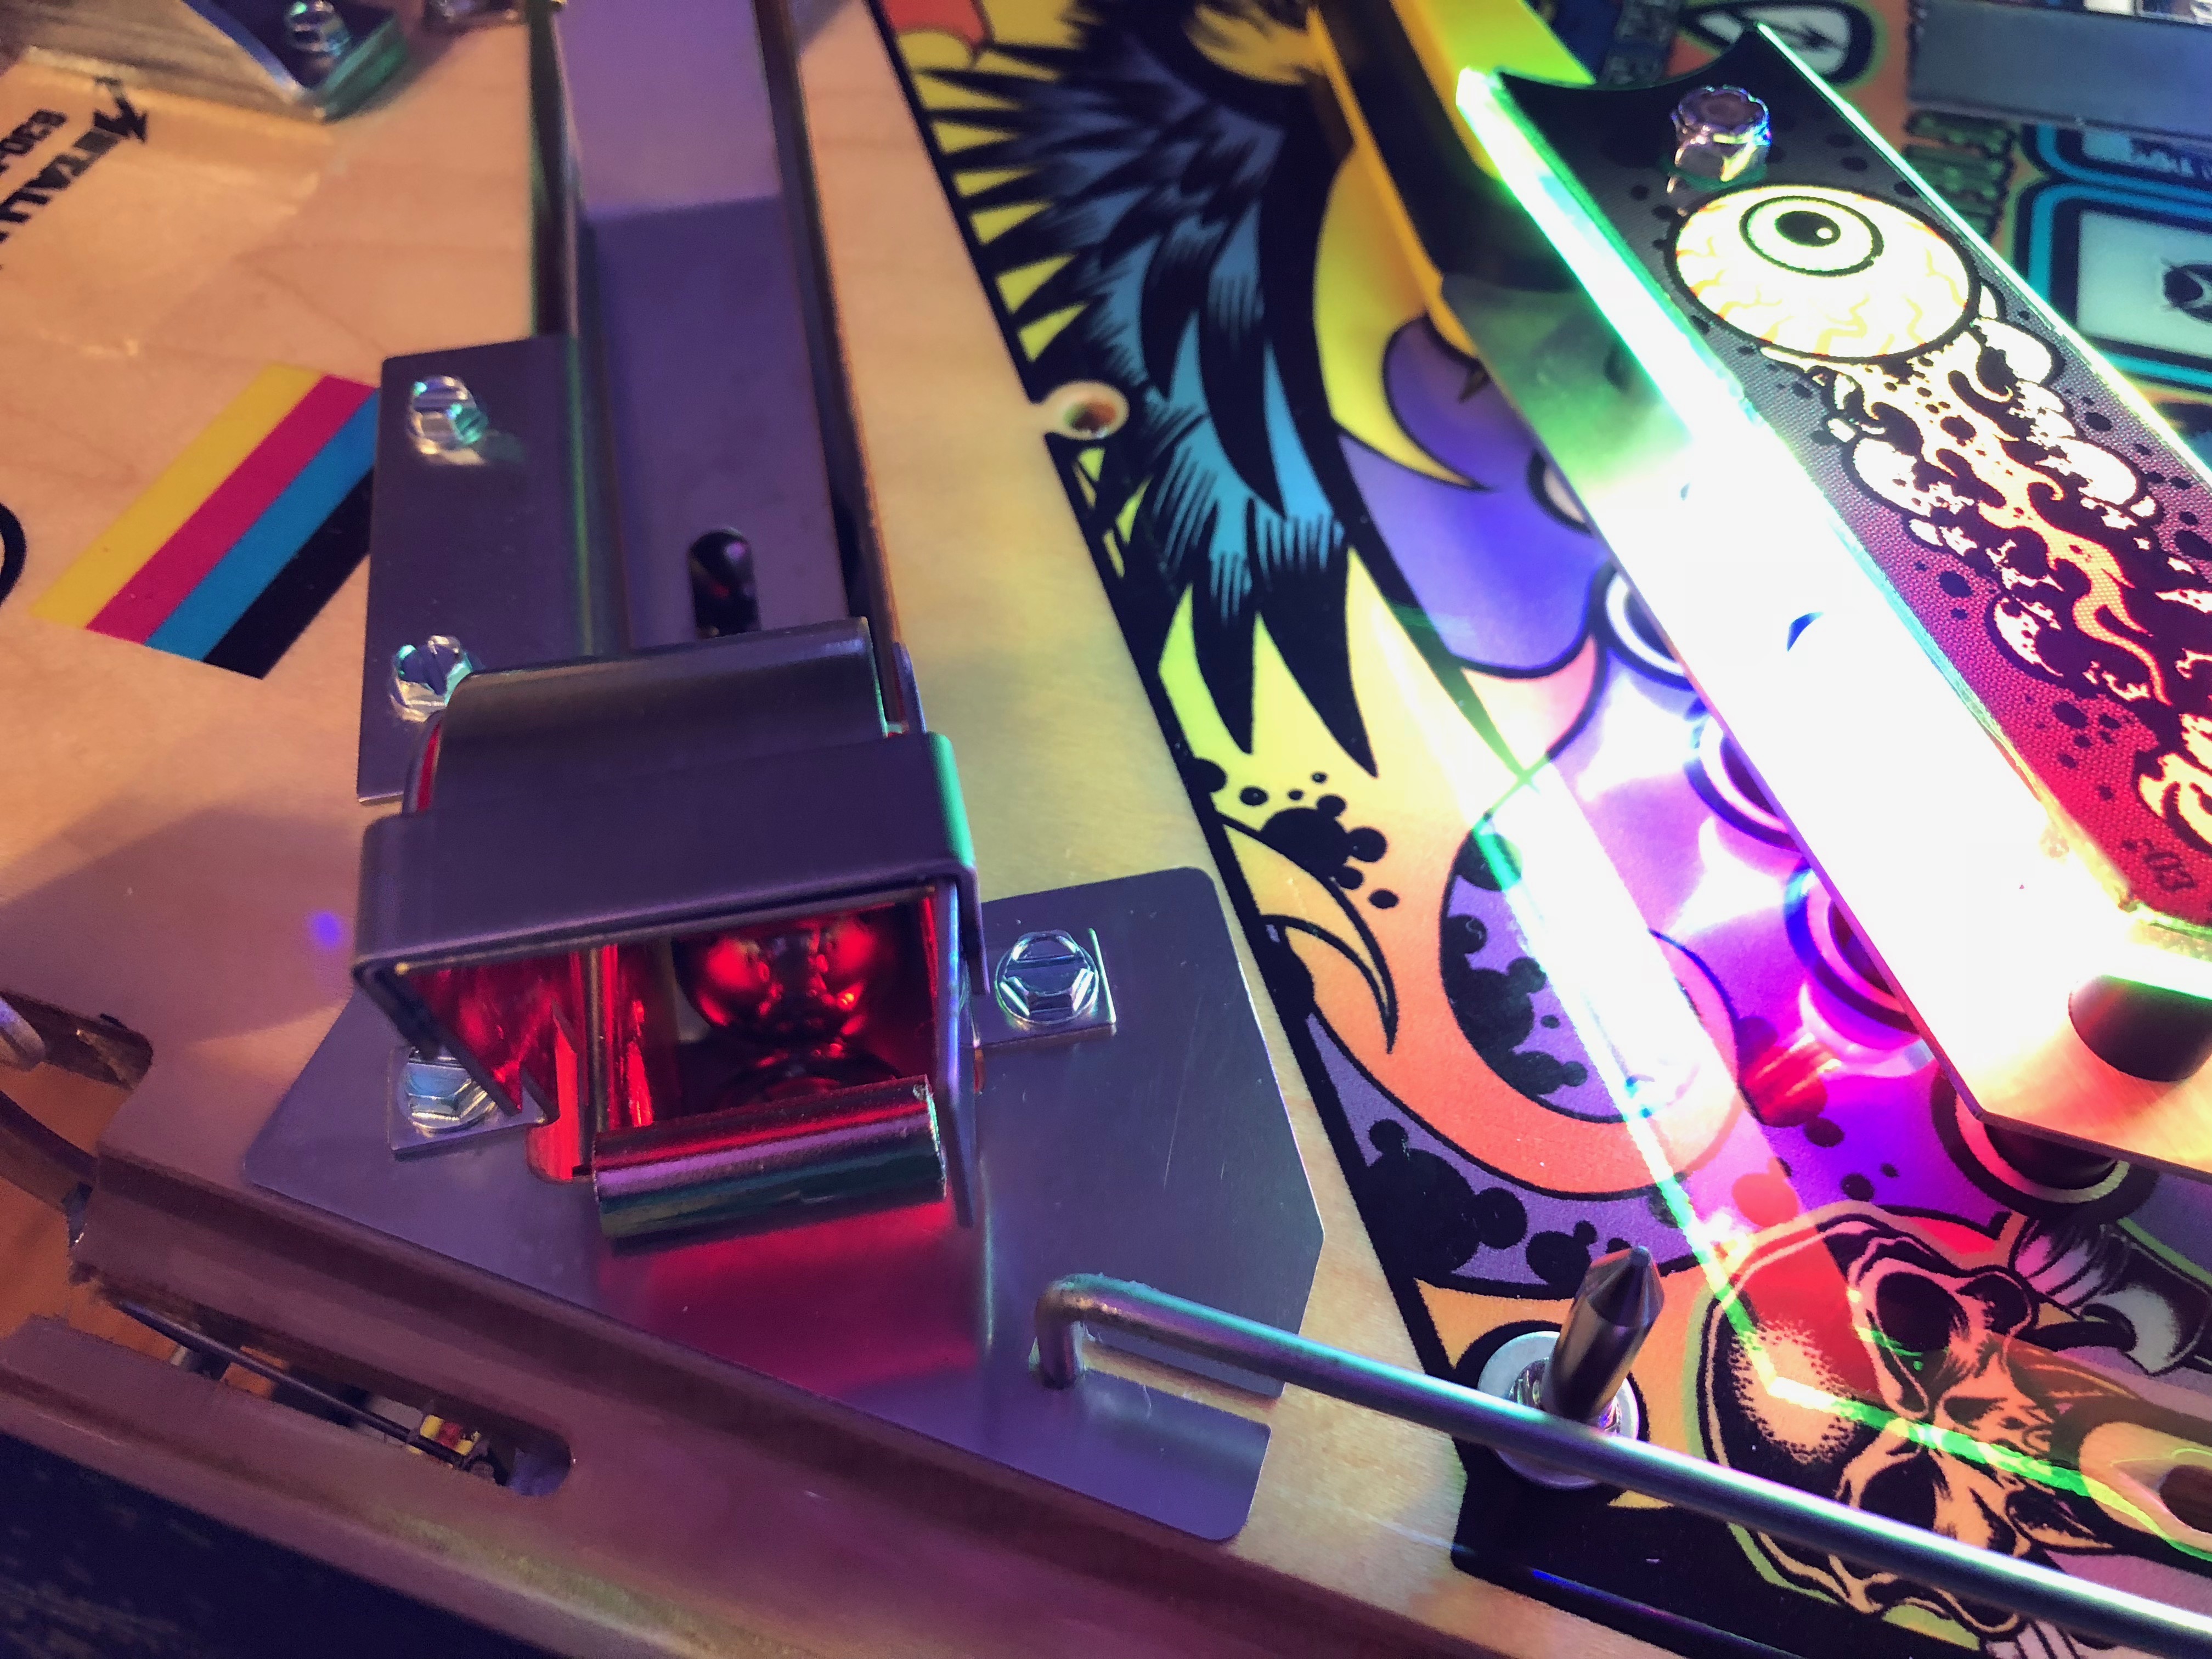
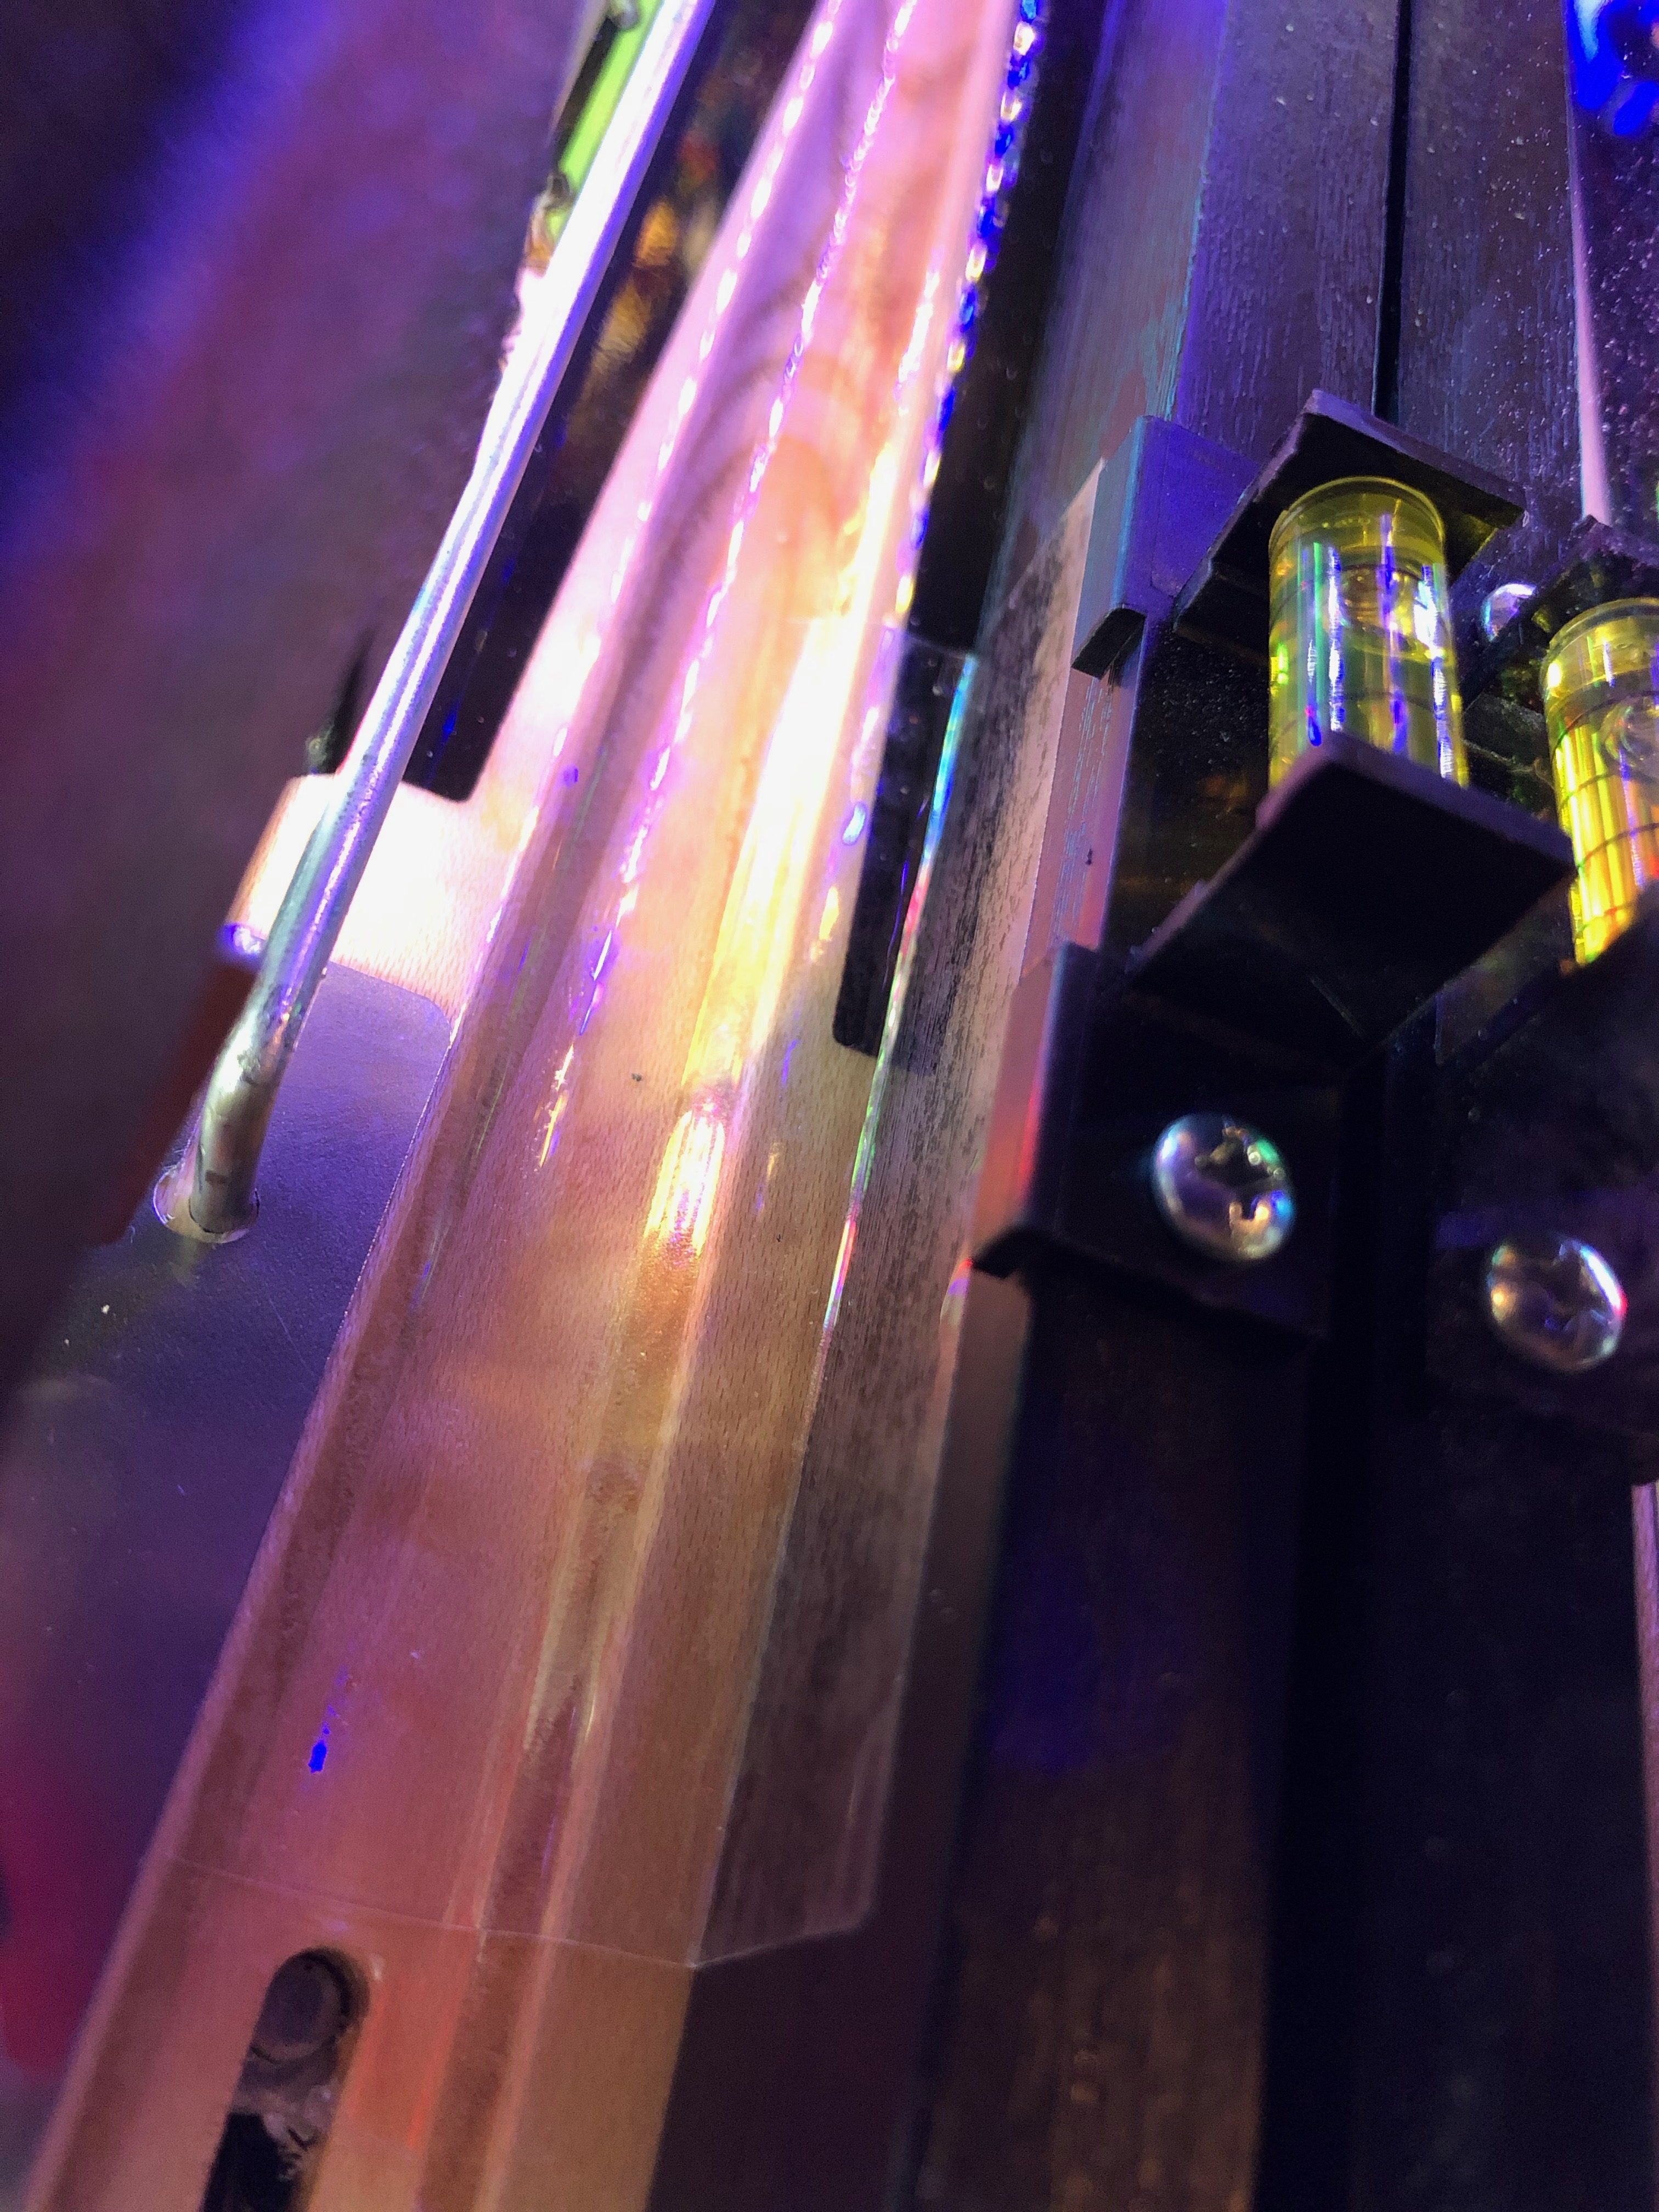
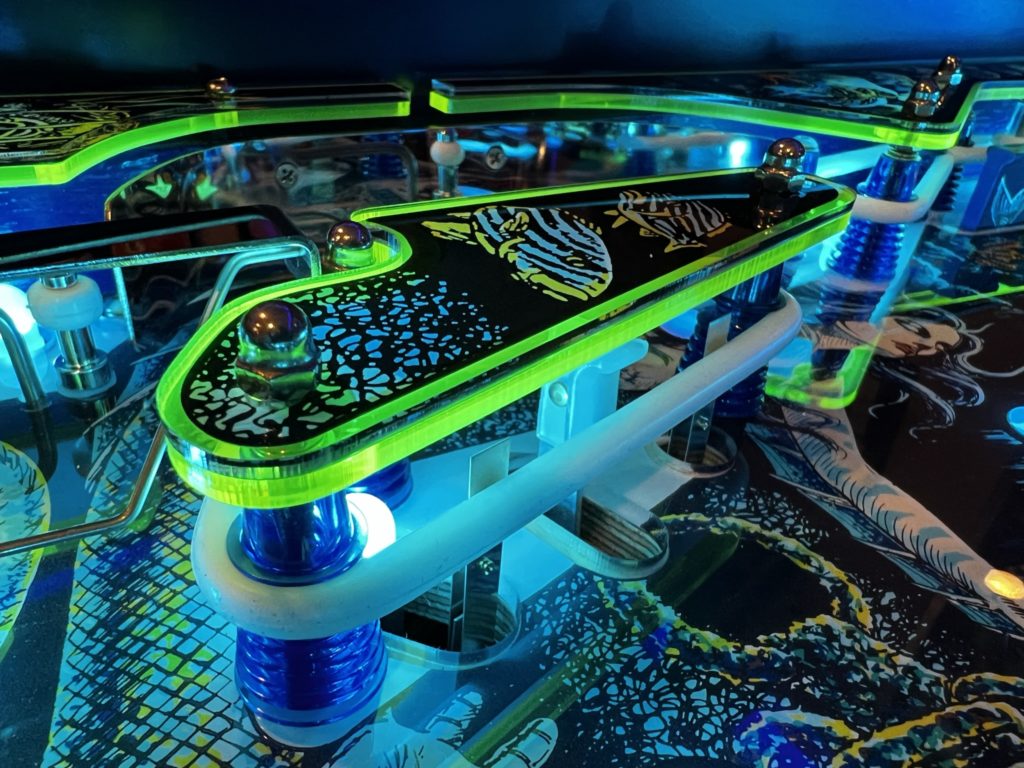
- The game has multiple areas where clear/mirrored acrylic is laser cut and inserted into the cabinet. This is purely cosmetic, adds not incremental functionality BUT looks amazing, rich and custom
- The coin door is skinned with a mirror polished stainless plate. In fact all of the exterior metal on the cabinet is the same high polish mirror finish
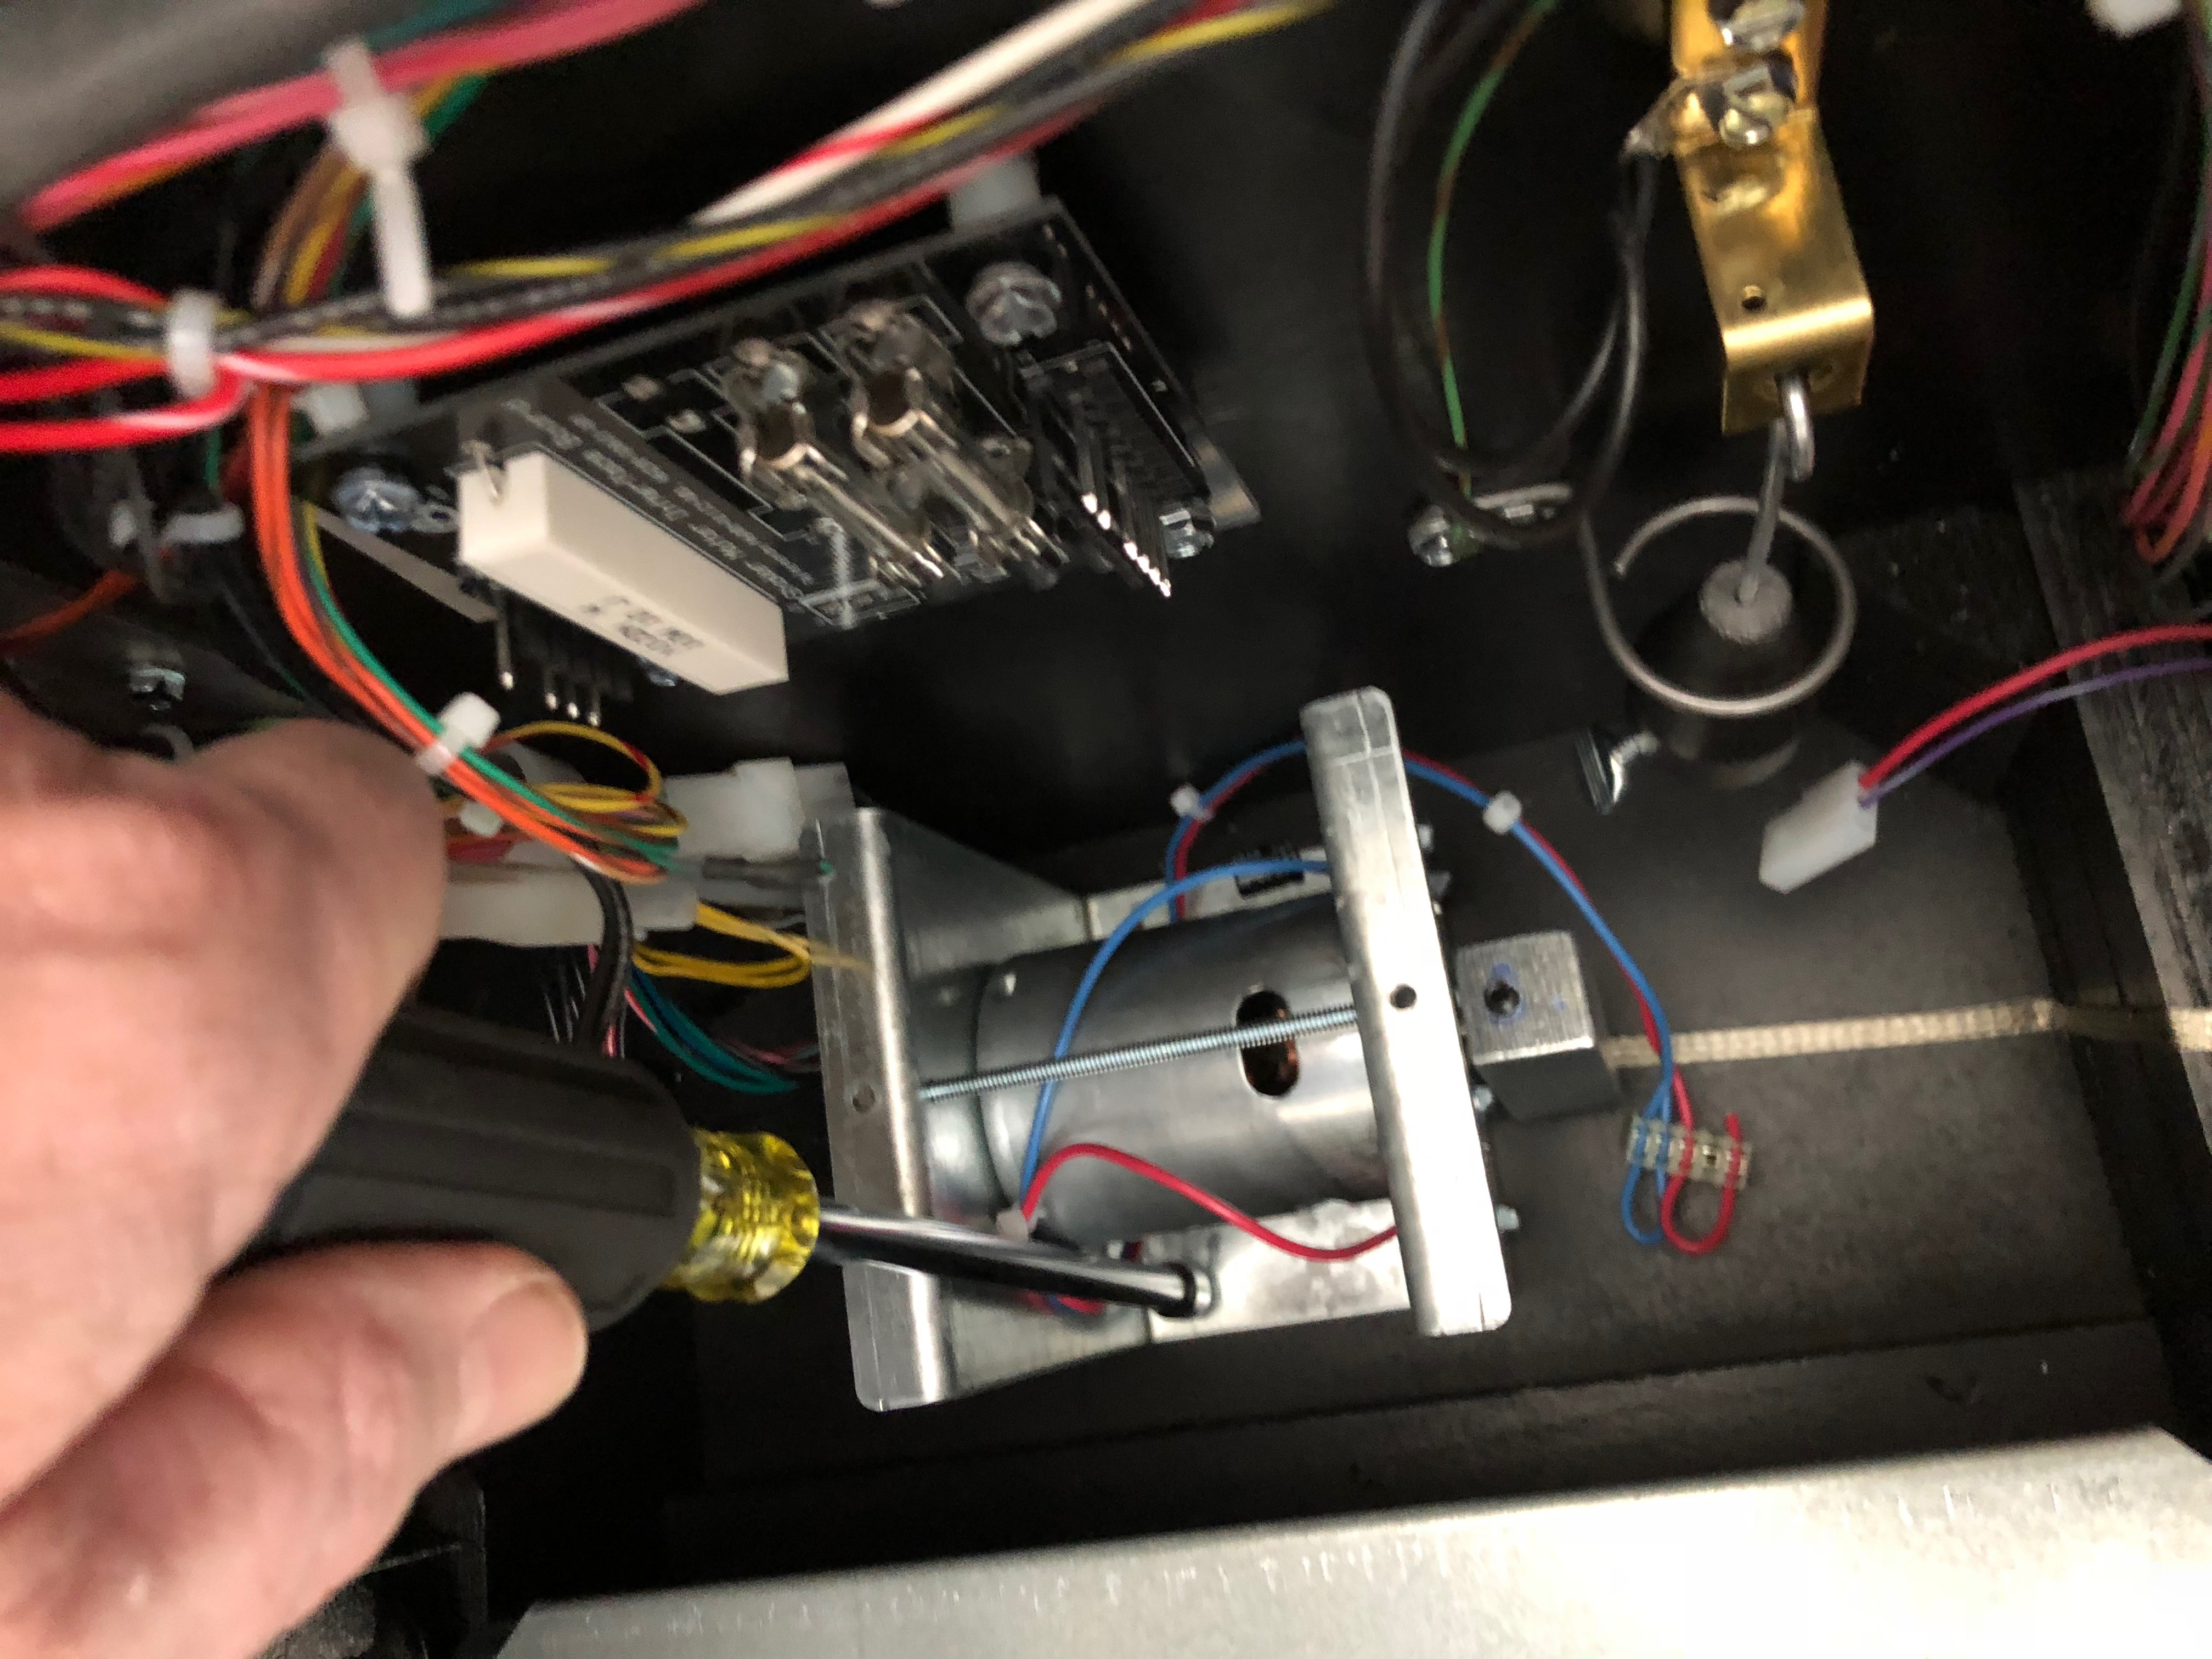
- The playfield service mechanism is a godsend given how heavy this playfield is. Although heavy, the mech makes managing it much easier than the older style with a prop-rod. It has wheels in the back that roll forward to a very positive stop and it can be moved up completely vertically for servicing.
- The playfield glass has highly polished edges – who does that?
- The back glass IS a back glass
Why She’s Special
It just makes sense for me to refer to my last blog post to attempt to explain what I love about this game. That post was written entirely on the subject of trying to understand why I like some games more than others. When I reviewed the content, it became very clear why Fathom Mermaid Edition is so special. Two notes on my comments that follow. First, my thoughts are based almost entirely on the gameplay for the 2.0 code and second, the game is still new to me and is my understanding of the current code:
- Achievement
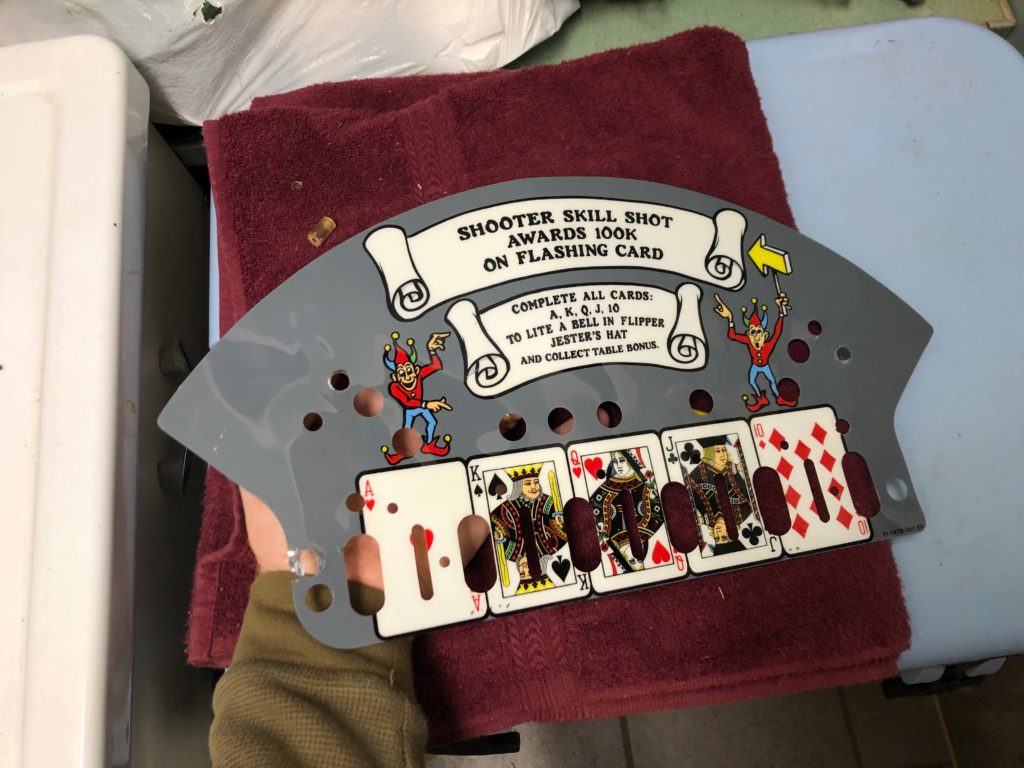
- Part of the good feelings I get here are related to the clear goals listed below. I know what I need to do (or at least I know that after a while, I’ll know). Yes, the code is new to me so I’m no expert but this is not a complicated machine. When I complete a set of upper lane roll-overs, I look forward to the RGB color change in the pops. When I make the skill-shot I appreciate the small screen telling me so – and this was not possible on the 1981 version. I like the idea/story of collecting Mermaid artifacts and being able to see what I’ve done as the game progresses.
- Clear Goals
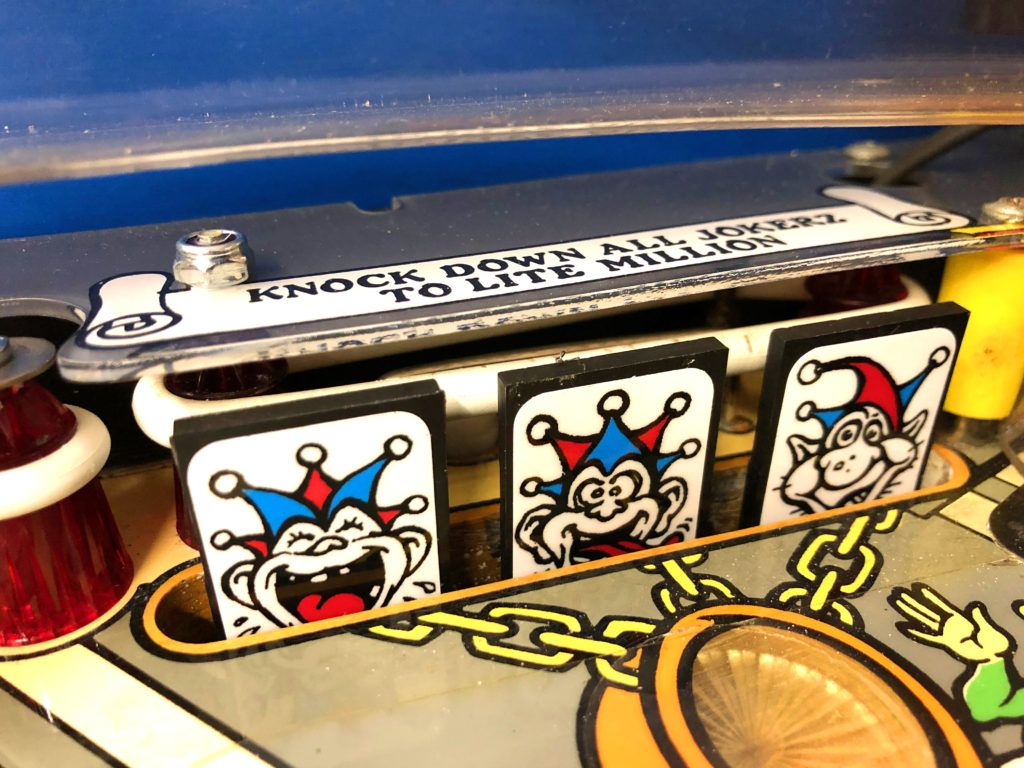
- The game mechanics have not changed from 1981. They were simple then, and remain that way today. The 2 scoops present themselves with an obvious goal to “shoot them” and the strategically placed drop targets do the same. What has changed in the new code is how all of these mechs interact with the new rules. The reinvented “story” now 40 odd years into the future did not muddy that original clarity at all. Blue targets qualify modes/multiballs by hitting the lagoon scoop and green targets qualify Mermaid battles at the right side cave scoop. Hitting the 1-2-3 targets in sequence qualifies mermaid Multiball
- Moments:
- There are “moments” in Fathom that just could not exist without the 2.0 code. As I said in my prior blog post titled “Understanding Why” – moments matter to me. The well integrated (but simple) projector gives the illusion of playing under or around water and adds tremendously to the overall gameplay experience. The incredible use of color in the RGB pop bumpers gives me a burst of color and visual cue when I’ve completed another set of rollover lanes. I love the music shift to pounding, pulsing techno beat when I’m in a mermaid battle, along with the light show, the threatening female call outs and the red score display are another anxiety (good thing) inducing moment. Ripping the spinner makes me feel like I won a million dollars due mostly to the incredible sound. Not just the spinner sound but the equipment and speakers used to reproduce it. I actually look forward to each “end of ball” musical crescendo as it’s one of the best in pinball. Sometimes I “short it” by double flipping and create my own musical ending to the last ball in play – priceless!
- Shot Variety:
- While Fathom may not compare to a Keith Elwin game in terms of shot variety, there are enough different shots to keep my interest AND several of them are challenging. Fathom is no one hit wonder where once you master that “one shot” the game becomes easy. The shot to the Lagoon and the Cave are both a challenge. Knocking down the 1-2-3 drops IN ORDER is a challenge and in the 2.0 code, getting through all the modes to arrive at Mermaid Treasure (the wizard mode) is downright difficult. Along the way, there are plenty of targets to shoot for and in the case of the “blue vs green” drops, each accomplishes a different set of goals. I think Fathom had shot variety as a strength in 1981, that strength has been built upon with Marty’s new 2.0 code
She’s Sensitive
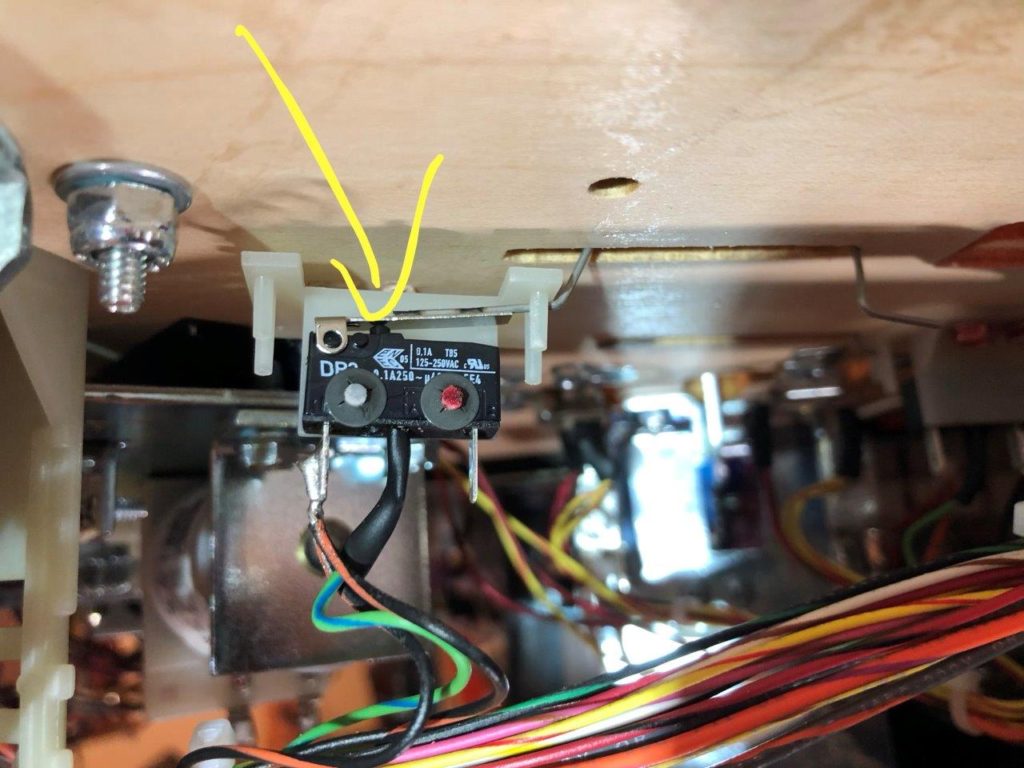
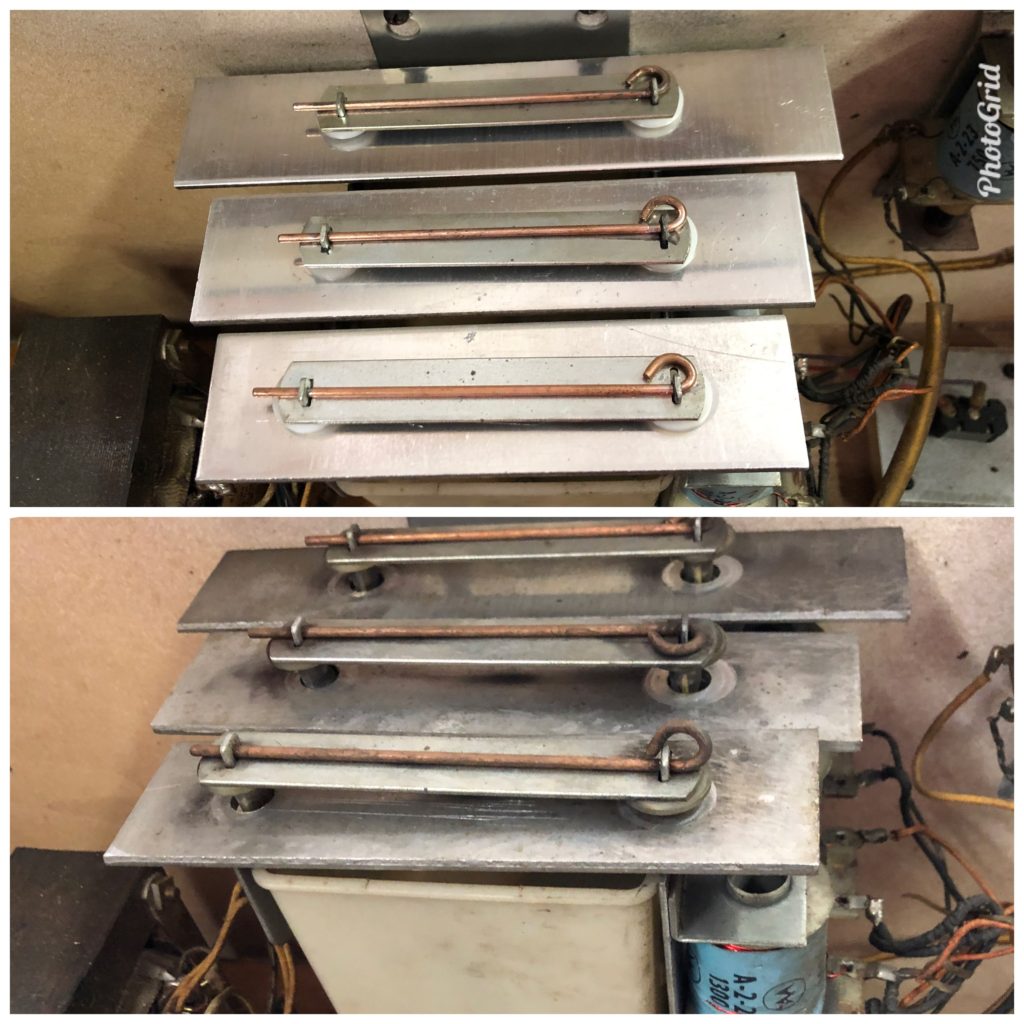
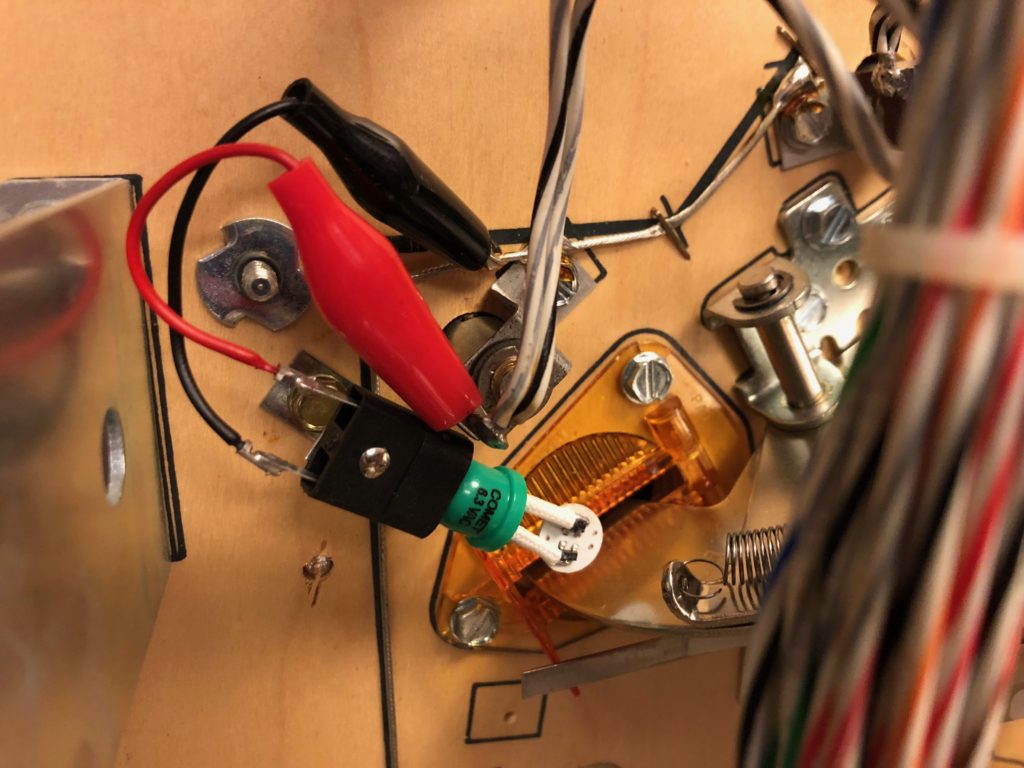
One thing to note, and take it with a grain of salt. This was MY experience for sure – the cabinet flipper switch gap is hyper sensitive to being set perfectly (I’m specifically referring to the right side double stack switch). First, I am certain my switch stack had a continuity issue between the contacts and the copper leaves. I was able to measure it using my multimeter out of the game. The second switch (runs the upper right flipper) would on occasion not function at all. When I tested the switch for continuity from one blade to the other, it tested “open”. If I wiggled it around a bit I could get it to test closed so I ordered a new switch. When I received it (overnight – thank you Pinball Life!) I gapped it before soldering it to the short wire harness (thank you Haggis!) then after screwing it into place I played a test game. Now the flippers felt stronger and the upper was functional but had some flutter and issues with “hold up”. I pulled the switch again and very carefully and deliberately gapped it super tight, paying attention to moving the back support blade (non-conducting) toward the outer cabinet to give as much back pressure support as possible to the contacts. I also used a small piece of 4,000 grit sandpaper to burnish the contacts. Sandpaper on high voltage contacts is not advised so YMMV. This end result was a game changer and the game now plays with zero flipper issues
Summary
The Haggis team has accomplished the impossible. They’ve taken a beloved game from the 80’s and made it SIGNIFICANTLY better in every possible way. The playfield should last forever. The gameplay in 2.0 mode is compelling, interesting and more fun than the original. The sound and lights show are almost without modern peers. The storyline and code as currently integrated checks most of the boxes of “why I love pinball. Simply put, the Haggis Fathom Mermaid Edition Pinball is a monument to how all pinball should be built – with care and attention to detail. Find one to play, you’ll be impressed.
Here’s a link to the TOPcast episode (look for #56)
Here’s a quick game video of me playing on code version .82
The excellent launch article written at TWIP can be found HERE

The “Fixes” (more images follow this section)
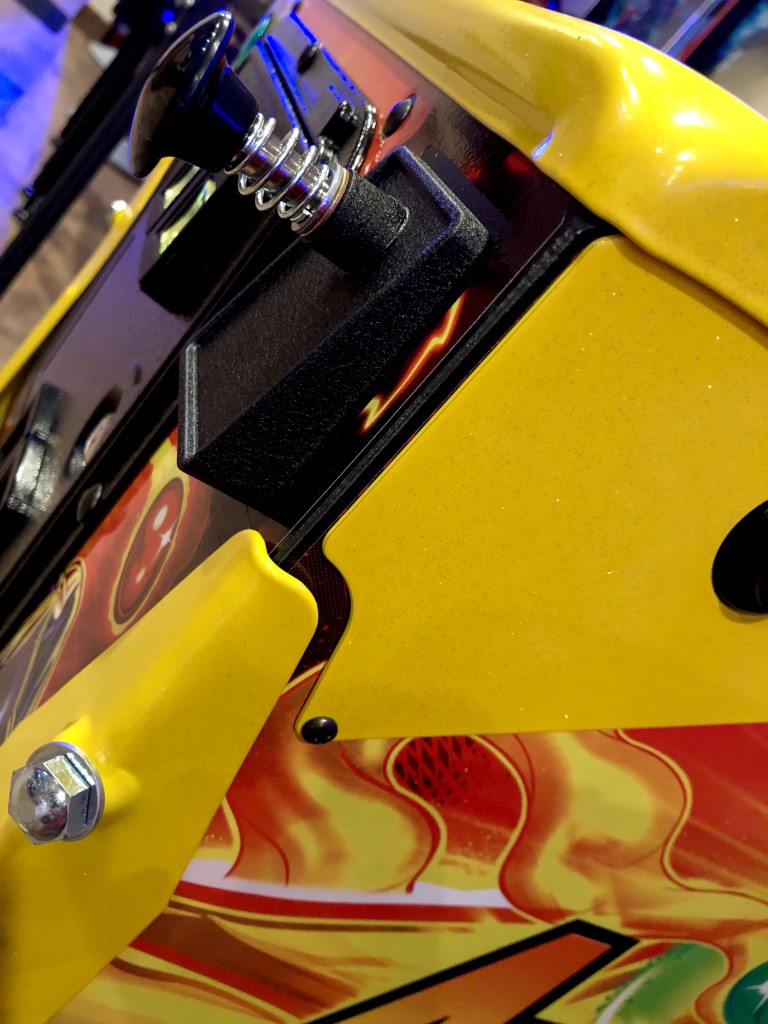
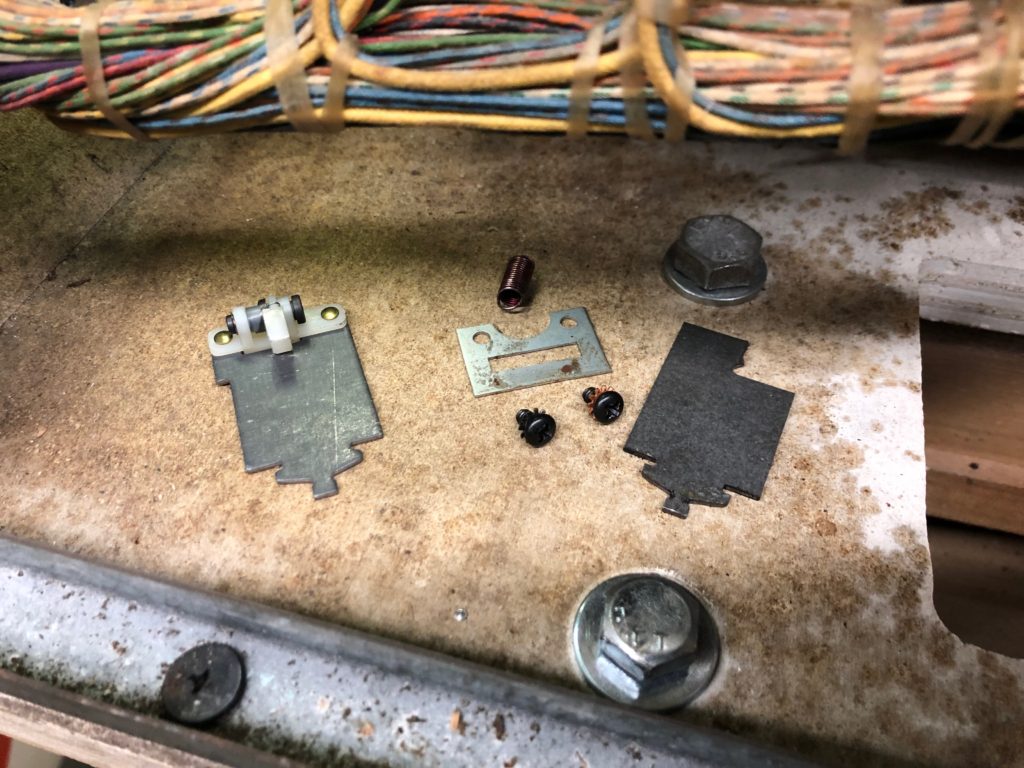
The Flippers:
The flippers required ordering and soldering in a new double stack flipper cabinet switch stack, then burnishing the contacts with 4000 grit sandpaper and then carefully gapping the new switch stack with very minimal gap and maximum back pressure/resistance from the support blades to ensure a fast contact and a strong/pressured one.
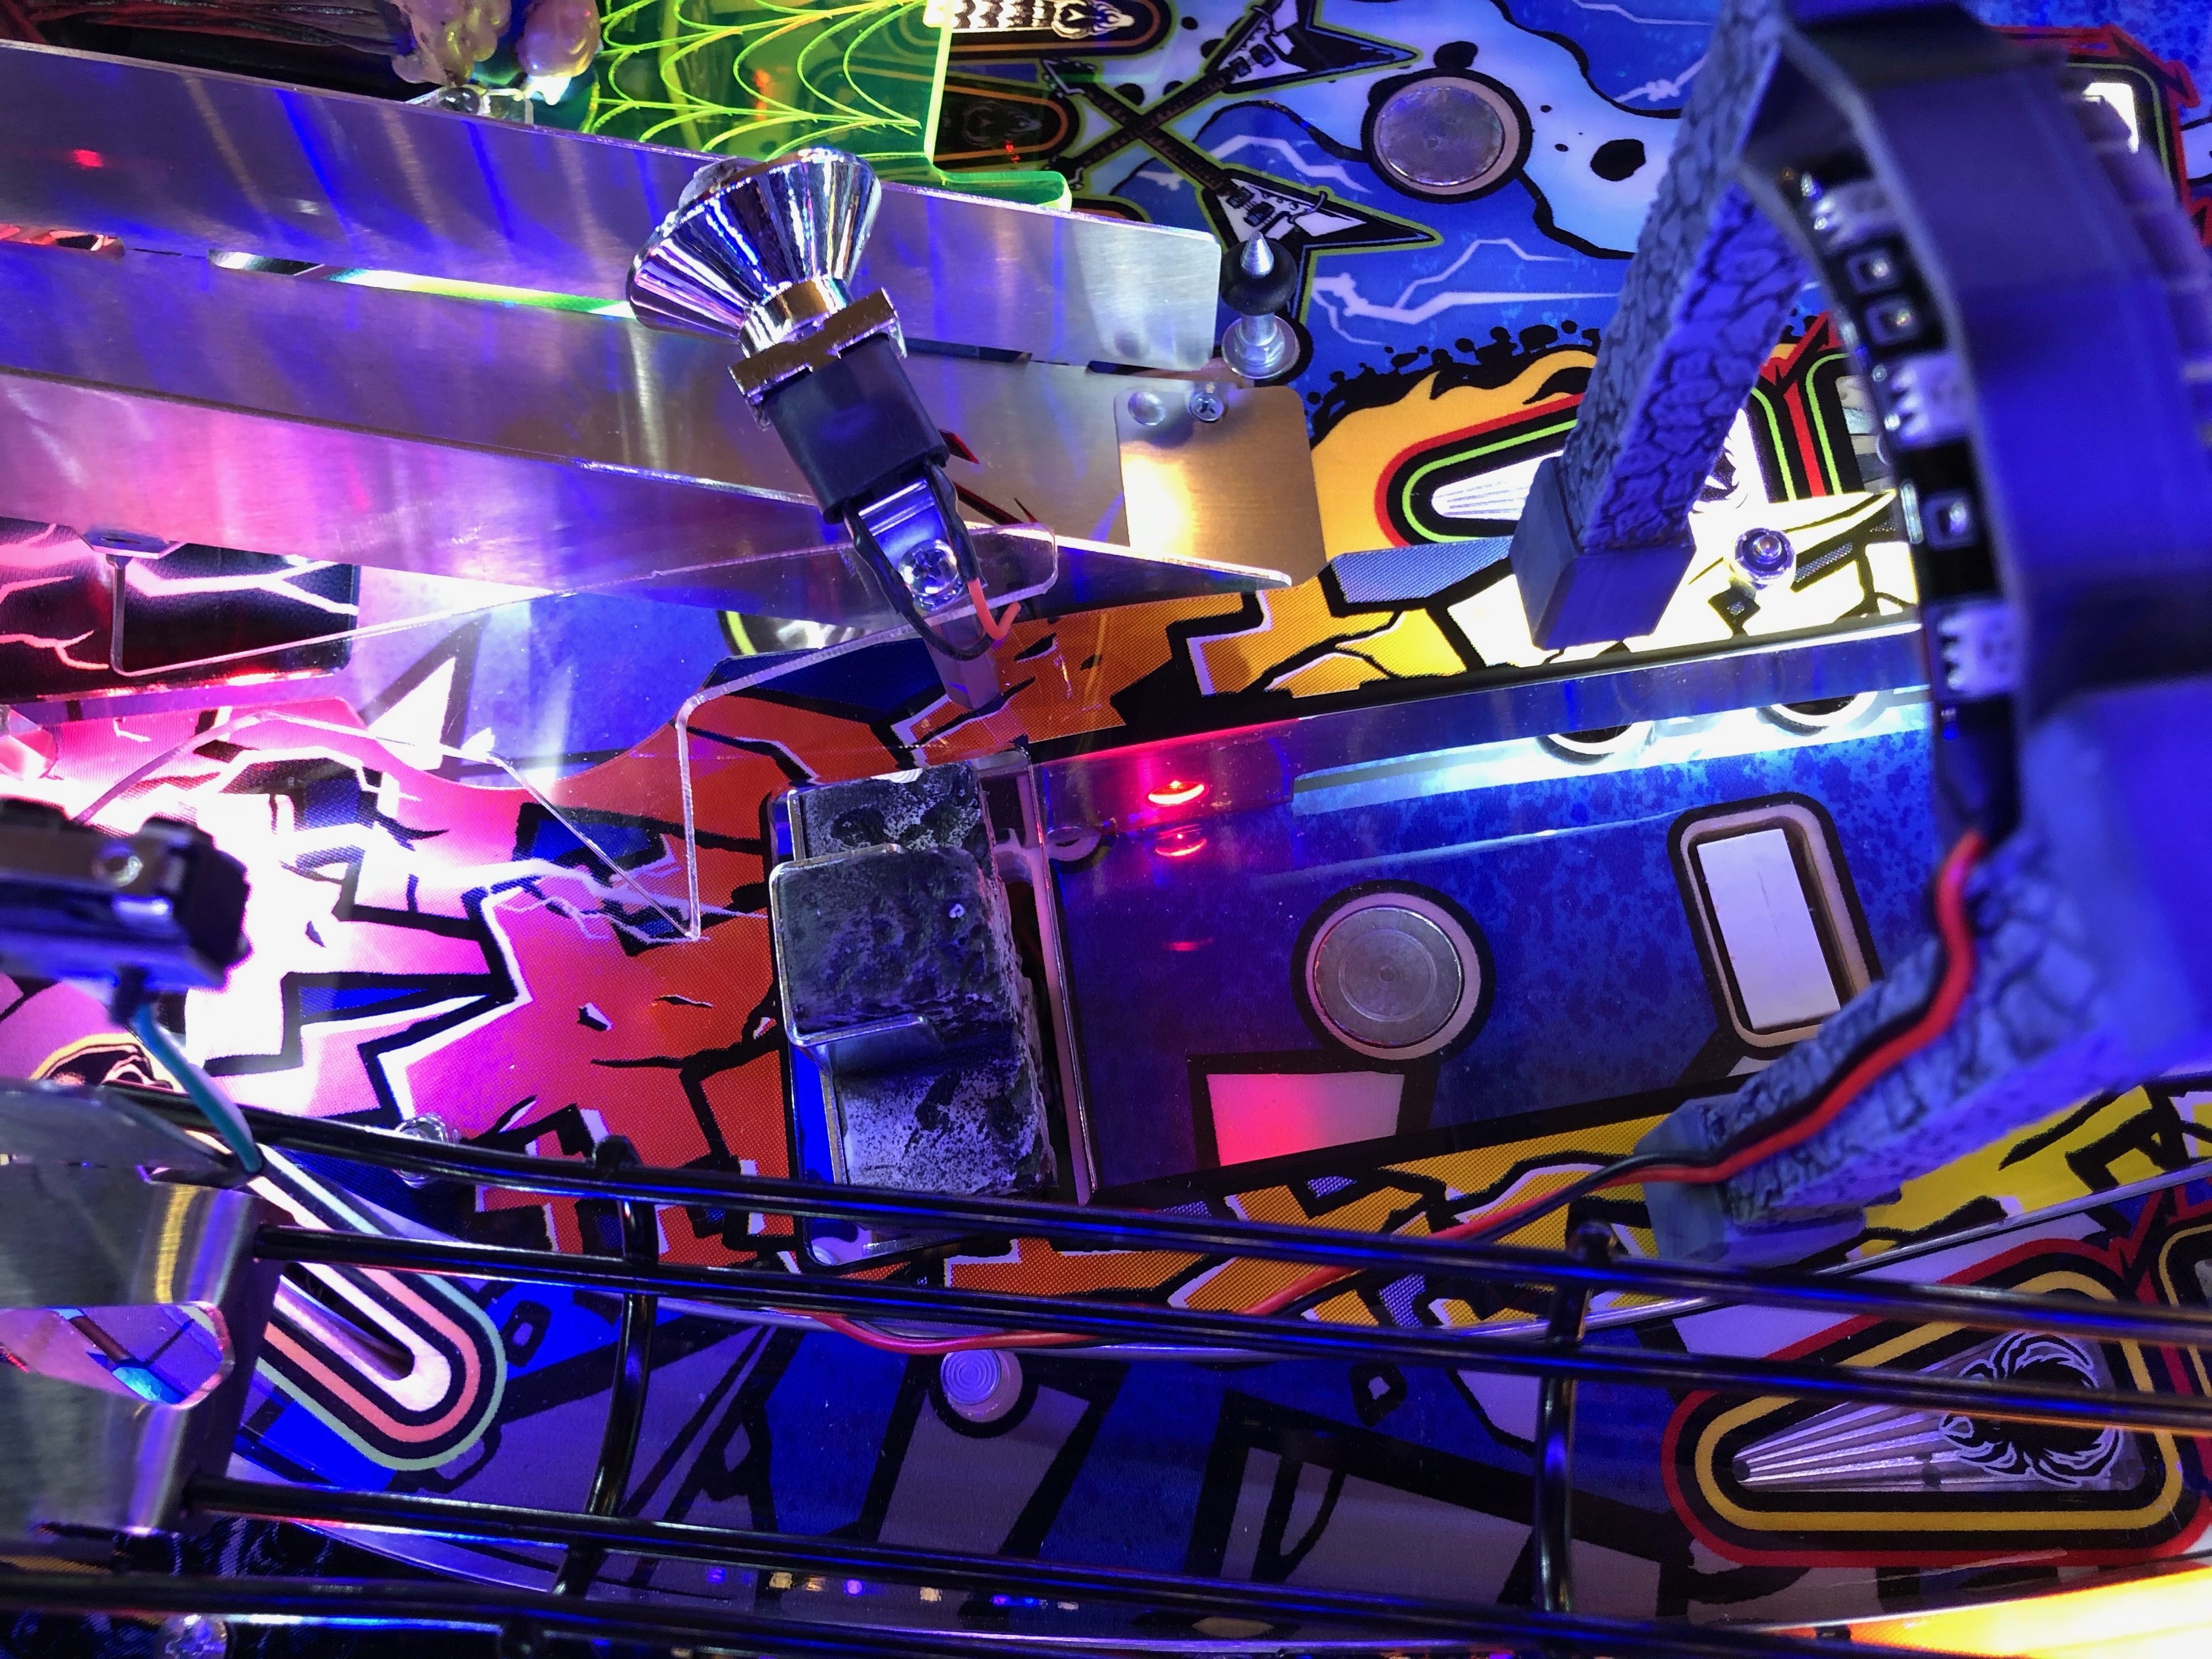
The Ball Launch:
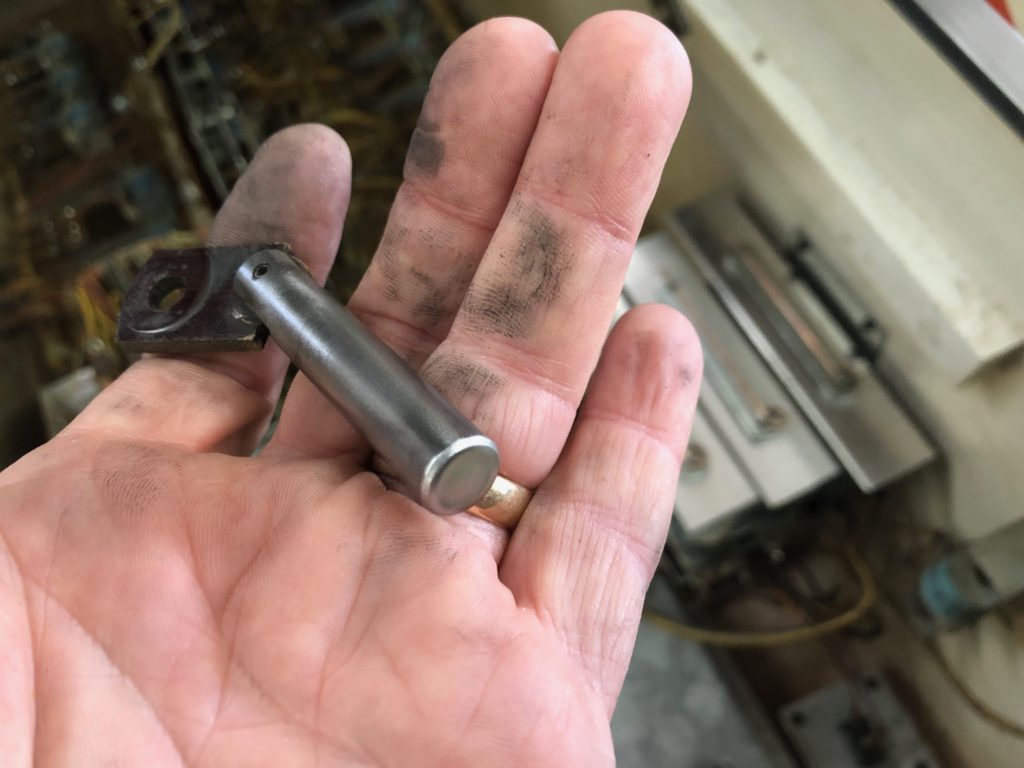
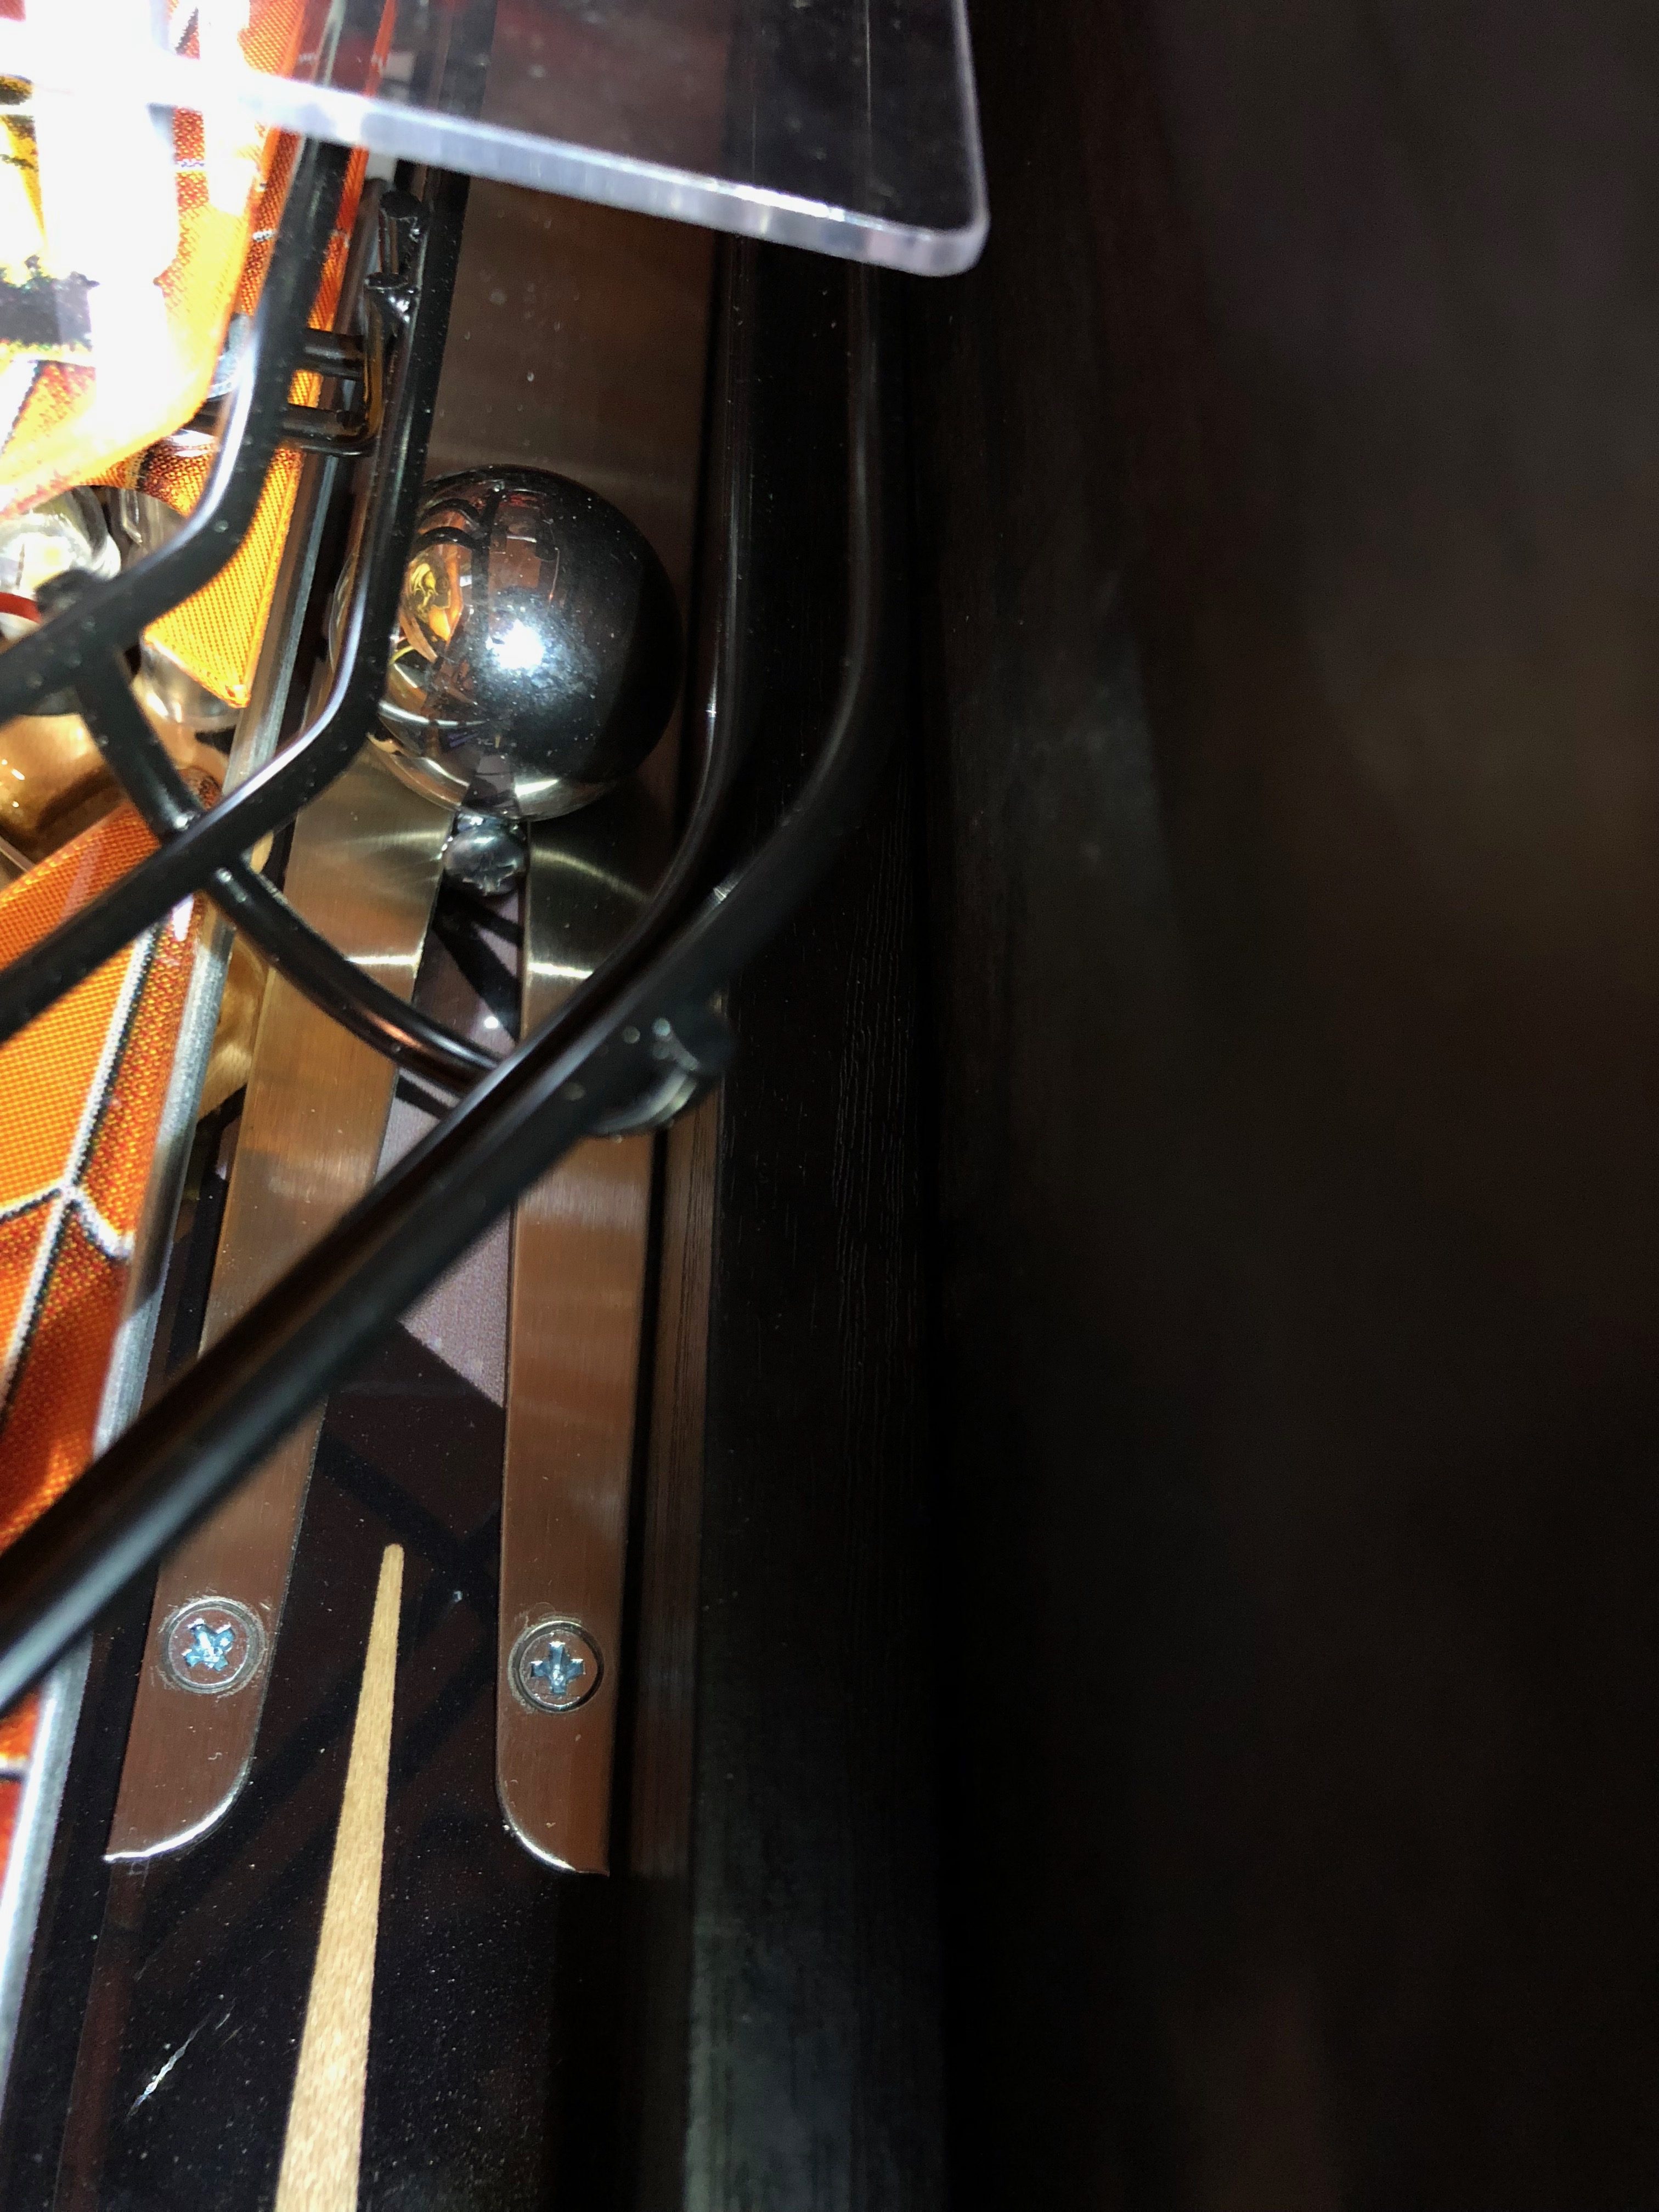
The manual ball launch issue was because the auto-launch was not making contact with both sides of the ball (see gap at red arrow in image). This was pushing the ball away from the rubber tip of the plunger, creating too much distance to properly launch the ball when plunging by hand. I pulled the auto plunger and gently bent both tabs (see white arrows) toward the right. Once bent to the right it allowed the ball to drop back about 3/16” closer to the plunger. While I had the playfield up I switched out the silver plunger spring for a blue one. Finally, the drain inducing outlane was the most complex to correct.

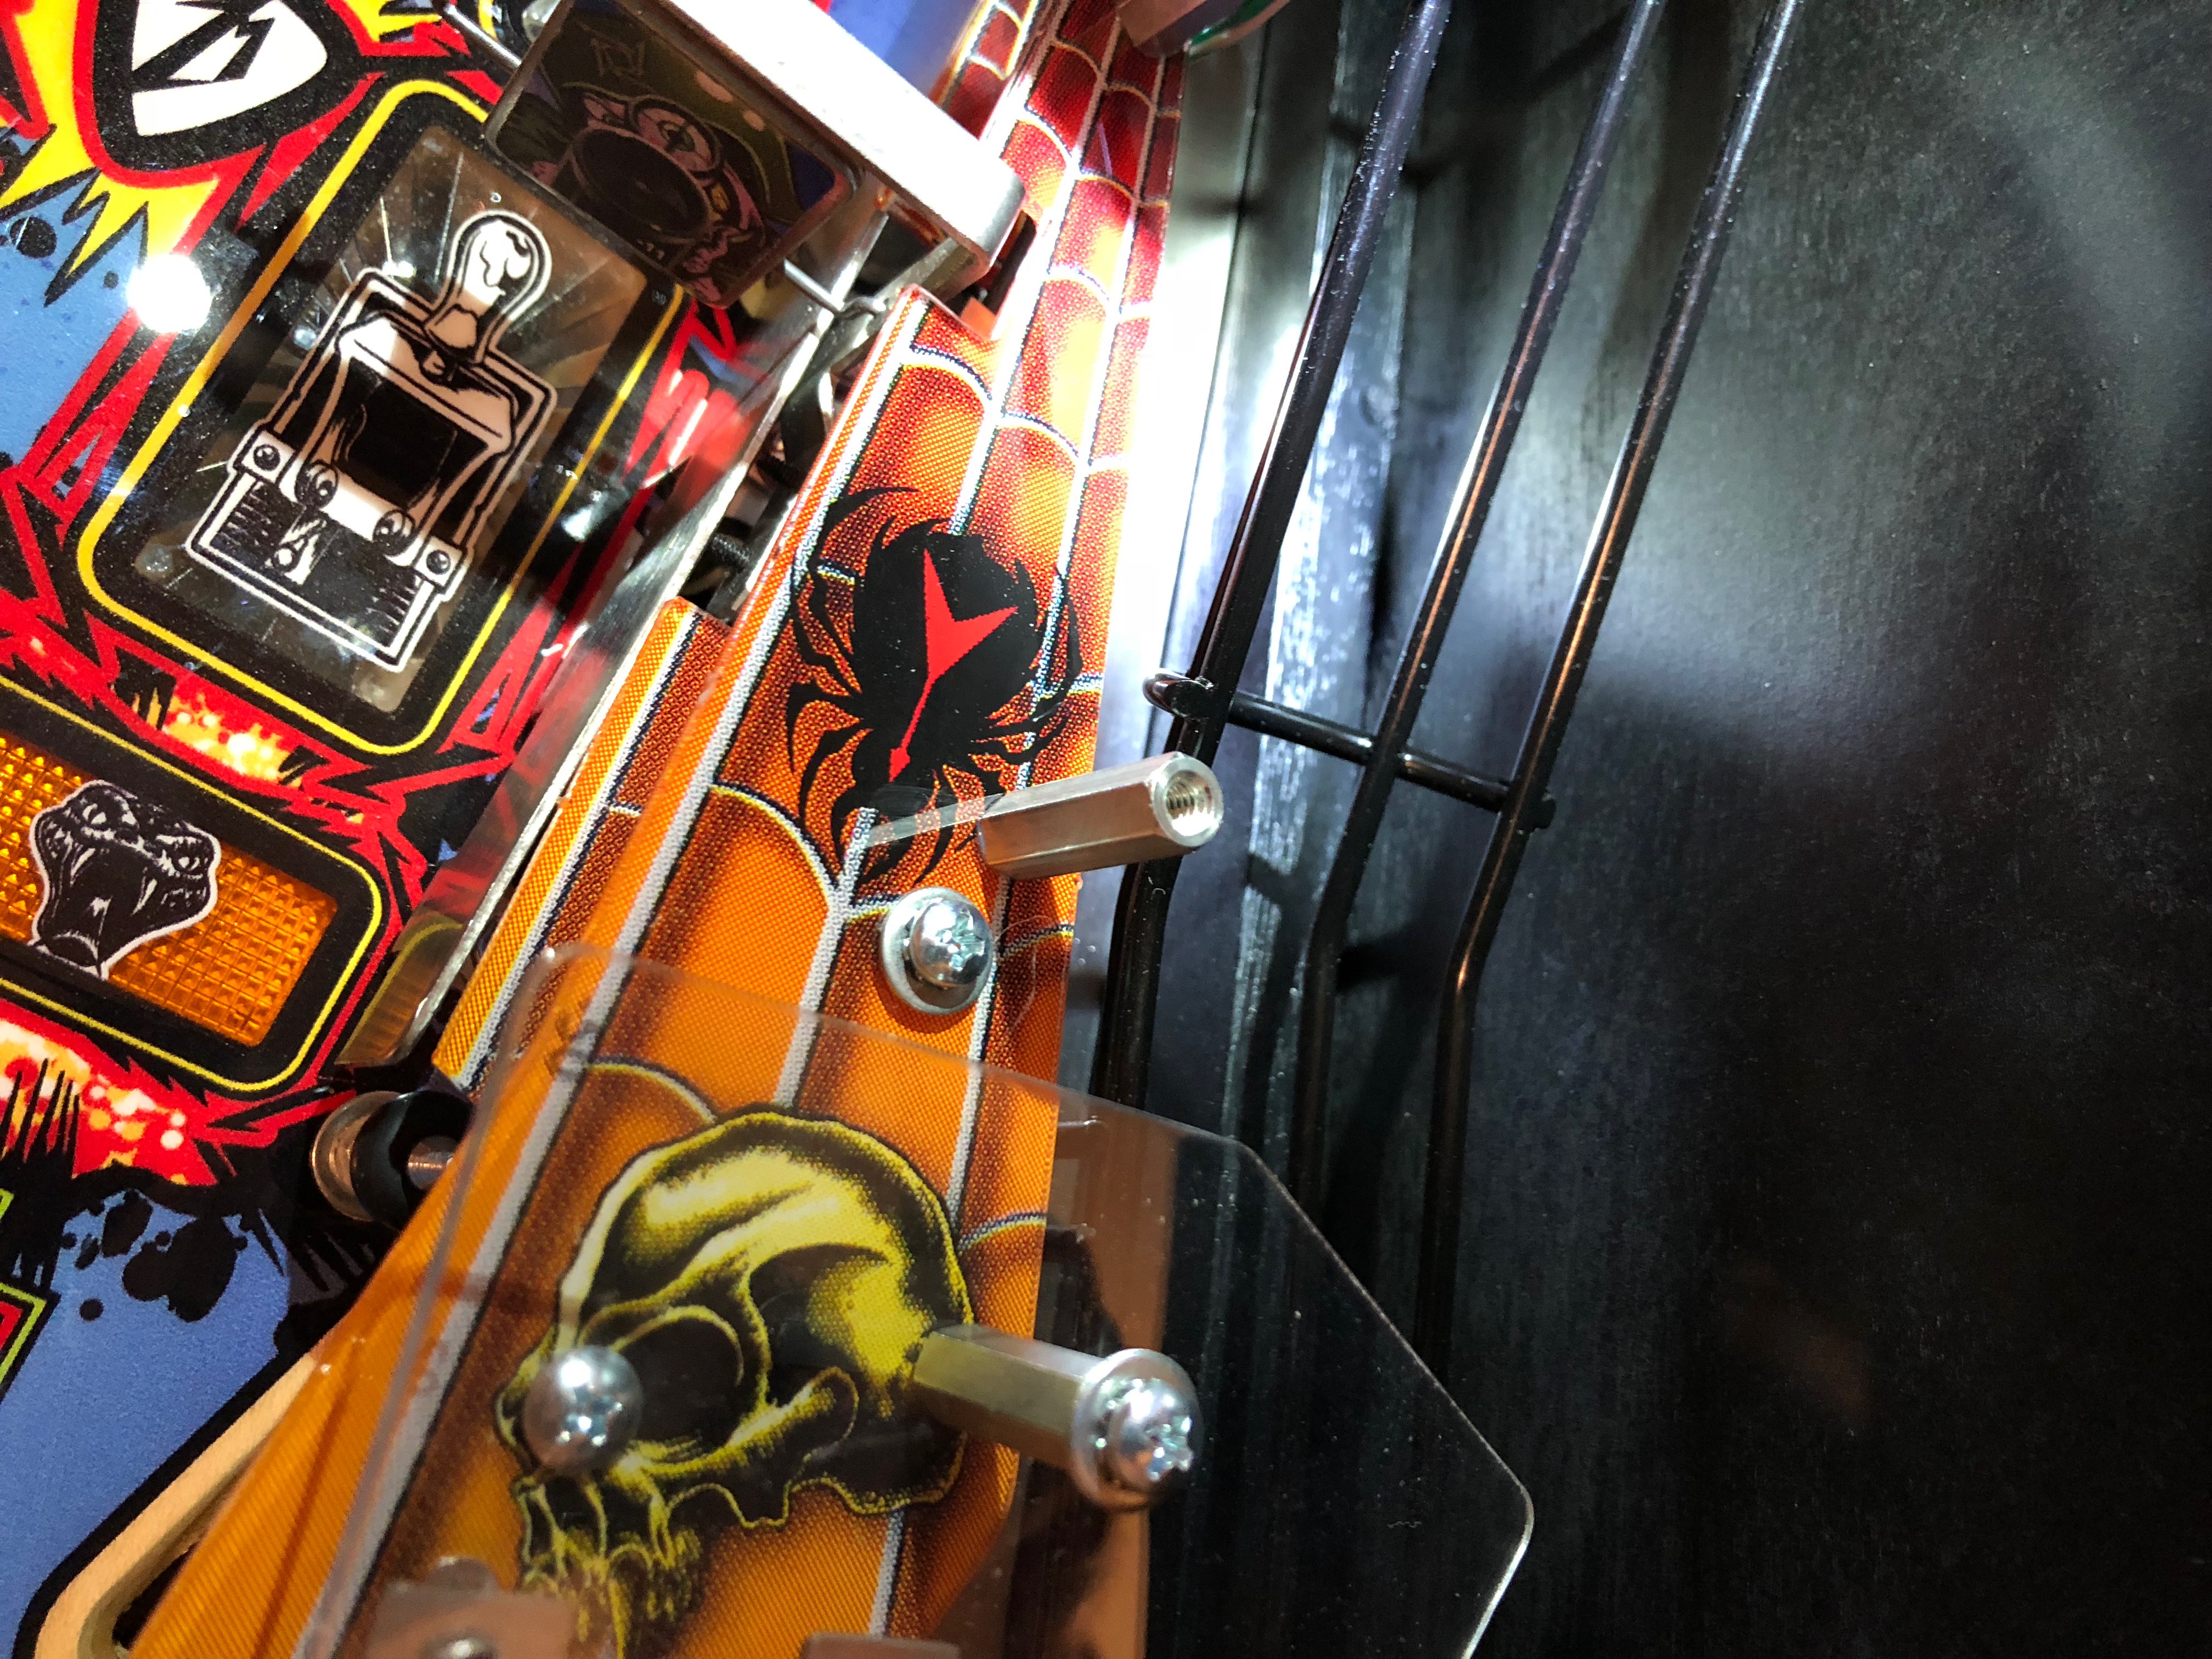
The Outlane Drain
The rightmost outlane is NOT a drain. Rather it’s a relatively safe and repeatable return to the right flipper. On my game, the ball would hit the small rubber on that small post just before the drain hole, then bounce into the upper right corner of the small lane guide plastic, then into the back of the sling rubber and finally back down the drain. It was pretty clear by looking at the left side (a mirror of the right) that the stainless ball guide needed to be bent more to cleanly feed the ball to the flipper.
Here is what I did:
- use a Dremel to oval out the holes on the small plastic lane guide (do the green protector and the printed plastic)
- this allows you to drop those plastics and open up the lane (my ball was hitting the leading edge/corner as it tried to enter)
- next remove the two plastics that sit on the rail and cover the “C” shaped stainless steel lane guide
- pull the “C” shaped stainless lane guide (use 7mm socket and an Allen key to remove 2 bolts and nuts in 2 mounting tabs that go thru PF
- remove the 2 Phillips screws that are inserted sideways into the rails using a stubby screwdriver or right angle screwdriver
- pull the guide with the PF flat as there are 2 thin, white nylon washers under each mounting tab
Now, time to bend the guide:
- put the end of the lane guide (up to the first mounting tab) into a bench vise (protect it with tape of thin rubber) and gently bend
- note you’re bending only a 1” or so section of the guide, starting with the first bend as close to the mounting tab as you can get
- start NEAR the mounting tab and work your way toward the end, it bends easier than you think – you should bend 4 times in that total inch
- each “bend” should be just enough for you to feel the metal “give”, then stop, a little is a lot
- if you don’t start at the mounting tab, you’ll remove the bend you just made when you put it back into the vise!
More Game Images

FATHOM REVISITED RULES v0.82
MERMAID MULTIBALL
• 1,2,3 in sequence starts Mermaid Multiball – 2 ball
• 1,2,3 down during Mermaid Multiball = Jackpot
• Jackpot value increases with each set of banks down
• Super Jackpot awarded after 5 sets of banks down
• Underwater Breathing is awarded by getting the Super Jackpot which enables the player to have enough air to get to the mermaid treasure
LAGOON MULTIBALL
• Hitting the blue drop targets on the left target bank lights lock at top saucer for Lagoon 3 ball multiball
• All blue inline targets down score Super Jackpot in saucer – holds ball for 10 seconds
• Both balls in saucer lights Super Jackpot at Extra Ball target
• A Navigation Device is awarded by getting the Super Jackpot which is needed to navigate the caves and find the mermaid treasure
MERMAIDEN BATTLES
• There are 4 mermaidens to battle
• Uses a “fighting game” mechanic with health bars – time battle
• If battle is won, then Cave Escape begins immediately
• Successful Cave Escape gives lit perks to the lane returns during Mermaid Queen Battle
CAVE ESCAPES
• After defeating a Mermaiden, others start attacking and you have to return to the boat
• Here’s how to return to the boat:
o JETSKI – use rollovers to get speed to return to the boat
o WINCH – hit drop targets to rise up to the boat
o SCUBAJET – spinner primes the Scubajet, then any scoop to get to the boat
o DOLPHINS – pop bumper hit make Dolphins swim to the boat
MERMAID QUEEN
• 4 Mermaidens to battle along with the Queen
• Mermaiden shots are: Lagoon targets, Cave targets, left bank Drop targets and Pops
• The Spinner charges a Sonar Bomb to use as an extra hit to the Queen
• Final shot is to the Lagoon to destroy the Queen
• After Mermaid Queen is defeated, take victory laps
• Other perks: 1,2,3 targets in order gives a Mystery Award
• The Mermaids Trident grants access to the Treasure Cave
FATHOM JACKPOT
• Need to progress various playfield shots to light the Fathom Jackpot at the right Stand Up target
• Must be completed on 1 ball to light (can be set to progressive in menu)
• Shots: left bank Drop targets, Spinner and Lagoon Drop targets, ABC lanes, Pop hits x 50 and final shot to the Extra Ball stand up target
MERMAID TREASURE LIGHT
• Lit at Lagoon saucer
• When successfully collected:
o Trident from Mermaid Queen
o Navigation Device from Lagoon mutliball
o Underwater Breathing from Mermaid multiball
o Treasure Key from playfield Super Jackpot
• If you fail to complete the wizard mode (drain ball) you lose the Treasure Key and will need to get the playfield Super Jackpot again
MERMAID TREASURE GAMEPLAY
• Work sequentially through playfield elements to get to the Treasure Room
• Navigation Device needs to be powered up (spinner and pop hits) to then light the way to a room that is locked
• A shot is lit to progress through each locked room: ABC, 1,2,3, Cave drops, Lagoon drops, Left bank and final shot to the Cave