Clayton Q & The Creature
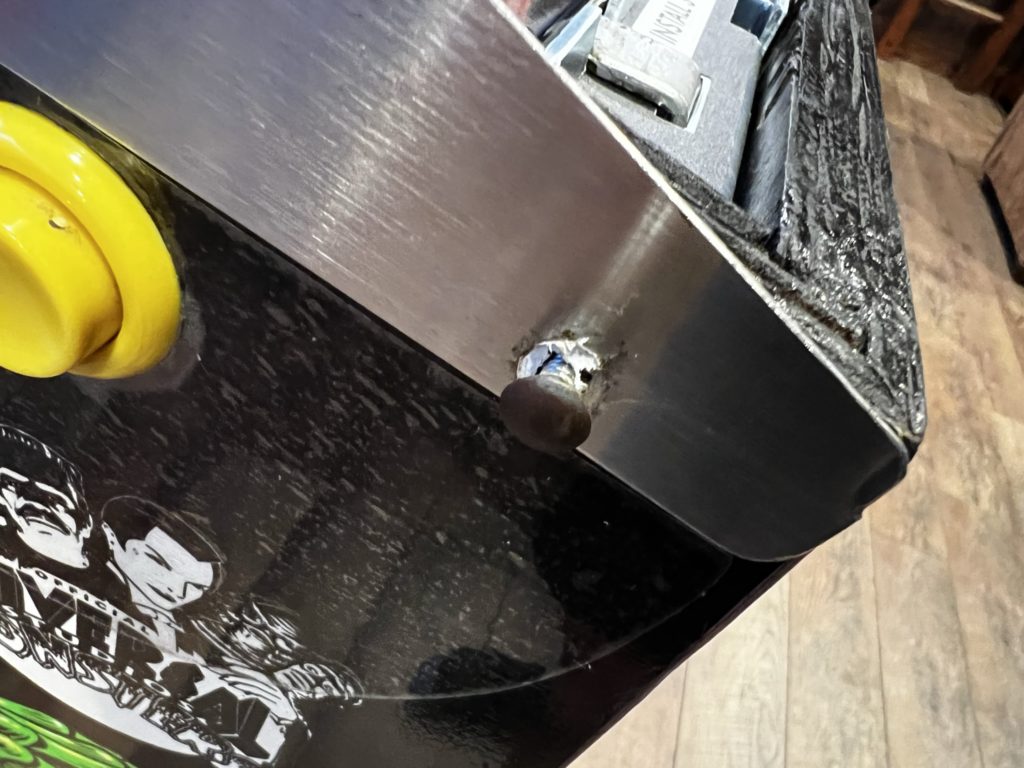
If you’ve read my post earlier on the Creature I recently acquired, you’re aware that although it was nice, there were a few bumps and dings in the nearly 30 year old game. One of those issues showed itself in the typical dents you find in the side rails. Most of the time these dents align with the exact spot where the head folds down to contact them. If the operator or owner is not careful when lowering the head, it’s easy to dent the rails. In this case, the dents were one side only and much higher up the rail than you would typically see. The damage looked like somebody had dropped something on the left rail to cause the 2 dents that were very visible (and ugly) to the naked eye. When I bought the game, I decided I would do a “mini-restore” on it so I knew in advance that the rails needed to go.
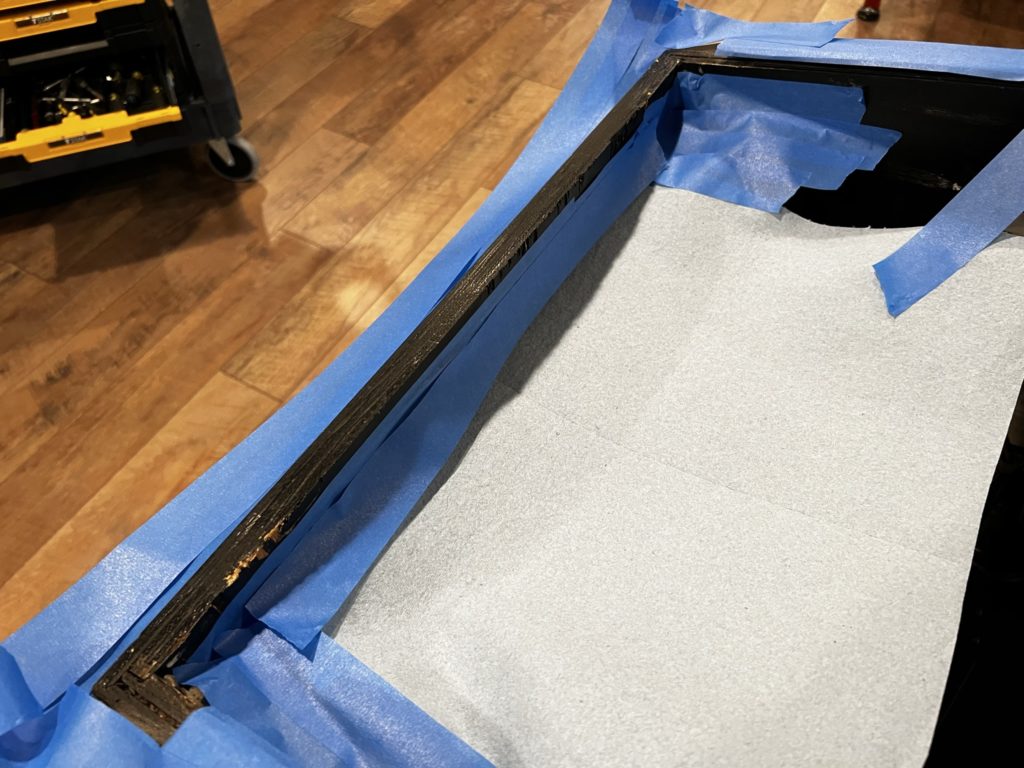
Up to this point, I had already done quite a bit of work on the game. Including a new LED edge lit Creature, lit pops and a few other things. The 3 things that bothered me most were all cosmetic. The lock down bar receiver, the coin door and the dented side rails. I ordered a new lock down receiver from Pinball Life and it came (as usual) in a flash. I removed the old receiver, taped off the area around the cabinet edge and shot some fresh black paint to cover up the various splinters and crud that had built up there over the years.

After a few minutes to allow the paint to dry and with the playfield tilted up and out of the way, I replaced the old receiver. It’s just a few bolts and 4 or 5 wood screws to replace. The biggest challenge here was that one of the holes (the hole farthest to the right from the players position) that the bolt goes through was not drilled in a spot far enough to the right side of the machine to allow it to be properly mounted. I used a large drill bit to “yoke out” the hole more toward the right side of the cabinet. I added approximately 1/4″ of more “play” to move the entire receiver farther to the right for final mounting. To be fair, the receiver mounted in the original position, but when I attempted to add the lock down bar, it was pushed to far left and would not drop down onto/over the right rail – it was “off” by around 1/4″. I did not take a ton of pics during the install but the process (less making that right side hole larger) was very straightforward

The coin door came a few days later and I was back in the loft to complete the install. As is the norm, these seemingly simple projects can get a little more complex than anticipated! The existing door was scratched at some point and someone attempted to paint it – it looked like they might have painted it with a stick because no paintbrush could leave it looking that bad. The coin slots were a mess as well being all dinged up and the straight edges/right angle corners now reduced to wavy and rounded. Just ugly. No matter – I had a new coin door. I was 4 bolts and 1 molex connector away from a new face on the Creature! Or so I thought.
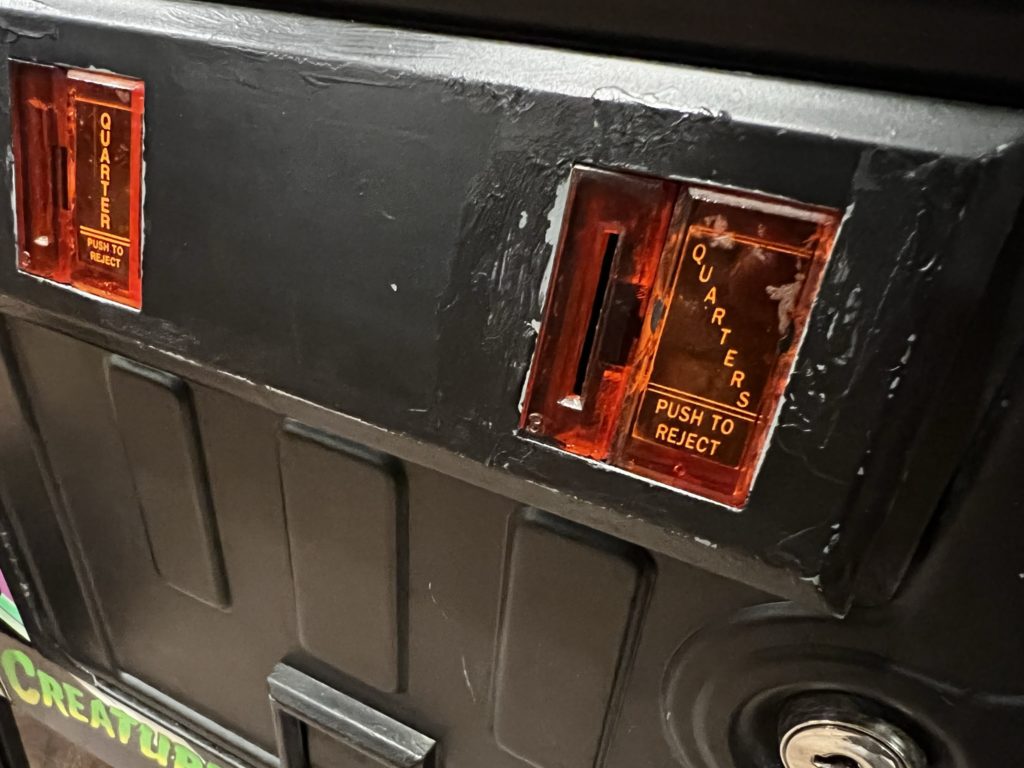
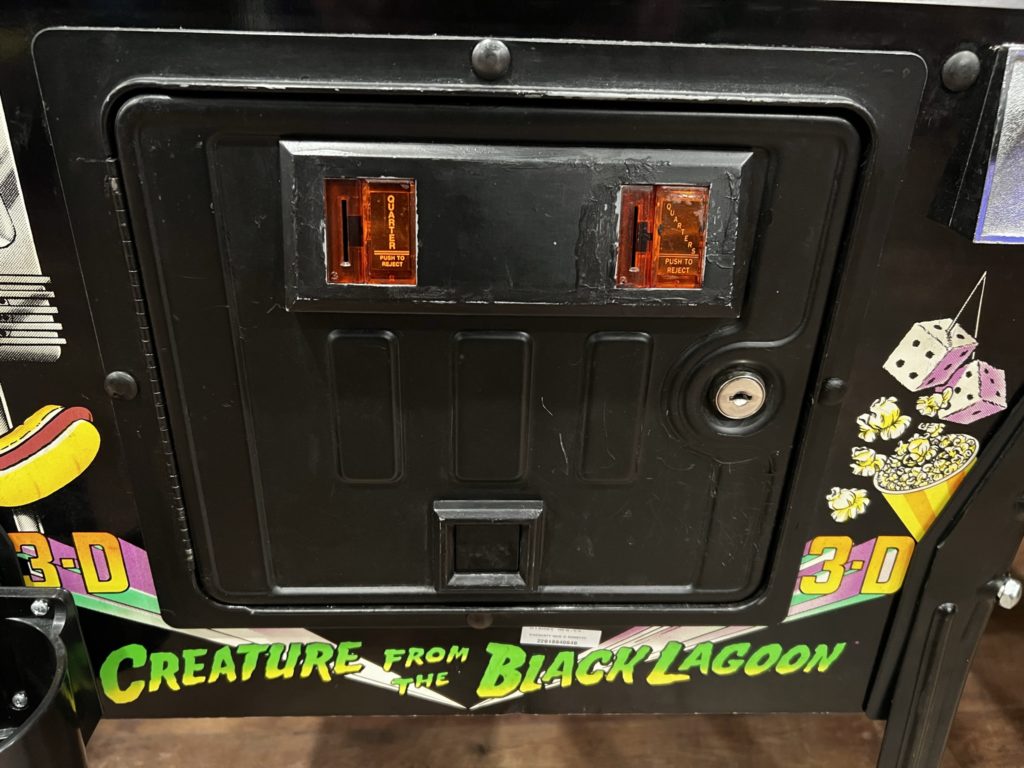
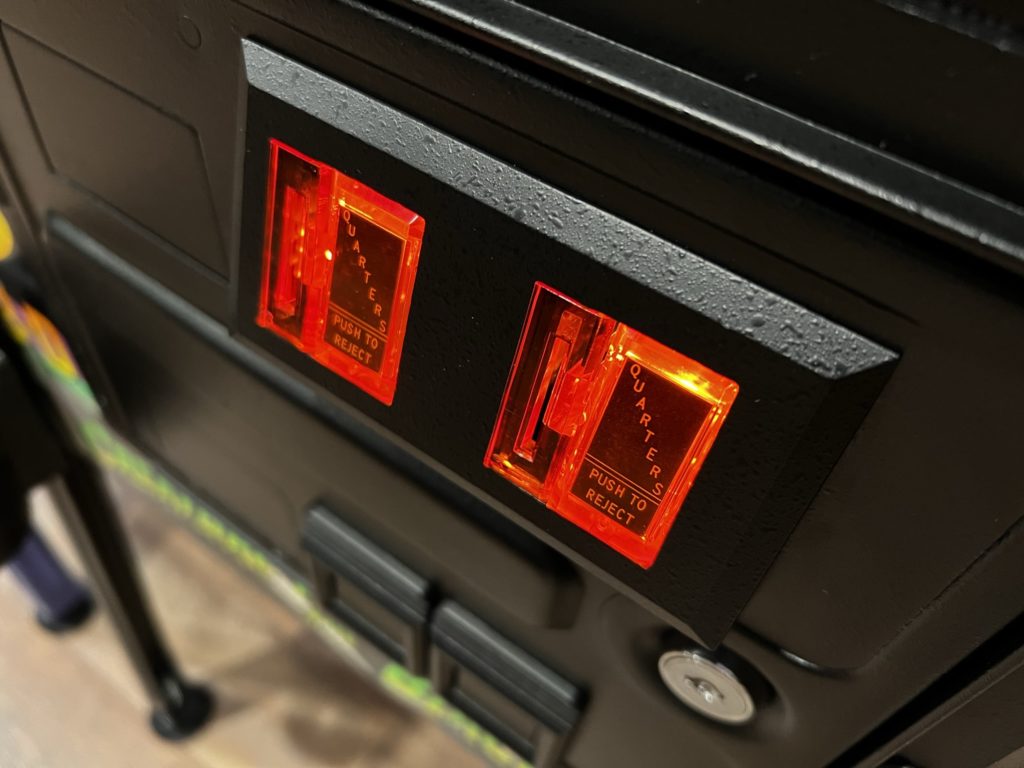
The bolts came out quickly. The molex connector was even faster. I spent 30 seconds cleaning the cabinet decal that was hidden behind the old coin door metal surround and then just a minute or 2 bolting the new door back onto the game. Then the door wouldn’t shut. Ugh. The interlock switch can be mounted in several positions and the flap on the new door that pushes the button in can as well. It took a minute to get all that shifted, and I had to remount the interlock switch on the game a bit deeper to the left of the cabinet. 15 minutes later all was right and the new door was in place. It looked amazing!

So what remained of the cosmetically deficient items that needed attention? Just those pesky rails. I had ordered them when I ordered the coin door so they were already in hand. Now I just had to install them. Trouble is … I’ve never done it before. I like pictures and the written word (blog anyone) so it took a bit to find someone that had taken the time to document the process. I finally found a really good tutorial and studied it closely so I had an idea of what I was getting into.
I then decided I would shoot some pics/video during the install in order to fill in some of the gaps that the existing tutorial left open. For one, the images in the tutorial show the putty knife square to the rail when trying to separate the rail and foam tape from the cabinet. I would not do that. It was VERY hard to push through that foam tape with the entire width of the putty knife. Instead, go under the rail at a 45 degree angle. You are leading with one corner of the putty knife and it takes less pressure and moves faster. Also note that in the tutorial, there was a stove bolt and nut on each rail near the front (coin door) of the game – same as mine. There was also a spiral nail driven into each opposite end (near the head and hidden behind the hinge) – mine did not have that nail. It had a hole available to add a nail, but nothing inserted
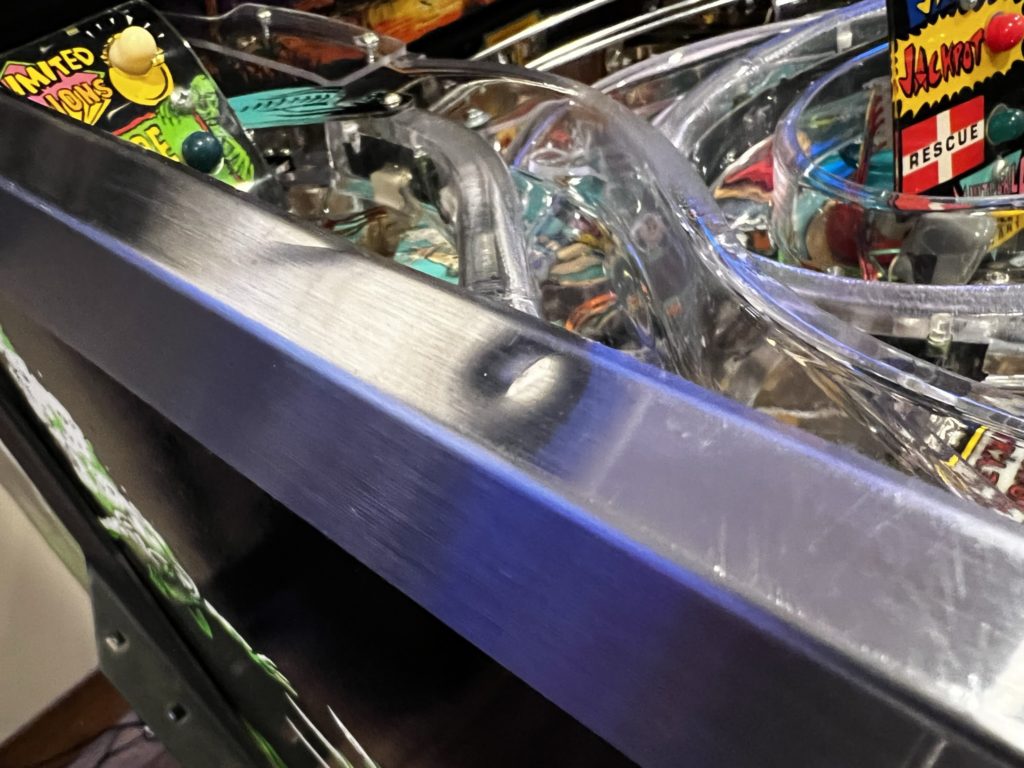
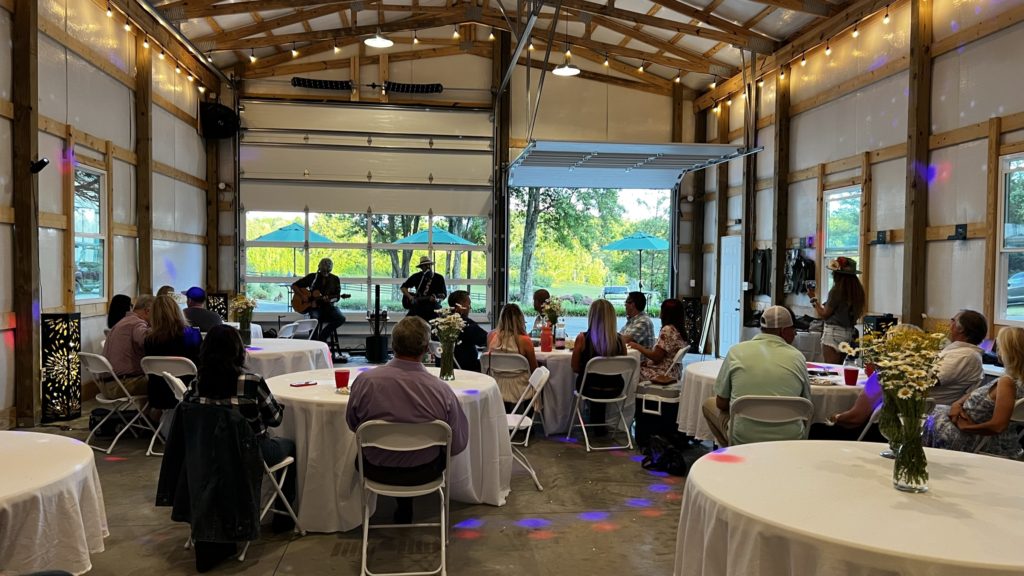
With the new coin door installed and a brand spanking new lock down receiver, I simply could not ignore the dented rail any longer. Our weekends here at the Red Heaven Ranch are always jam packed with activity, or ranch work (or both) and this Saturday was no different. Today we were prepping for an evening concert event. Clayton Q and Randy Russell were playing a private acoustic set for about 25 people. There would be a lot of work to do beforehand and some of that would fall to me. If I was to get these rails installed, I better start soon and finish early!
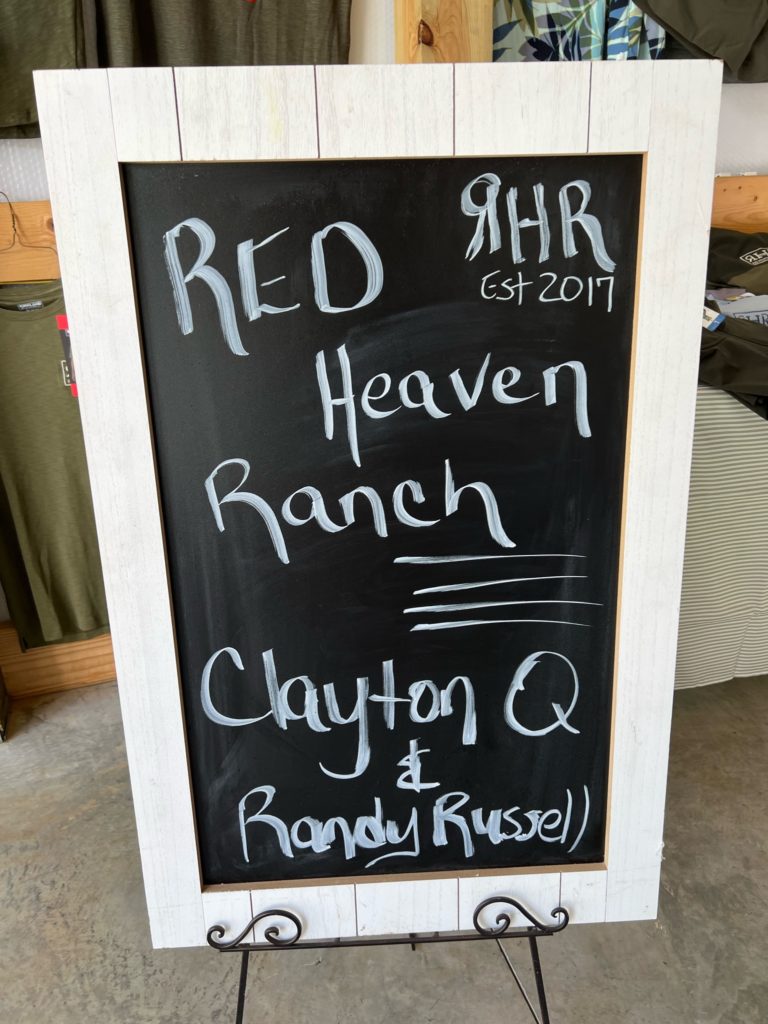

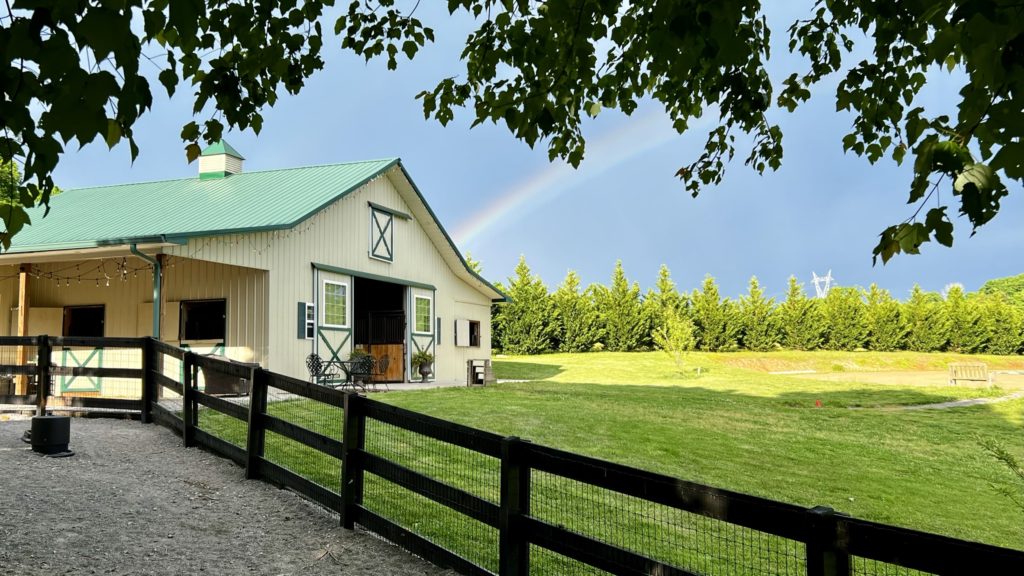
I put the mowers back in the pole barn, burned some boxes and was walking back in when it looked like we might get some rain off in the distance. The rain never materialized but a beautiful rainbow did and I ran over by the mini’s dry lot to snap a picture. It stayed for over an hour and eventually began to double. I took several photos before it was time to get back at preparing for the concert
I finished all my chores and we were now ready for the 6:30 evening show. Time to get after those rails.
I popped back over to the Loft and gathered all the tools and materials I would need to get my new rails installed.
The steps are simple, the work is tedious but it’s not hard:
1) Remove the single stove head bolt near the lock down bar
2) You “may” need to lift the playfield to get at the nut on the interior of the cabinet – I did not
3) Remove all 3 nuts on each side of the cabinet head that hold the hinge to the base of the head
4) Pull the 3 matching stove bolts out from the bottom (or watch as they fall out now that they are missing the nut)
5) Carefully rotate the hinge so it’s hanging down (don’t allow it to scratch your cab as it rotates)


6) Lay a double row (one on top of the first) of wide painters tape just below the edge of the old rail
7) Use your putty knife to carefully slide it (and an angle, not perpendicular) under the edge of the rail until it bottoms out
8) Work your way from the coin door end to the head end until the old rail is loose
9) Pull the old rail off the cabinet

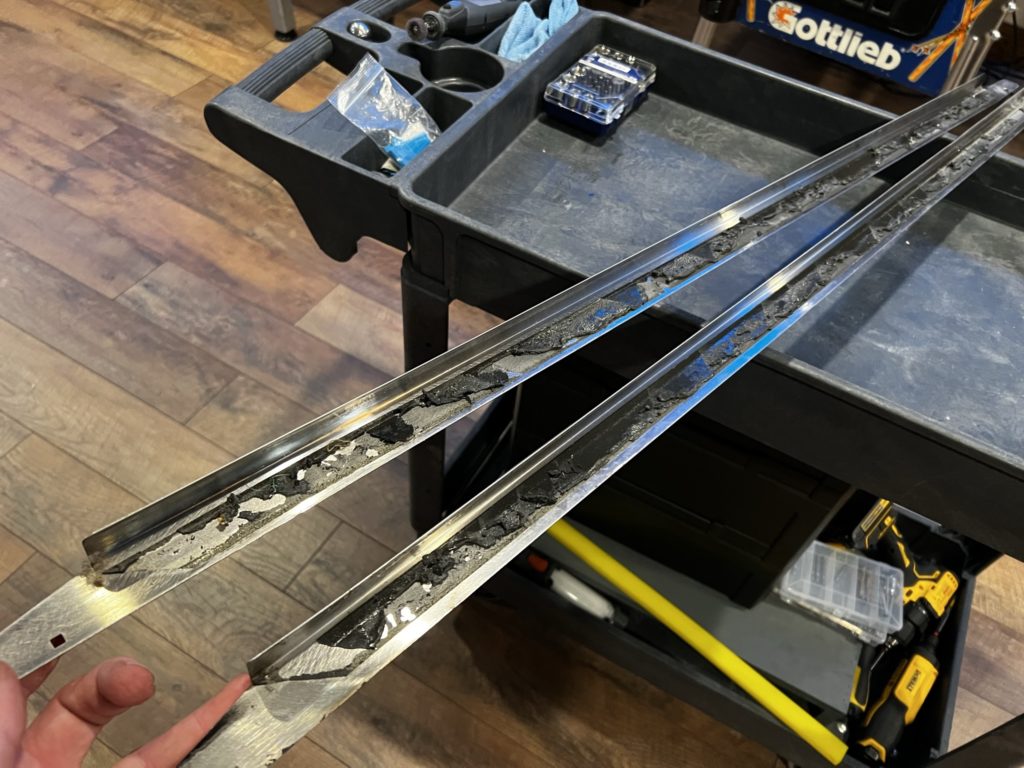
10) Spend the next 30 minutes with Goo Gone and a plastic razor blade removing the old foam tape residue
11) Wipe down with alcohol when all residue has been removed
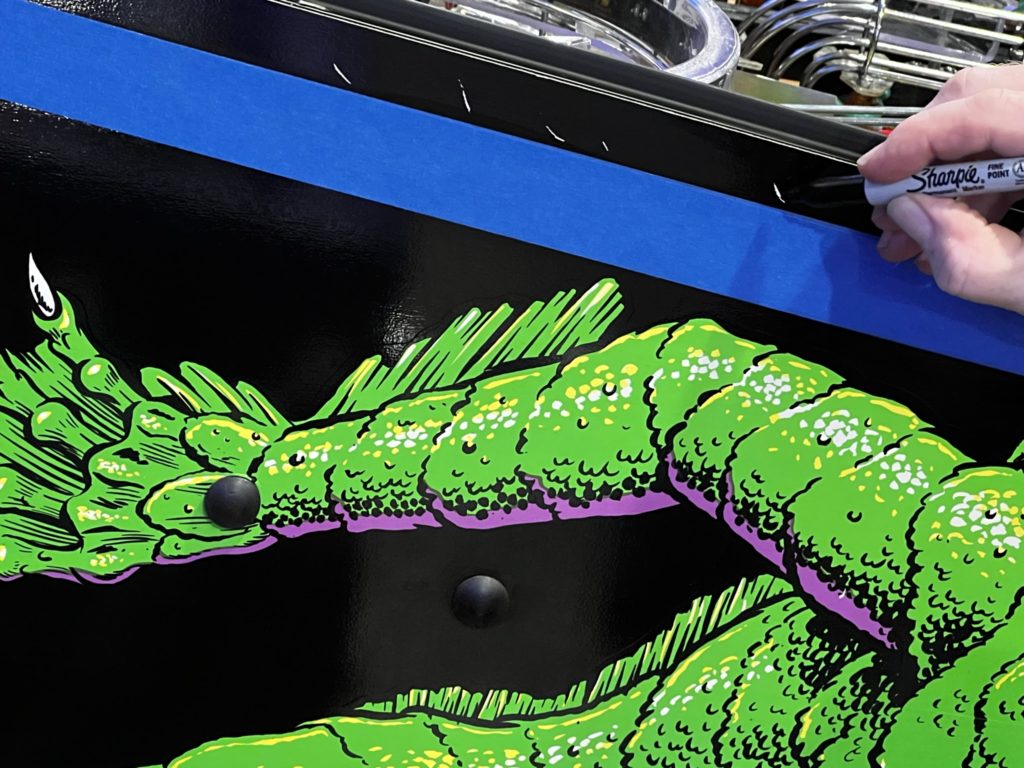
12) Optional: Grab a sharpie or color matched paint to fill in any scratches you made while removing the rails (not critical because the rail covers that damage)
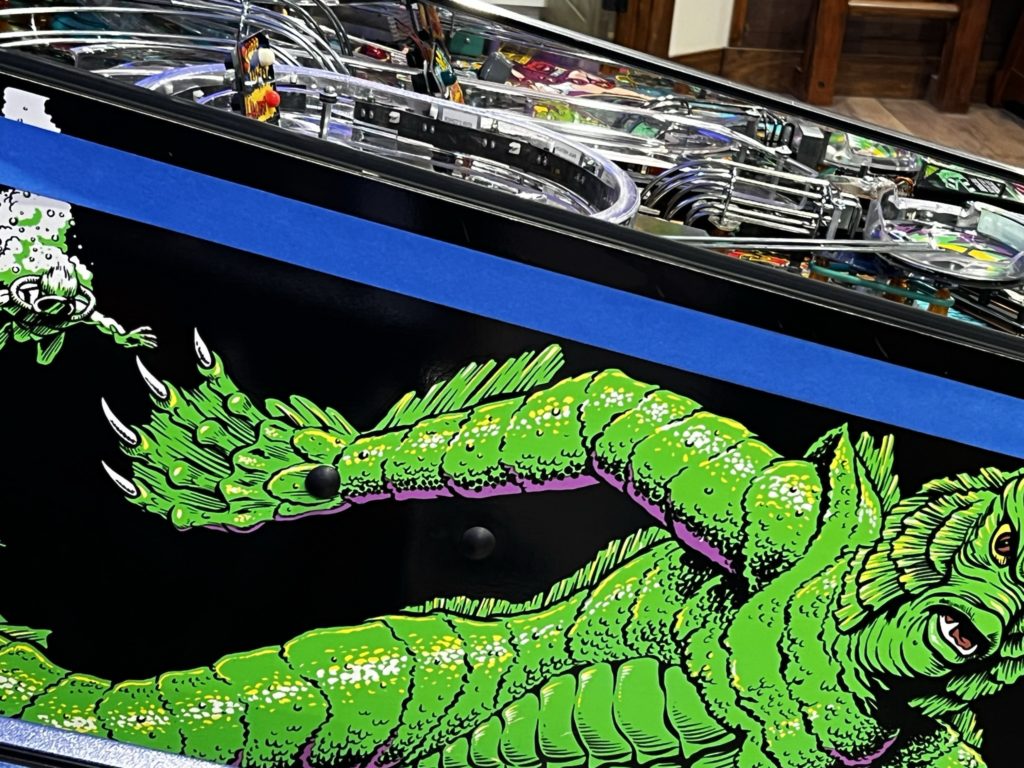
13) Remove the old 2 layers of painters tape from the cabinet side and discard
14) Prepare new rail by wiping inside down with alcohol (promotes tape adhesion)
15) Add proper length of new foam tape (you did buy the tape, right?)
16) Stay about 1/2″ away from the edge that points to the floor when installed
17) Leave room at the opposite edge (1/8″) so foam tape doesn’t bunch up near the top
18) Leave the backing on the tape so you can do a test fit of the rail
19) Line up the stove bolt hole near the lock down bar (critical step)
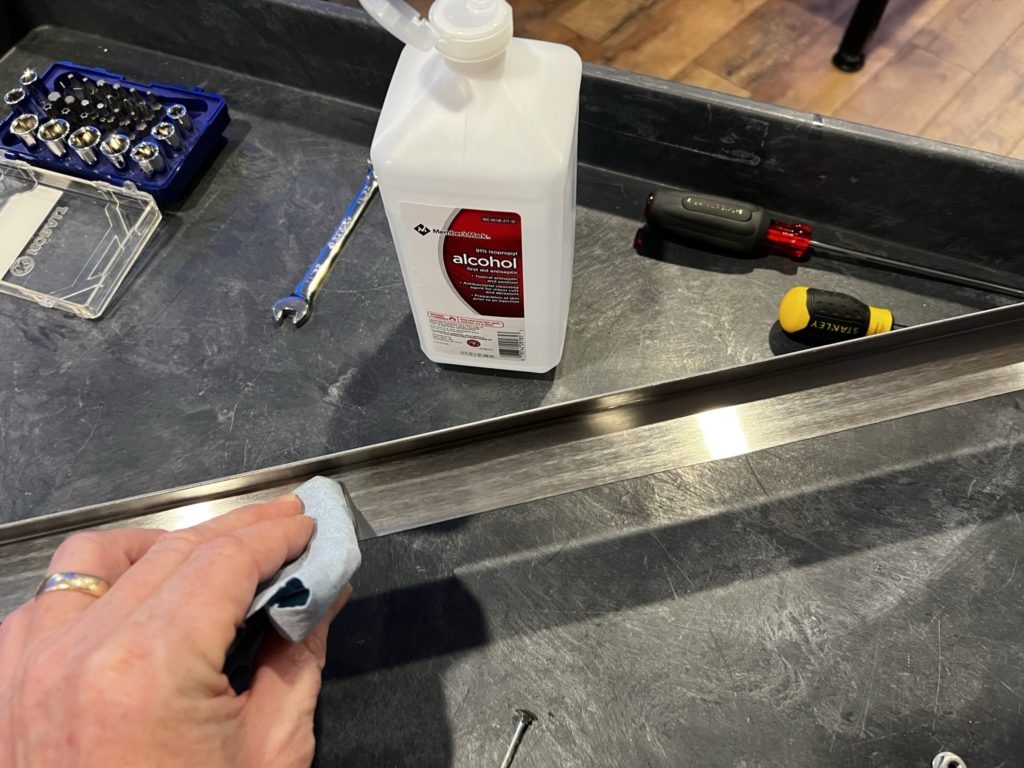
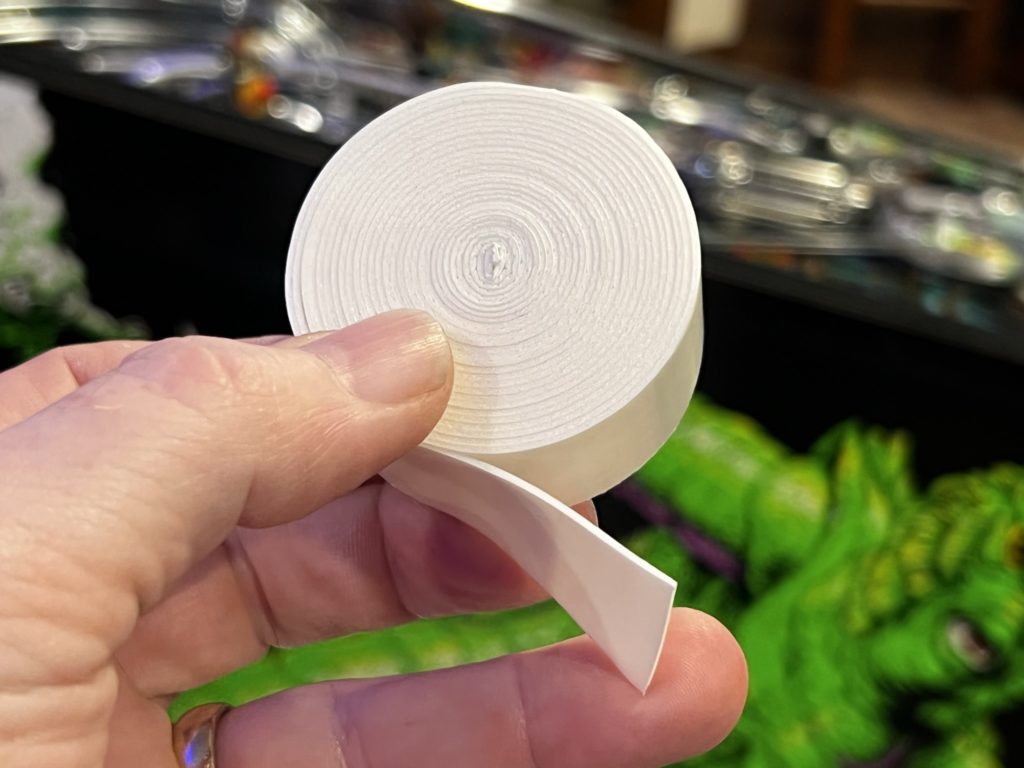
20) Once aligned, carefully place a fresh piece of painters tape 1/2 of it on the new rail and 1/2 on the cabinet
21) Use this new painters tape as a functioning hinge to rotate the new rail off the cabinet but still attached at the tape hinge (see video that follows)
22) Remove the backing from the foam tape on the new rail
23) Rotate the new rail back onto the cabinet and apply pressure to adhere to cabinet
24) I took the time to Dremel polish each stove bolt before adding them back – you could skip that but mine were rusty
25) Next you’ll reinstall the 3 stove bolts on each side of the (inside) of the head – remember to replace the steel plate that the nuts butt up against
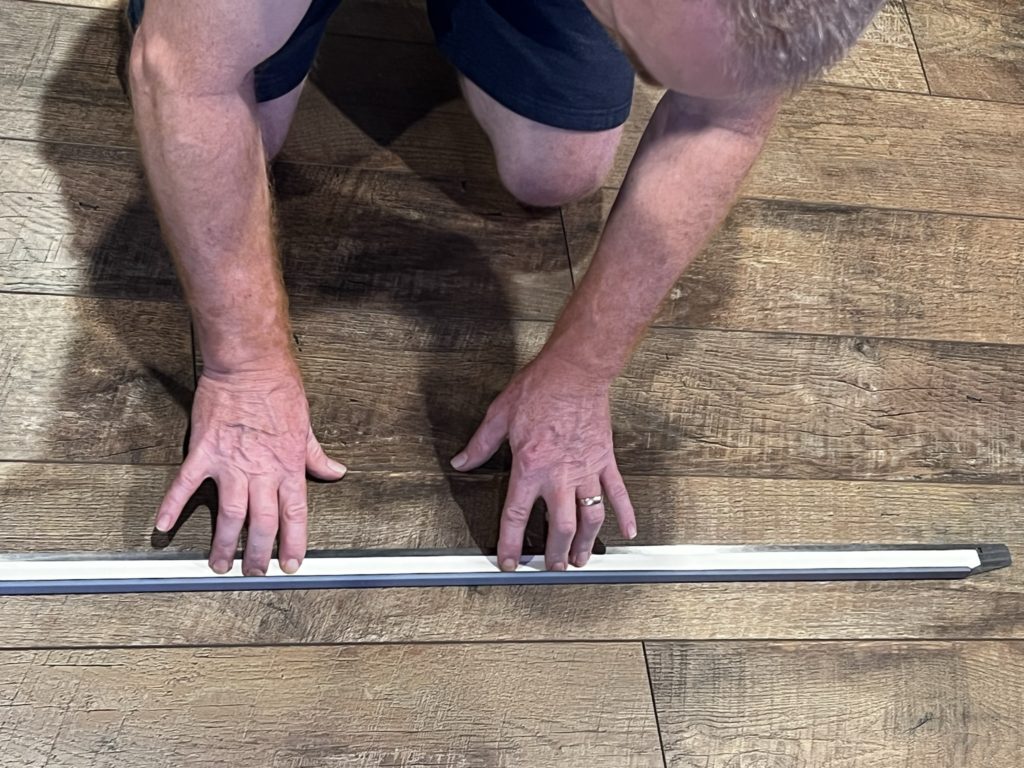
When finished, the outcome was better than I expected. The install took a bit longer but there were no surprises and no inadvertent damage to the game either. The rails from Pinball Life fit perfectly and the associated foam tape used for install (sold separately but you’ll want it) was just the right thickness. Overall impact is small in the grand scheme of things but taken in concert with the new coin door, the machine now has a fresh and clean look.
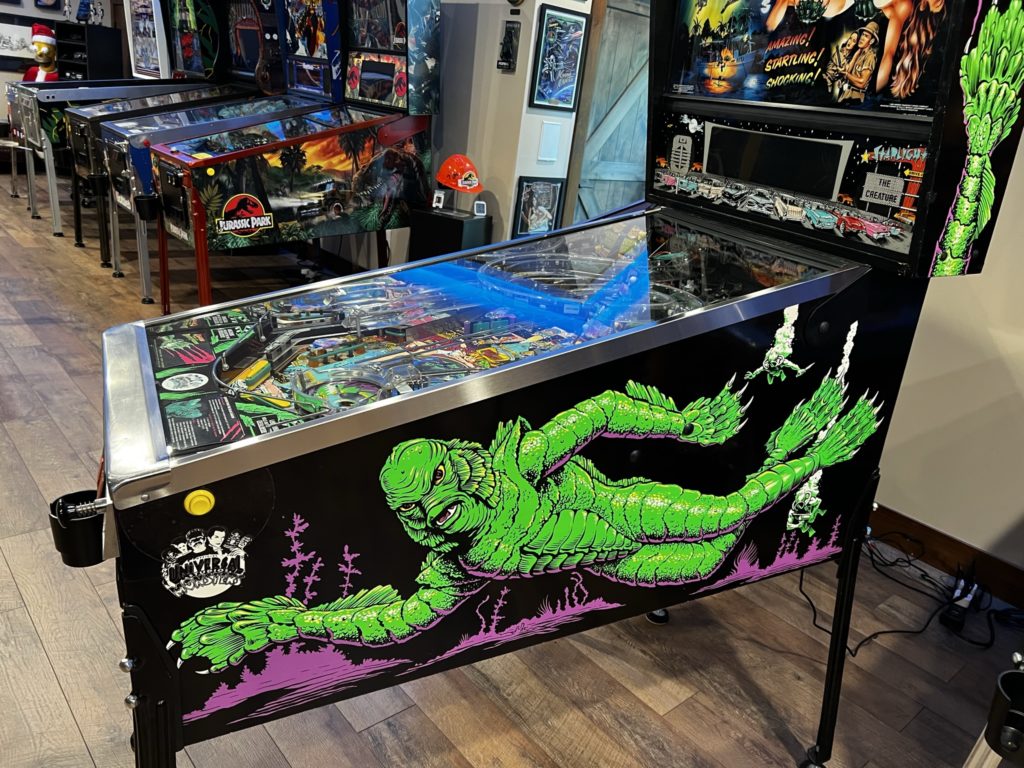
The Clayton Q concert was an absolute hit and I heard so many comments about how everyone had a really nice time. Clayton and Randy are incredibly talented artists, humble men and incredible entertainers. Clayton played his newest platinum single “Save Myself” and followed that with a few more of his new original songs. Randy played his acoustic like it was an electric and with incredible speed and finesse. Watch for Clayton’s original song titles like “Red” in the future as these are destined to be hits. A killer cover of Chris Stapleton’s “Tennessee Whiskey” was a highlight (they owned the song!) and the duo closed out the night with an extended version of “Sweet Home Alabama” with almost every guest singing along word for word! A good day for Creature and a wonderful night of entertainment for all.

Enjoy a few of Clayton’s video below. Be sure to check out the certified platinum “Save Myself”
