Titan Transparency
Check out the previous post to see my thoughts on the new Ultraman here at the loft. Now that it’s been here a week, I feel even more strongly about how good of a game it is. To have this kind of shot variety requires that the game have some advanced engineering – and it does. Every time I get under or into the game to check something out I’m more and more impressed at what the Spooky team has accomplished.
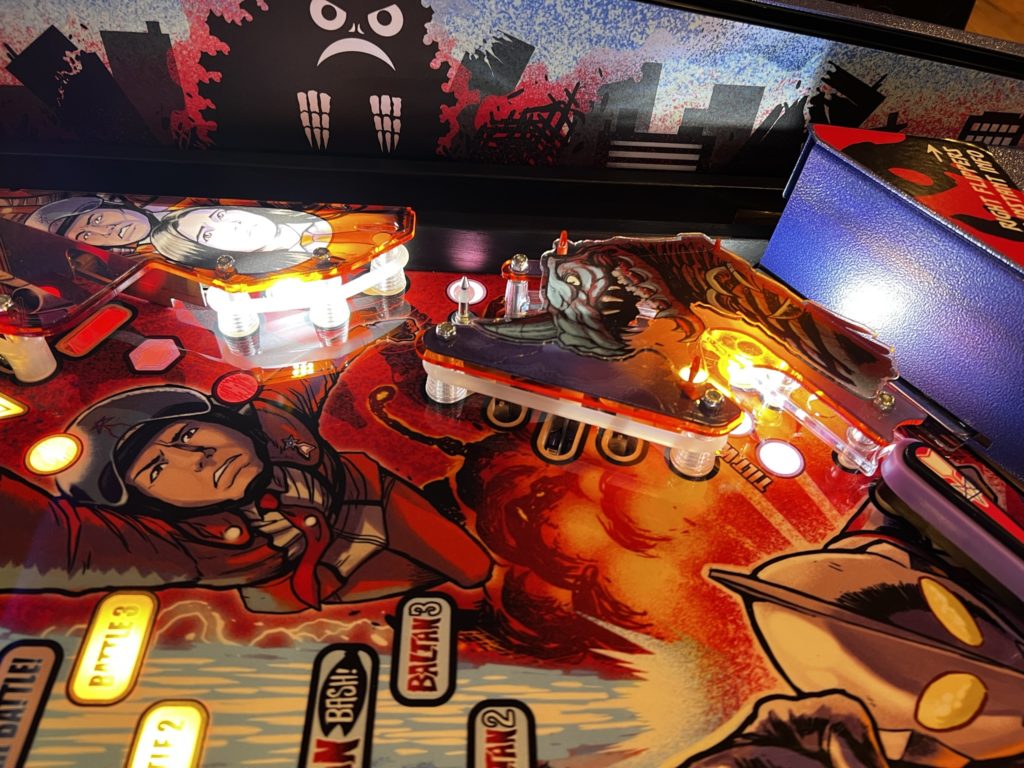
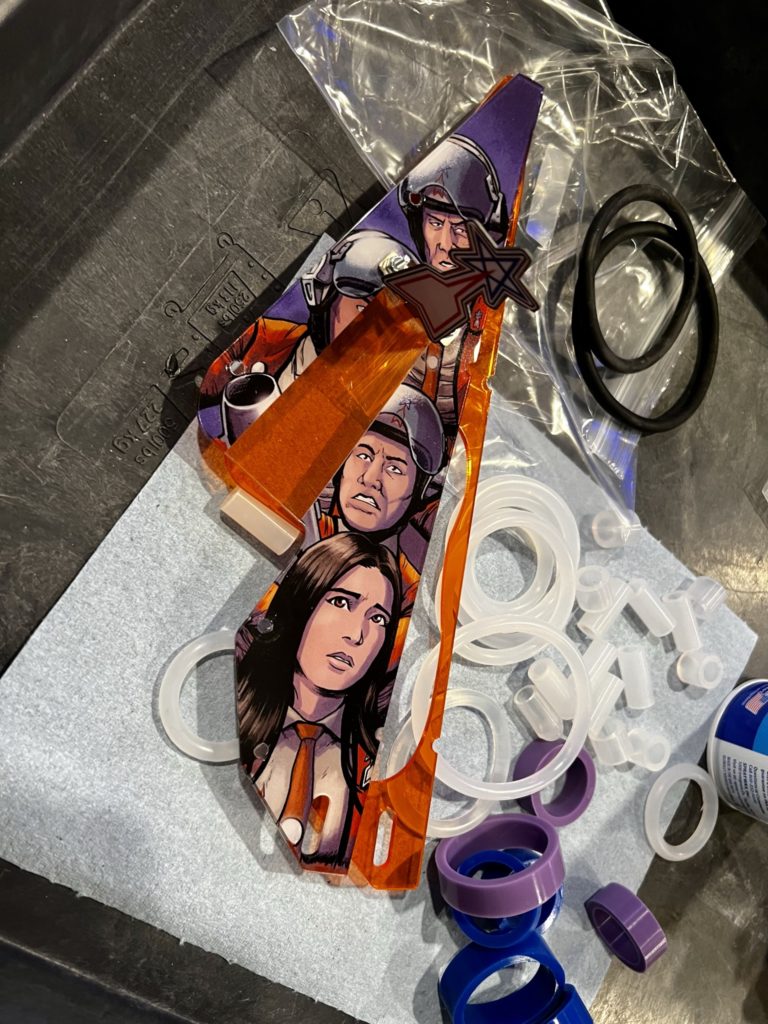
Today I added some transparent rubber from Titan and thought I post a short commentary. The game comes standard with black rubber and to be honest, that looks just fine on this game. I thought about other colors like purple or red, but at the end chose transparent to allow a little more light onto the playfield as this is a darker game

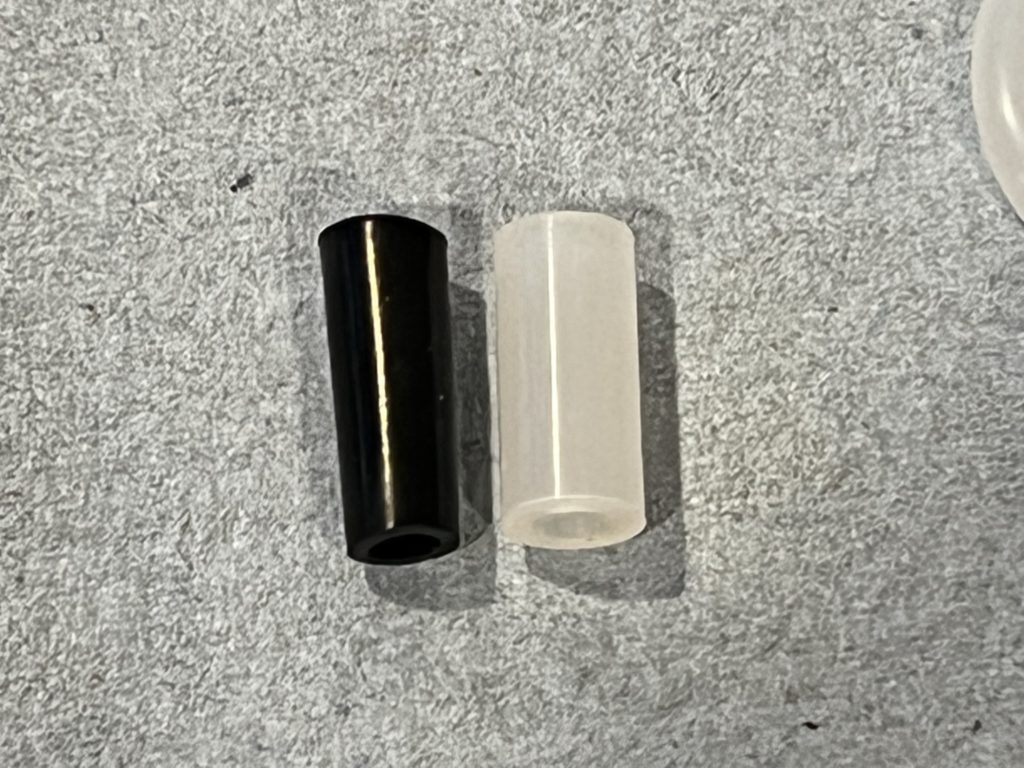
I started up in the “Headquarters” area and right away discovered that the “kit” someone had built for Ultraman at Titan was not correct. They chose standard size post sleeves and Ultraman comes with the thinner and tapered ones. It’s a big deal. Up in the Headquarters area the ball paths are tight and you’ll need that extra millimeter of space created when the correct (thinner) post sleeves are in place. I chose to wait and order the correct ones and do that part later
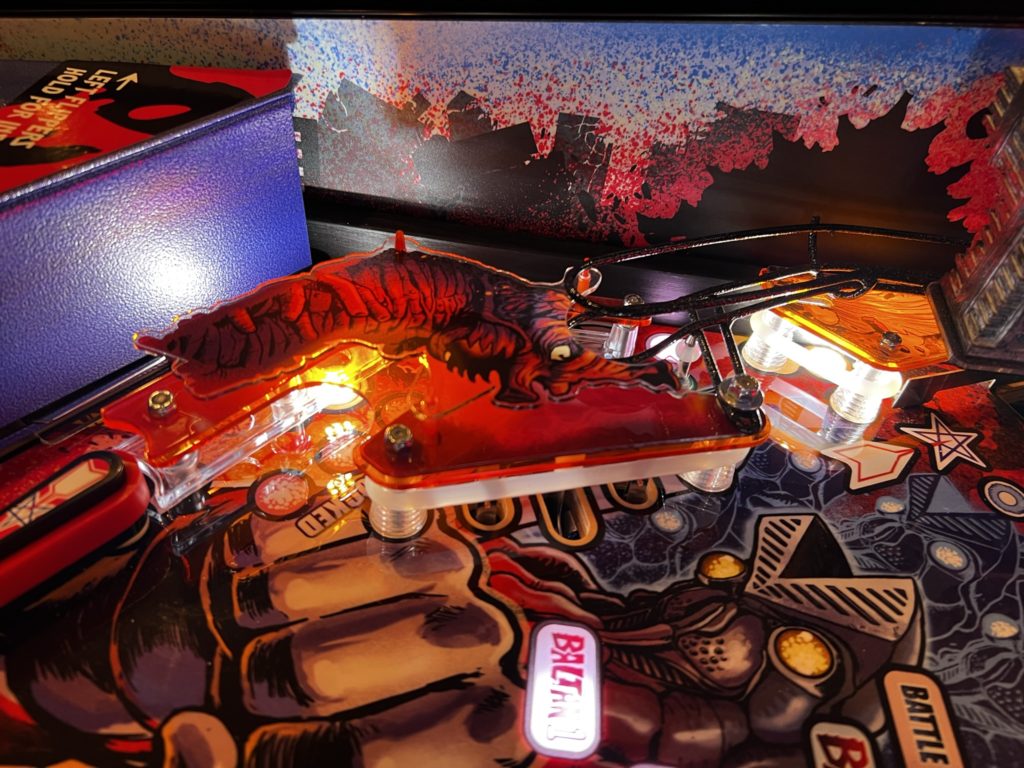
While I was up there, I pulled the cover off the “bridge” at the top of the playfield to replace the single large rubber under the cover. You’ll need to remove the player facing opto as part of getting that cover off. You will also need to loosen the small metal ramp that connects to it as it is so tightly set against the bridge, you can’t squeeze the rubber in. Simply loosen the tiny ramp screws that hold the ramp base to the playfield and remove the single post nut in the rear right and that will be enough to move it out of the way. Take the opto screws out AFTER you have the post nuts off the clear bridge cap. This will give you some wiggle room to carefully hold onto the spacers that sit below the cover and between the opto. They are non magnetic so your magnet tool won’t work. I used some need nose pliers
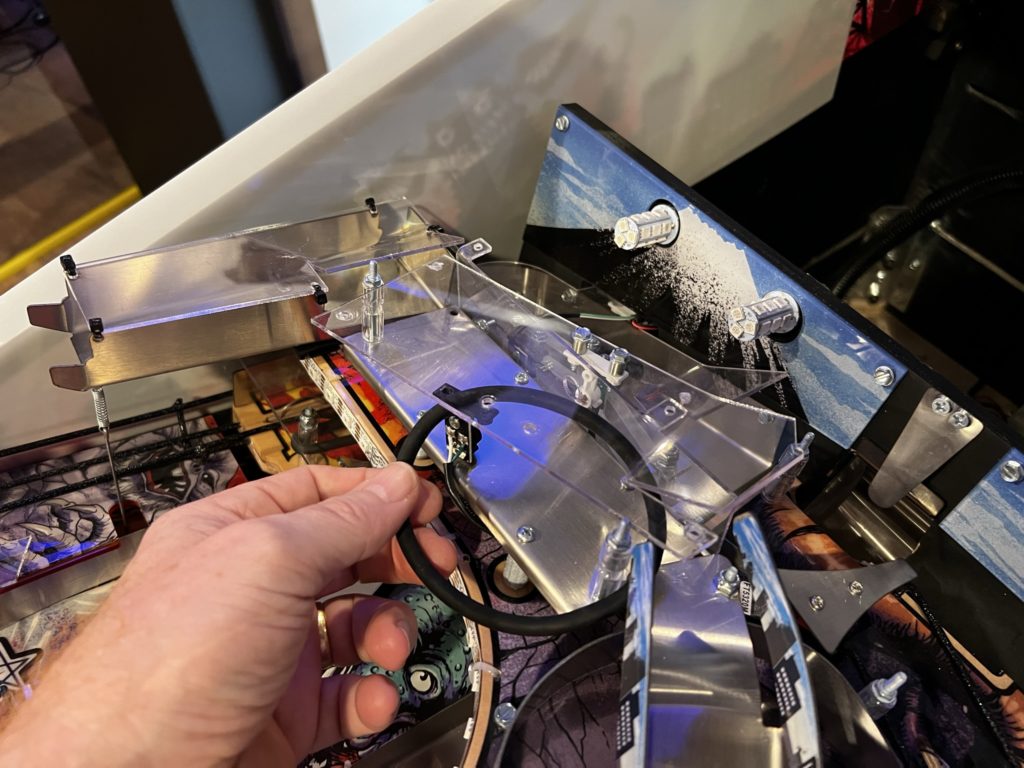
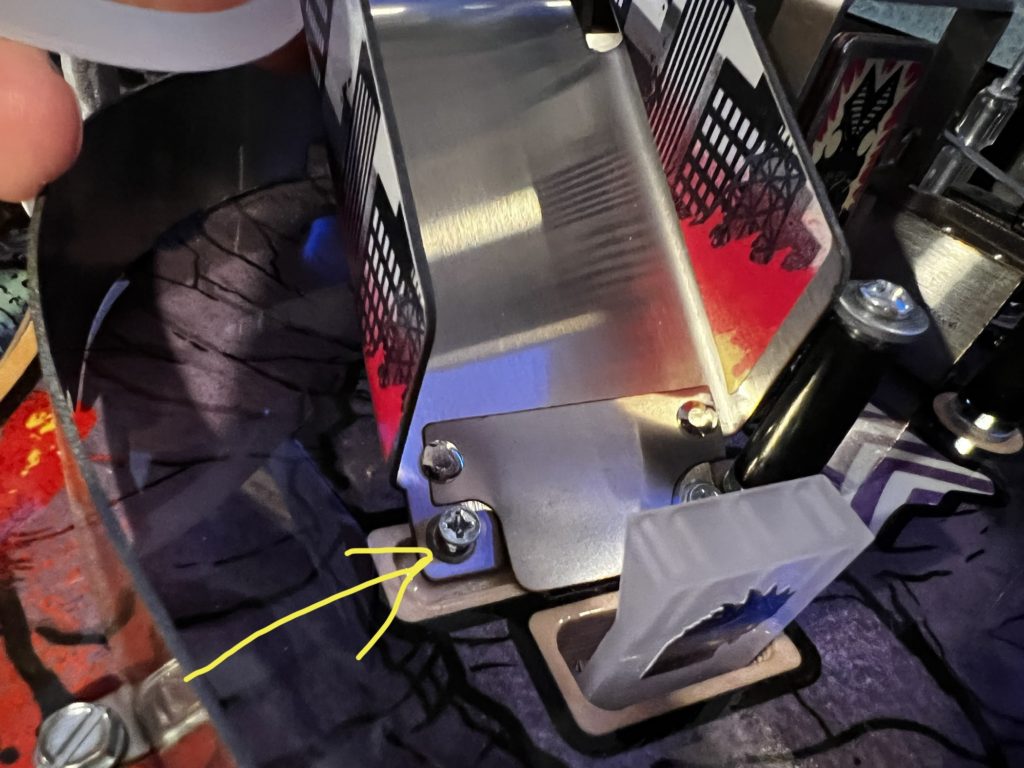


While I was up there I pulled the metal cover off the headquarters and used my dremel to round the corner of that smoked piece of plastic. The pointed corner is VERY close to the edge of the playfield and can catch and damage the side art. The day prior I took the metal cover to my shop and ground that back as well

Next I moved to the right sling area. On this game you’ll need to remove the top (3D) plastics by using your fingernail to push in the single tab on each of the orange standoffs, then the plastic piece pops right off. Next remove the 6 nylock nuts with your nut driver. At this point, it’s pretty straightforward to remove the old rubber and replace it with the new. Make sure your switches are BEHIND the rubber after putting on the new one


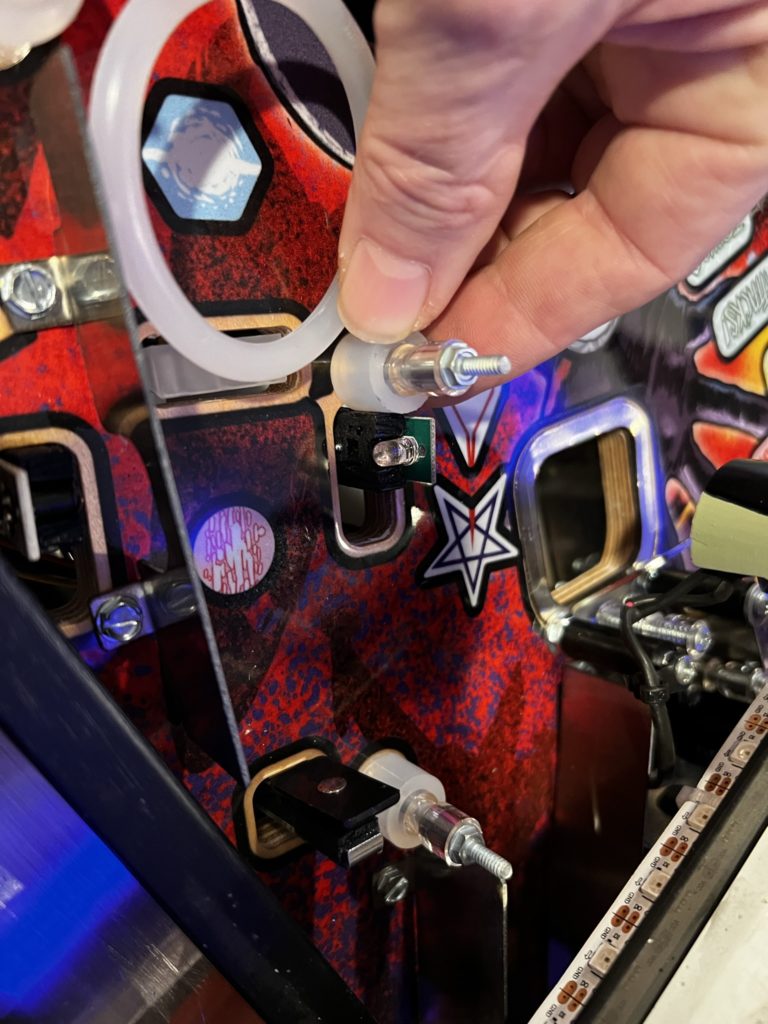
Next I tackled the ball lock area to the right of the scoop. There are 5 nylock nuts and the entire plastic assembly comes off, including the orange plastic protector installed underneath. The only unusual part in this area is the install of the 1/2″ Data East/Stern post sleeves. These are short post sleeves used in various places on this game and are typically placed on a post and go UNDER the rubber ring that sits above them. There are 2 of them in this area – right at the edge of the right orbit.
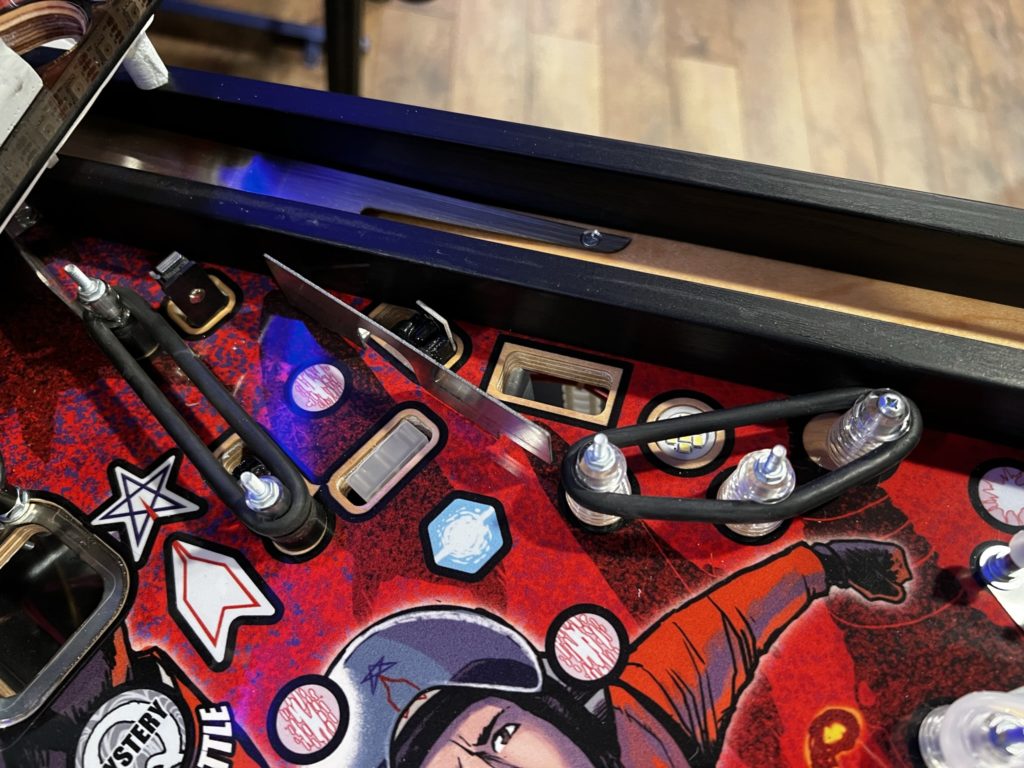

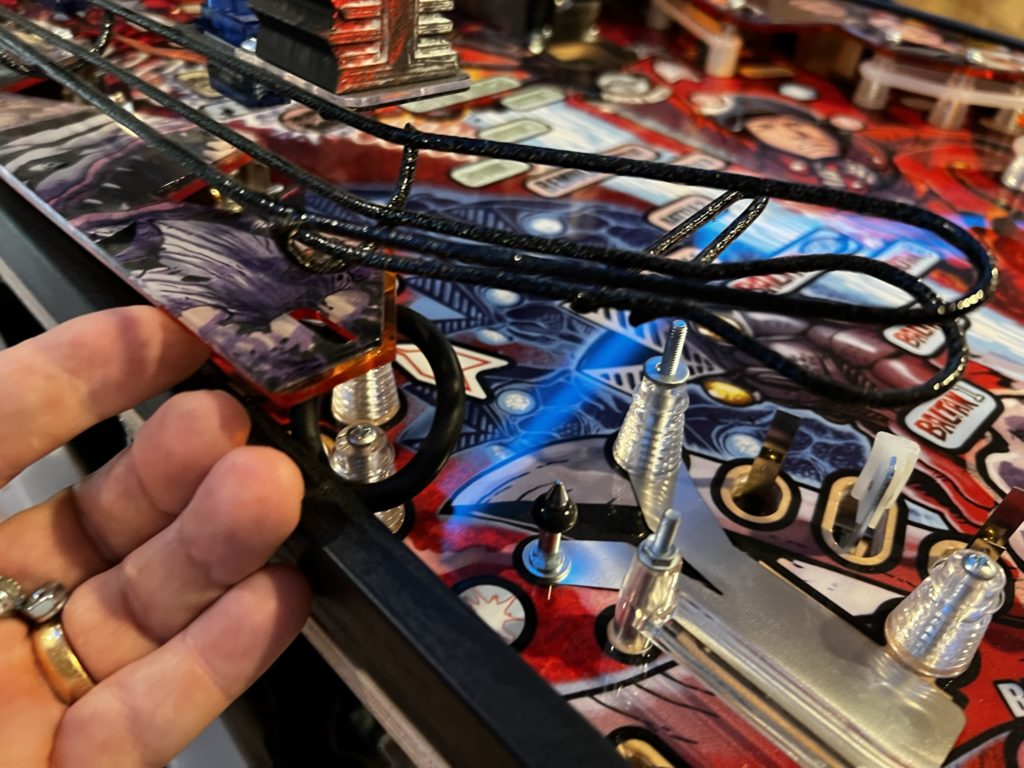
I then moved on to the left sling area. All of the steps used in the right sling apply, but this spot is a tad more challenging. You have to deal with one ramp post due to the habitrail connection. Also, there is a rubber ring right under the habitrail that needs to be accessed. You don’t need to remove anything more than 2 nylock nuts from the plastic below the habitrail. Once the habitrail is loose from the sling, it will easily lift 1-2 inches and also move left and right to give you room to access those 2 nuts. Remove the nuts and the plastics can be lifted enough to easily access that rubber ring for replacement. Replace the sling rubber, then put it all back together and admire your work!
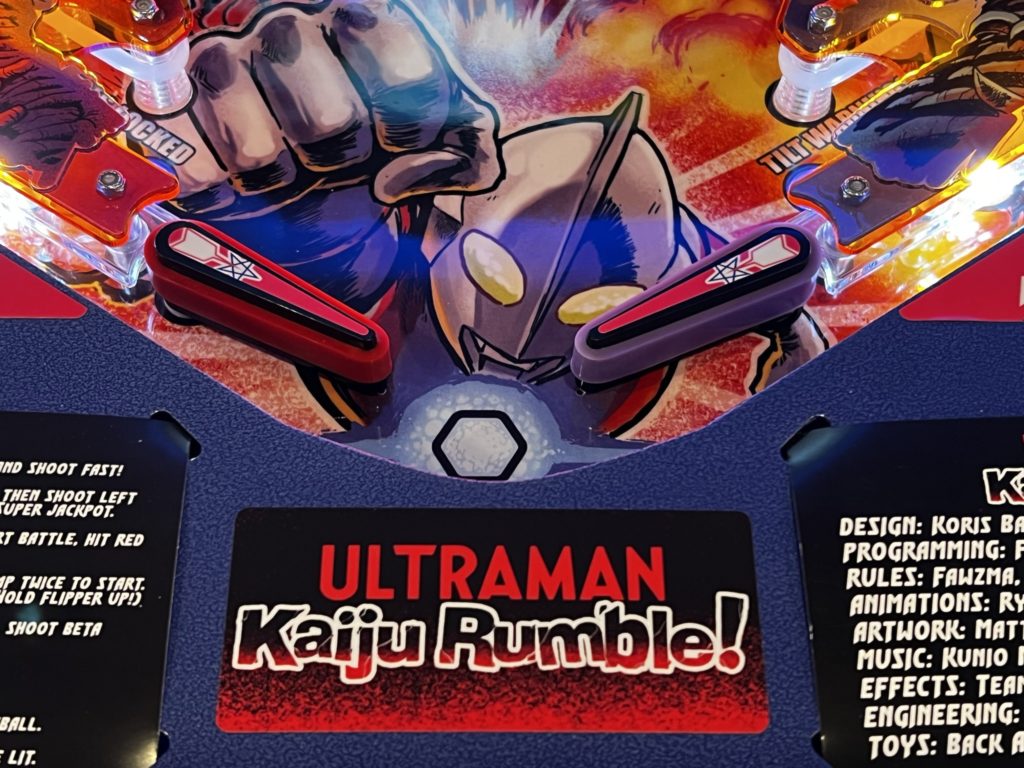
The last thing I tackled was to change out the flipper rubber. I ordered both purple and blue to try them out. Titan stocks the mini flipper rubber for those upper playfields and I ordered those as well. It’s hard to beat “black”. It just works. In the end I ruled out blue entirely and went into my parts cabinet to grab some Titan reds. I liked the red. I liked the purple. I liked both of them so they both stayed. The red matches the colors and the Kaiju on the left and the purple does the same for the right. That’s my plan and I’m sticking to it! While the game was open, I put a fresh coat of wax on it and took a few minutes to straighten the apron decal that had been installed crooked at the factory. I put away the tools, cleaned up the glass and dove back into the game – Shuwatch!


A few more pics follow