Molding Heroes

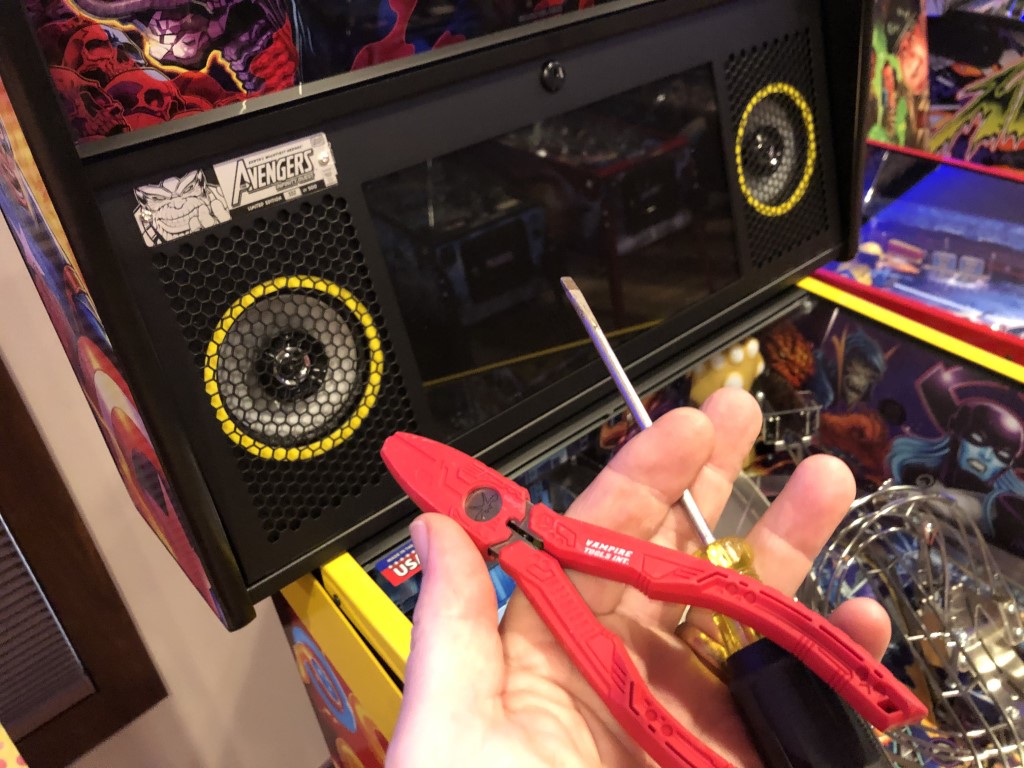
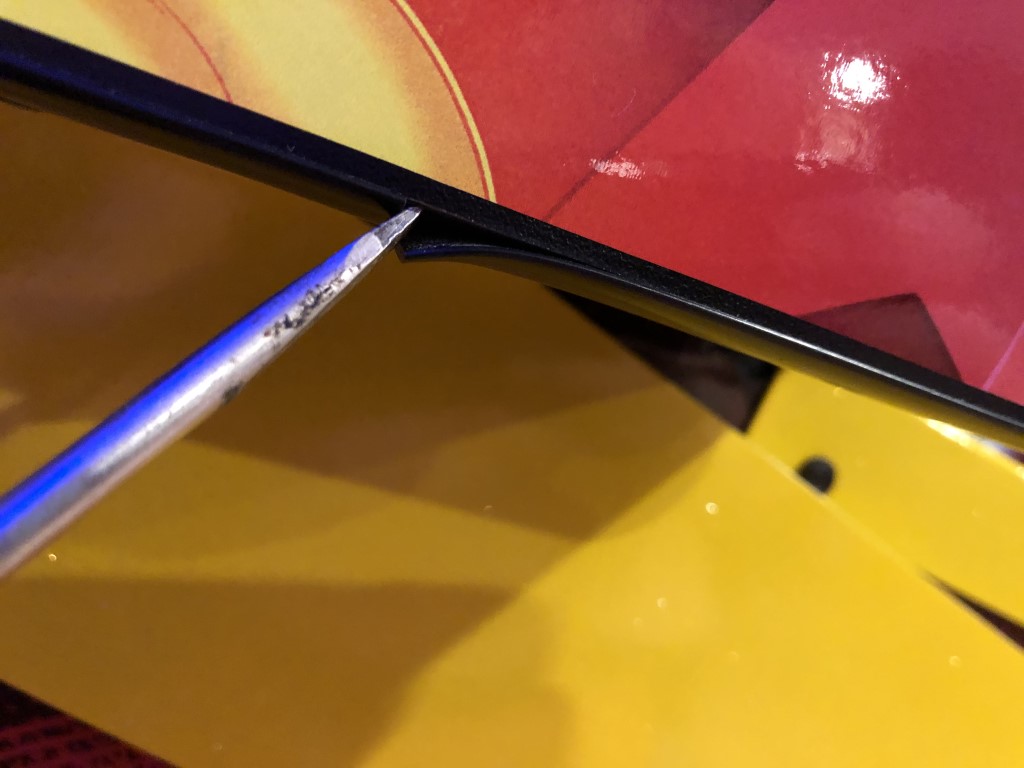
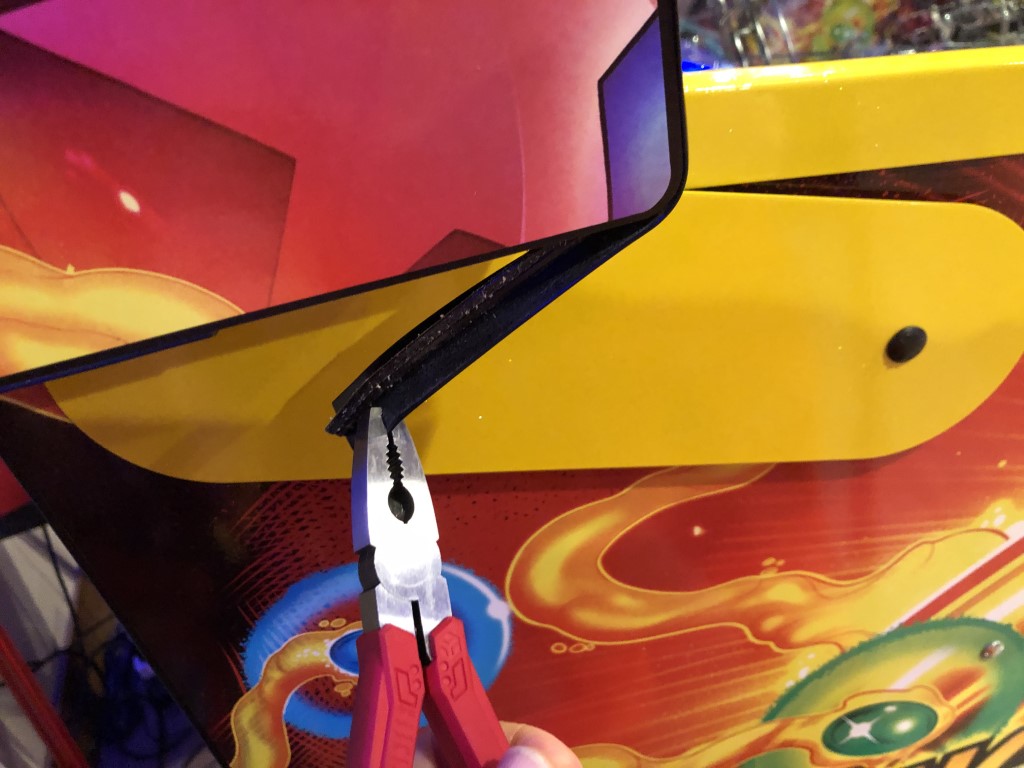
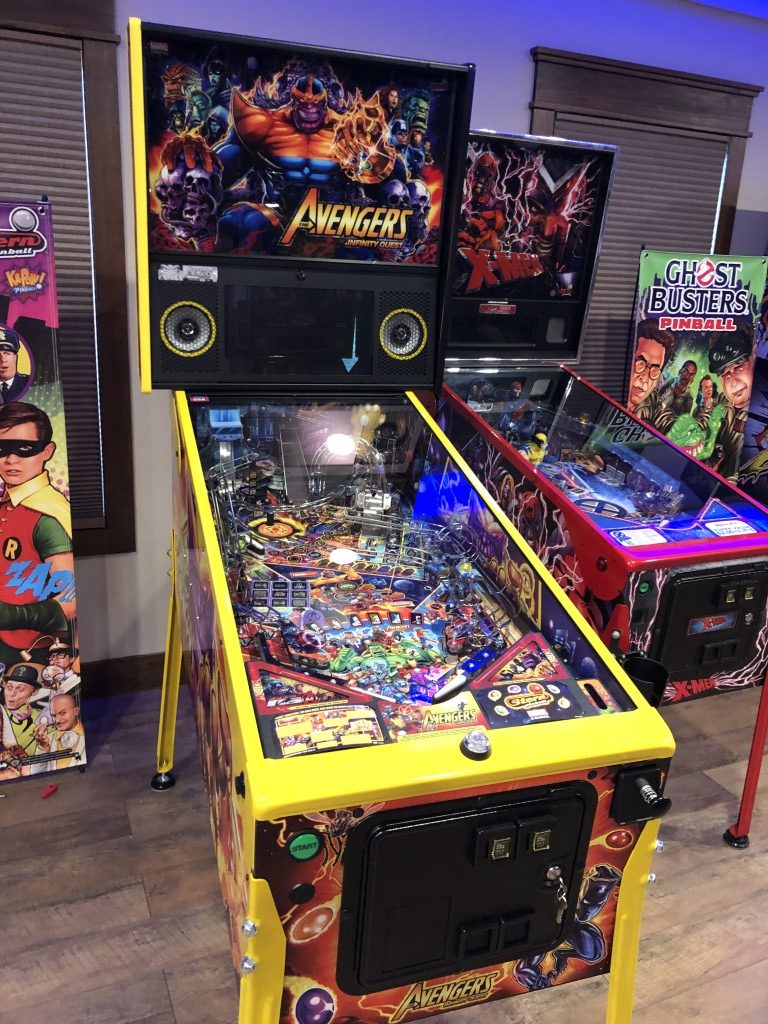
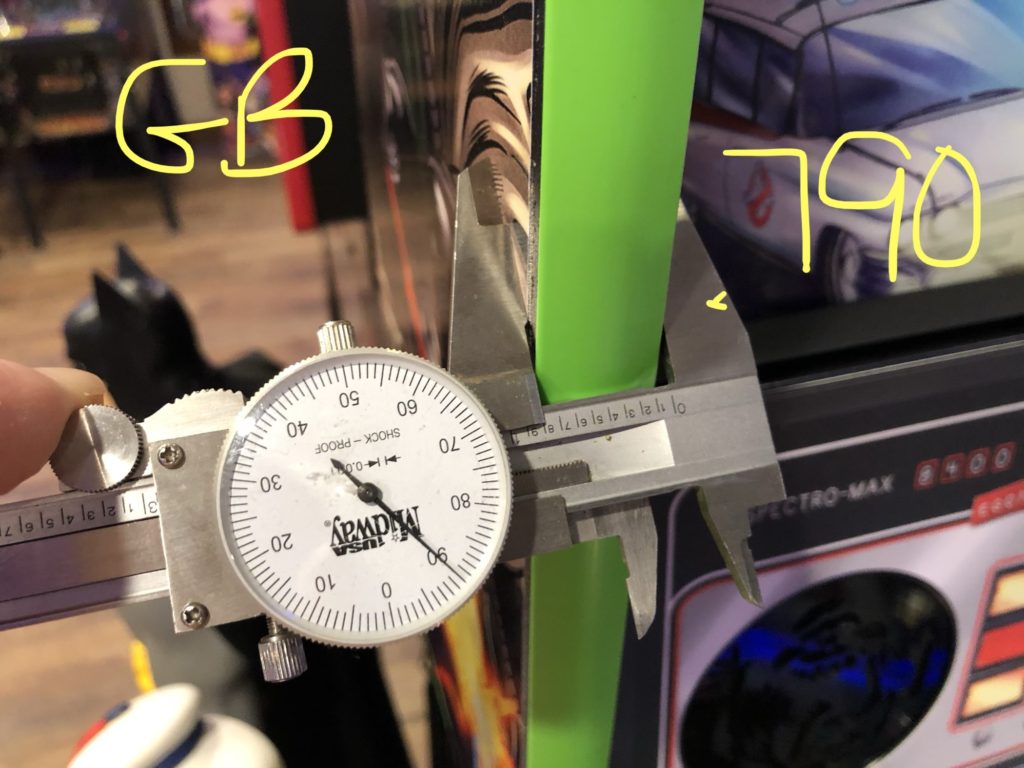
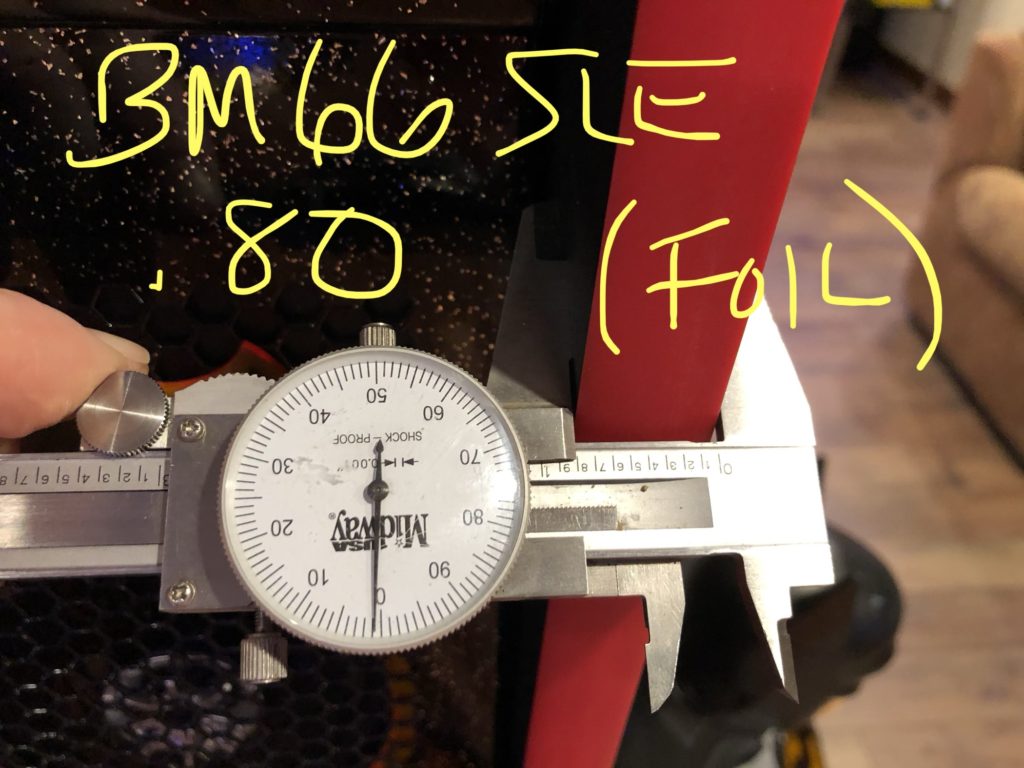
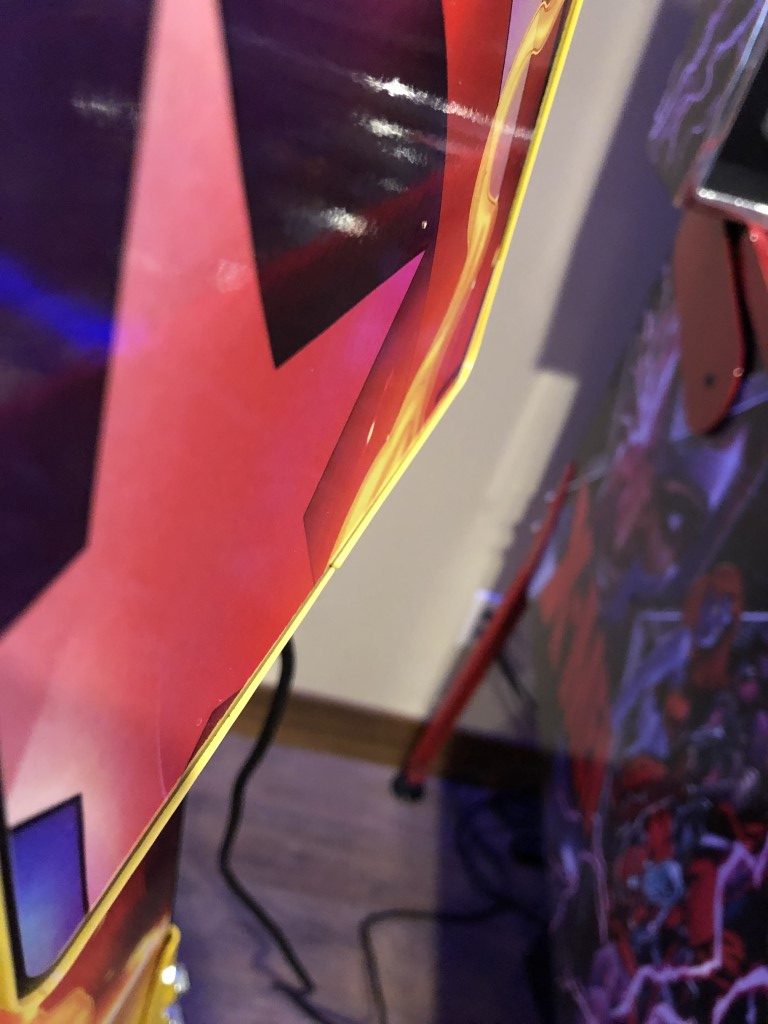
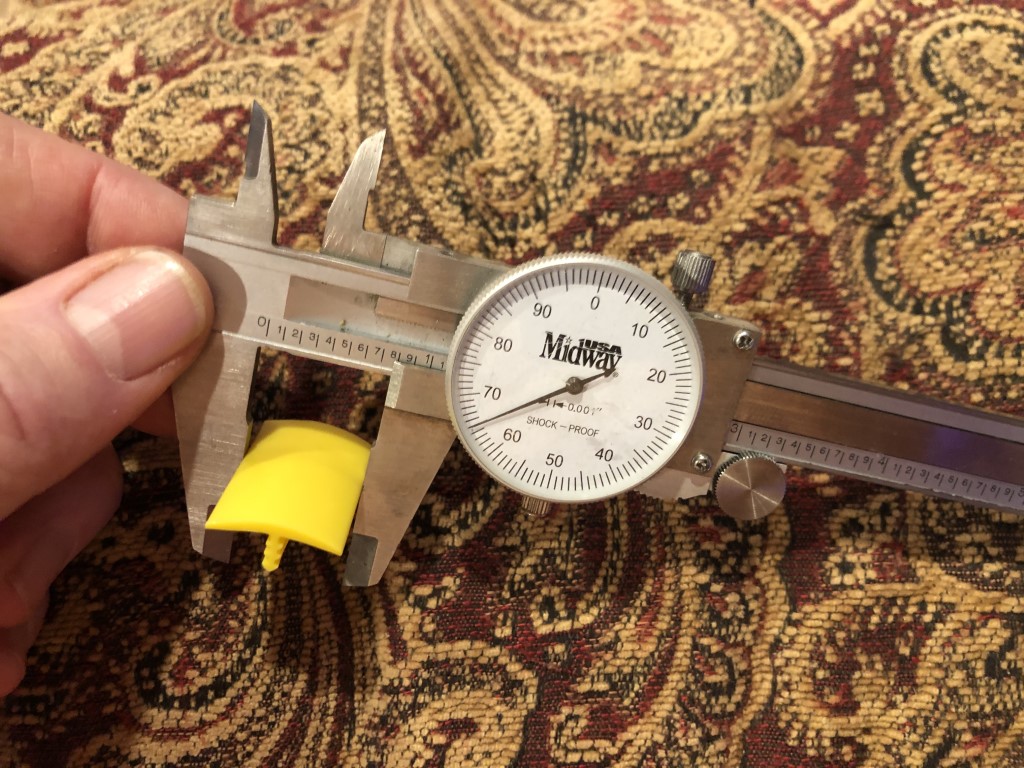
Just finished adding new T-molding to my Avengers Infinity Quest LE. Looks great! So I thought I document the process for others. Interesting to note that the T-Molding I received was 0.015 oversized AND some of the head dimension of the Stern machines have changed over the past few years – so understand that (at least with my AIQ) the 3/4″ molding from T-Molding.com installed in your new AIQ will be about 1 MM proud (sticks out) on both the inside and outside edges. Still looks great though!

After posting this, I saw another Pinsider mention using 11/16″ T-molding instead of the 3/4″ size. You most certainly can order that size and it’s exactly 1/16″ narrower than 3/4″ and will likely fit with less or no overhang.

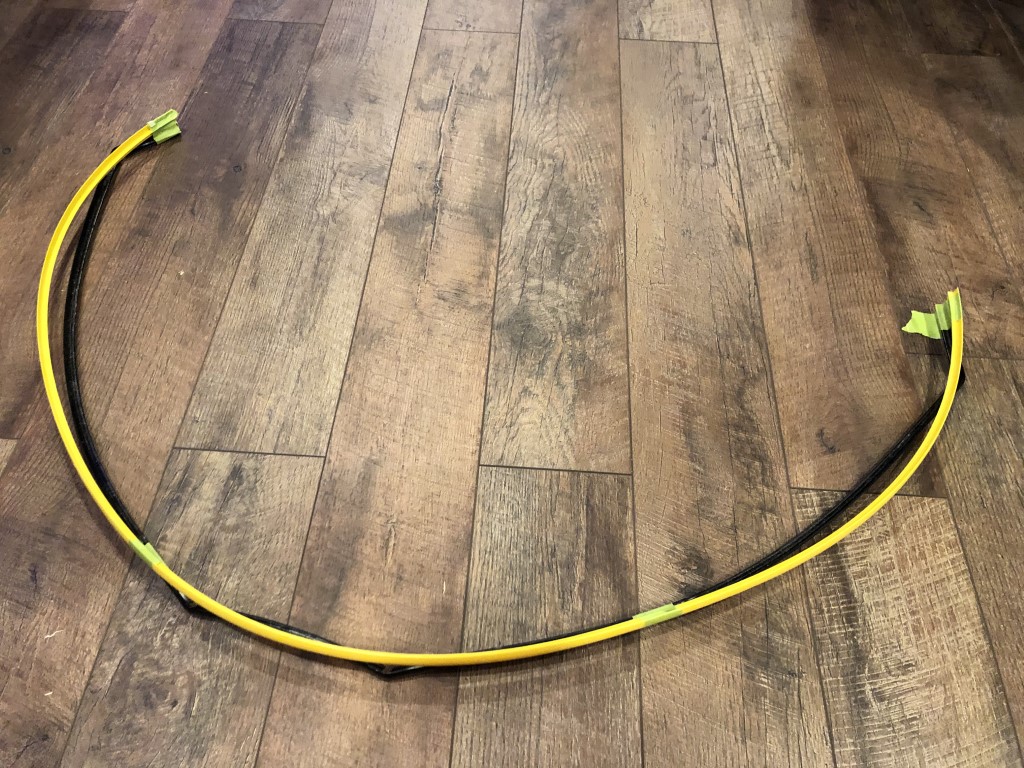
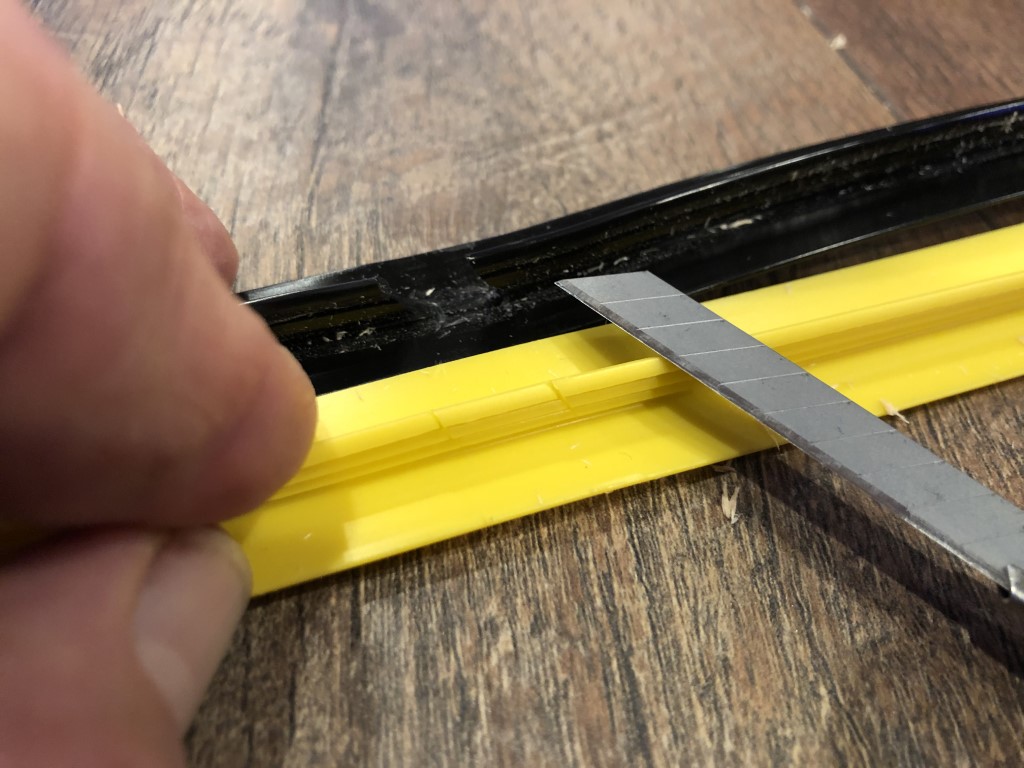
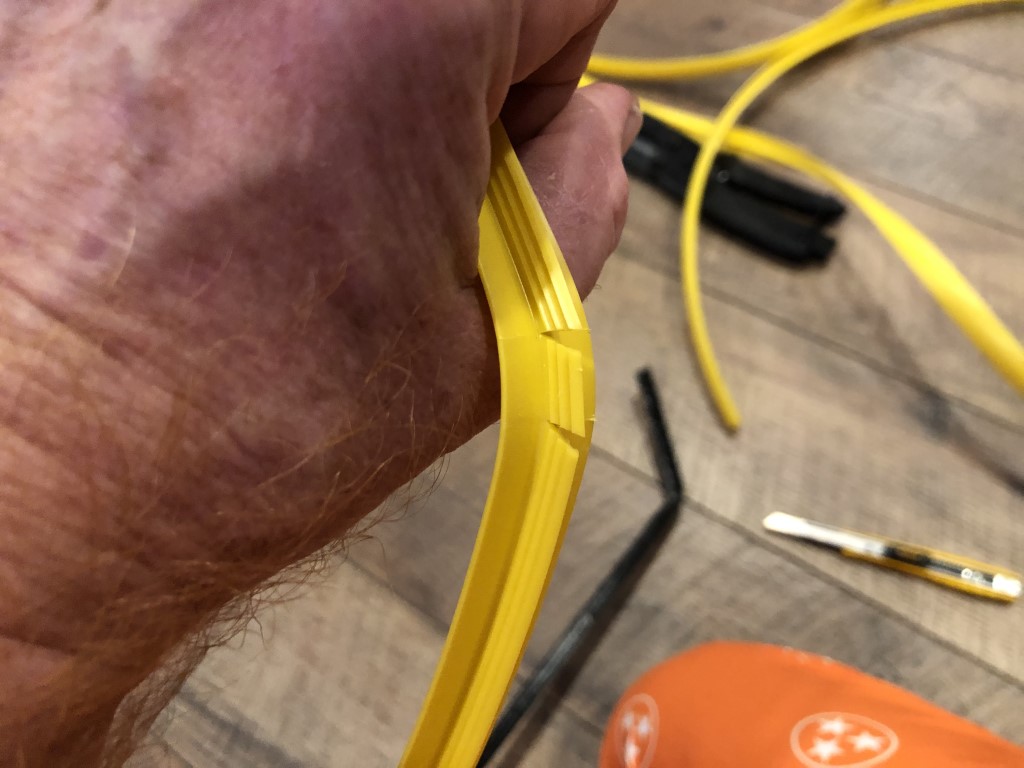
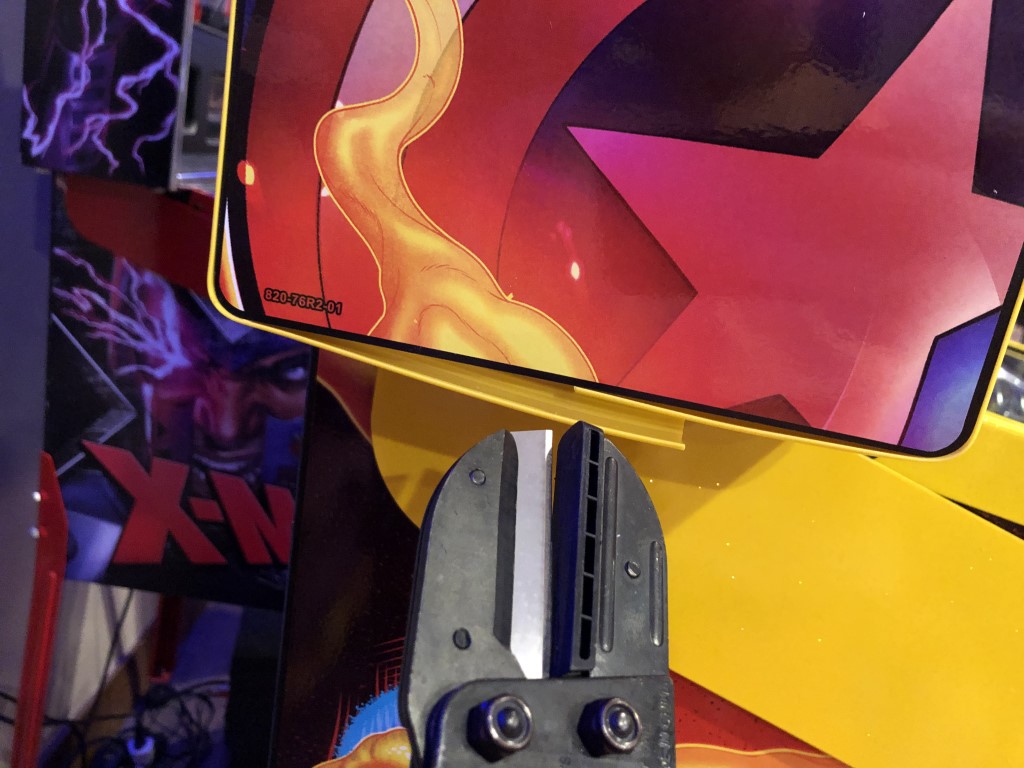
This write up will be done in mostly images with captions. Total install time including clean-up was just at 45 mins. Buy materials at T-Molding.com. You will need to buy 20 feet because that is their minimum. It takes 6 feet per side to do a modern Stern head (12 feet total game) – so you will end up with some extra (8 feet or so). Save that extra piece for the next game (it’s enough to do one side)

Step #1: get your tools ready
Step #2: Find the seam at the bottom of the head panel
Step #3: Using pliers or your fingers, pull the old molding away at a sharp angle
Step #4: Continue to pull molding away and out of old slot
Step #5: Lay old molding on flat surface and unpack new molding
Step #6: Make sure end of new molding is square, line up with old
Step #7: If you have one of these, cutting square ends is EASY
Step #8: Start at one end, tape the 2 moldings together tightly in 4 spots
Step #9: use your razor knife and the old molding as pattern to cut (4) corner slots
Step #10: Carefully cut away the ribbed portion of your 4 corner slots
Step #11: Trim end of new molding, and if you have the Craftsman tool, leave it about 1″ long (this tool can easily trim it “in place”)
Step #12: Start installing new molding at location of old seam on bottom, use palm to “squeegee” the molding into and “up” as you go
Step #13: Continue to and around all the corners – your cut slots should hit them exactly
Step #14: When you reach the end, mark it with a pencil and trim to fit
Step #15: Admire your work – half done!
Step #16: Complete the other side
Step #17: Done!!
Ghostbusters LE: Wood panel is 0.79″ and molding is 0.75″ (molding does not stick out)
BM66SLE: Wood panel is 0.80″ and molding is 0.75″ (molding does not stick out)
Avengers LE: Wood panel is 0.71″ and molding is 0.75″ (molding DOES STICK OUT)
Image of how much molding protrudes past wood panel on AIQ
T-Molding comes in LARGER than 0.75 by about 0.015″