“Tallica Sux”
The story behind the game –
If you’ve read the memorial article I completed for my friend Andy, then you know why I bought a NIB Metallica Premium. If you haven’t read it – check it out at the top of the page under the link “Andy”. He was quite a guy and my guess is you’ll take something good away from having read it. For those that did not read it or if you simply don’t have time, I’ll cut to the chase. I’ve always wanted a Metallica but struggled with the theme and music. Loved the gameplay, loved the artwork. My buddy Andy had a really nice MOP LE version and Darin has a Refinery Pro that I’ve played many times. There were 2 tipping points in deciding to find one for myself. First, my wife went to TPF with me and played it there. She and I then went to SFGE and she played it there as well. On both occasions she commented how much she enjoyed it. She’s also a huge music and concert fan. As all Pinheads know, it doesn’t take much prompting to go on the hunt for a new Pinball.
So maybe 3 months ago or so I began to search. I lost an opportunity to buy a nicely modded premium down in Atlanta – sold quickly to a local. Then Andy tried to help me from his hospital bed by sending me regular updates when a MET Premium or LE showed up locally or on Pinside. Several times the pricing or availability just didn’t work out. Fast forward to October 12th 2018. A day I’ll never forget. I got a text from Andy’s Dad that he had passed away from the illness he had been fighting for almost a year. I balled liked a baby. Then I cried. Then I was sad. Then I got a little angry. Angry that Andy wouldn’t be here anymore. Wouldn’t come over to play Pinball anymore. Wouldn’t be able to come see the new house and Pinball space we were building. Right at that moment I was checking my Facebook feed when my sister posted this message. “Make him proud and buy a pinball.” No way. Listen, I’m building a new house. Putting all my funds into that right now. Heck, I don’t even have space to set even one more up.
But …
I was just emotional enough that I did just that – I ordered another Pinball
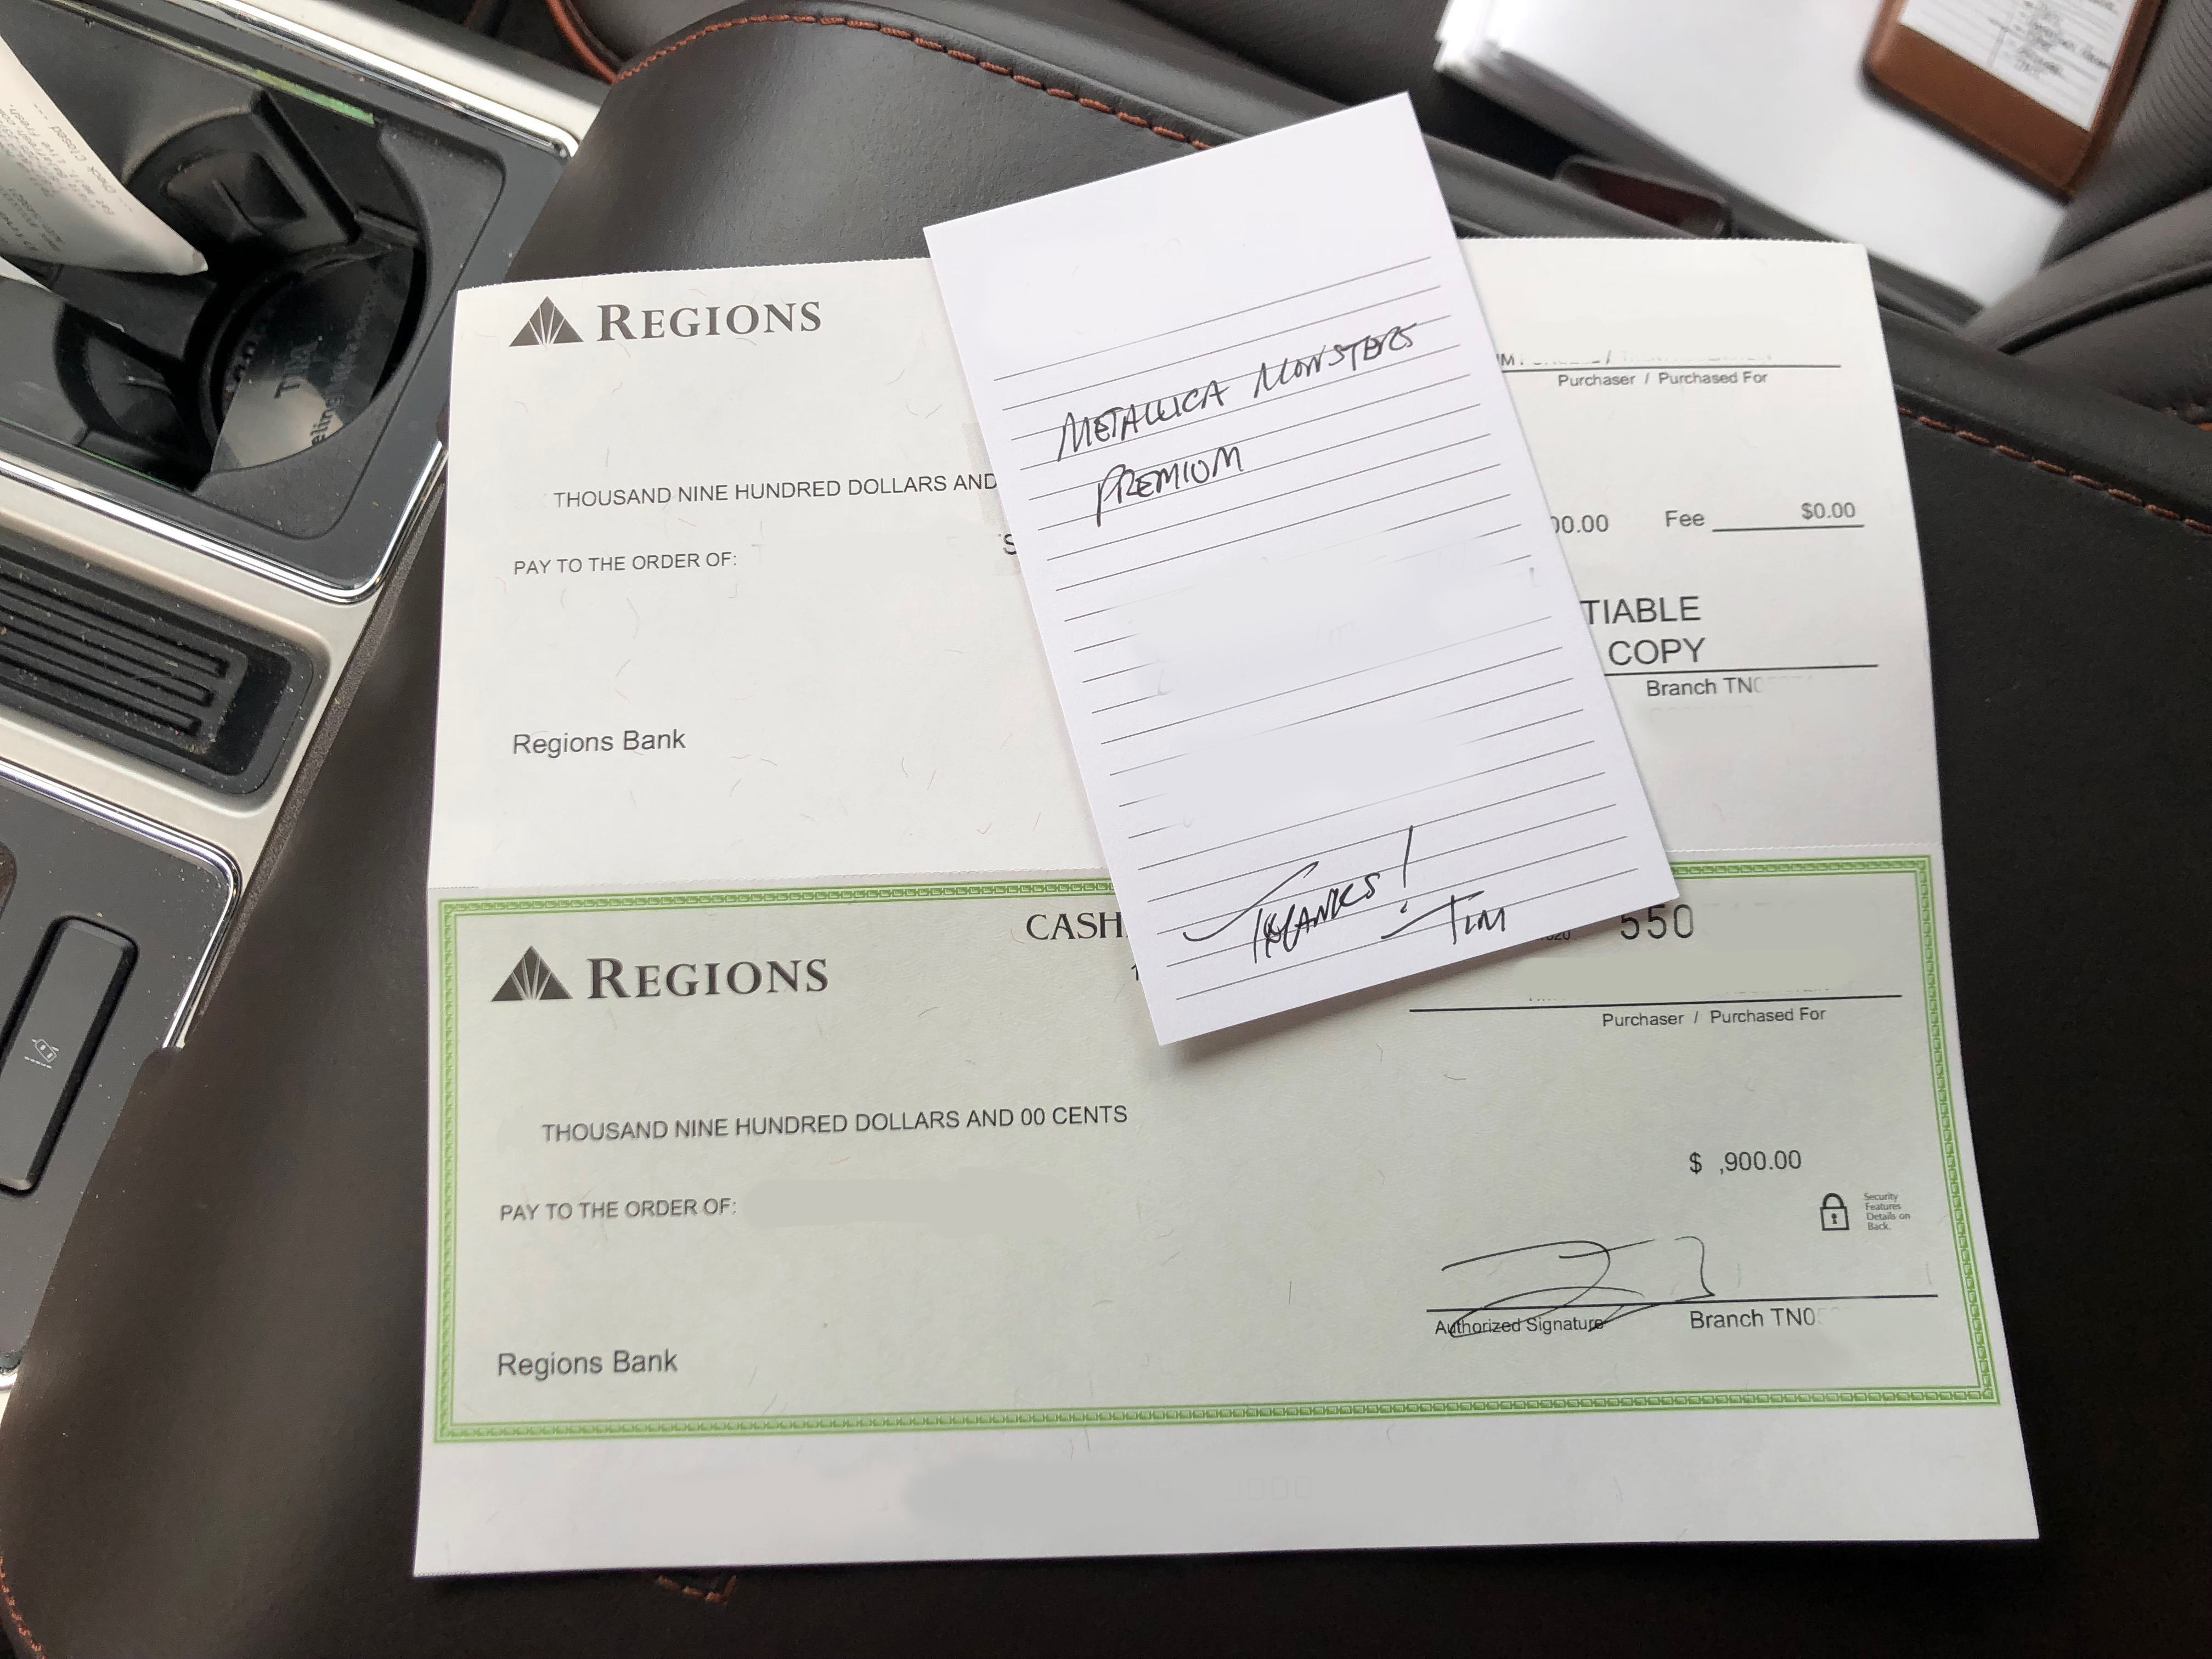
I texted my distributor to see
availability. He said yes. I said “how much”. He gave me the
price and I said “how do you want to get paid” – all done, one
day. New Metallica Monsters Premium bought. You can read more about
that in the Andy memorial article if you want, but that about sums up
the “why”.
So what about MET? In this post I’ll
try to answer a few questions about unboxing, modding, playing and
living with one of the bestselling modern Stern’s of all time.
That’s whiskey, not Pinball!
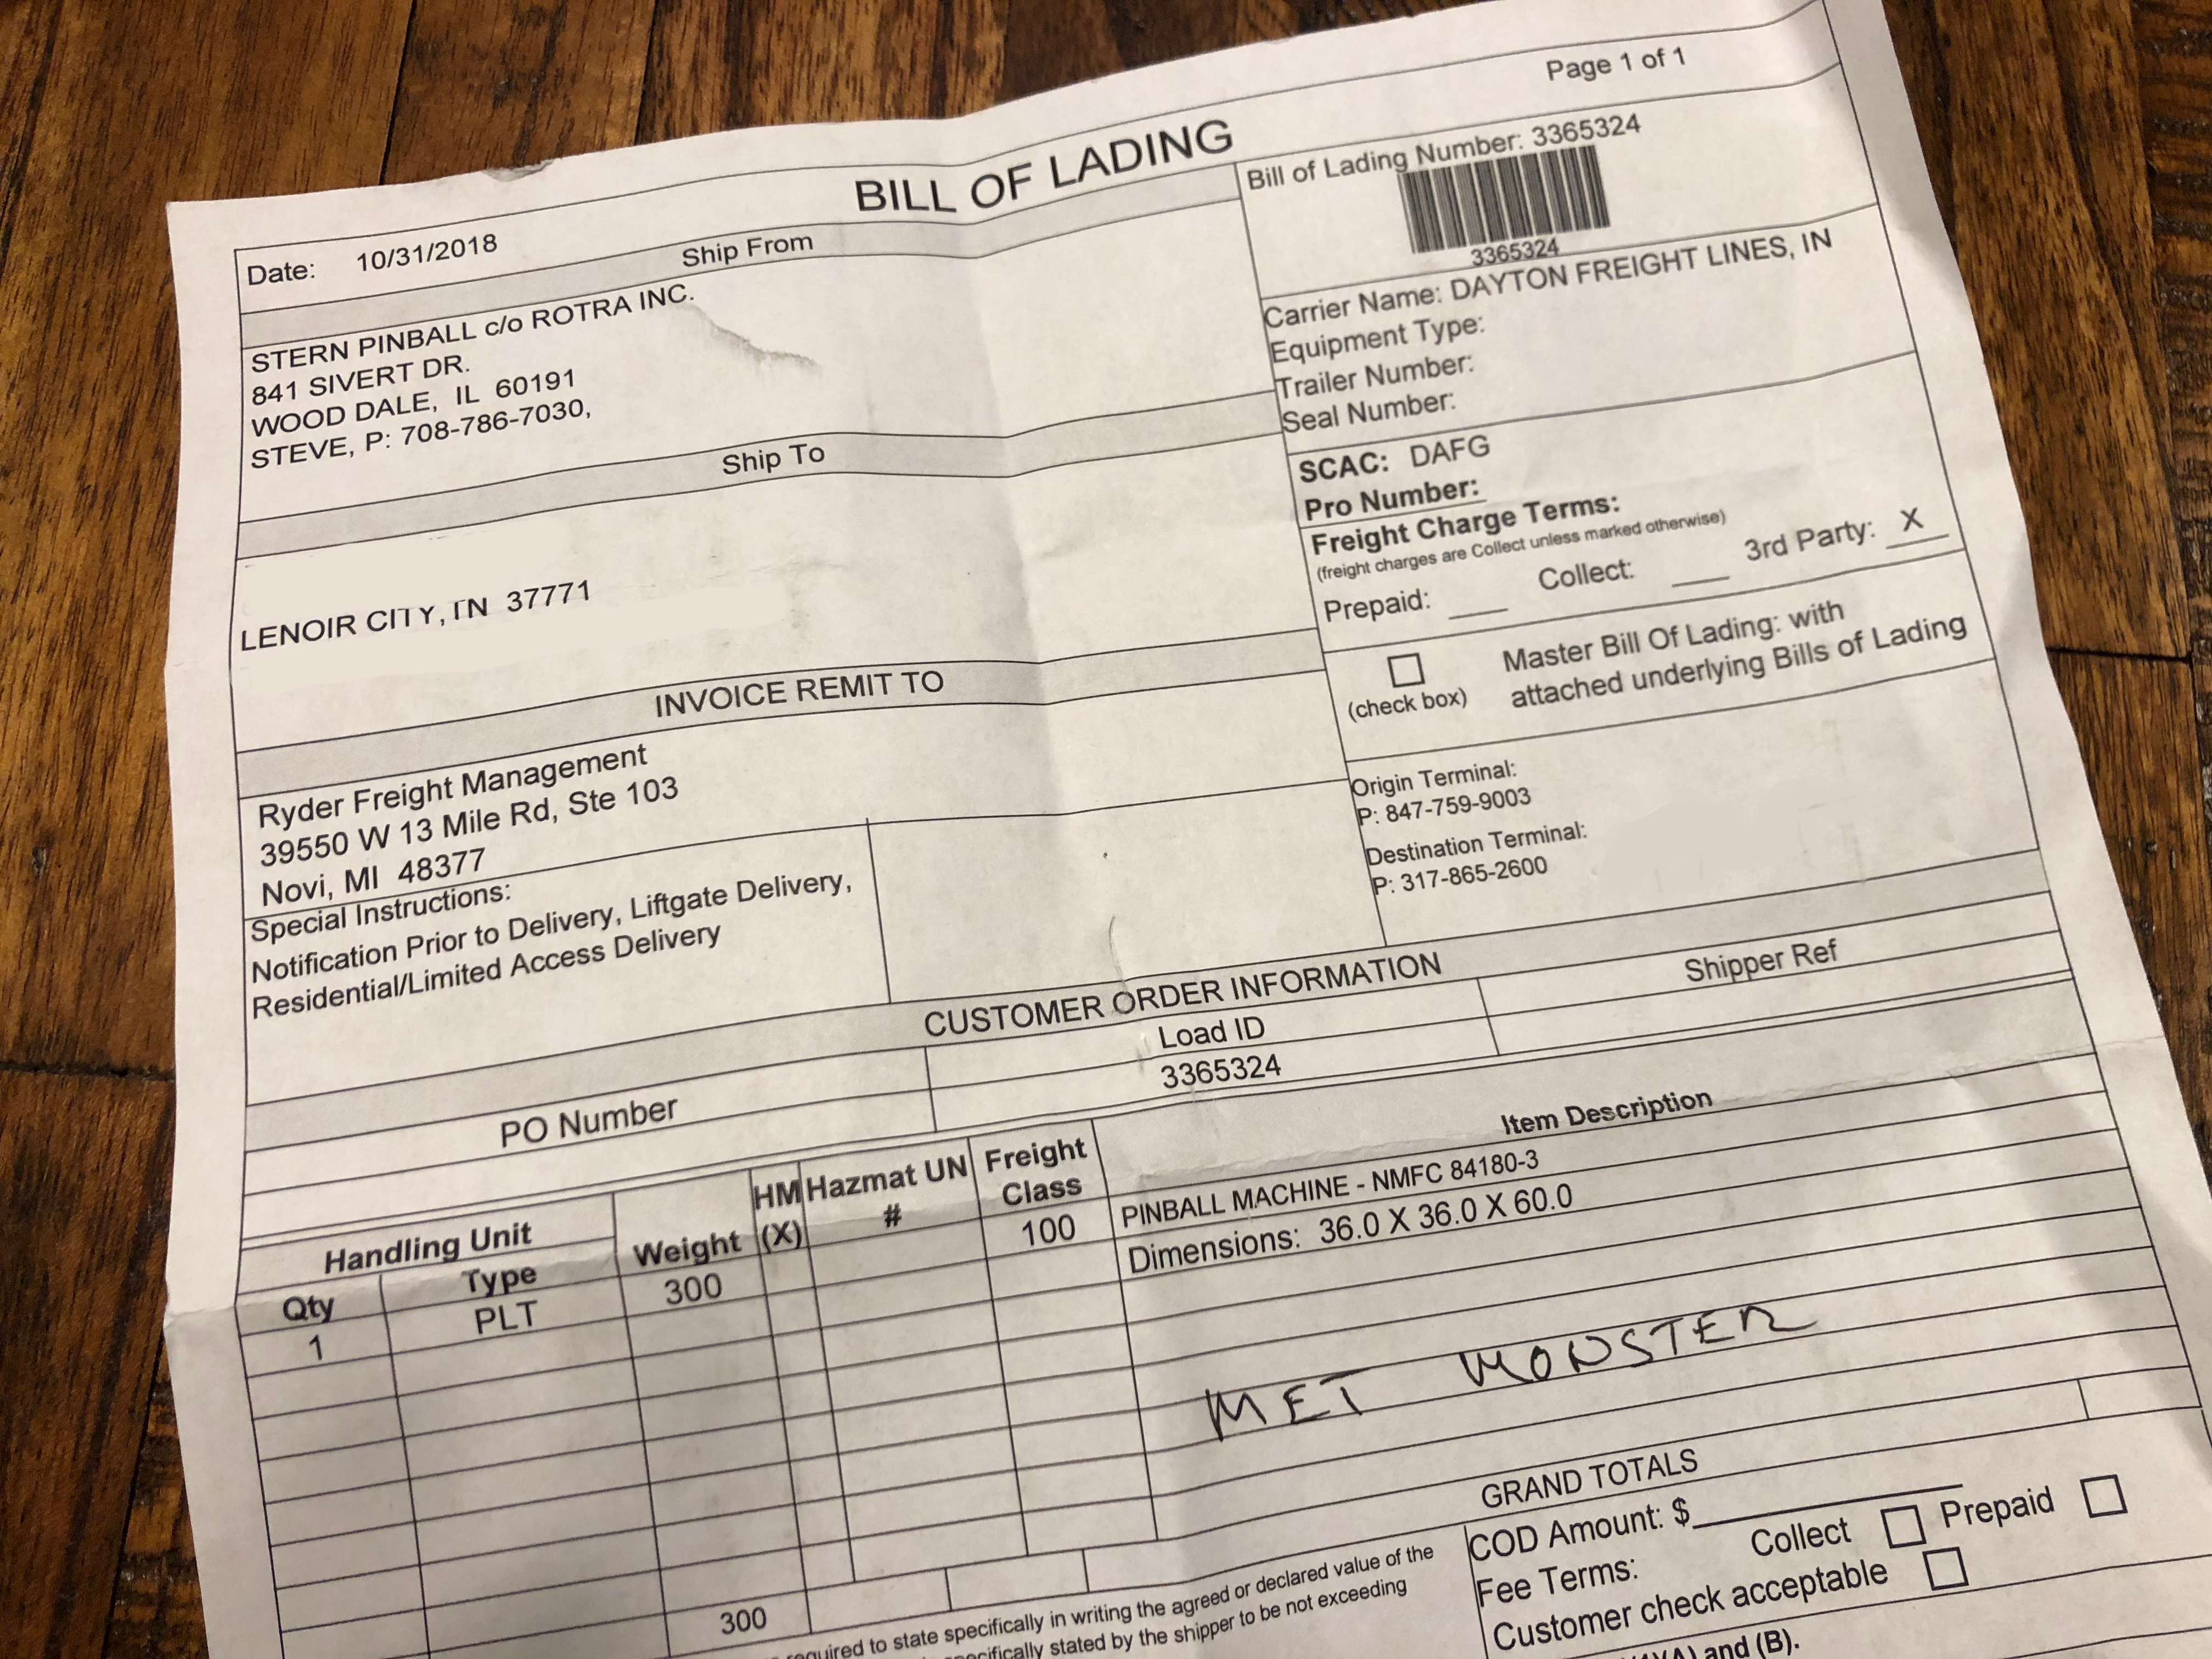
Let’s start with the pickup process. Bit of a story there too. After placing my order with my distributor. I didn’t hear anything for almost 2 weeks. I sent a gentle reminder email and got a response immediately “It’s shipping this week!” Super, I thought, just a few more days and I should get a call from him letting me know shipper, pro #, etc. No word all week up until at least Thursday. No call. No email. Nothing. Not a big deal as I really didn’t expect delivery that week anyway. Friday afternoon, I’m walking out of my office to head home for the weekend and my phone rings. Local number but I don’t recognize it. Usually I ignore because they are spam/robo calls, but on this occasion I answered it. Turns out it was a local freight company. “We’ve got a piece of freight for you on a pallet.” “Is it a Pinball game?” I asked?
Yup! I asked where they were located and after a few minutes of back and forth I discovered they were 5 minutes from my office and as a bonus – I drove the pickup to work that day. Double bonus … they were open until 6:30. I told the guy I was on my way.
I arrived and finally found the correct door to enter. Climbed a set of stairs to get to the dispatch office, opened the door and was met with a blast of hot air. I found a small cheaply paneled room with space heater cooking on high. I peeked around the corner and found a young man all smiles and eager to help. I told him who I was, he asked for my license and took a photo copy of it. Returned my license and had me sign a document. He then asked me to follow him down to the dock area.
On the way down he proceeded to explain to me that the Pinball was in the very last trailer and he couldn’t remember what part. We walked the length of the docks to the last trailer where he quickly disappeared into it. He re-appeared a few seconds later and said “It’s at the nose” – “don’t worry though, it won’t take but a few minutes to unload this thing.”
I watched as he unloaded about 40 total feet of a 53 foot trailer. Now I’ve watched lots of guys handle a forklift but seriously – this guy had skills. Still took him about 15 minutes because the entire freight load was all “Kilz” paint in various package forms. From gallons to boxes to 5 gallons and up – they had every type of package that Kilz could come in. And it was heavy. So it took time. Cause sometimes the pallet wouldn’t let go of the forks without some serious persuasion due to the weight. He finally says “I can get to it now” and a couple seconds later he appears with a box lying flat that looks about the size of 2 large pieces of luggage. He says “Want to inspect it first?” I said “No need – that’s not it!”. He said “It’s not?” After I convinced him it was not a Pinball machine, we both went back into the trailer to closely see that very last big box touching the nose of the trailer. That wasn’t it either. It was a whiskey display – ugh, this was gonna a take a while.
We walked all the way back to the first
dock (the only other trailer with freight in it) and sure enough,
about halfway down was the Stern logo peering back at me. I pointed
to it and said – that one. He started the emptying procedure all
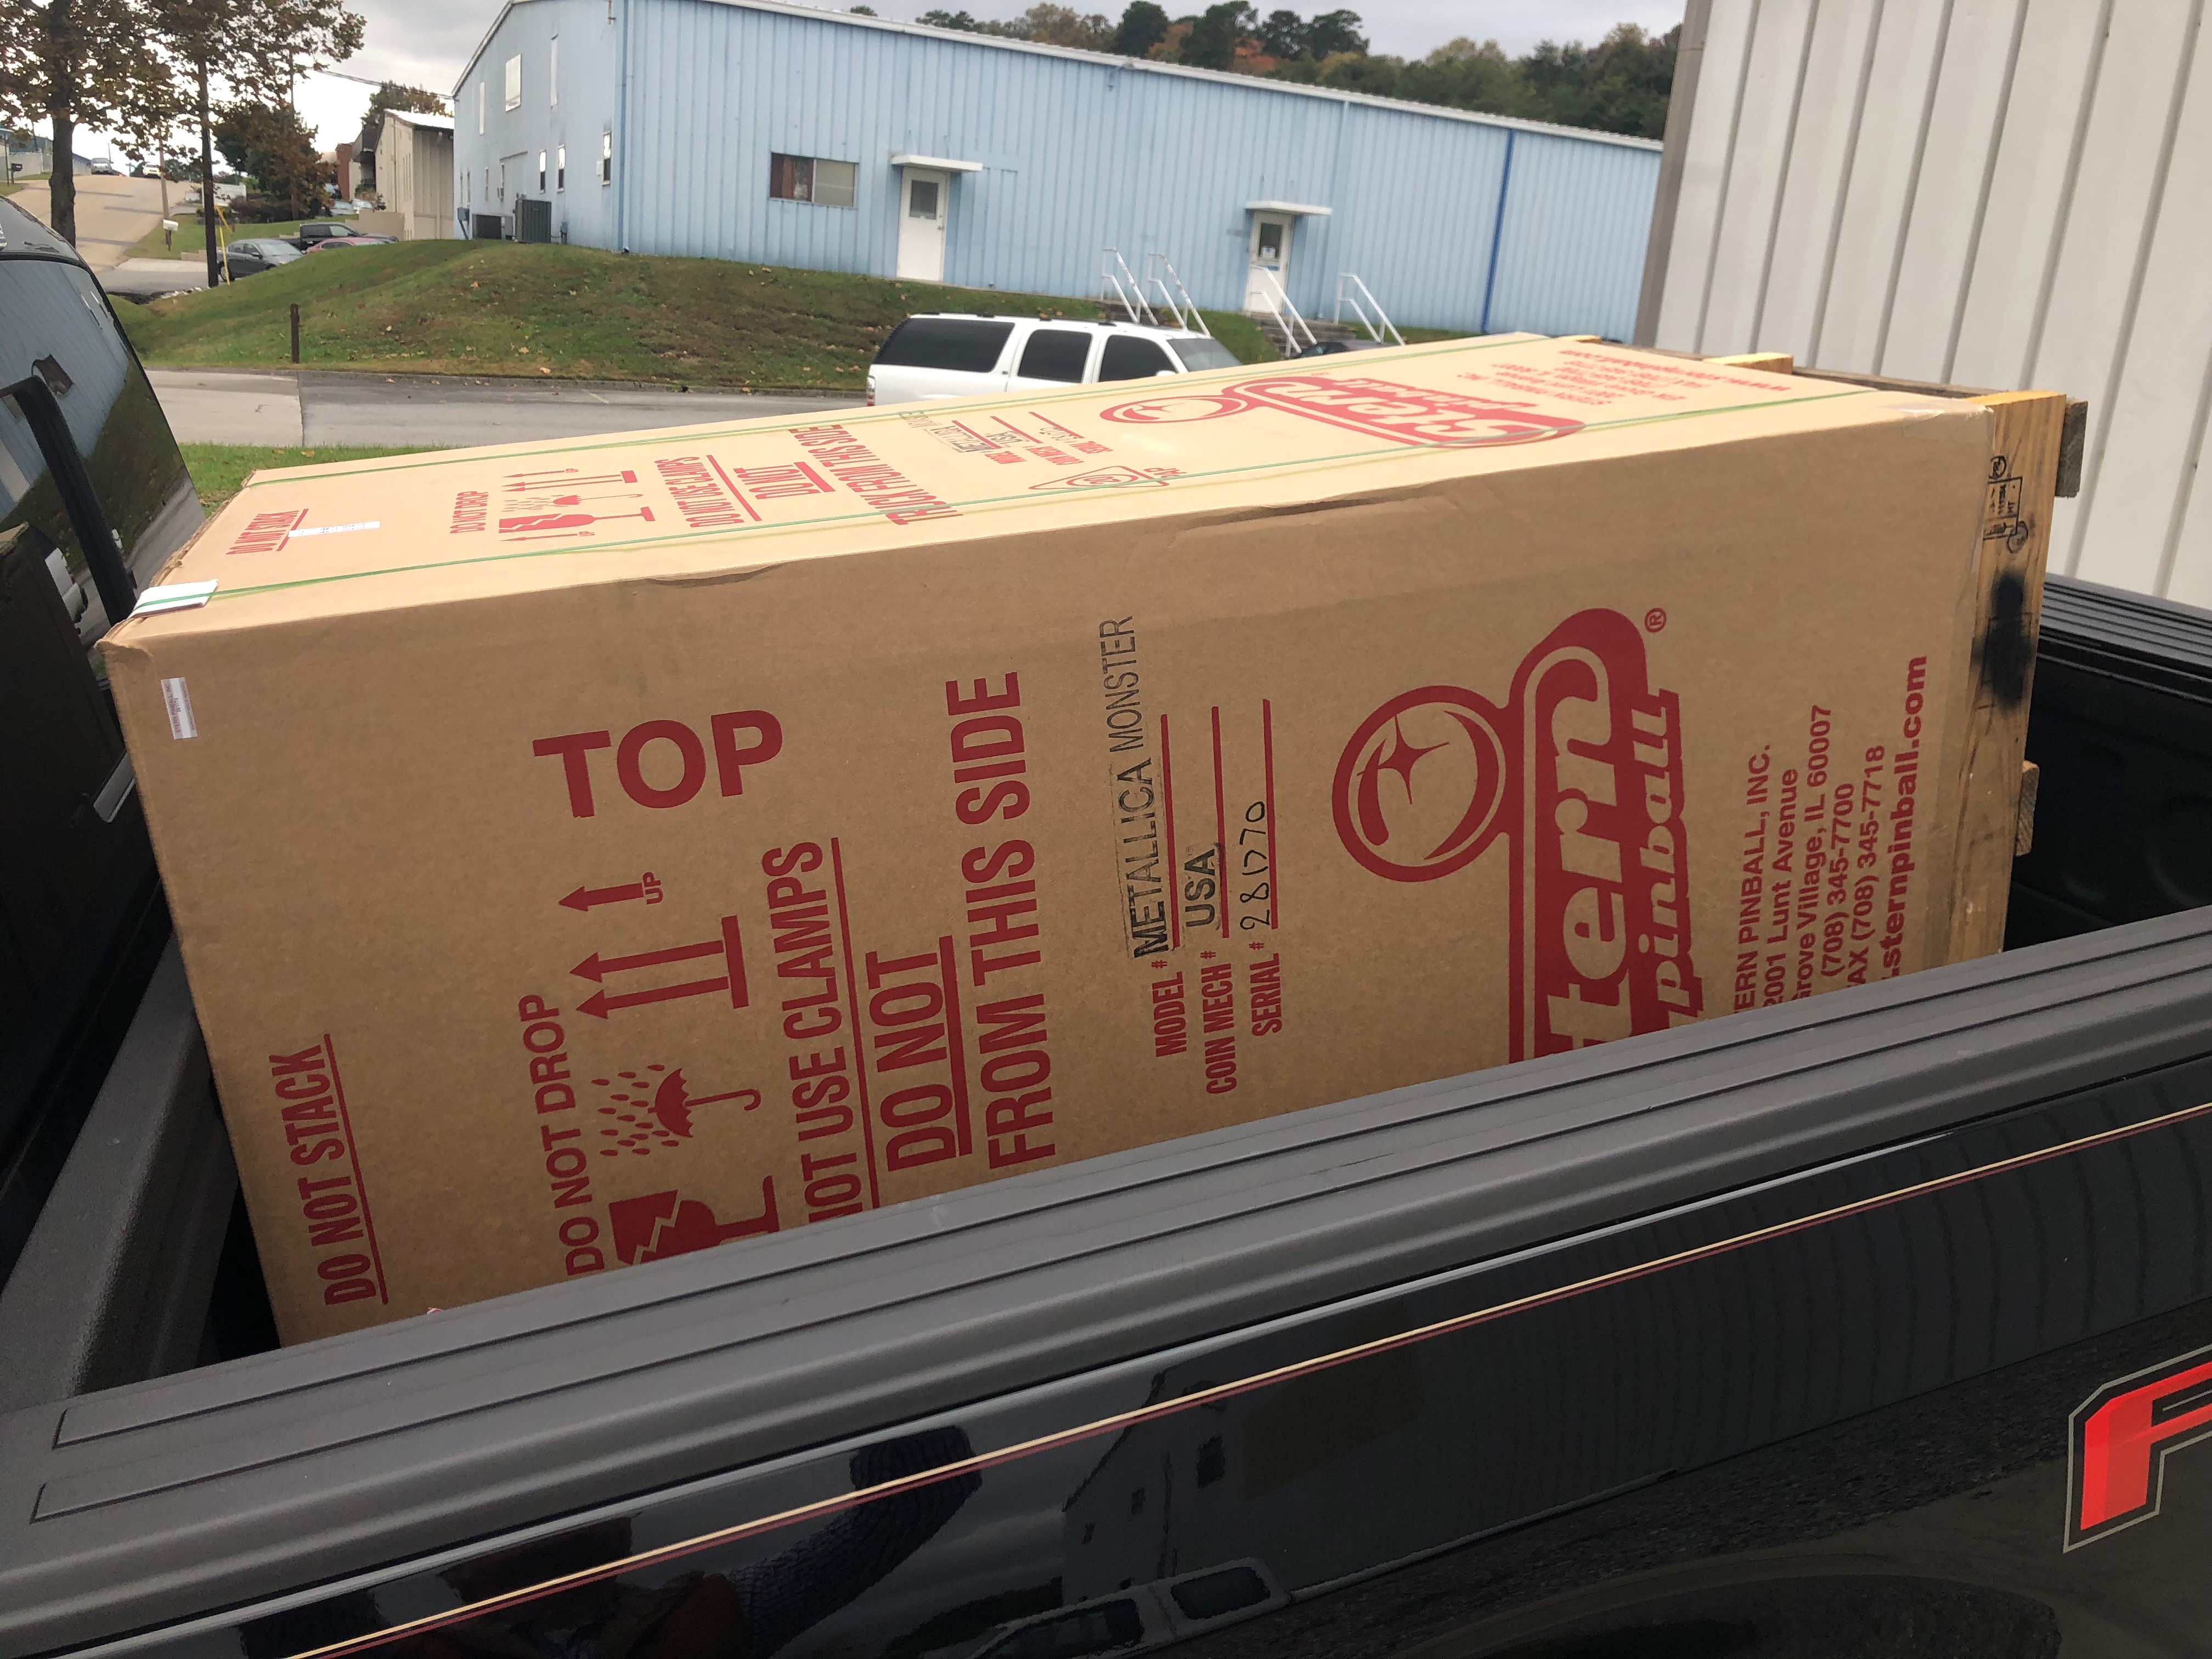
over again and finally, after 35 or 40 minutes I had the MET Premium
leaning against the back of my truck. With another set of helping
hands from him, we tipped it in and away I went. Homeward bound with
one of Andy’s (and soon to be mine) favorite pins!
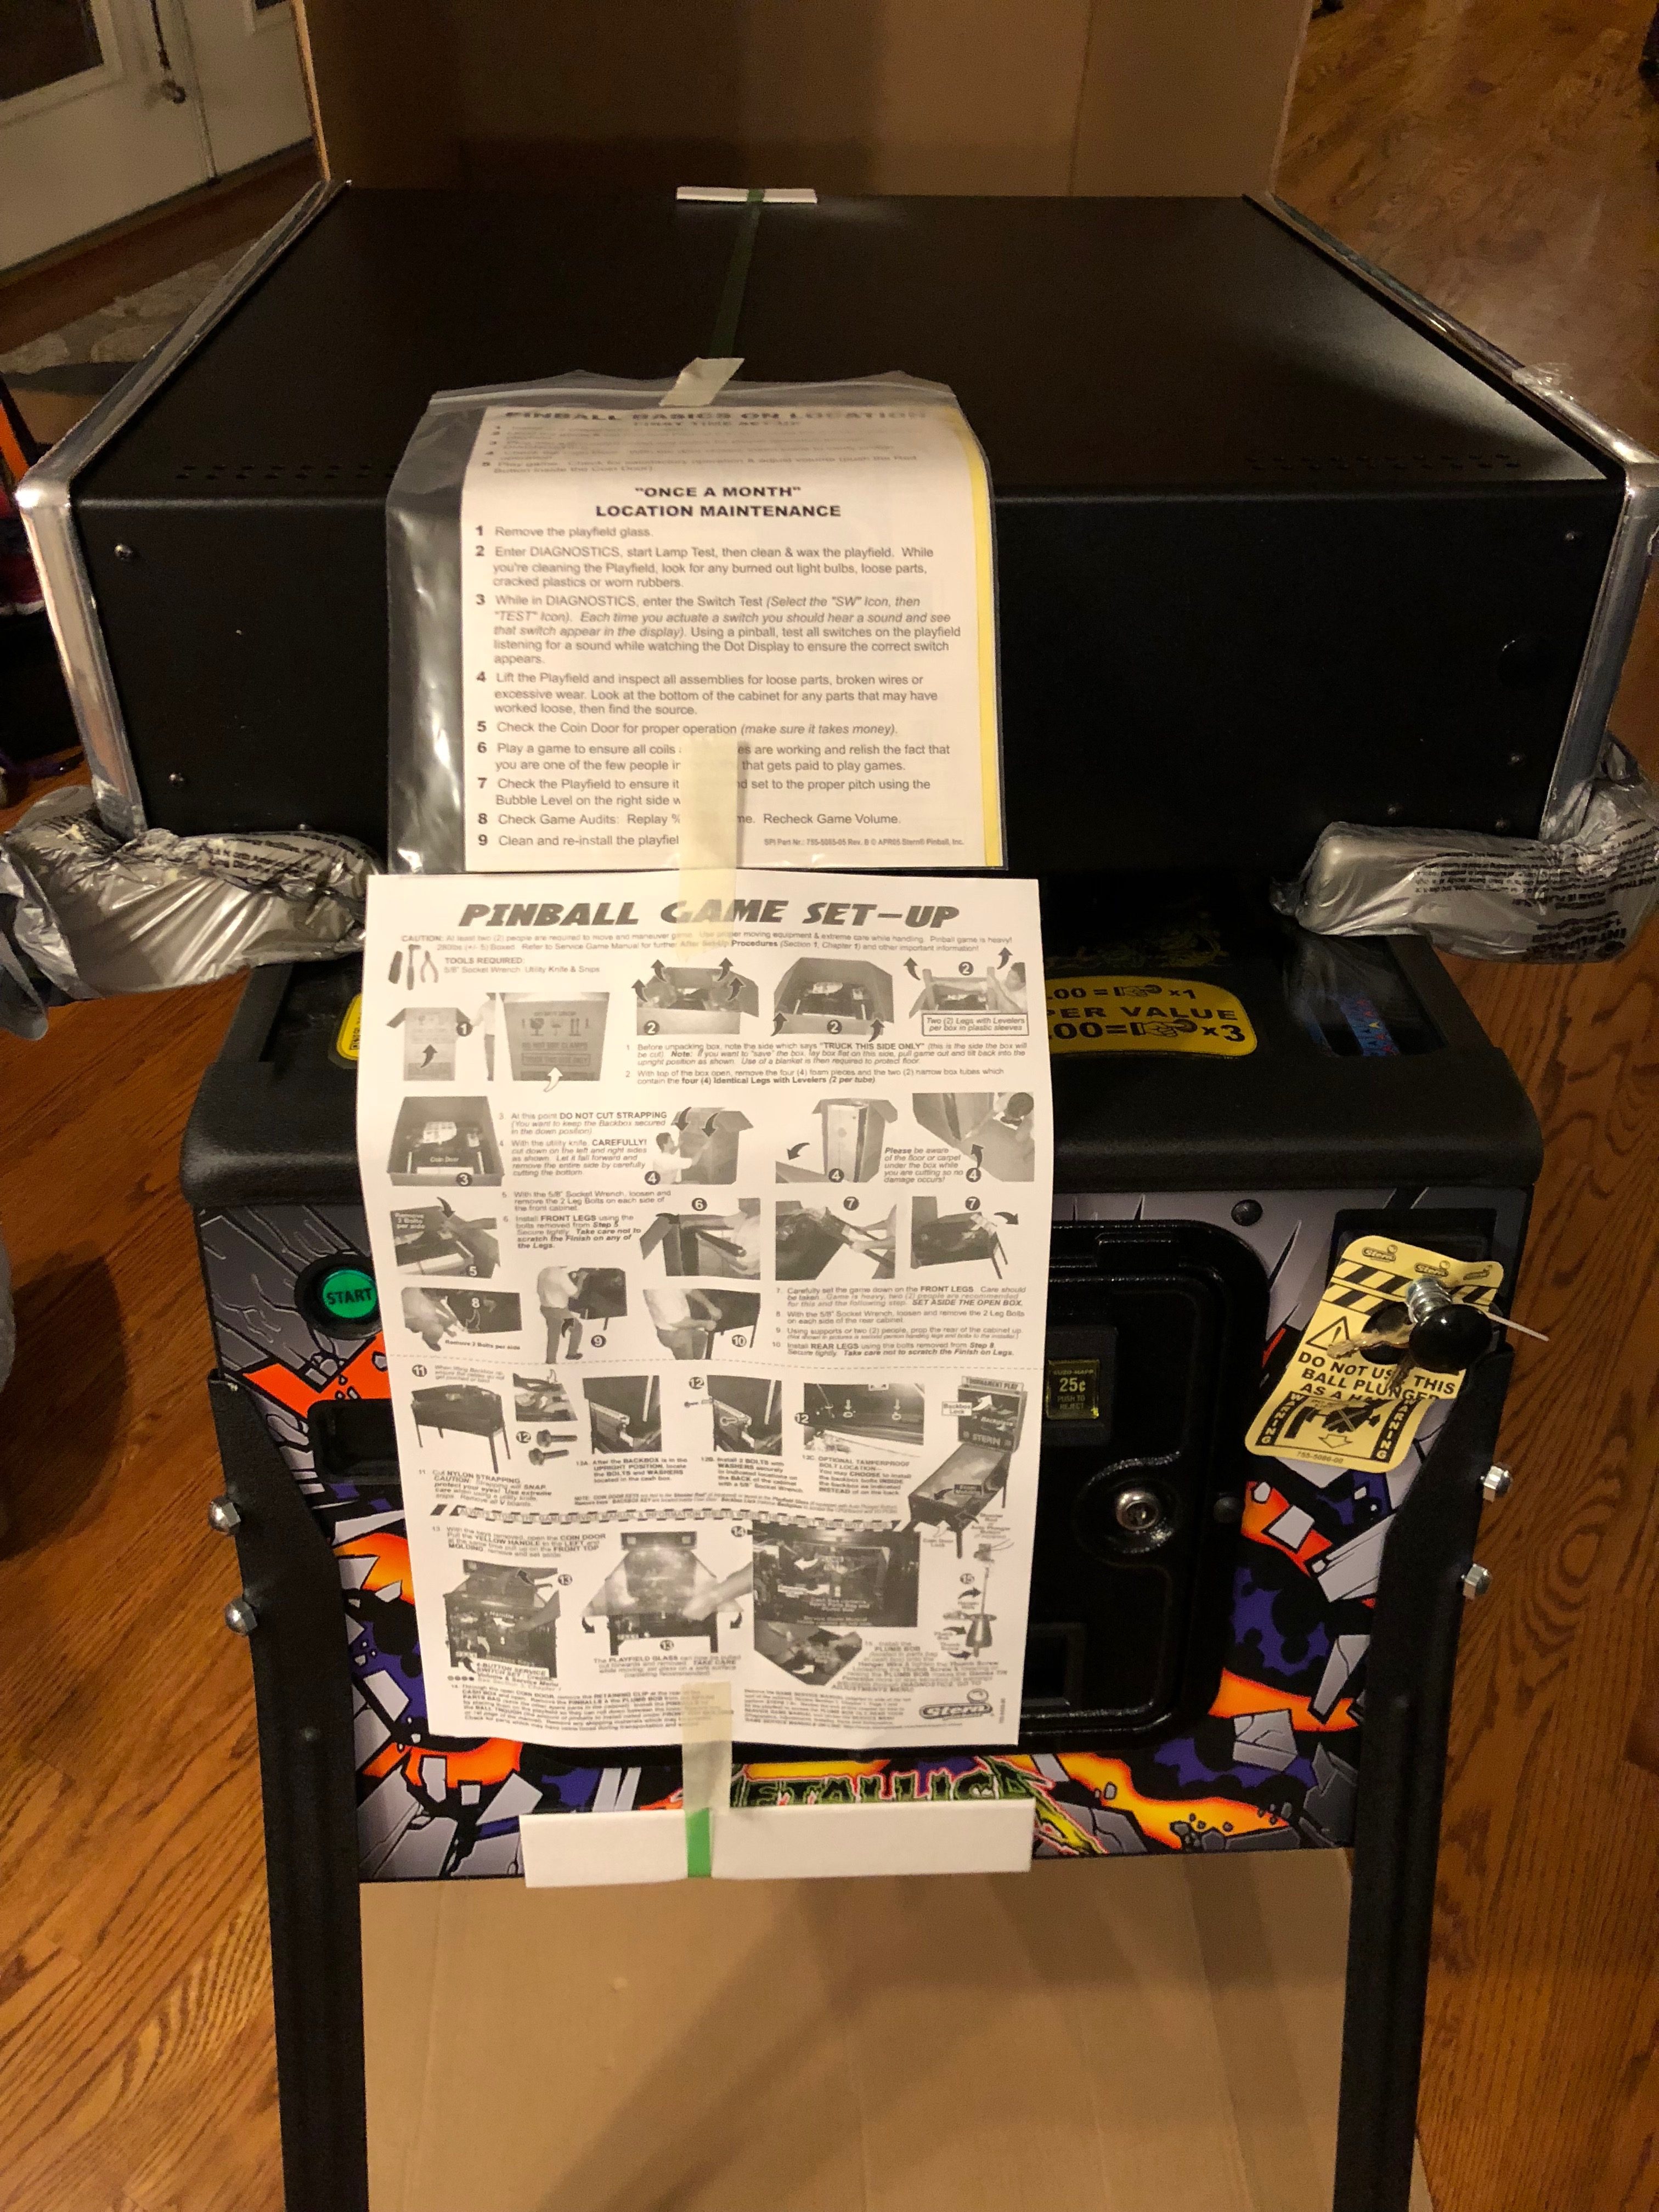
Truck this side only
I got home and my usual helper (Chris) was getting some well-deserved sleep after a long overnight shift. The weather looked threatening. At least it looked threatening if you have a $7,000 Pinball machine made of wood and electronics sitting exposed to it. What to do? You know the answer. Cut the pallet off the bottom, pull it to the edge of the tailgate, let gravity assist and slowly lower it to the ground. Now tip it upright, grab your freight 2 wheeler and drag it to the front door! Now pull it up those steps – Nope! This is where I was stalled. I weigh 165 soaking wet and am plenty strong enough for most Pinball work but manhandling a NIB up stairs without an Escalara isn’t in the cards. I left it at the bottom of the steps.

Chris woke up an hour later and within a minute we had it in the house safe and sound. We took a dinner break and then when we returned it was back to the MET unboxing. I cut the left and right corners down full length of the “Truck this side only” and then peeled it down. We pulled the legs out of the main container, loosened and removed the pre-installed leg bolts,then attached the front legs

Setup from here goes pretty quick. I always add some sticky felt to the leg leveler bottoms because we have our pins on hardwood floors. With that done to the front legs, it’s a matter of tipping the machine down so the front legs are now touching the ground.
Now lift the back of the machine (helper needed) and I put my DIY 4×4 post under it for support. Add the back legs and you’re ready to cut the band that holds the head for shipping. After cutting the band, lift the head, be careful not to pinch any wires going into the backbox. Have your head bolts ready and as soon as the head is vertical, insert the head bolts and finger tighten until you can finish with a 5/8th wrench. Boom – the game is up.
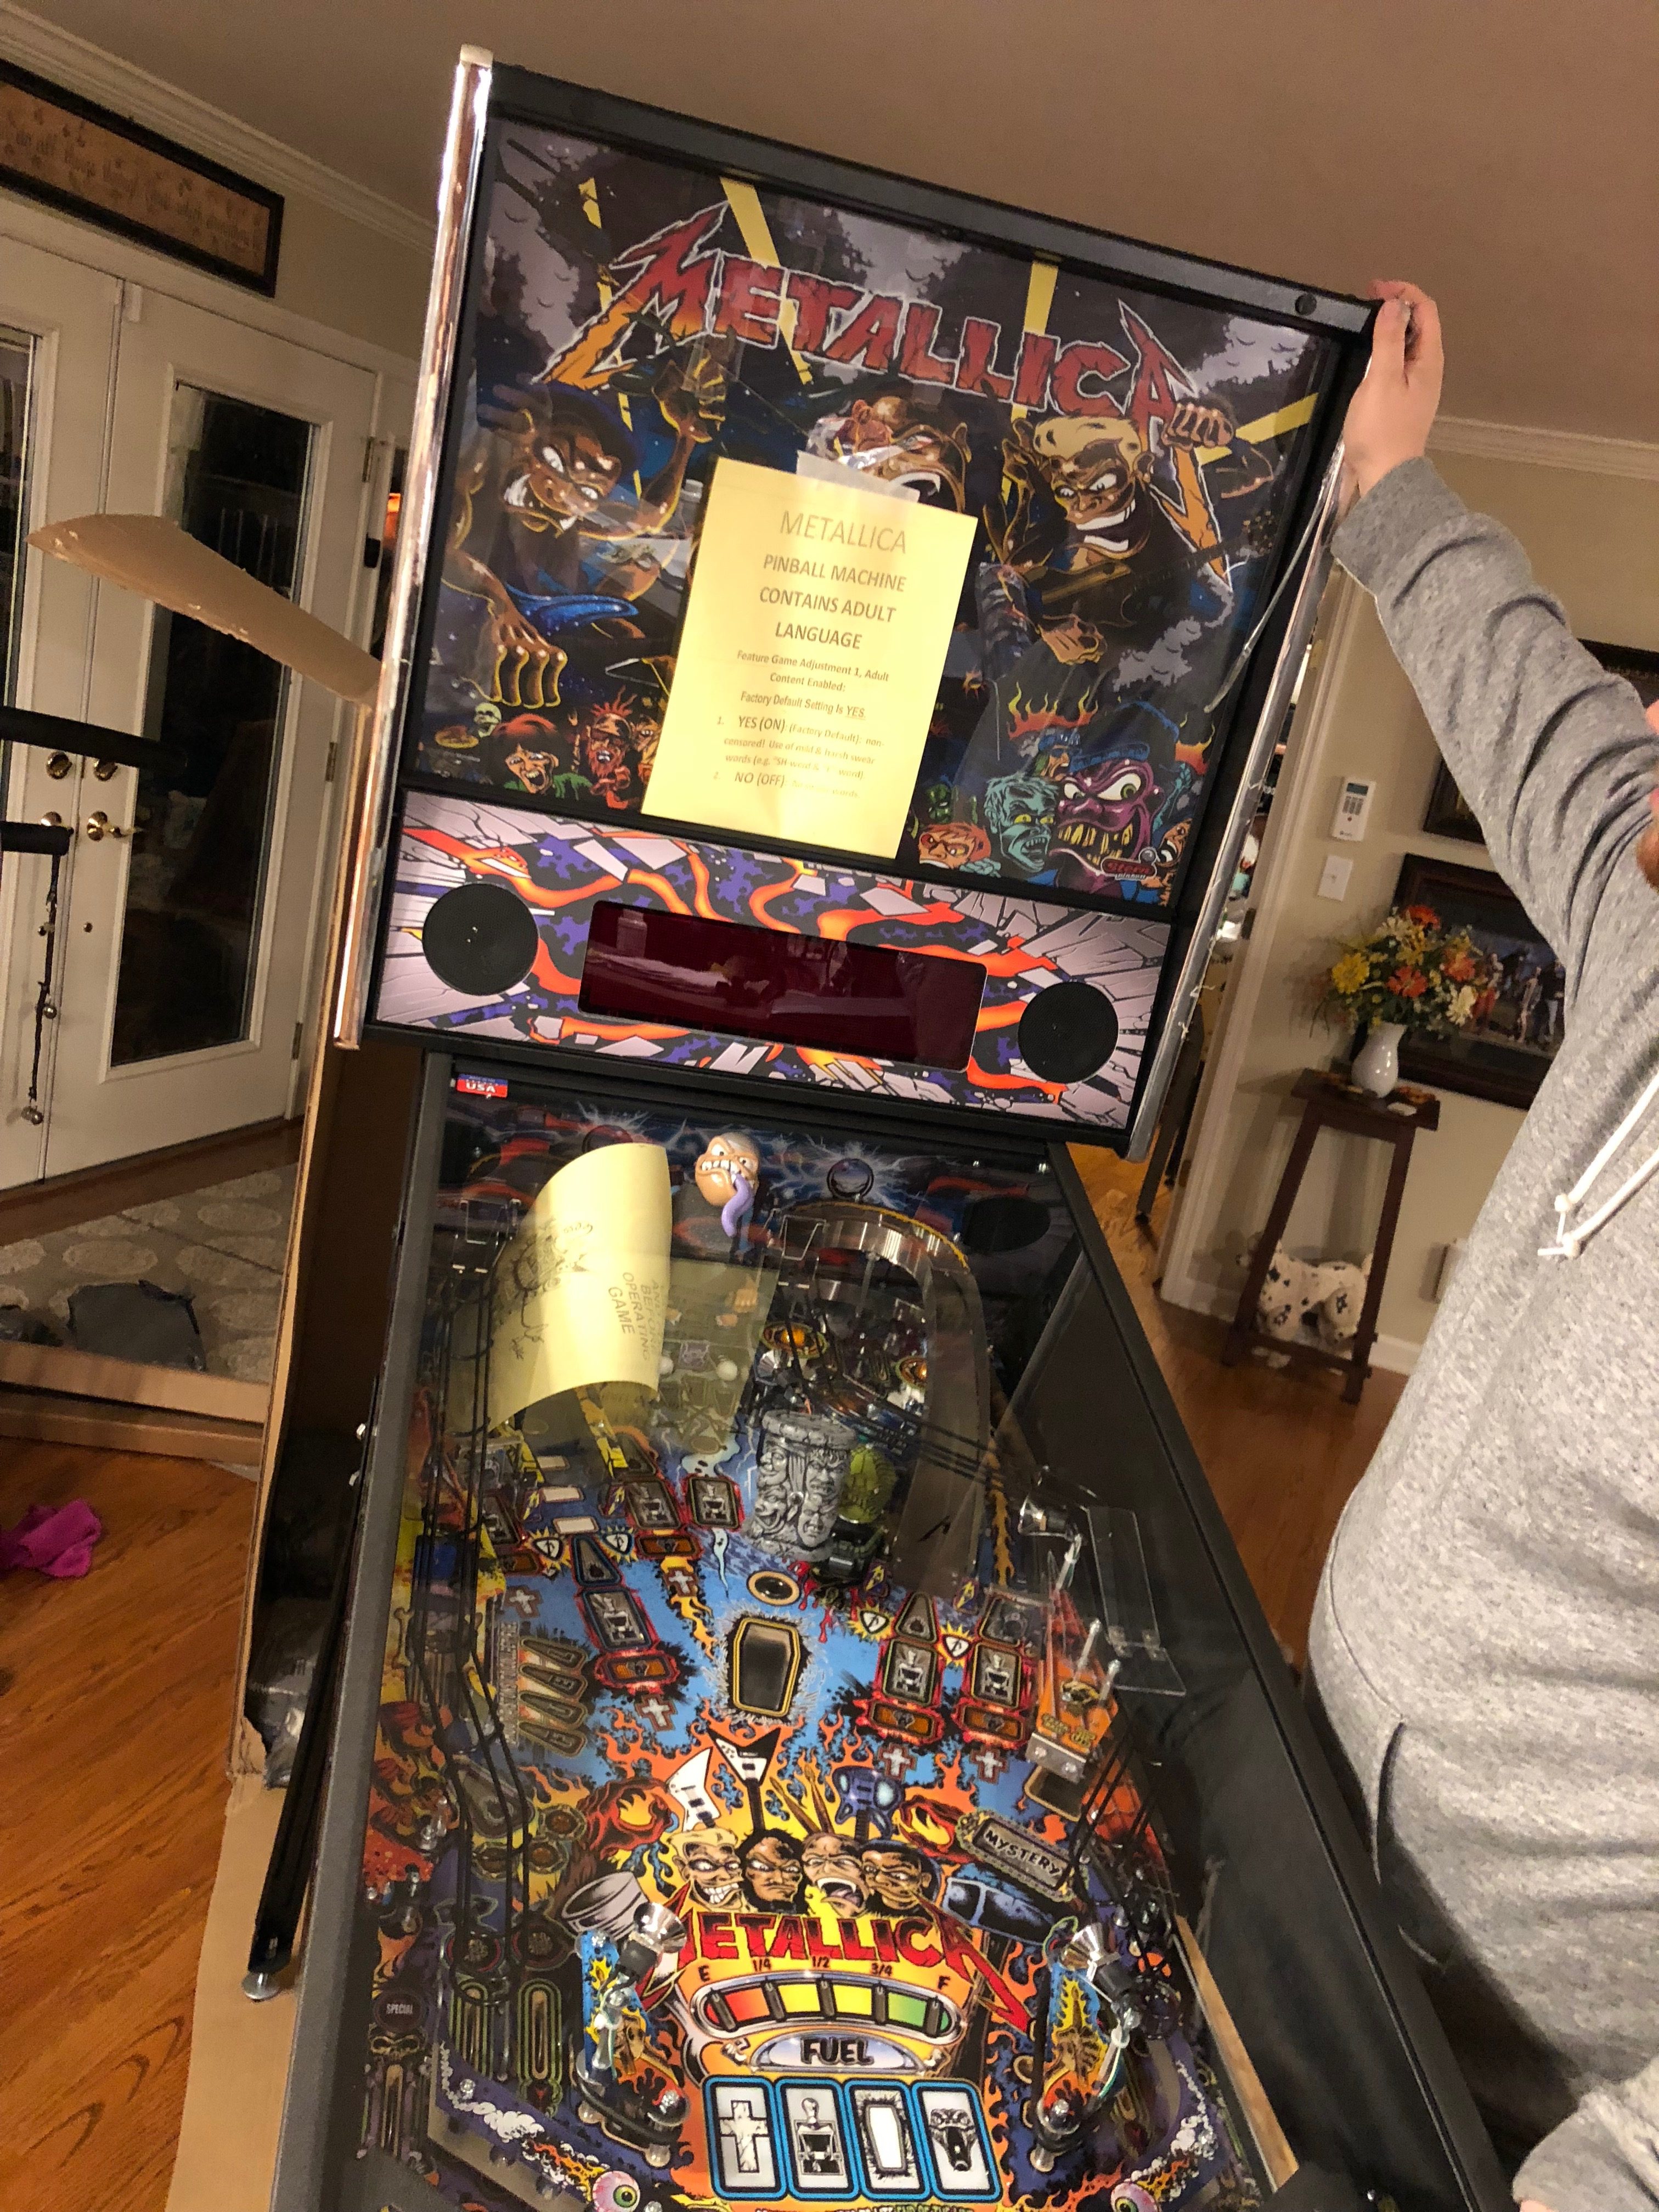
For Metallica, there are just a couple more things to do. Pull the power cord out of the recessed hole in the back of the machine. Mine was wrapped around the transformer so make sure you open the coin door and have your helper pull the cord while you watch and guide if needed. Next I pulled the glass and removed the strap tie and foam block around Sparky. Pull off all the other “Adult language” warning papers, assembly papers, etc. and add 4 balls and you are ready to play!

Take a picture of the serial number of
your game. I’m surprised at how many folks don’t keep a record of
this. Take that picture and the next time you are on Pinside,
navigate to your collection page and add that number to the notes.
Not only do you have an image of it but you have a backed up record
of it that you can access anywhere in the world. I know that pins are
rarely stolen but if ever that happens or there is an insurance claim
– you’re prepared.
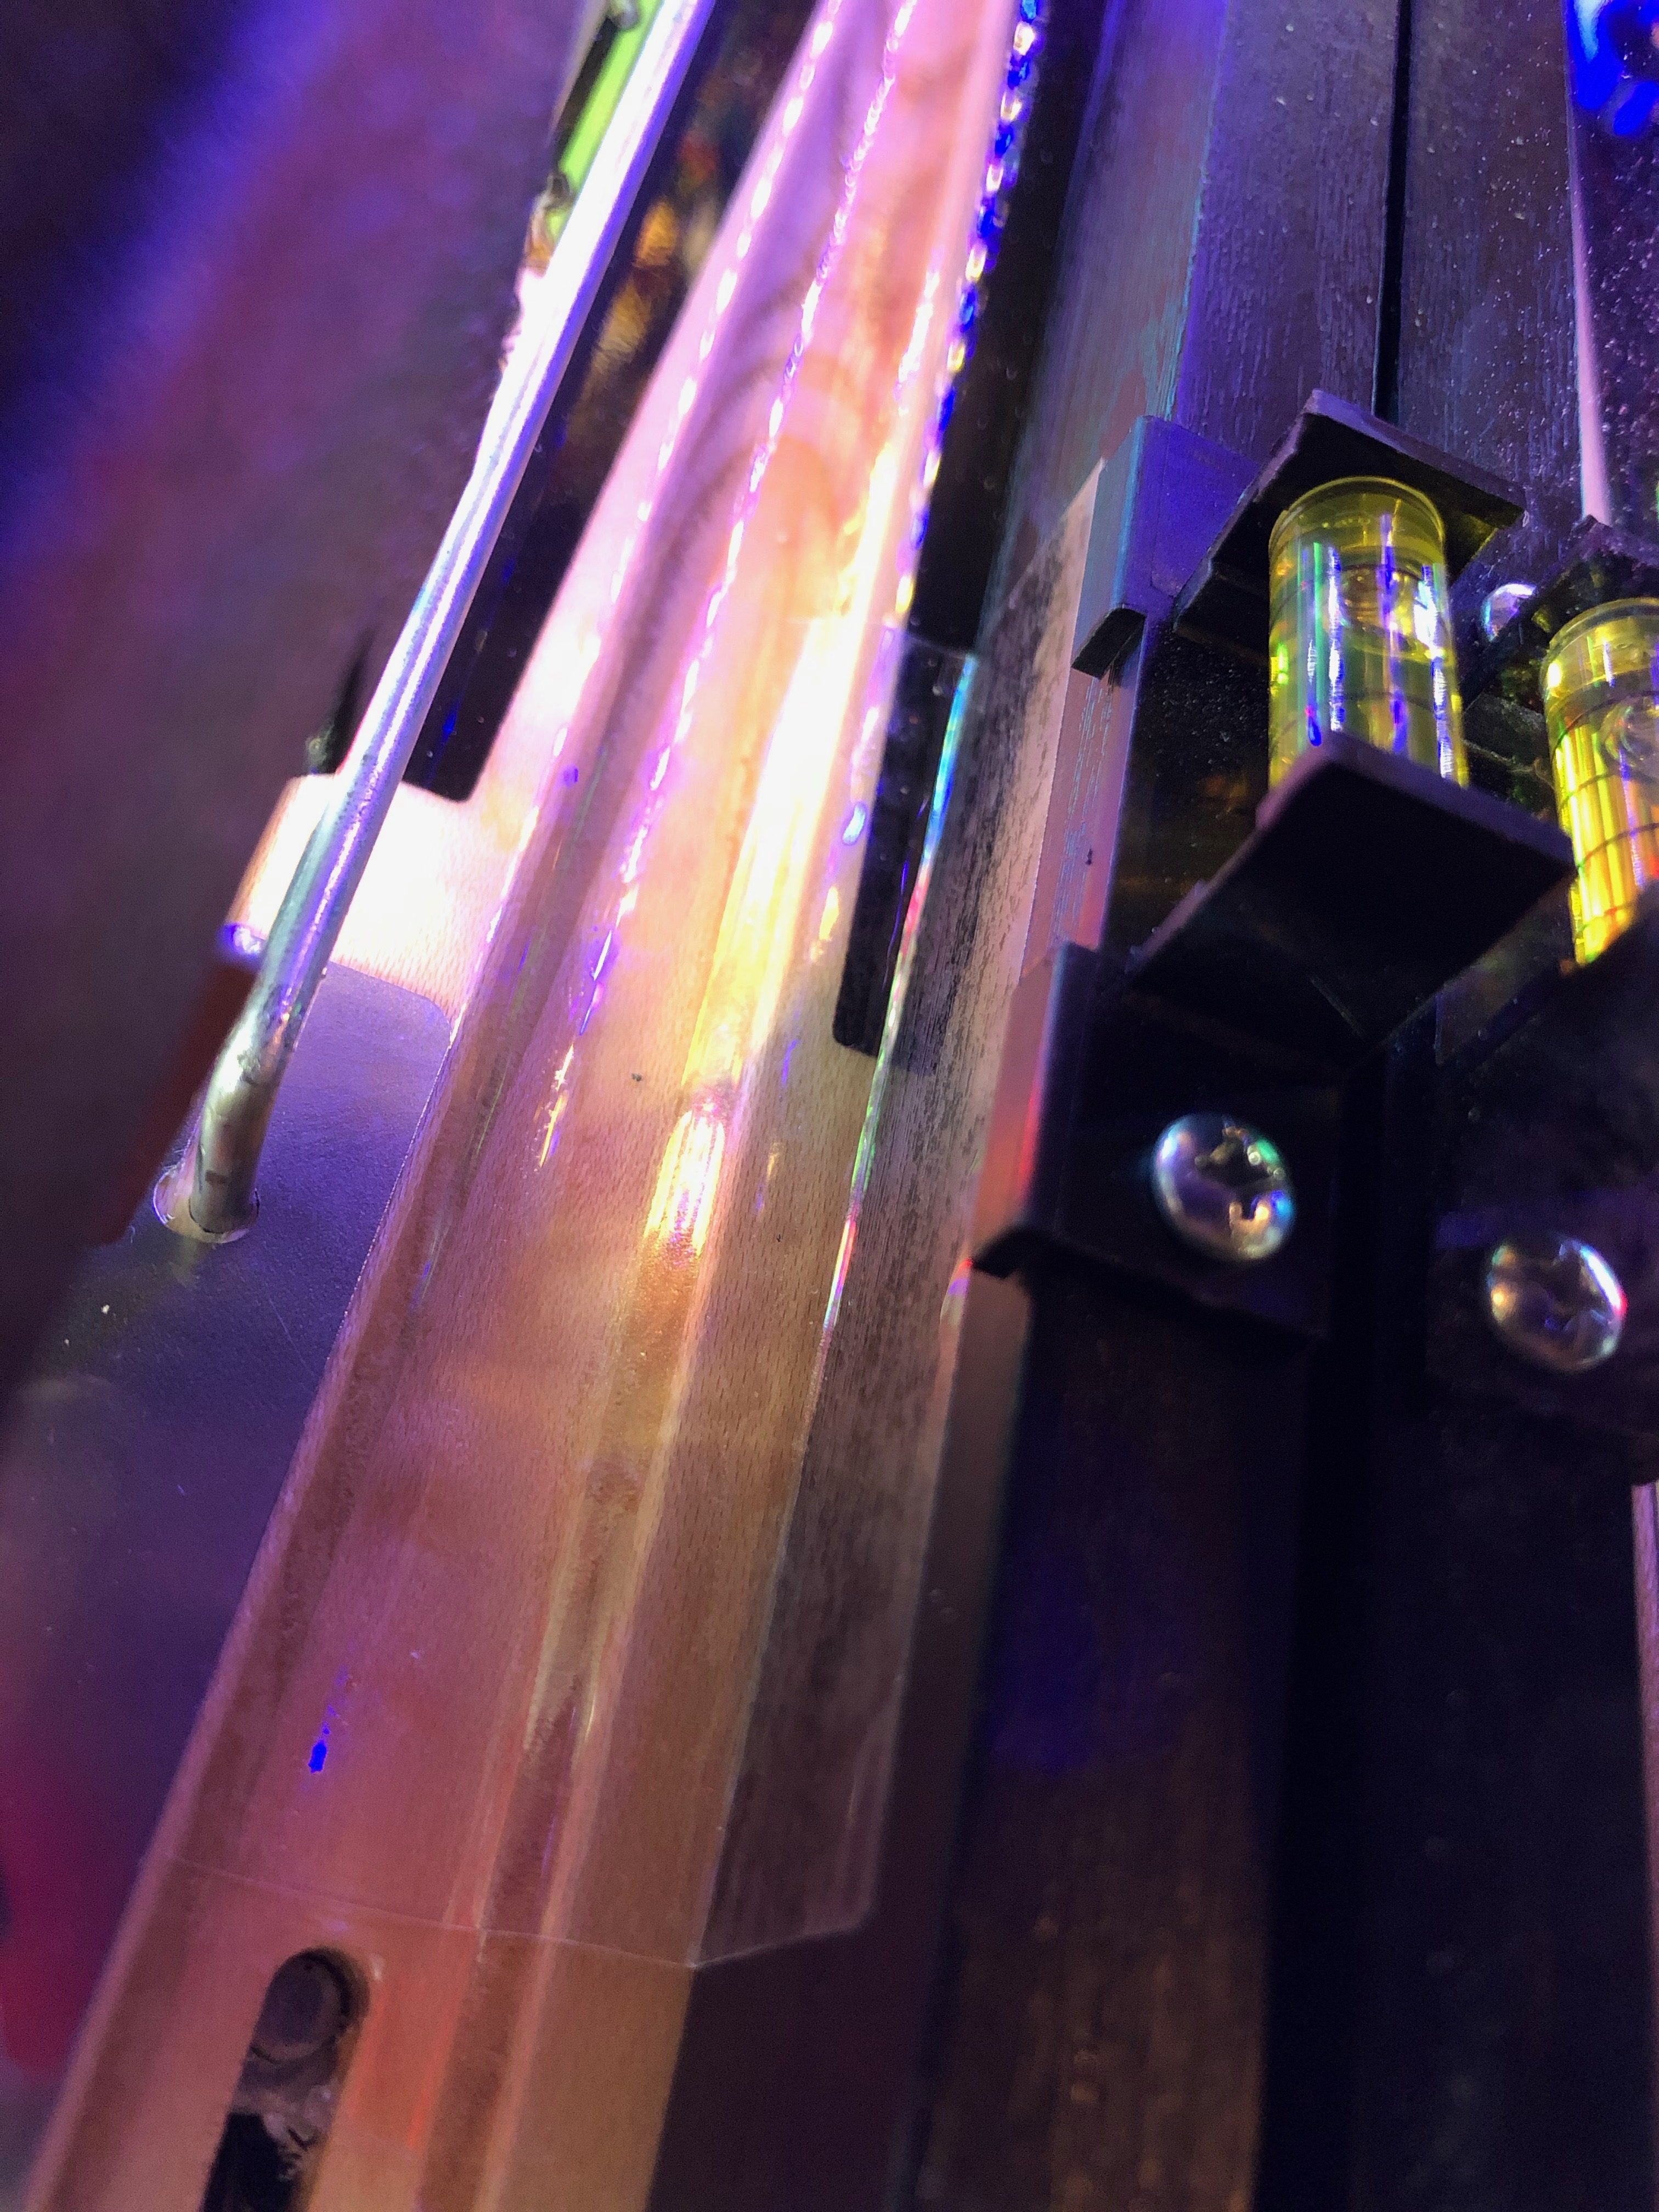
Screw in the shooter lane – bet that hurts
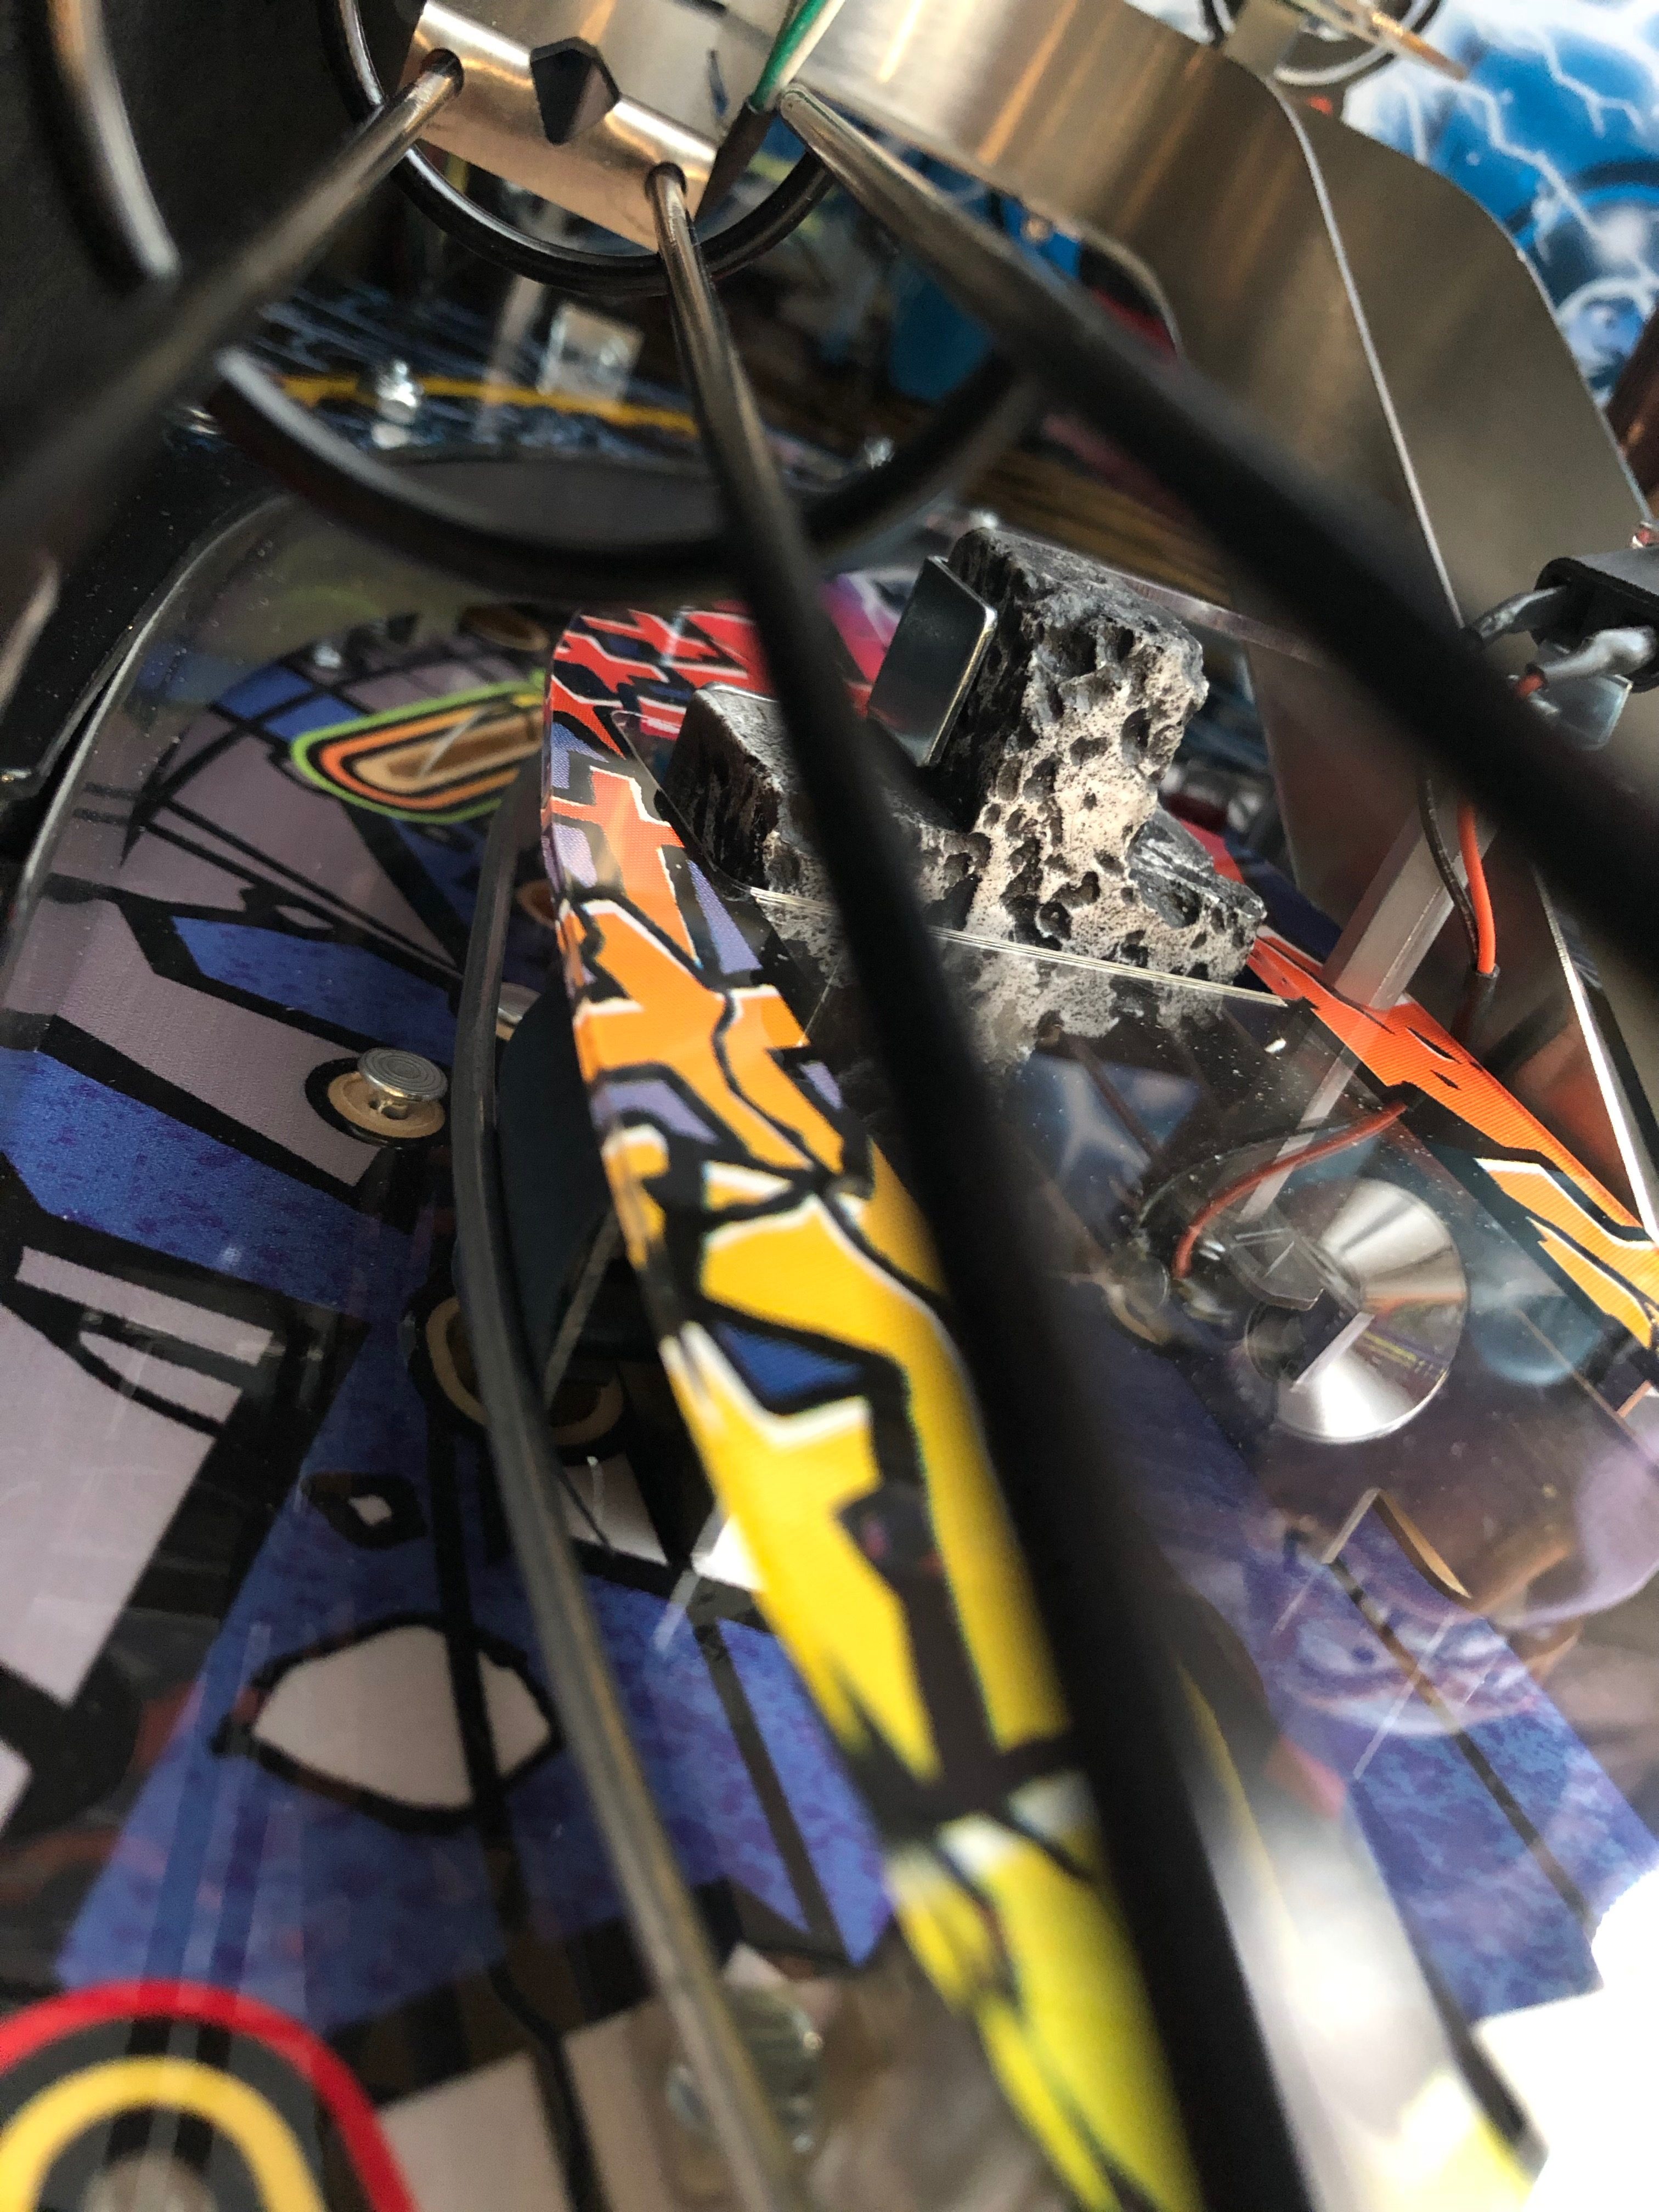
So we plugged it in. Hit the rocker for power and just like it was supposed to do – it came on. Awesome job Stern. It works. Even after shipping. Not an easy accomplishment. I pushed start. Nothing happened. I have done this dozens of times, still gets me every time. So into the menus I went to set the game on free play. Now I hit start – again. We played maybe 4 balls or so and on the last ball Chris was playing, the launch seemed a little “off”. He drained. I stepped up and pulled the plunger and the ball moved to the forked part of the launch guide and stopped dead. Powered off the game and grabbed the flashlight. A screw had neatly wedged itself into the shooter lane forked area
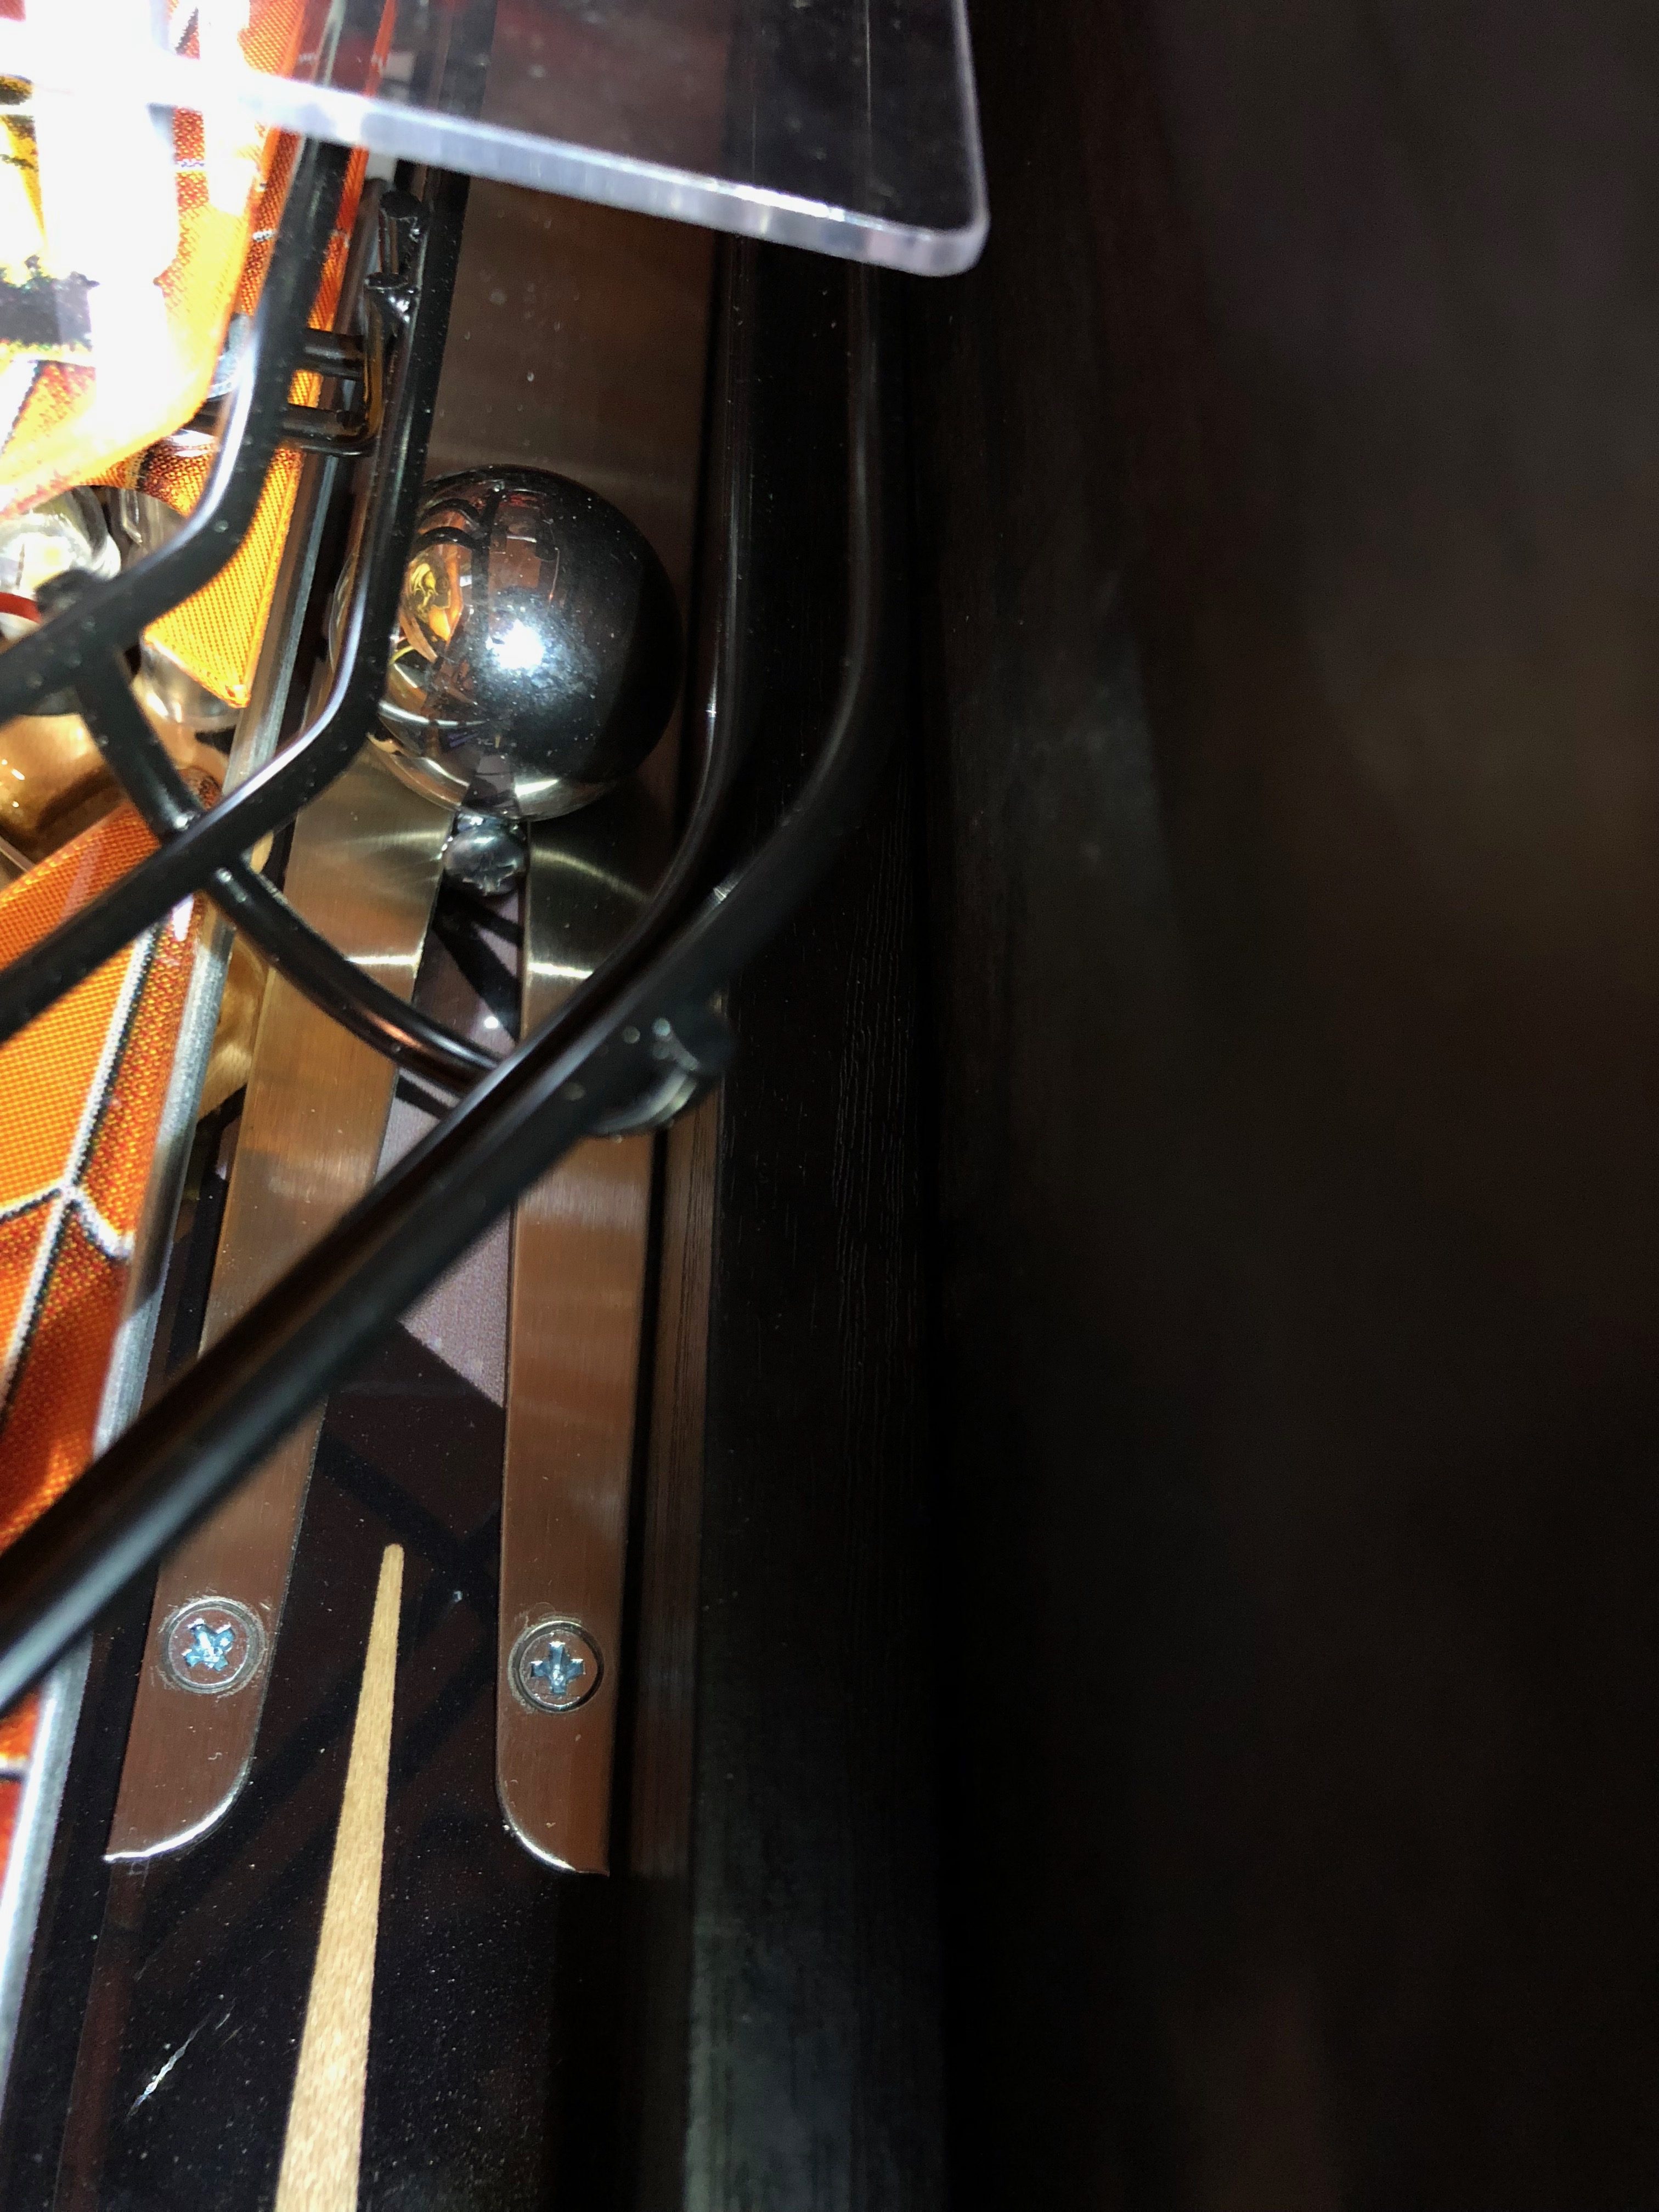
It literally took 10 minutes to get the very tightly wedged screw out of there using my magnetic rod and gentle prodding. With the screw removed it was time to find out where it came from. It took just 5 seconds to find that.
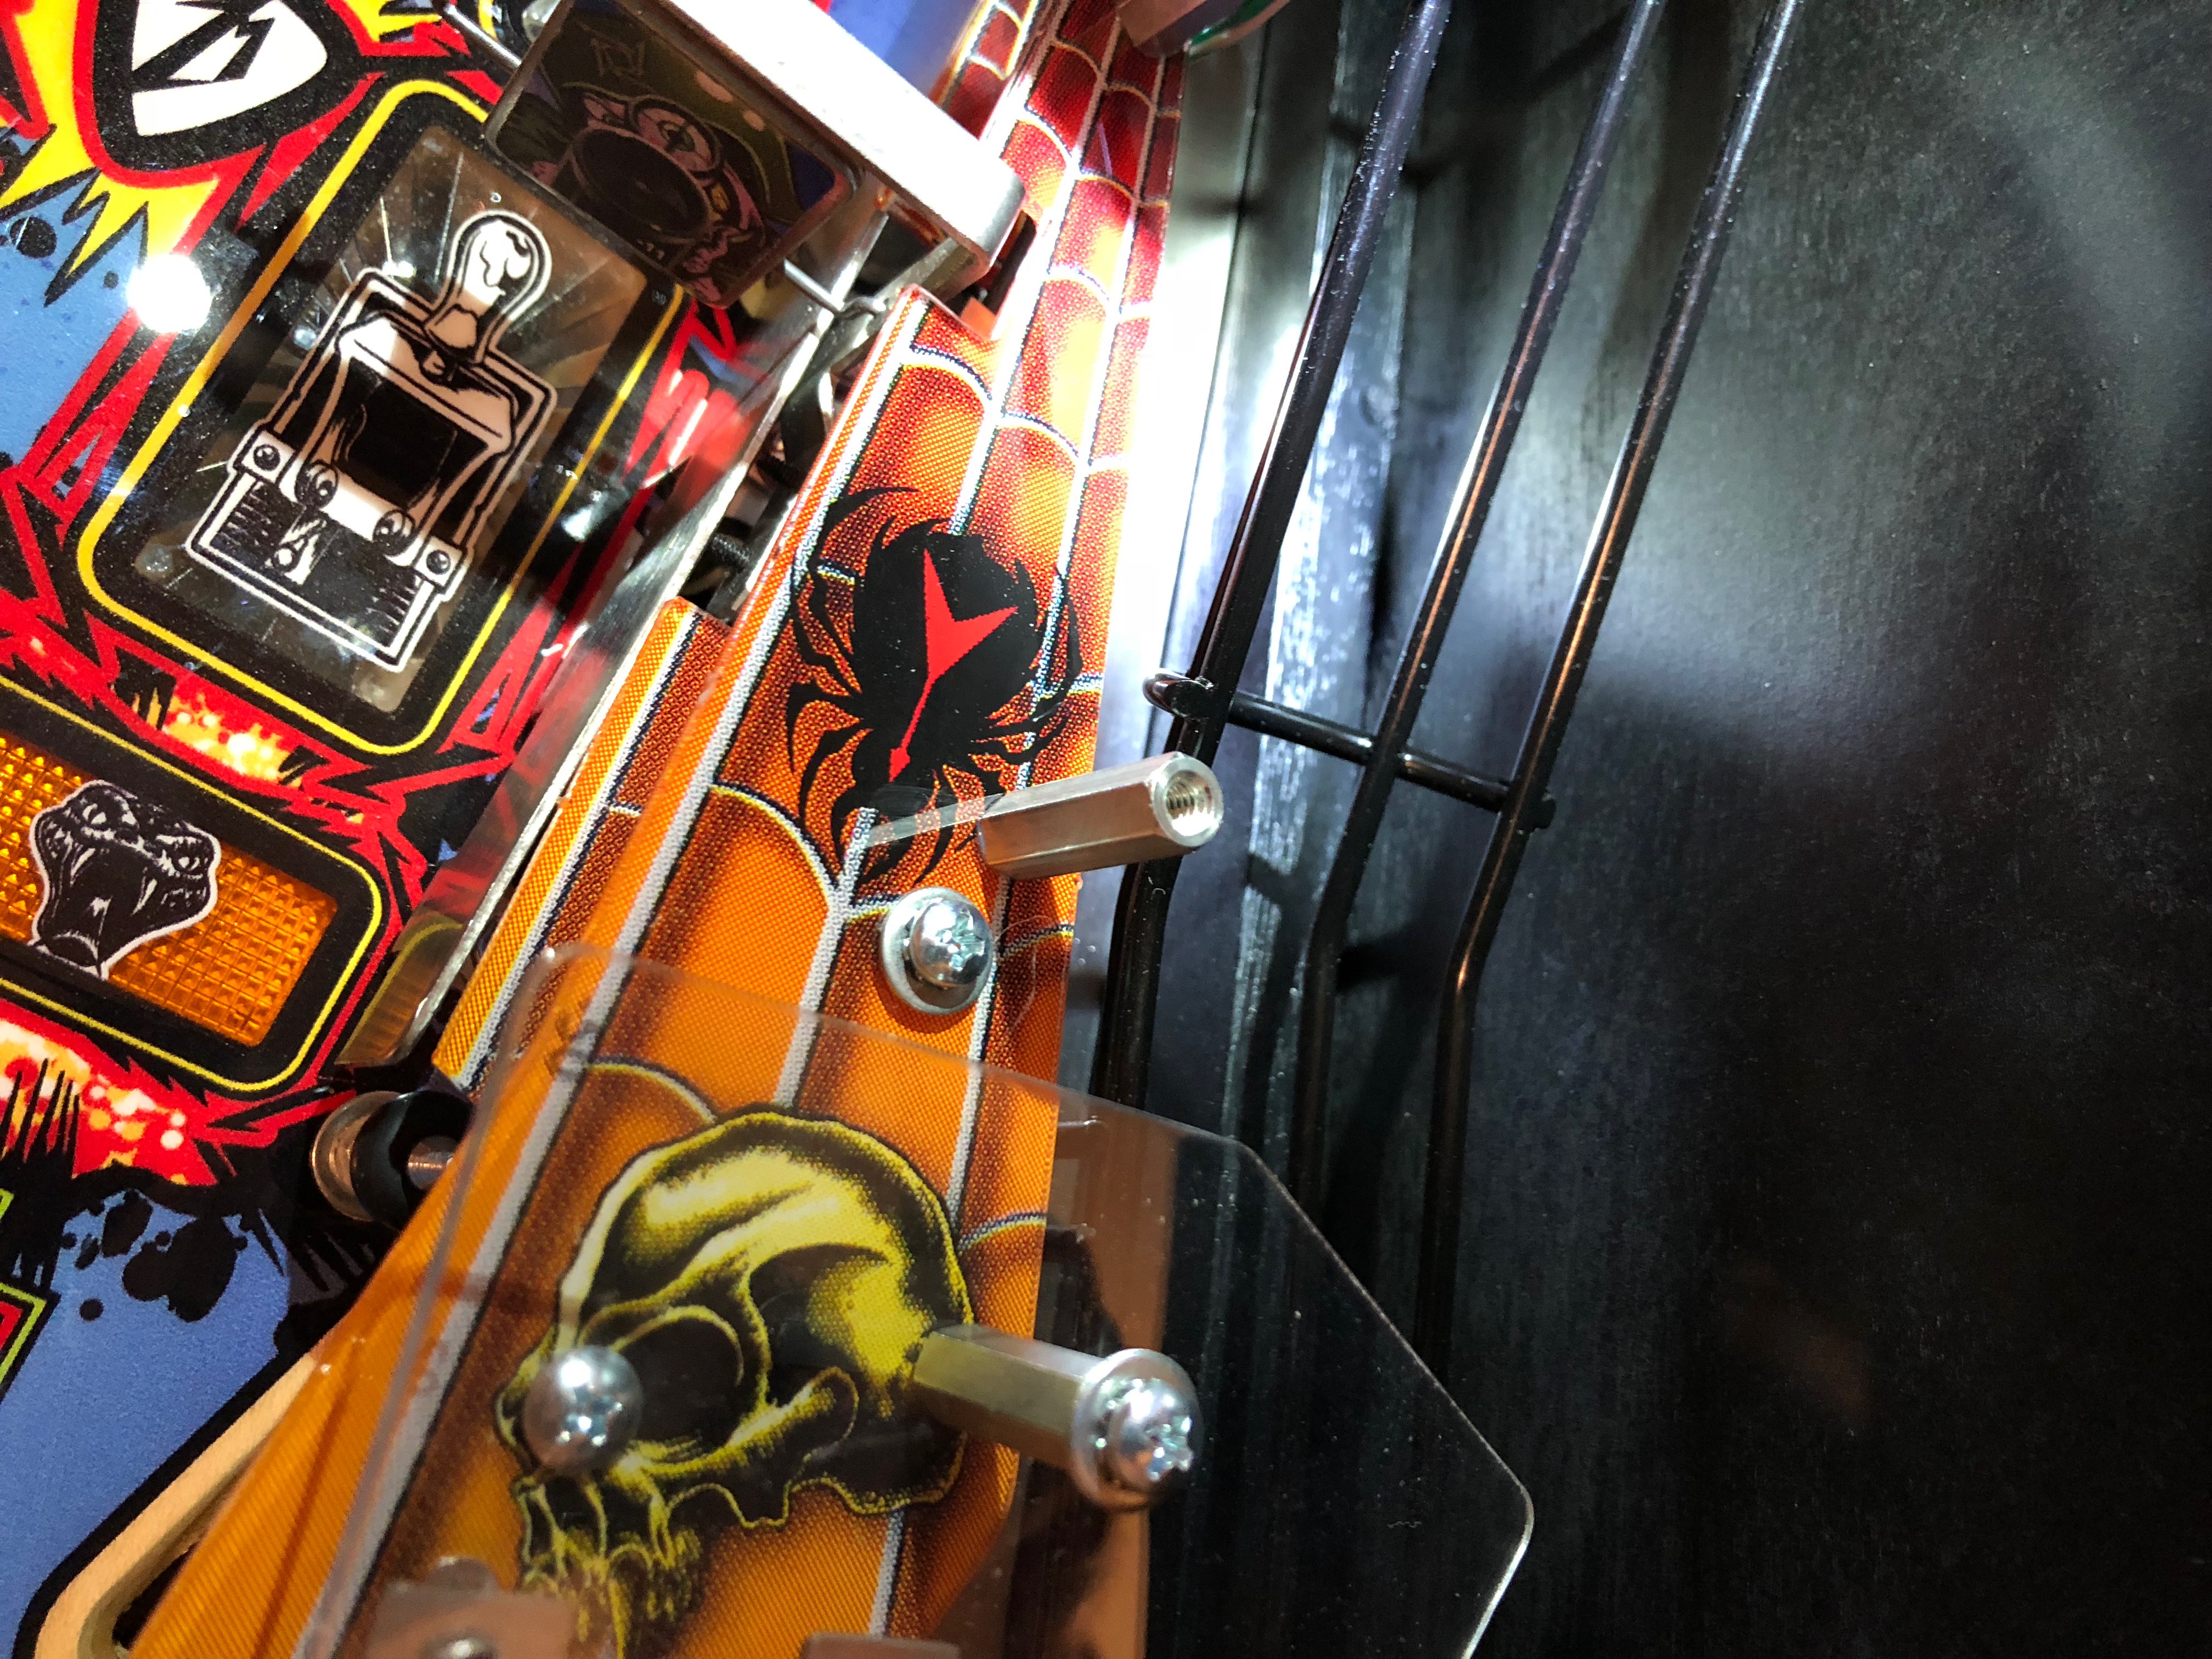
Right above that area is a clear plastic placed to prevent captive balls during gameplay. There are 2 screws that insert into hex posts from underneath. One had fallen out, the other was on the way. Two drops of blue Loctite and we were back in business. Before we slid the playfield glass back on, I noticed that one of the retaining bolts for the rising cross mech was protruding from the playfield. It simply looks like it was not tightened down enough at the factory. Not sure it’s a problem as the ball doesn’t seem to be able to impact it because it’s so close to the edge of the ball guide. To date, I’ve just left it as is.
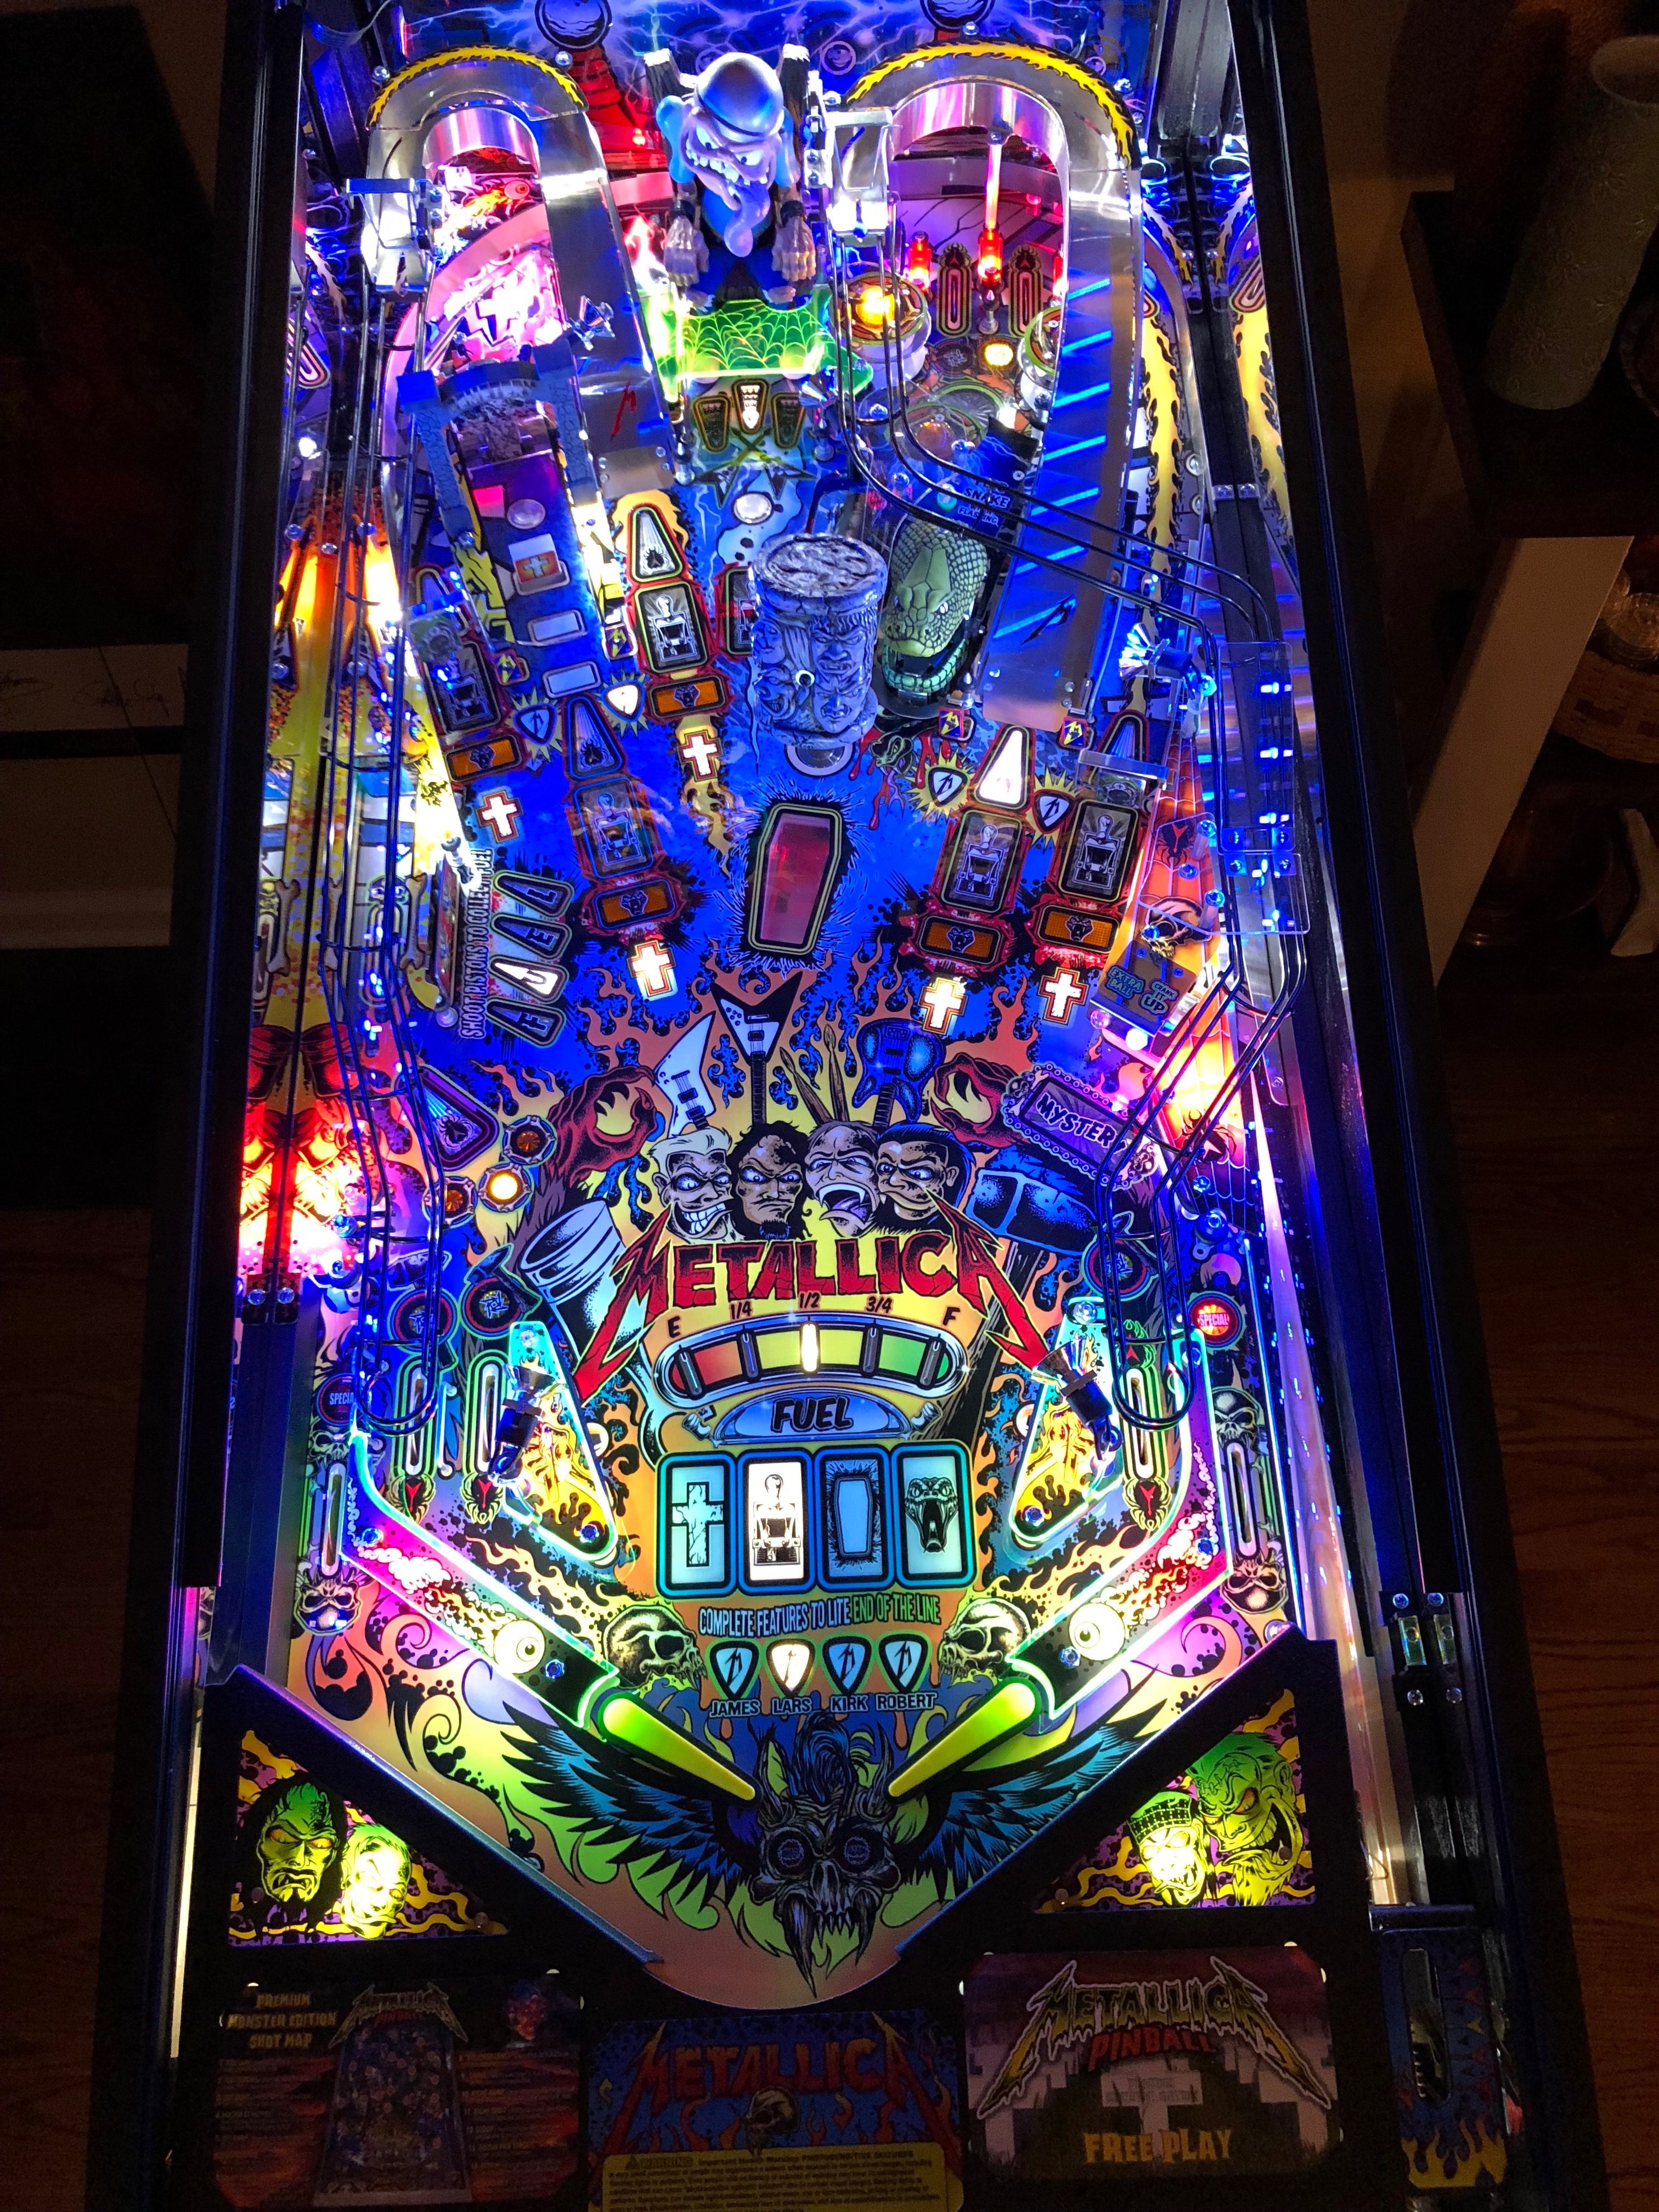
Mod it like you mean it
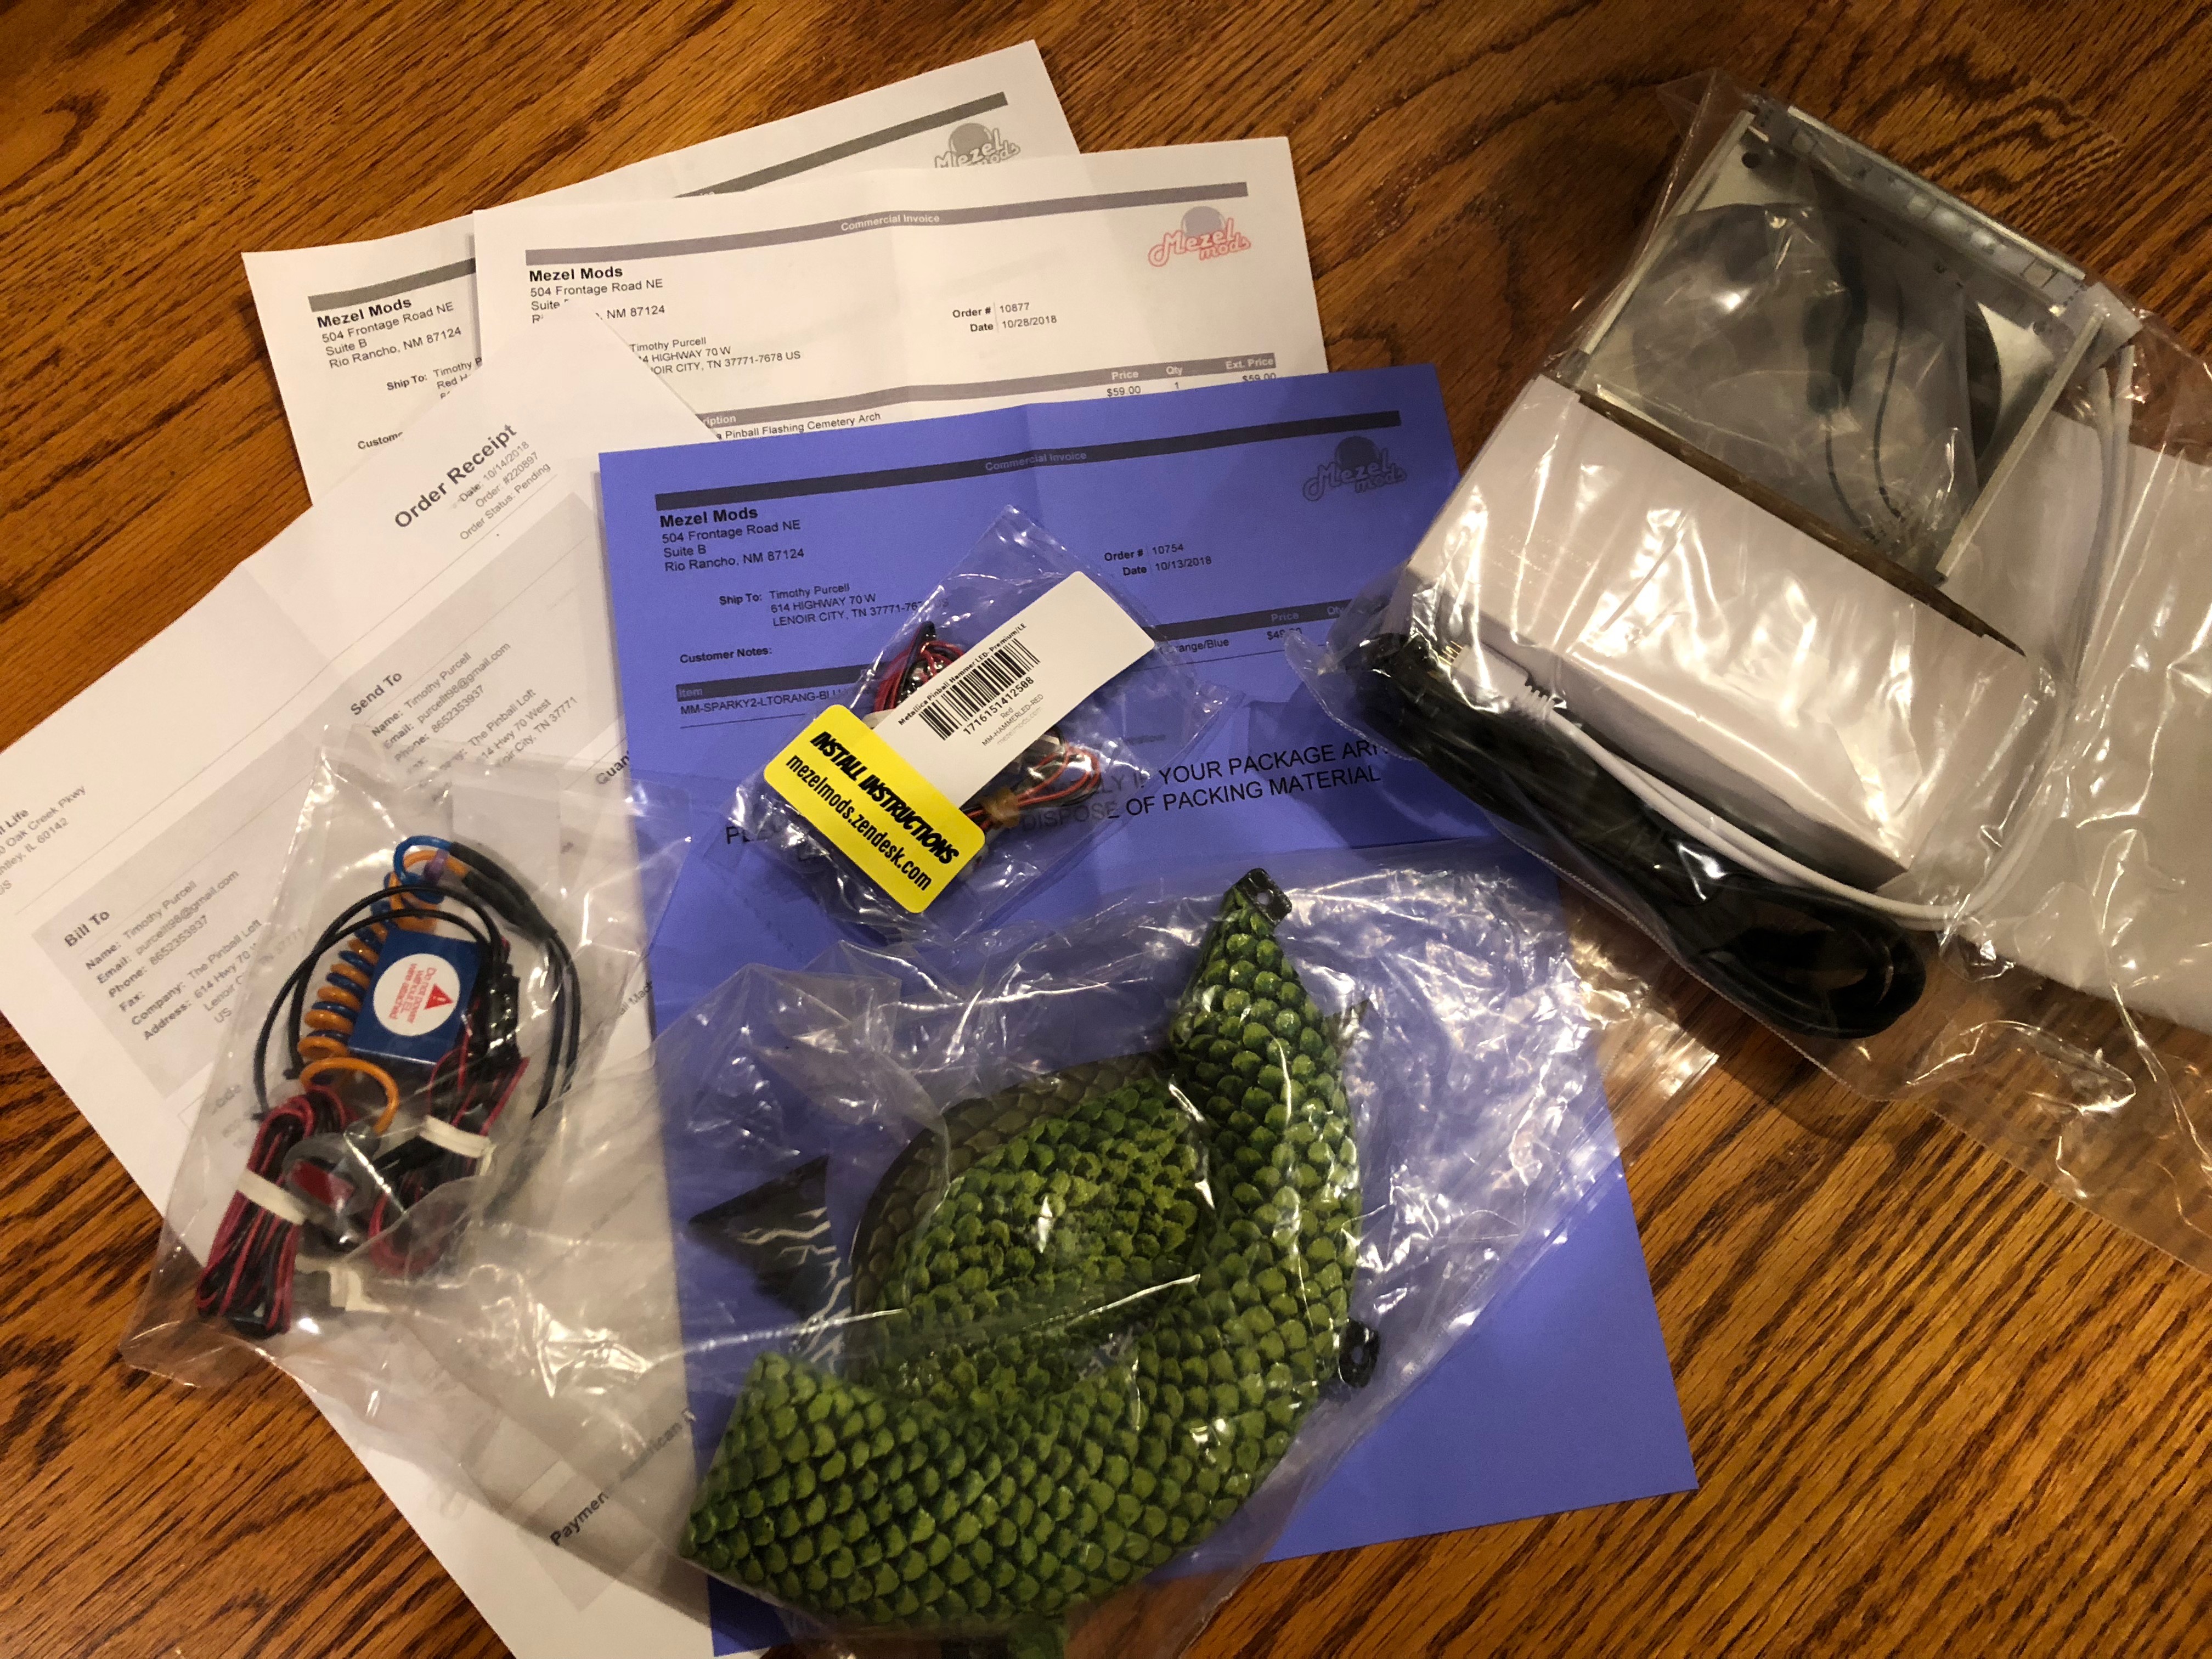
We played a few more entire games and as much fun as the game play is on MET, I was missing the subwoofer and shaker motor. It was time to mod. As you’ve already read, I had some time before this machine arrived. So I spent some money. Too much. On too many mods. The following is the list of mods we installed over the next 5 hours in total:
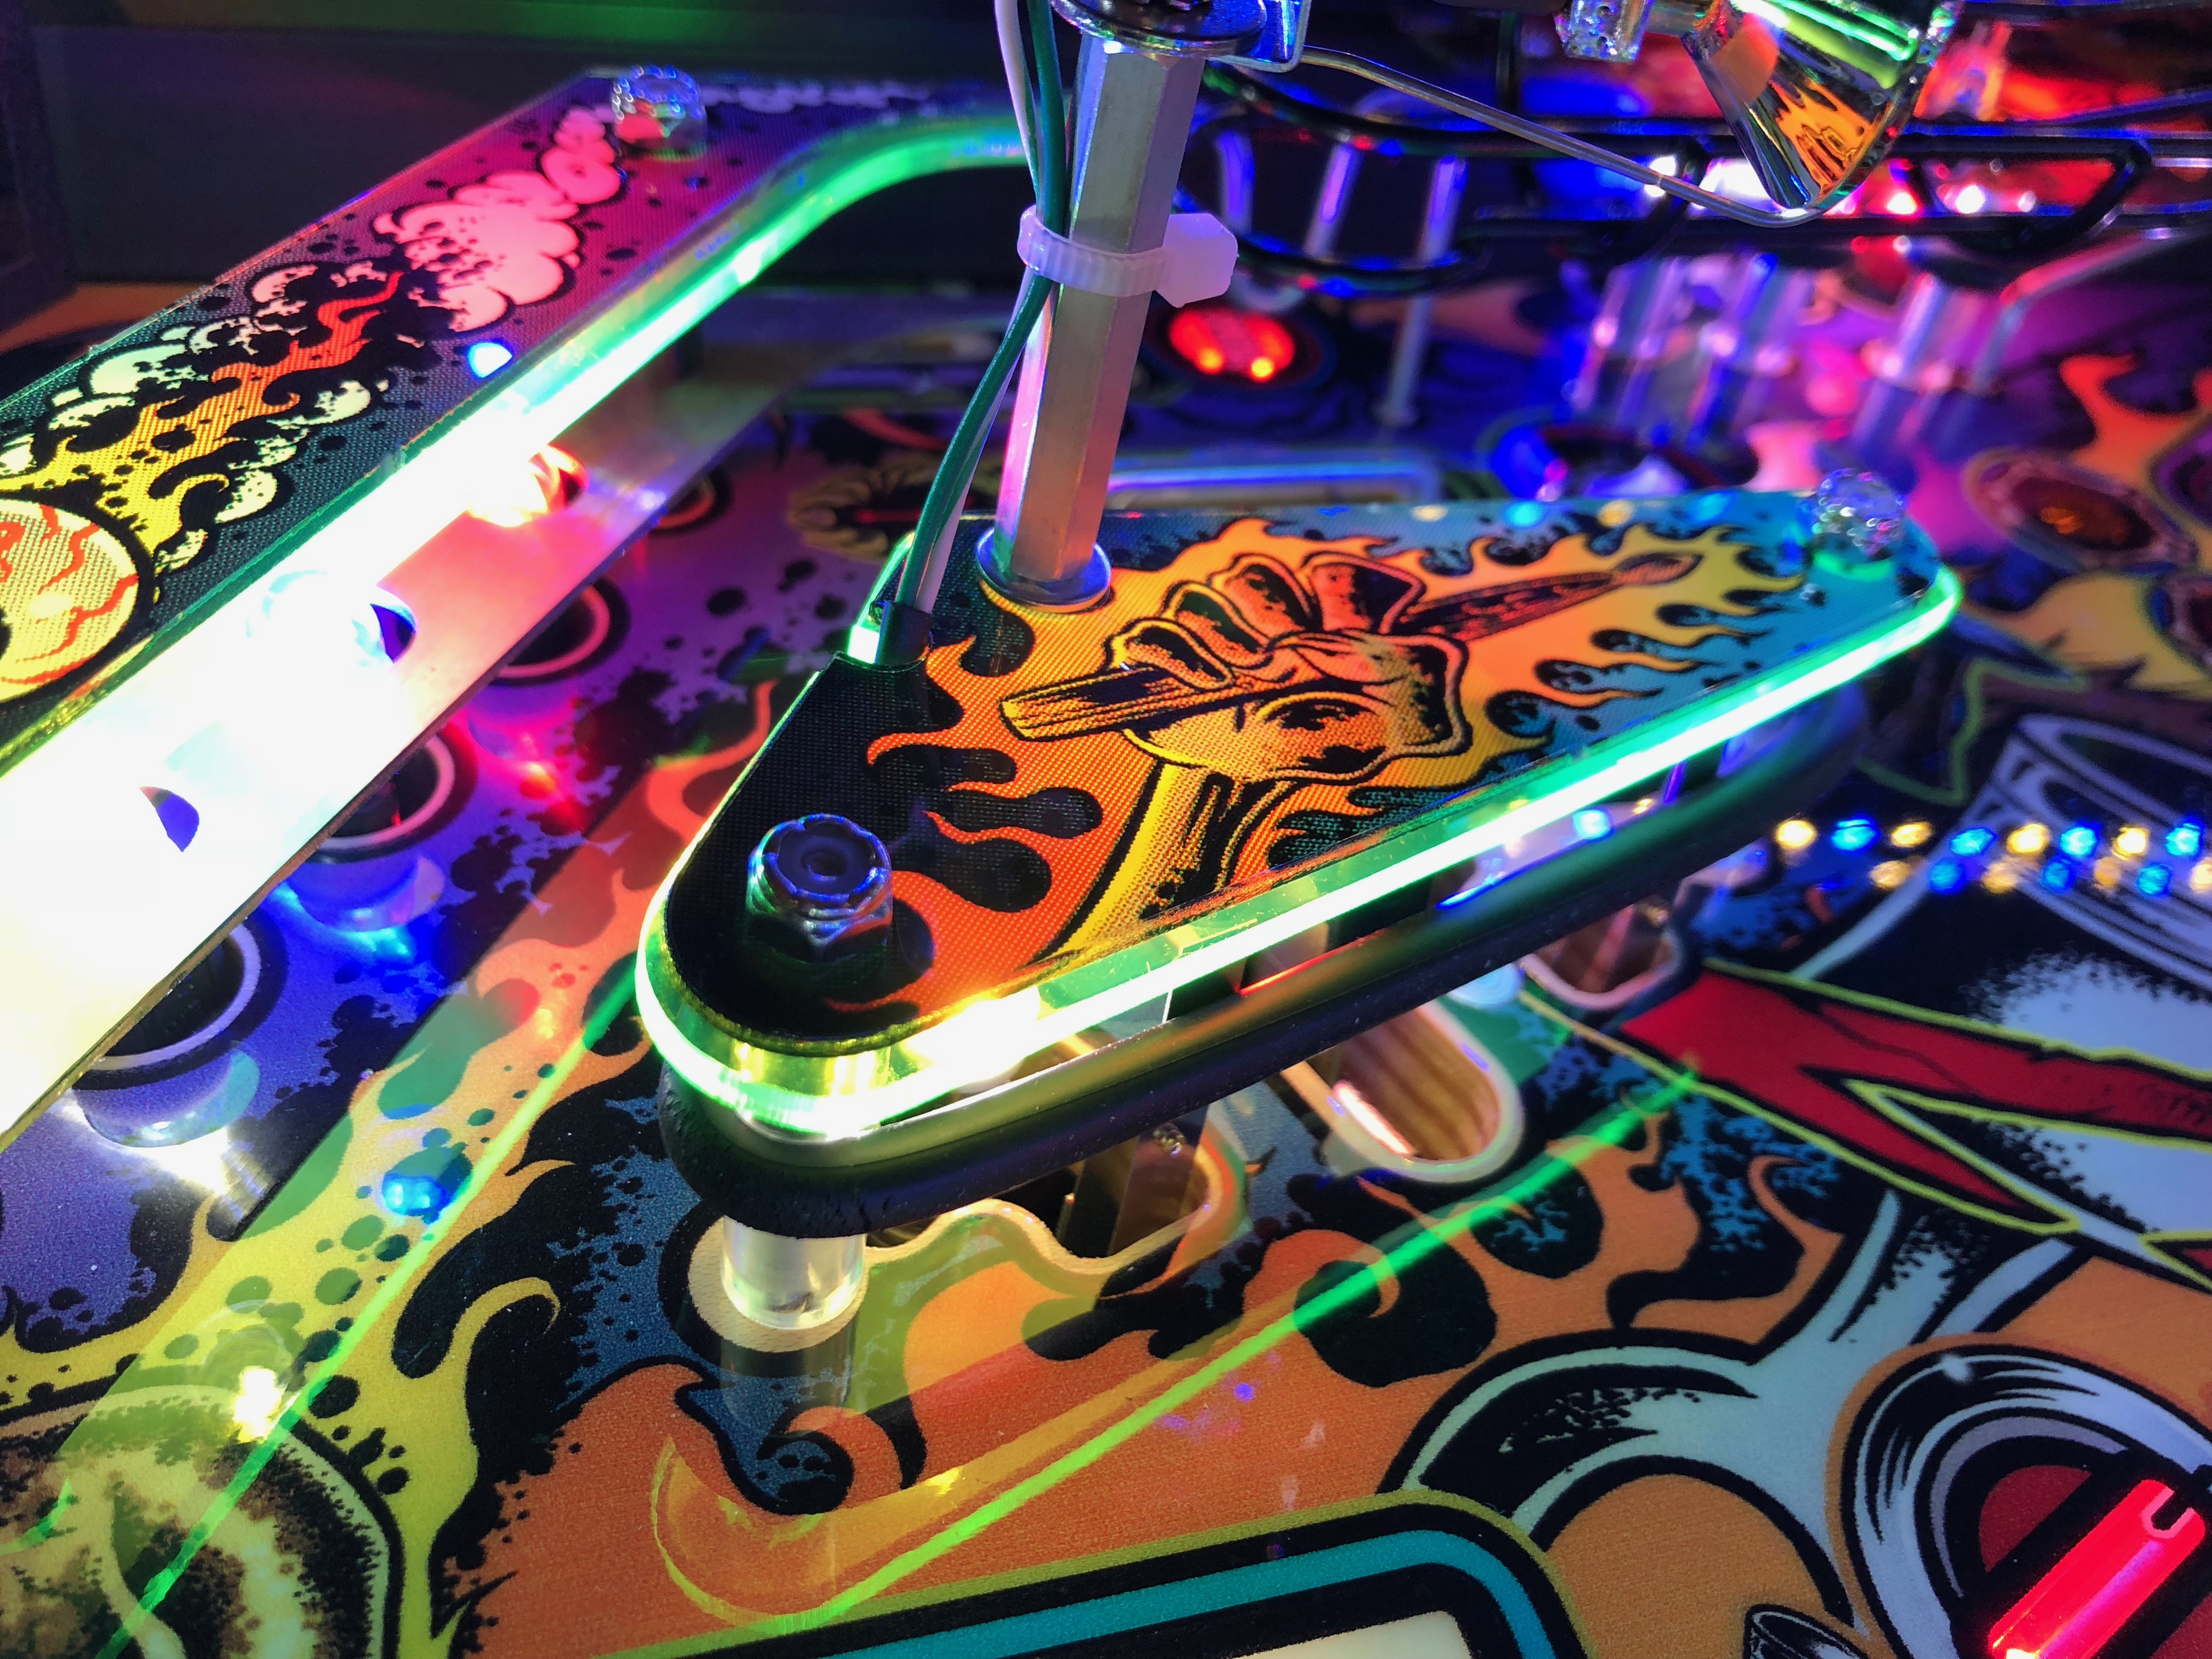
- Green slingshot
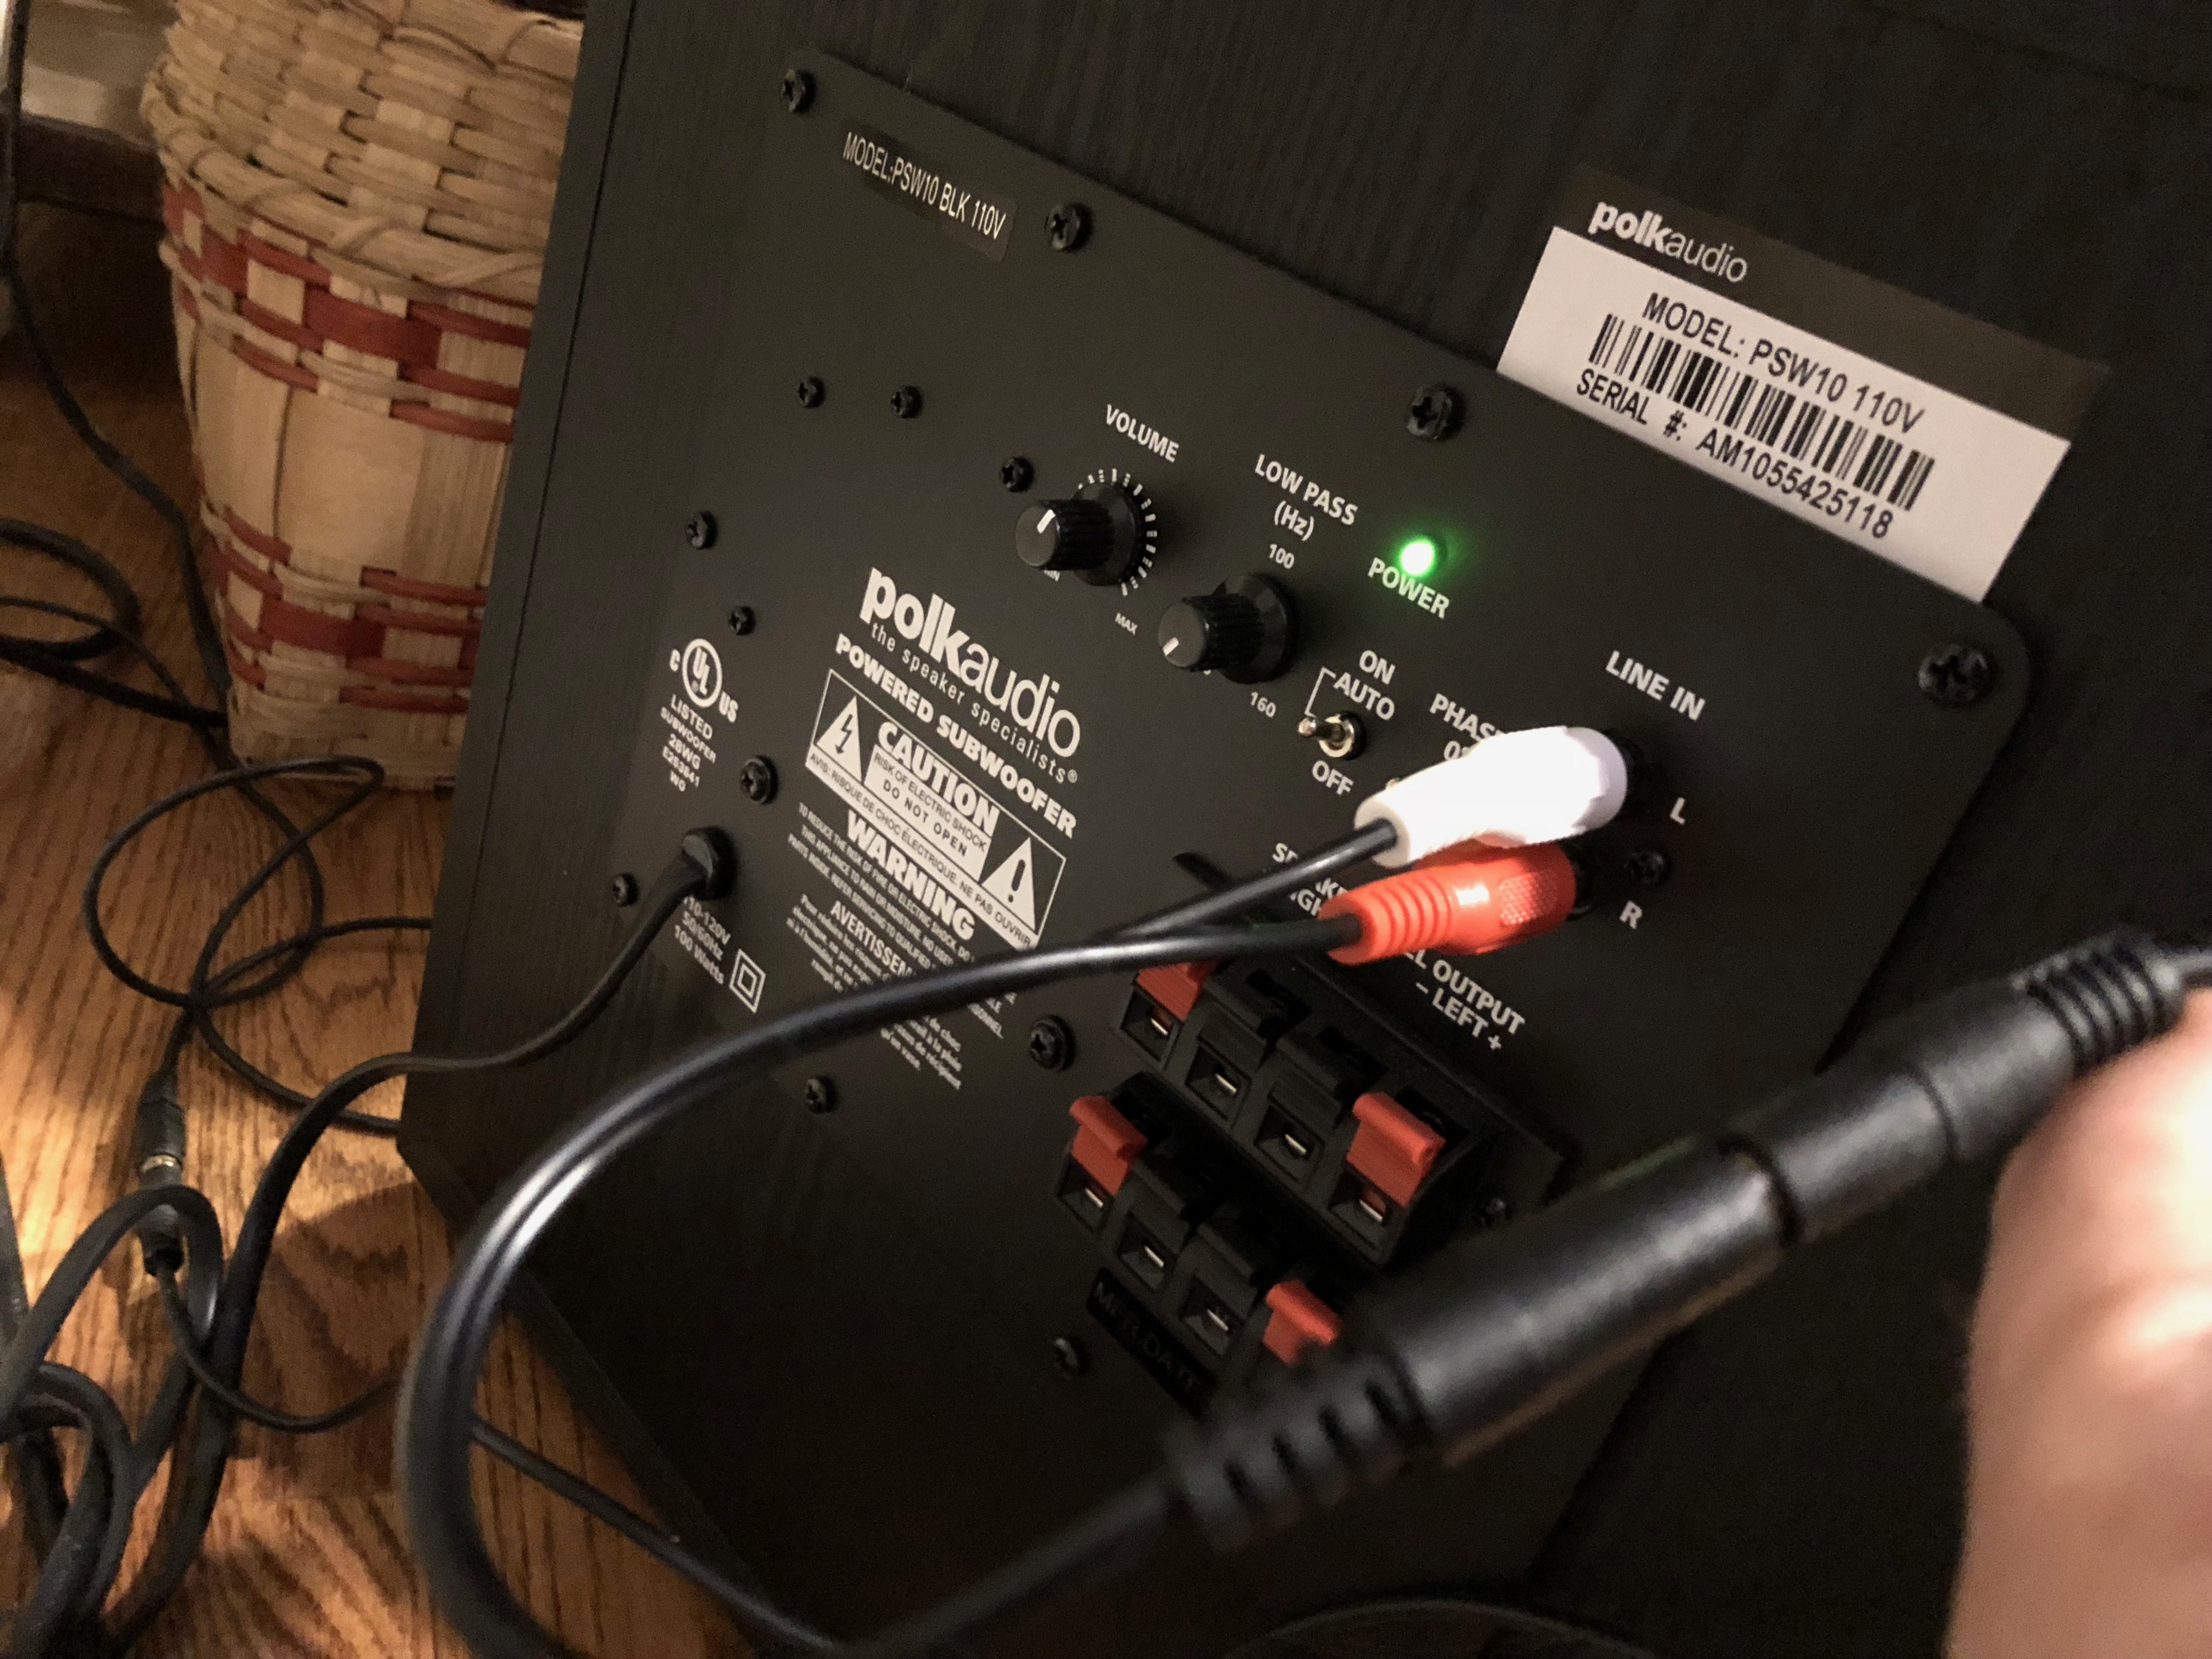
and inlane protectors - Polk audio 10”
subwoofer - Pinnovators
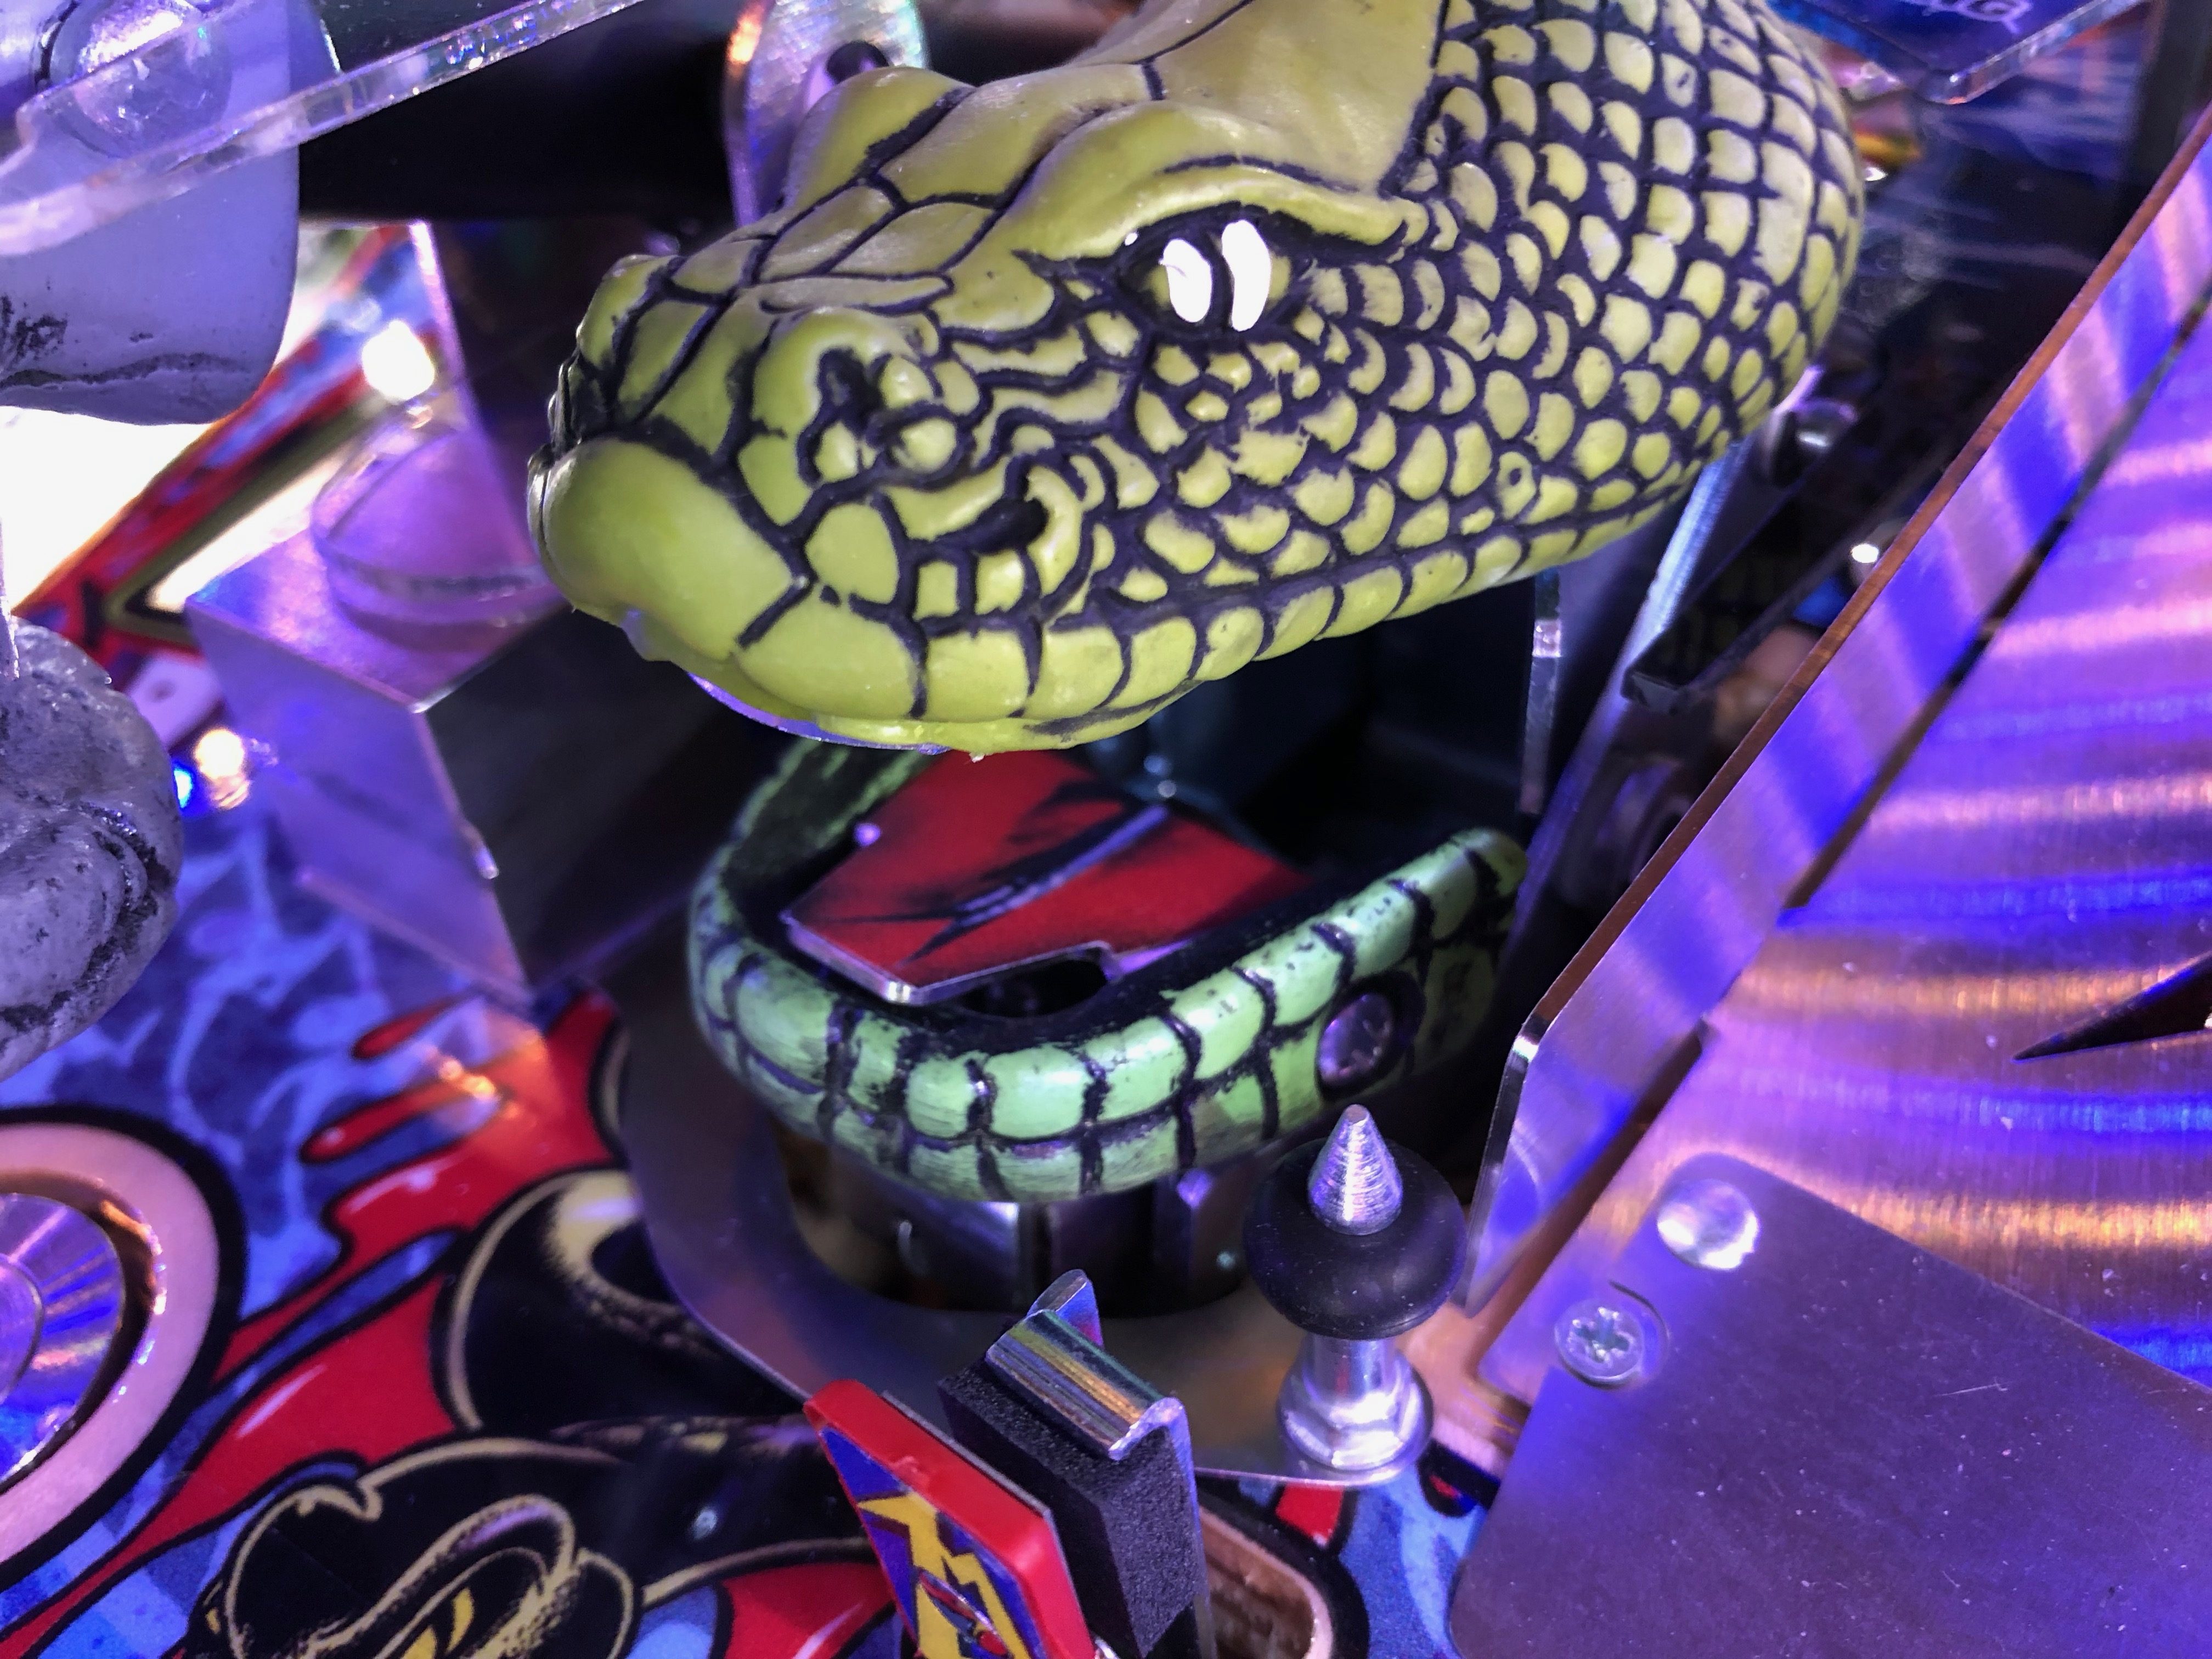
subwoofer out kit (Sam) - Snake tongue
decal - Pinball side
mirrors - Pinstadium
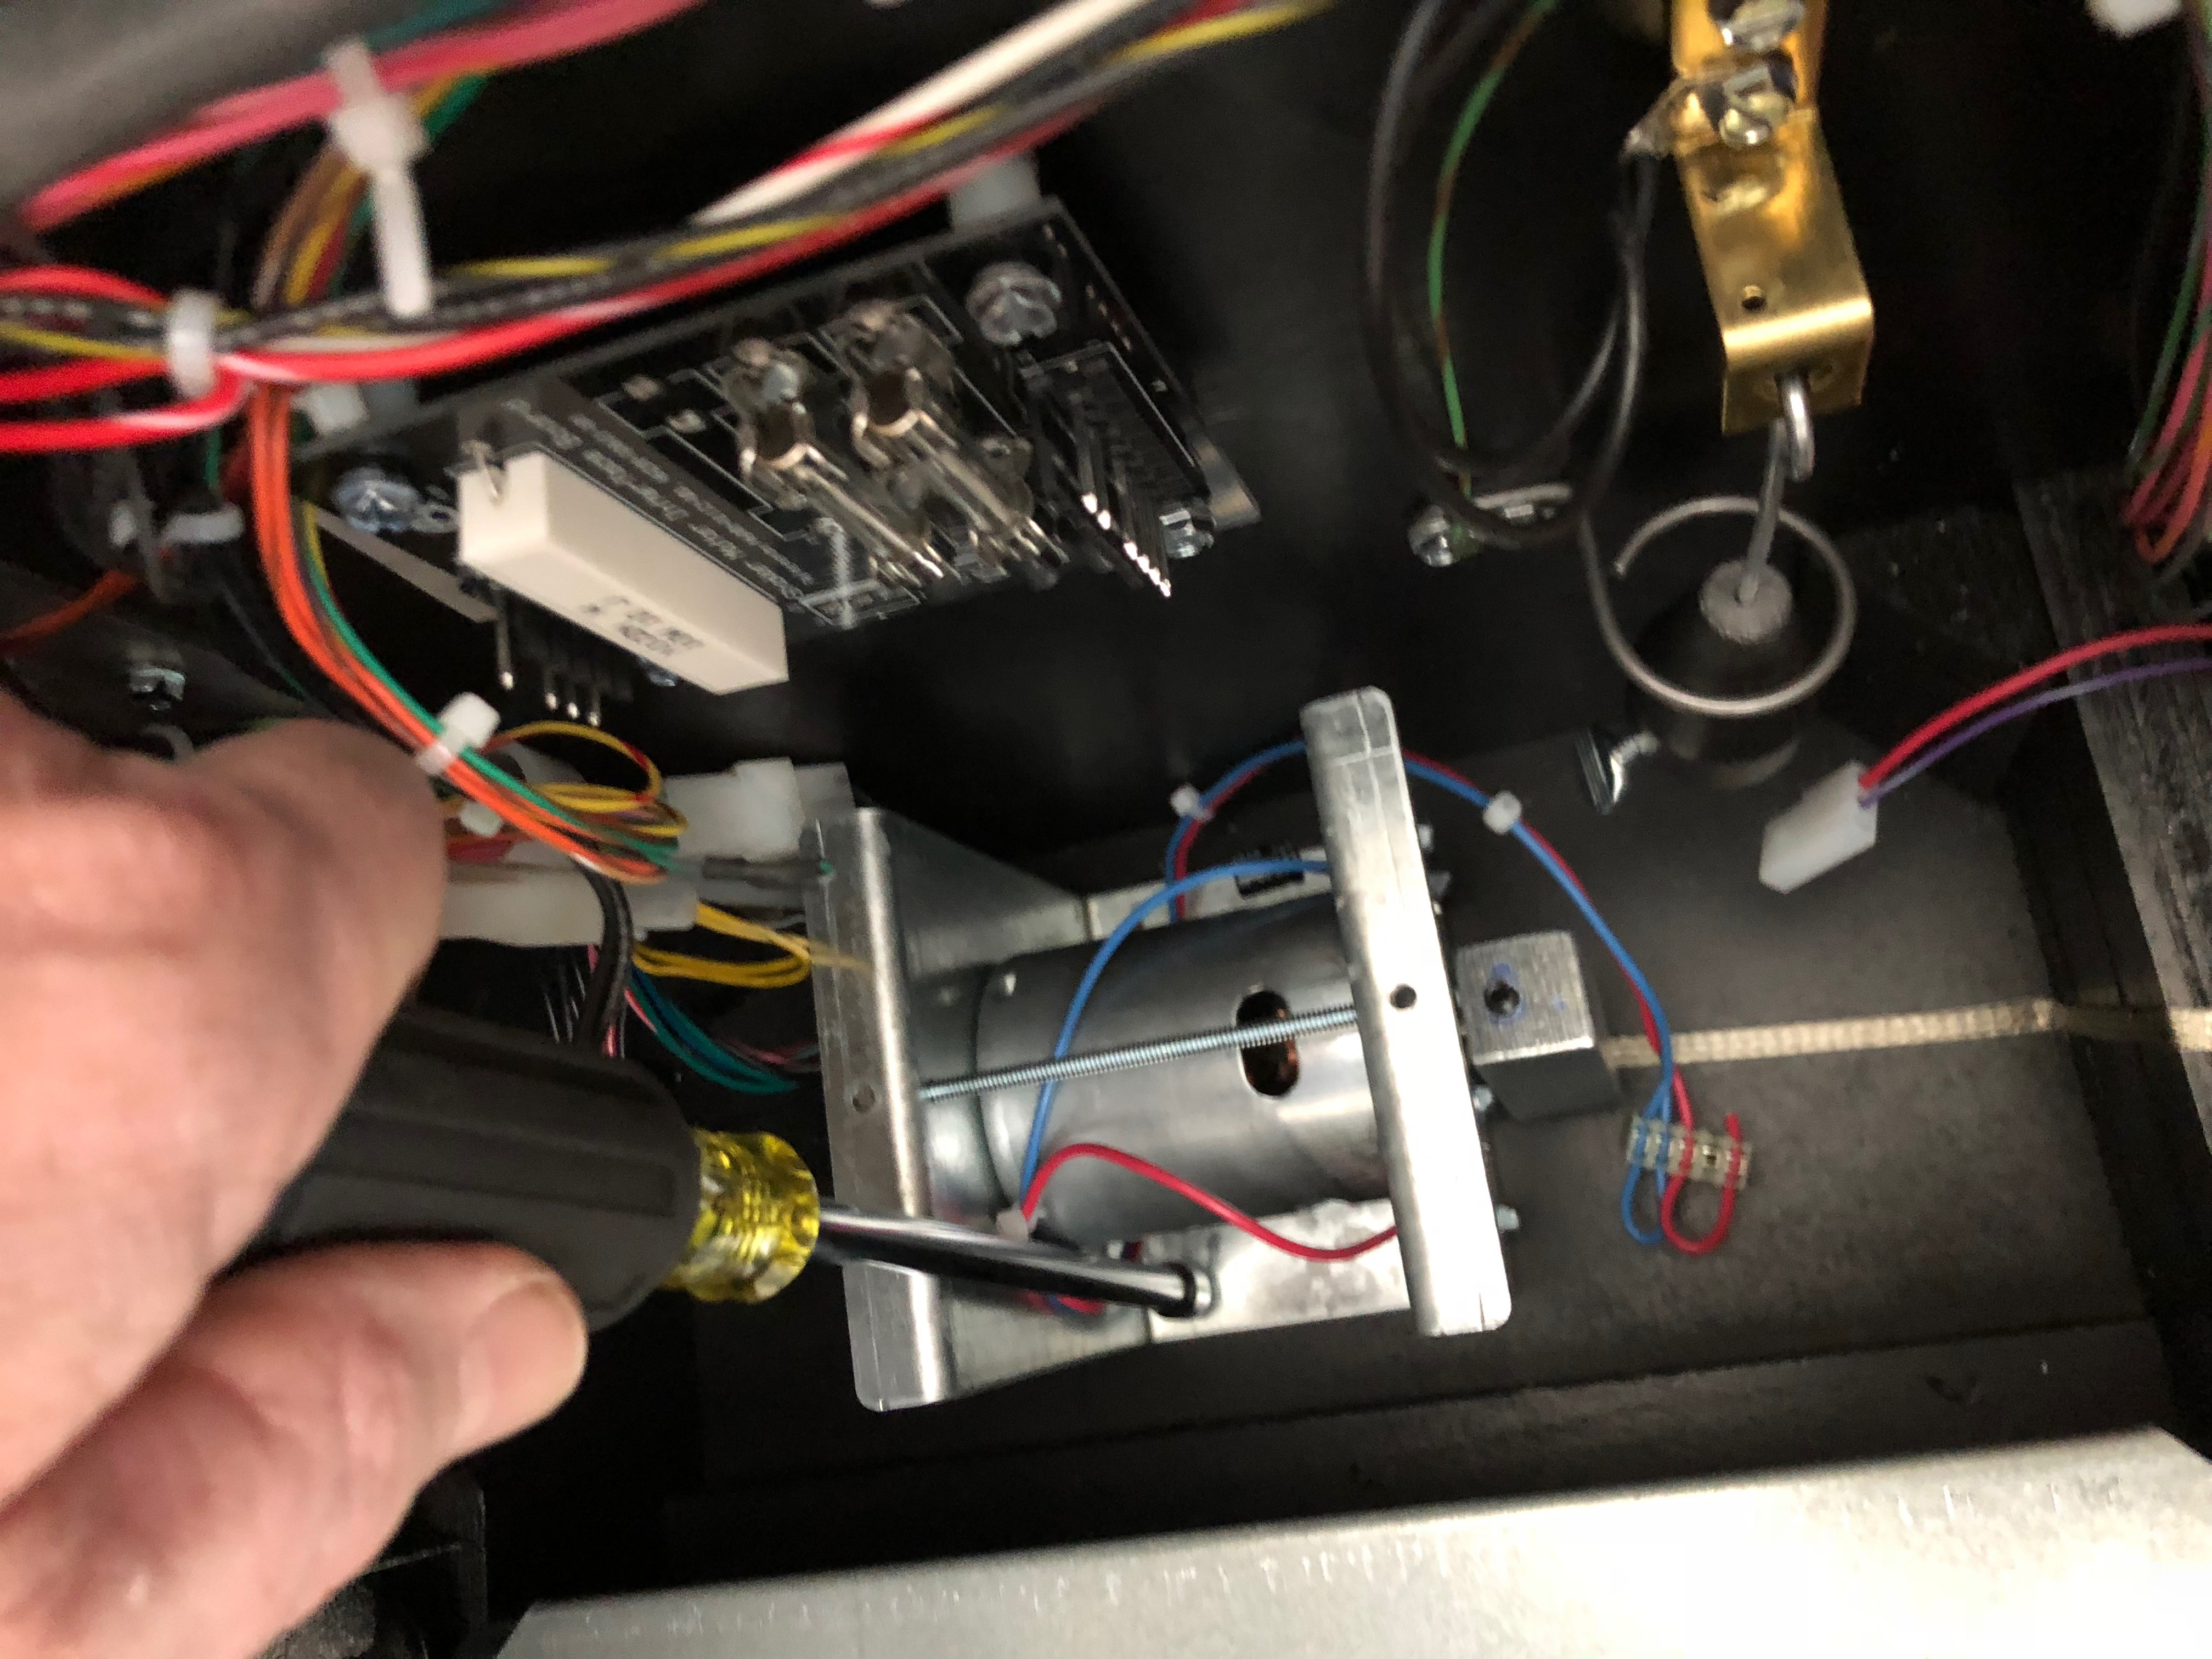
lighting kit - Shaker motor
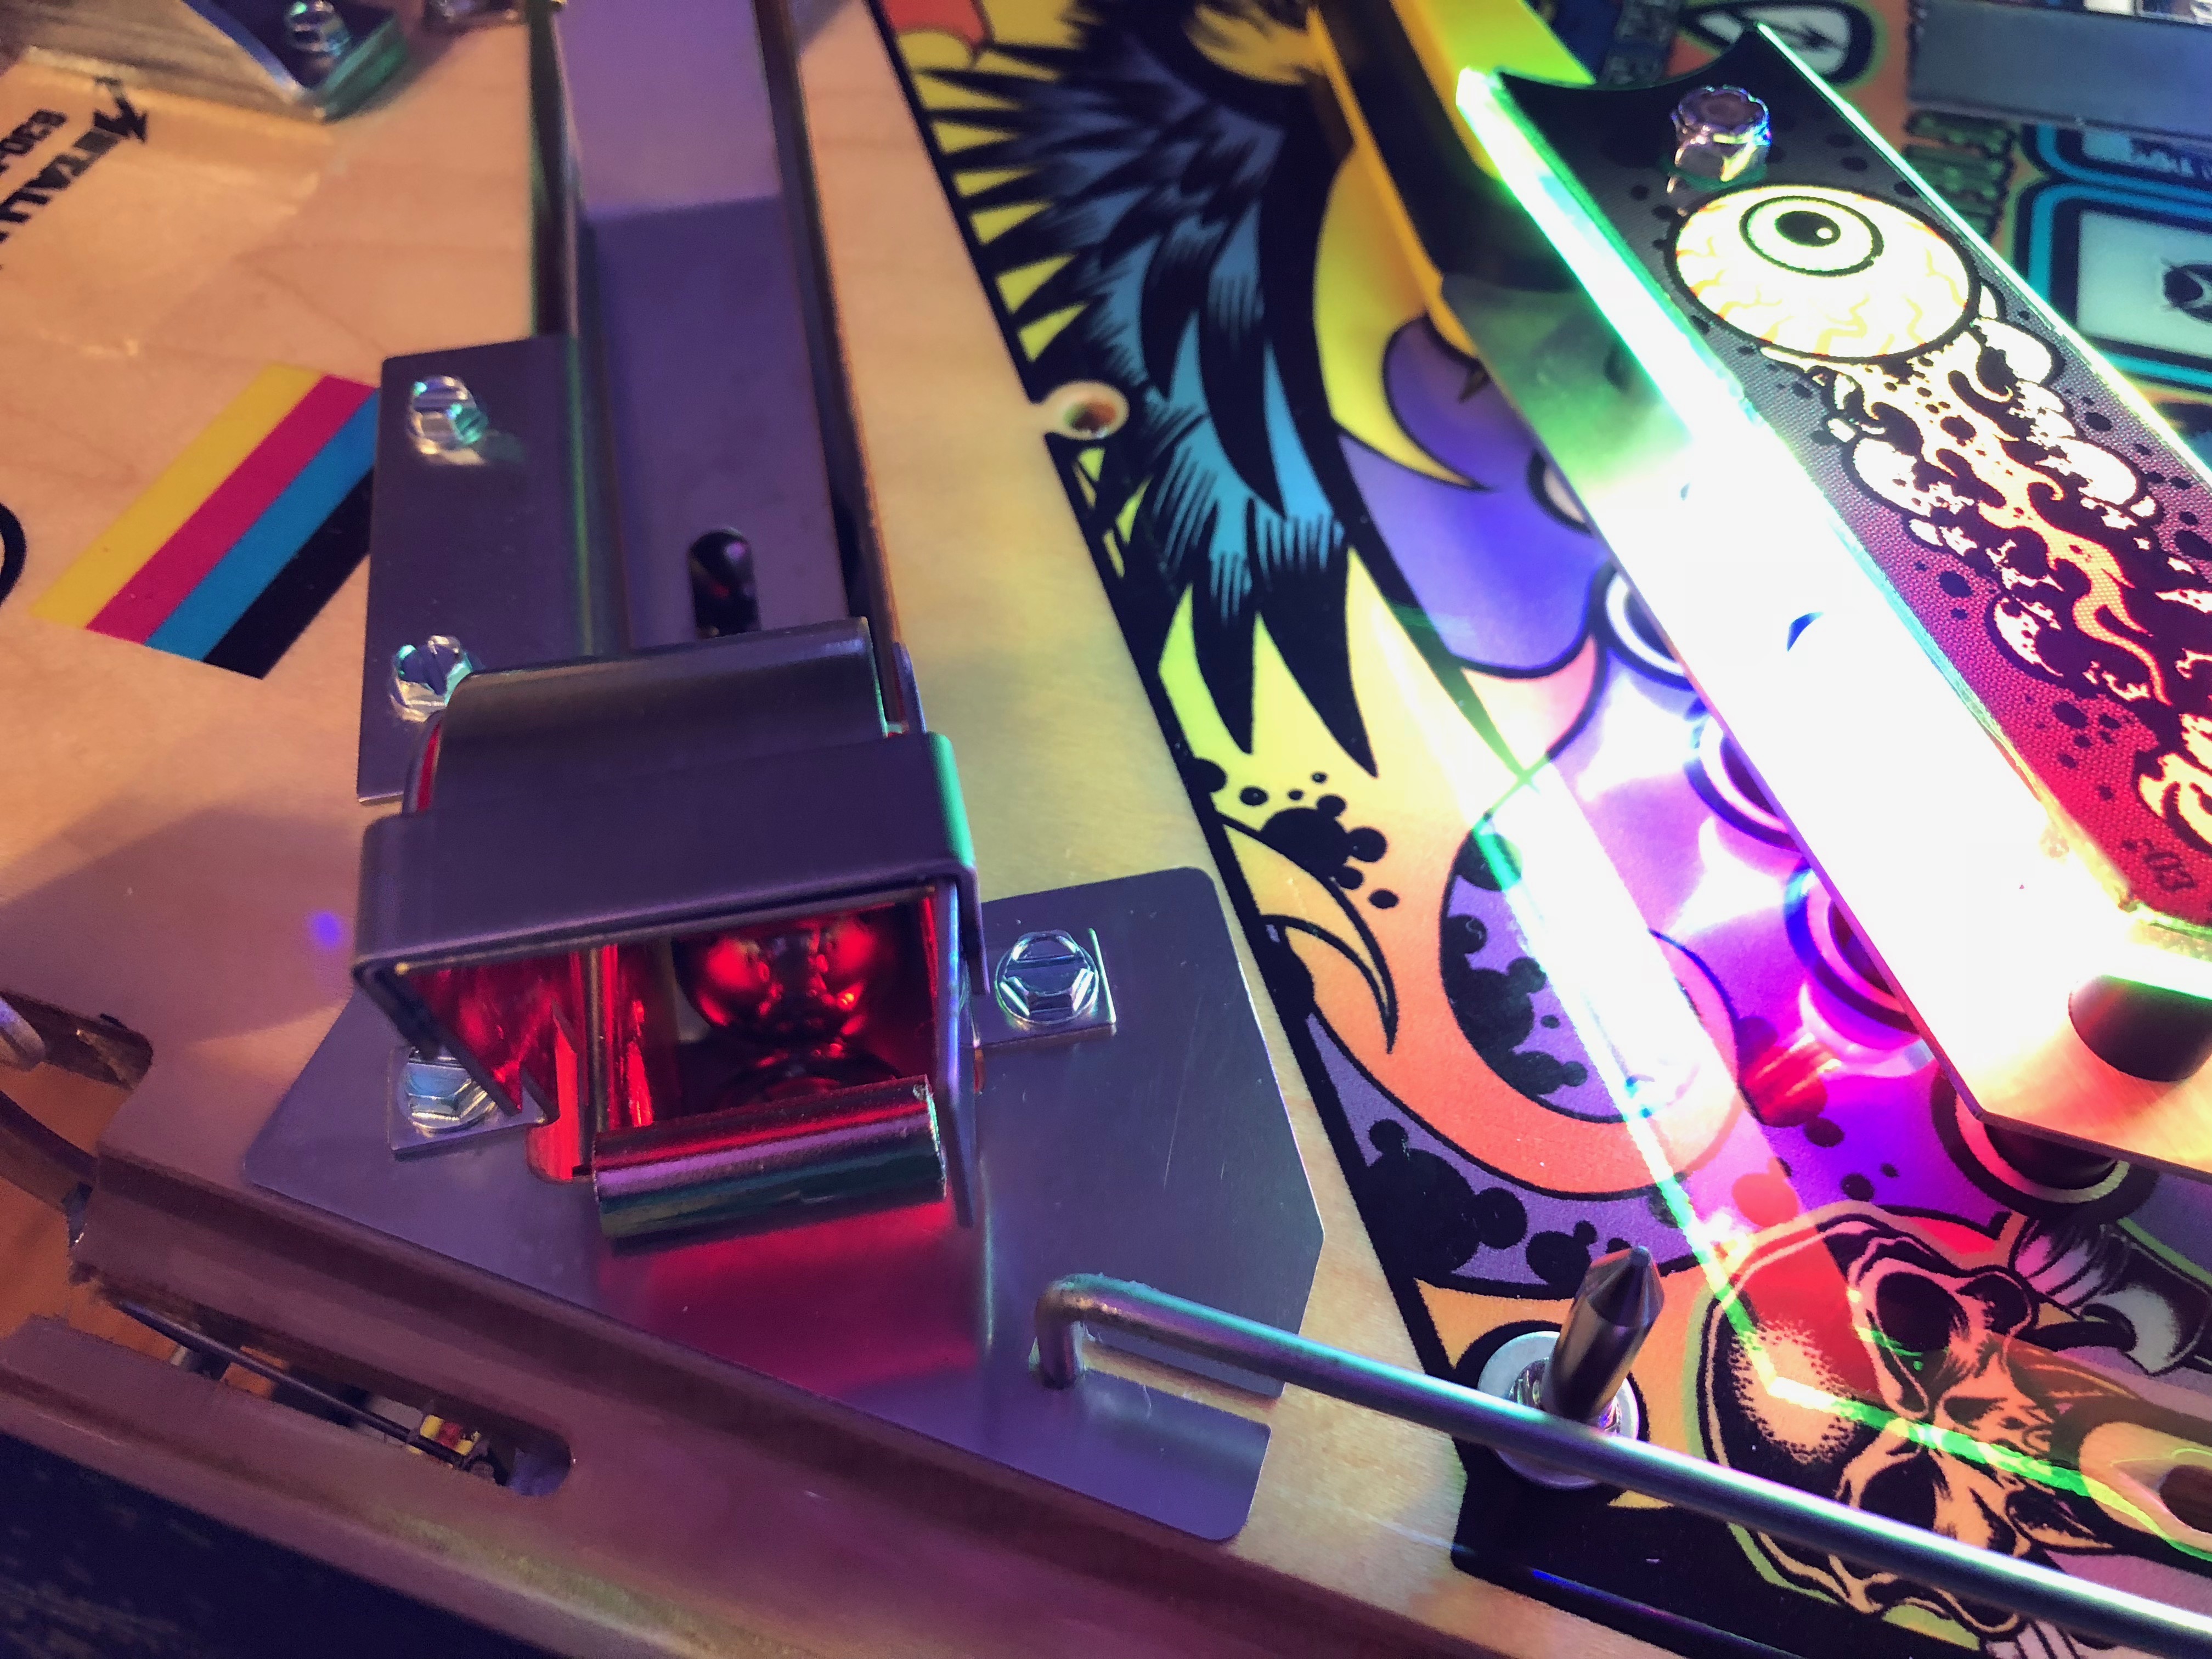
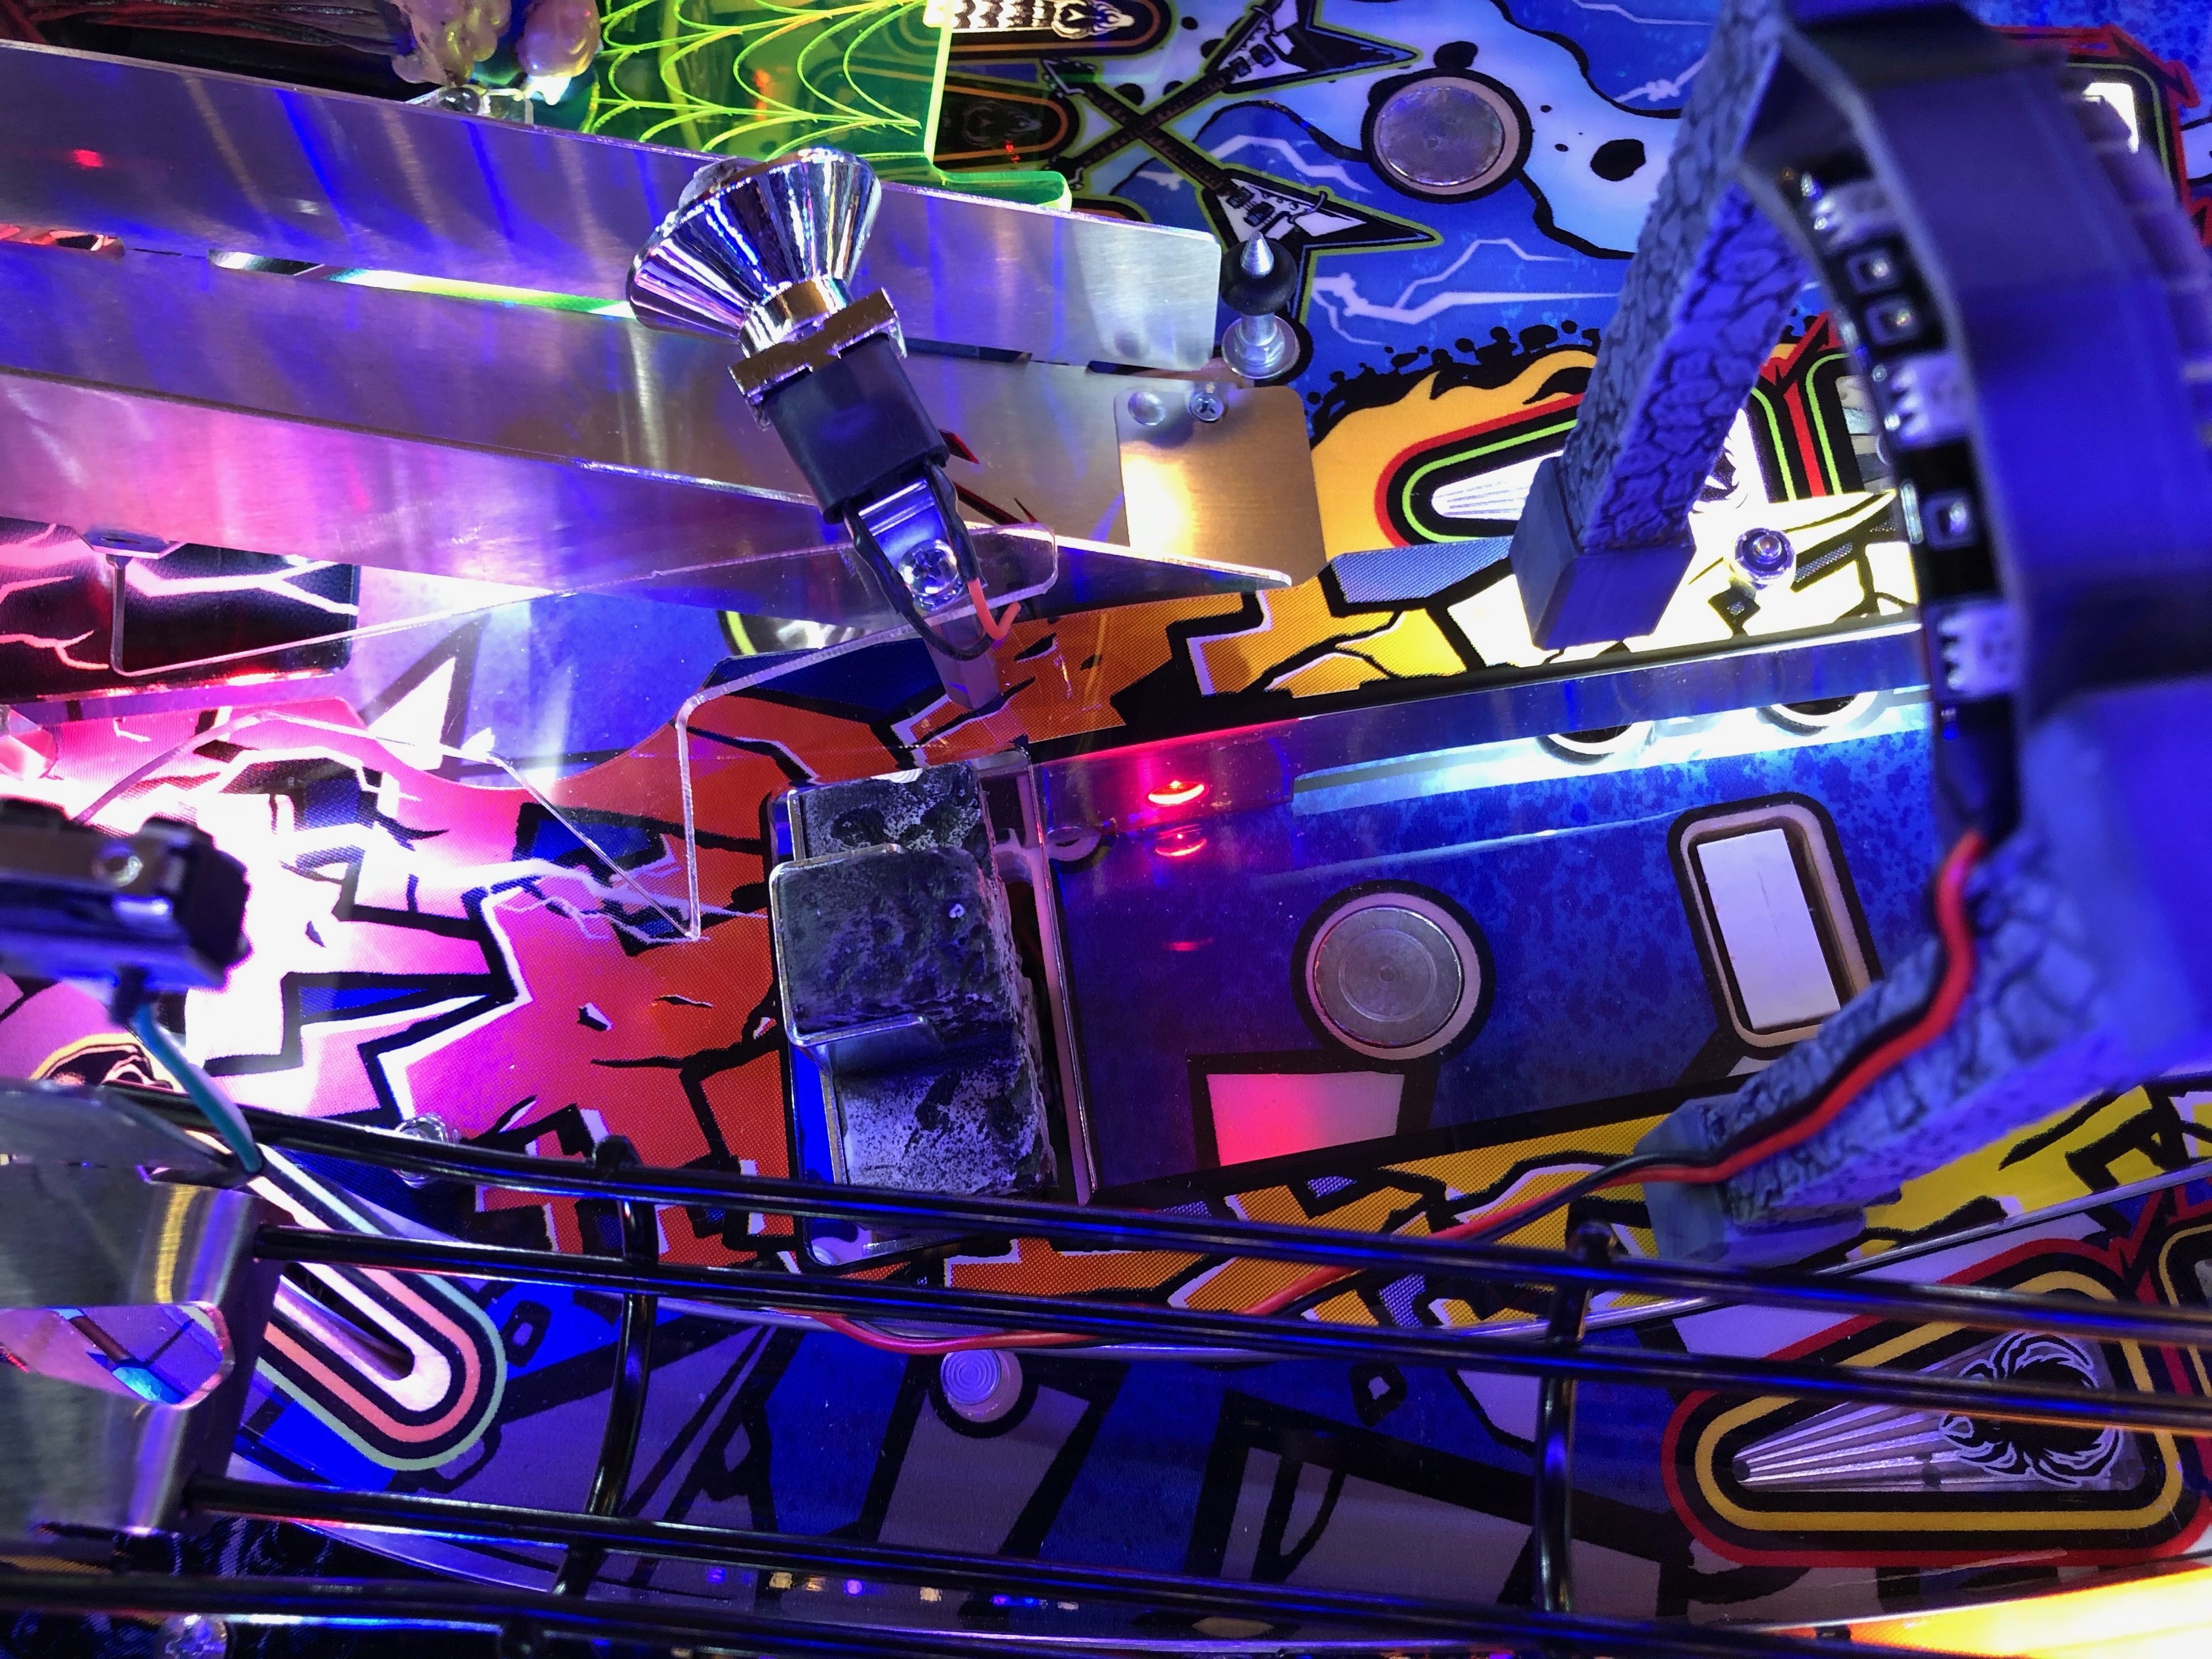
(rev B) - Shooter eject
protector - Shooter lane
mylar - Magnet mylar
circle - Mantis scoop
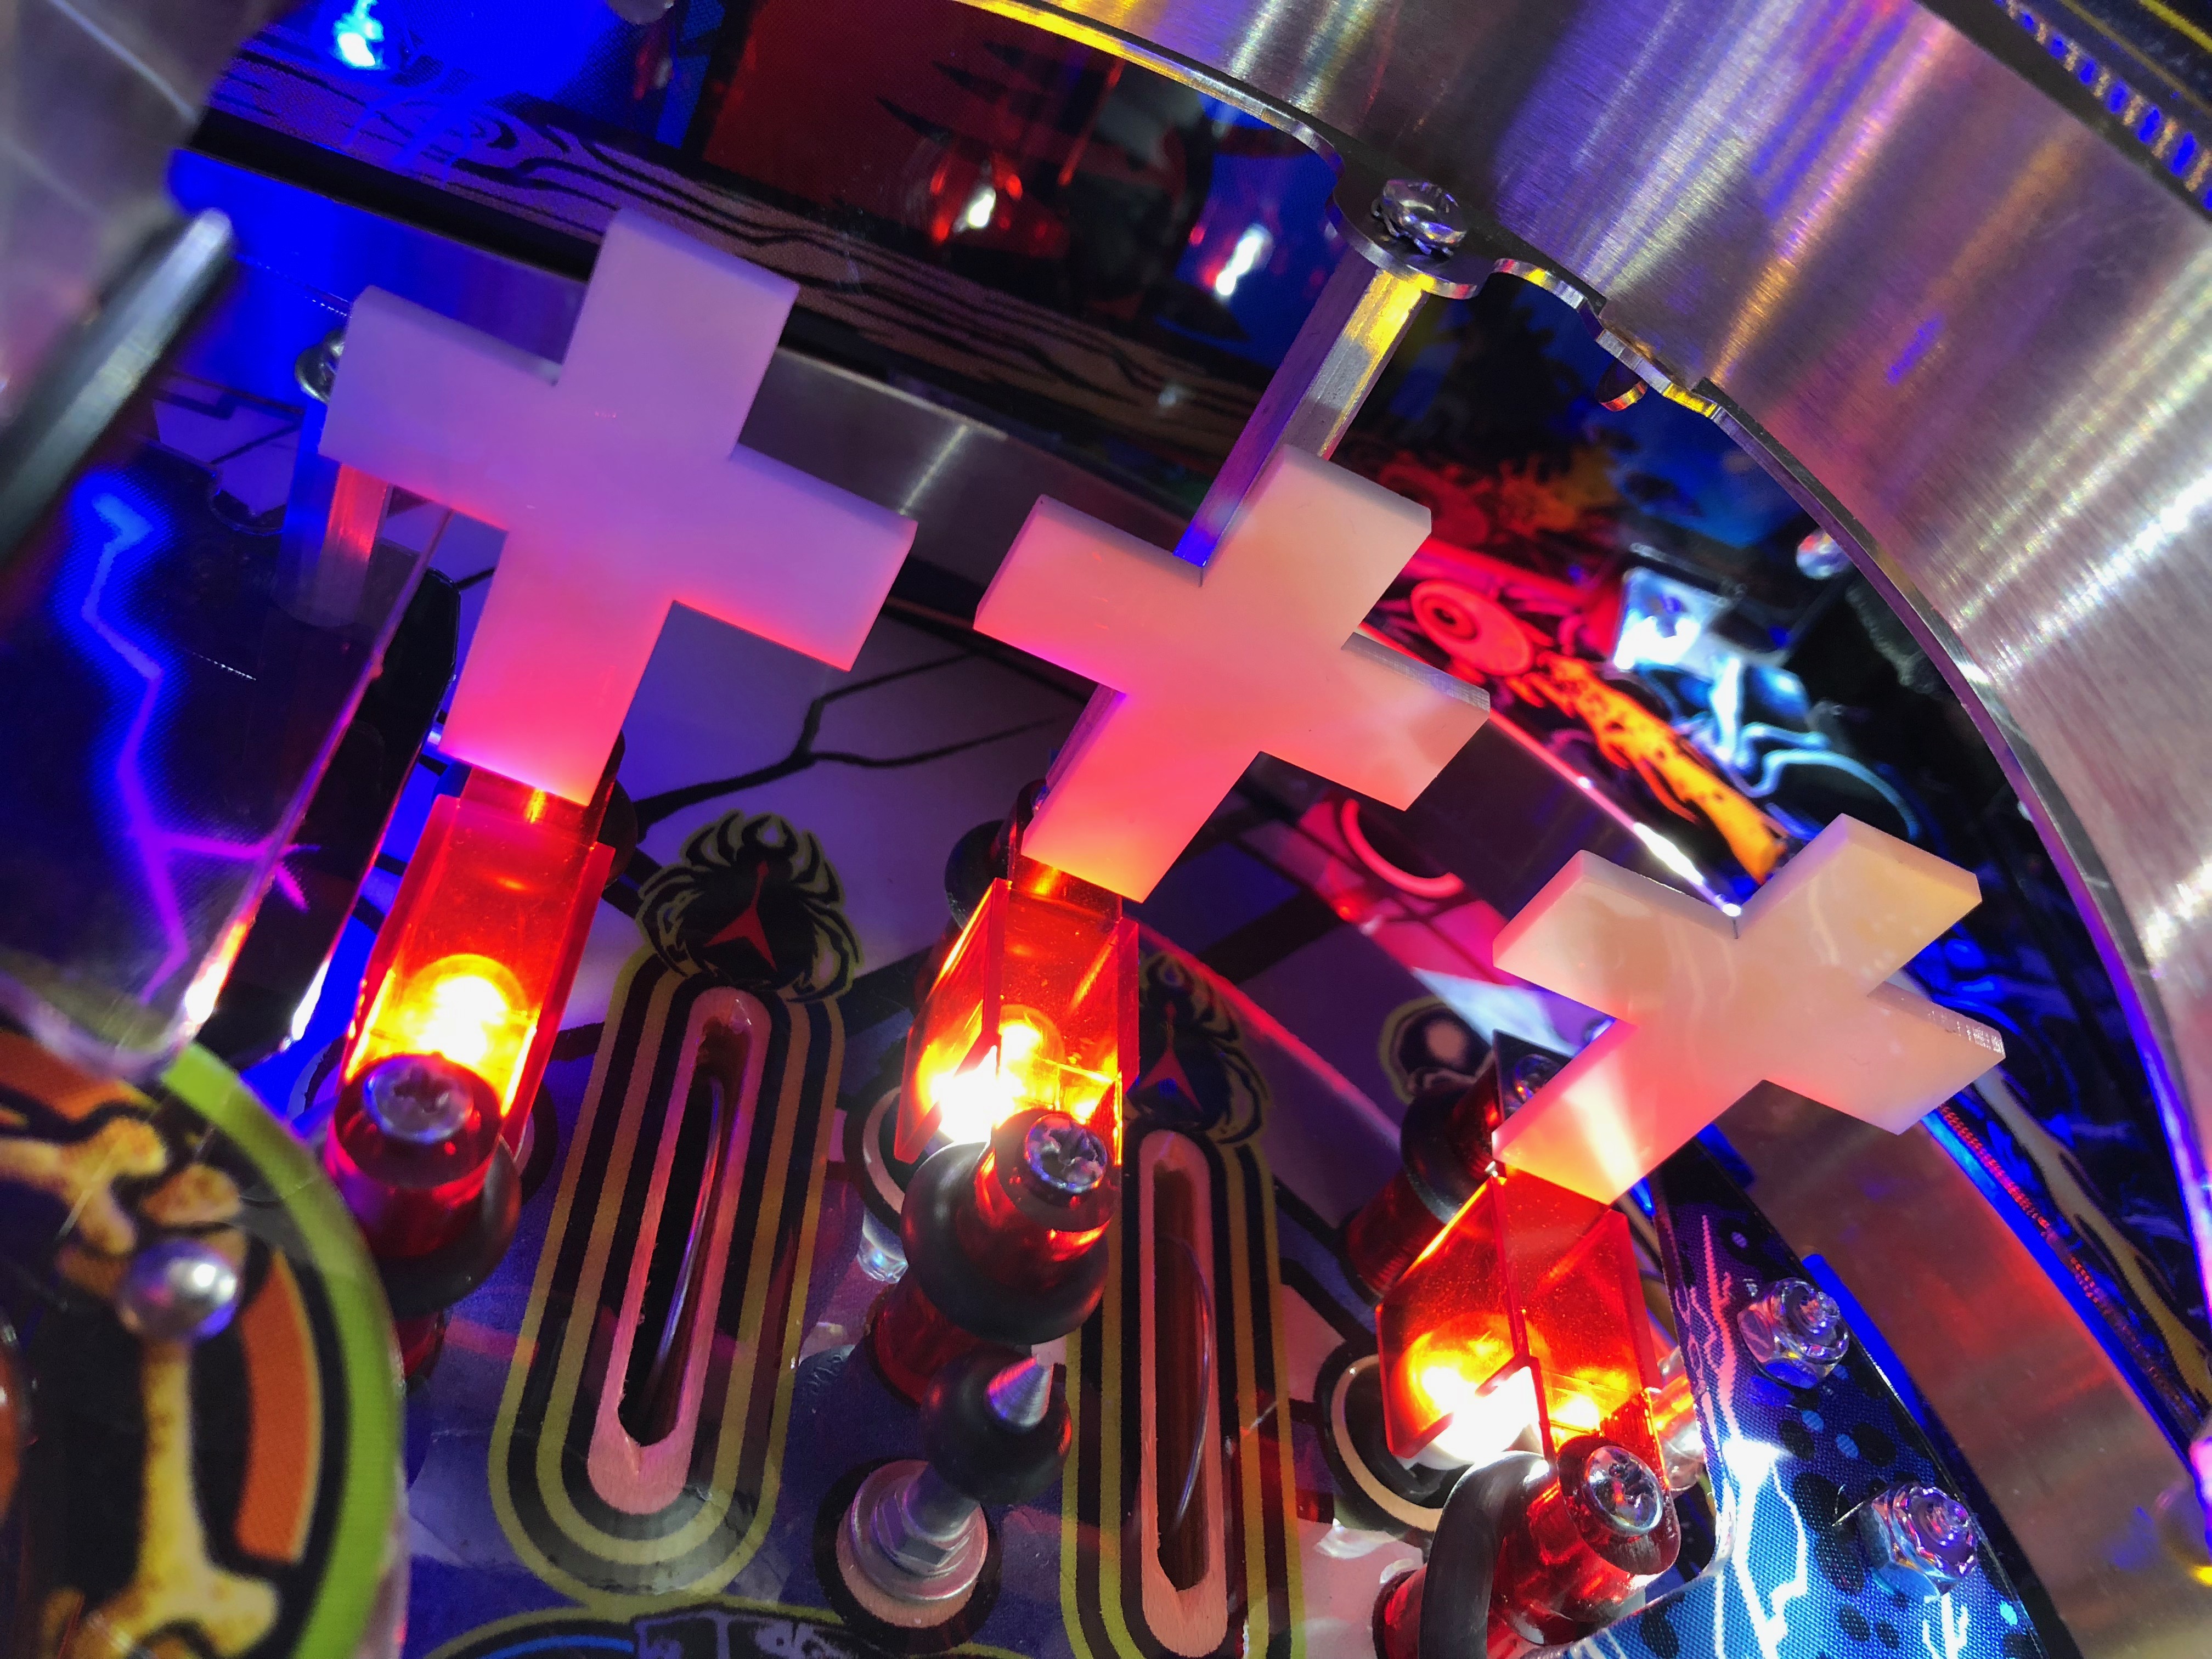
protector - 3 crosses at
rollover lanes - Lighted
cemetery arch - Sparky
protector plastic
Guess what? I’m not even close to done! I’ve still got the following to add:
- Custom Dirty Donnie Sparky (on the way)
- Sparky helmet EL wires (here)
- Lighted hammer LED mod (here)
- Snake fangs kit (on the way)
- Sculpted snake kit (here)
- Cliffy switch slot protectors (on the way)
And … on my wish list
- Color DMD
- Custom purple armor
Let’s review how each of these went and provide tips and tricks for install where we can
Slingshot/Inlane protectors –easy install. Clip the white wire ties that hold the wires on each spotlight above the slings. Remove the spotlight from the post.Remove the hex post, then remove the remaining nuts from the other 2 corners of each sling. Remove and discard (put in coinbox if you wish) the metal washers that Stern provide for protection. These can’t stay as the added height of the fluorescent protectors won’tallow the nut to catch enough of the threaded post. Beside the protectors are doing the job the washers were before. When you assemble, make certain the drop zone of the right habitrail is pushed away from the newly added protector or it will hang up (ask me how I know)
Subwoofer – easy install. Use the Pinnovators web page install instructions. Run an extension cable to your sub. Make sure you have a splitter so you can use the “line in” section. Plug in sub, good to go
Snake tongue decal – clean any oil off snake mech base where tongue decal will be placed. I use some alcohol. Thoroughly dry the area with small piece of paper towel.Remove paper backing from decal, then use a small flat blade screwdriver to stick just the very tip of the decal to it. This will allow you to place the decal perfectly. Once positioned push down to ensure adhesion. 60 second install.
Side mirrors/Pin Stadium – this was a package deal install. I noticed my PF was super tight to begin with- barely enough room for the mirrors on each side. There was NO WAY I could fit the Pin Stadium magnets ON TOP of the side mirrors so … I placed the magnets for the Pin Stadium on first, then installed the mirror blades directly below the magnets – butted up tight to them. Worked like a charm! Even so, the magnets from the Pin Stadium are so tight they have actually shaved some wood from the edge of the Pf as I have raised and lowered it. No biggie as you can’t see it and a testament to the adhesive properties of the Pin Stadium magnets because they have not budged!

Shaker motor – a pretty typical install. All the wiring you need is in the cabinet already. The instructions are typically confusing and they don’t disappoint here. I’ve put in dozens of them so I wish I would just stop reading them. Again they confused me and added 5 minutes to a 15 minute install. Add the circuit board (side of cab is already drilled – yay!), mount the shaker (T-nuts already in place – yay!) Plug in 2 sets of wires, add the cover (in my experience the hardest part) and you’re ready to use it.
Shooter eject protector – Not an easy install. If I had it to do over again, I would simply drop a piece of custom cut mylar in there. Here goes. Remove the two nuts holding the front of the apron down midway down the outside drain lanes. Remove the 2 screws holding the back of the apron in place where the playfield brackets intersect and lock into the lock down bar receiver. Unplug the J connector that sends power to the apron lighting. Remove apron. Remove the top 2 screws from the eject mech (left and right side). Now the tricky part. Bend, twist, cajole, nudge, tweak and wish this protector into place. You will need to do 3 things at once. Get it under the eject lip, under the entire eject mech with mounting holes aligned and pop it over the wire guide – good luck without slicing your hands off. Seriously be careful. It would be MUCH easier to remove the entire eject mech but I was too lazy. Total install 30 minutes
Shooter lane mylar – cut it to fit (rectangle) fit it tight to the left side of the shooter lane. Then use a right angle pick (the outside elbow or bend) to press it down from left to right. Don’t just try to shove it in there or it WILL stick but it will leave air gaps wherever it crosses a sharp angle. Just slowly push it down left to right. When you get to the right side you’ll want enough material left to climb all the way up the black part to protect as balls fly out of the eject mech. This right angle crease is important to “fold into” using your right angle pick (use the outside elbow of that pick as it makes a nice crease in the mylar but does not tear it) 5 minute install
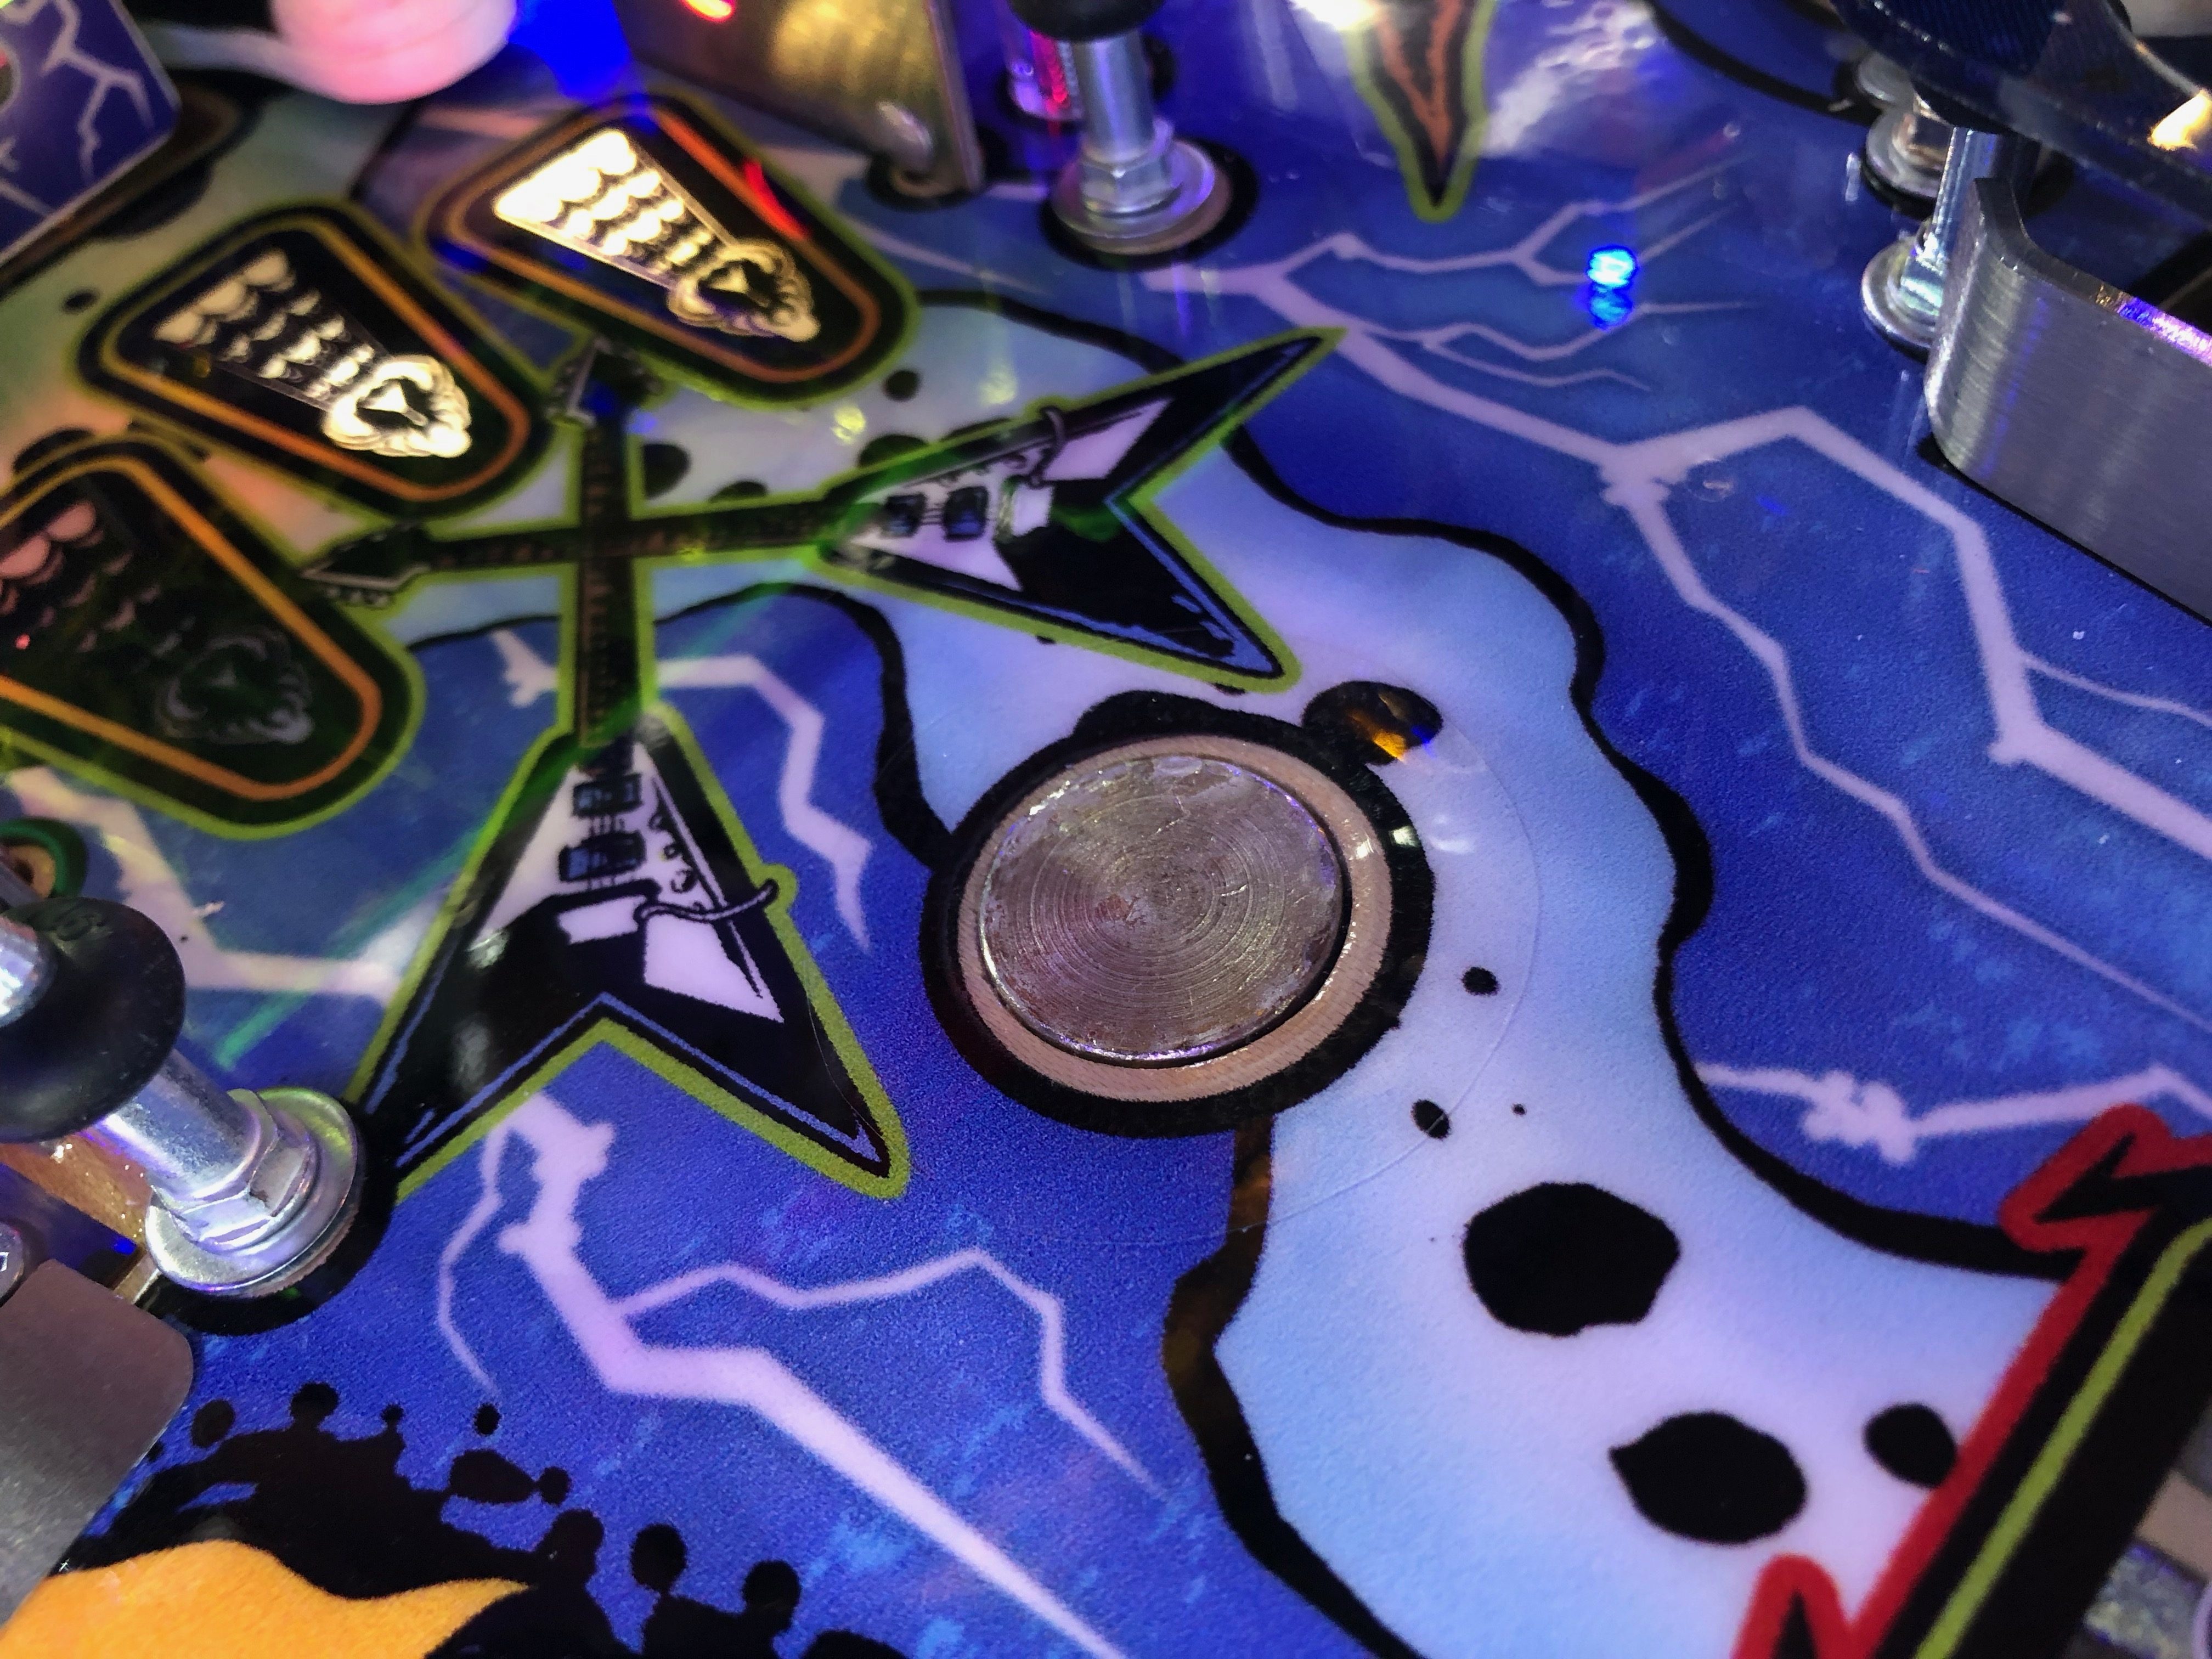
Magnet mylar – I always keep several sheets of mylar around. I traced the inside of a roll of my electrical tape and cut that circle out using my tool/scissors. Wax the playfield first and if you need to remove this later, it will come off with no damage. Remove backing and add over magnet area. I did NOT cut out the magnet. I left it covered with the mylar and it works just fine. 2 minute job including cutting the circle out.
Mantis scoop protector – Remove all the screws that mount the scoop toe the playfield. Slide in the mantis protect under the loosed mech. NOW – be careful as you slide and push this into position in the scoop hole. It’s easy to catch a piece of errant clear coat and chip the clear as you push the mantis UP into the scoop hole. I know because I’ve done it on MMR before. Take your time on this one. Once it’s placed, you will use ONE of the original scoop mech mounting holes to hold the protector and you will need to drill a second. I use a small handheld drill and a 1/16th bit. NO need to go deep. Place the scoop back as it was, add your new hex head screw and this one is in the books. Took about 20 minute’s total. Not hard at all. Worth the effort. No extraordinary rejects from the scoop at all during gameplay. Highly recommended.

3 crosses – Super easy install BUT the one on the left hits a clear protective plastic (one of the arms on the cross) so I had to fiddle with it to keep the crosses straight and aligned with each other. I actually pulled the left cross off the aluminum mount and re-positioned it higher. The adhesive is very sticky so it allowed for the re-positioning. Problem solved. Total install should be 2 minutes. Actual install was 15 minutes +
Lighted cemetery arch – Not complex at all. Instructions should be a little clearer. But you can figure it out. Follow the Mezelmods instructions on line. I’m still wondering how to secure the wiring even though it doesn’t get in the way of anything – just kind of sits there. Also don’t think that the mod is as “dramatic” as I would have thought it to be.Still looks good as a sculpted piece though.
Sparky protector – I ordered the green fluorescent and once installed did not like it at all. I’ve since reordered the thinner clear version and will install that instead. The green was too much up around Sparky and this protector was very thick. Looked fantastic in design though with engraved spider webbing.
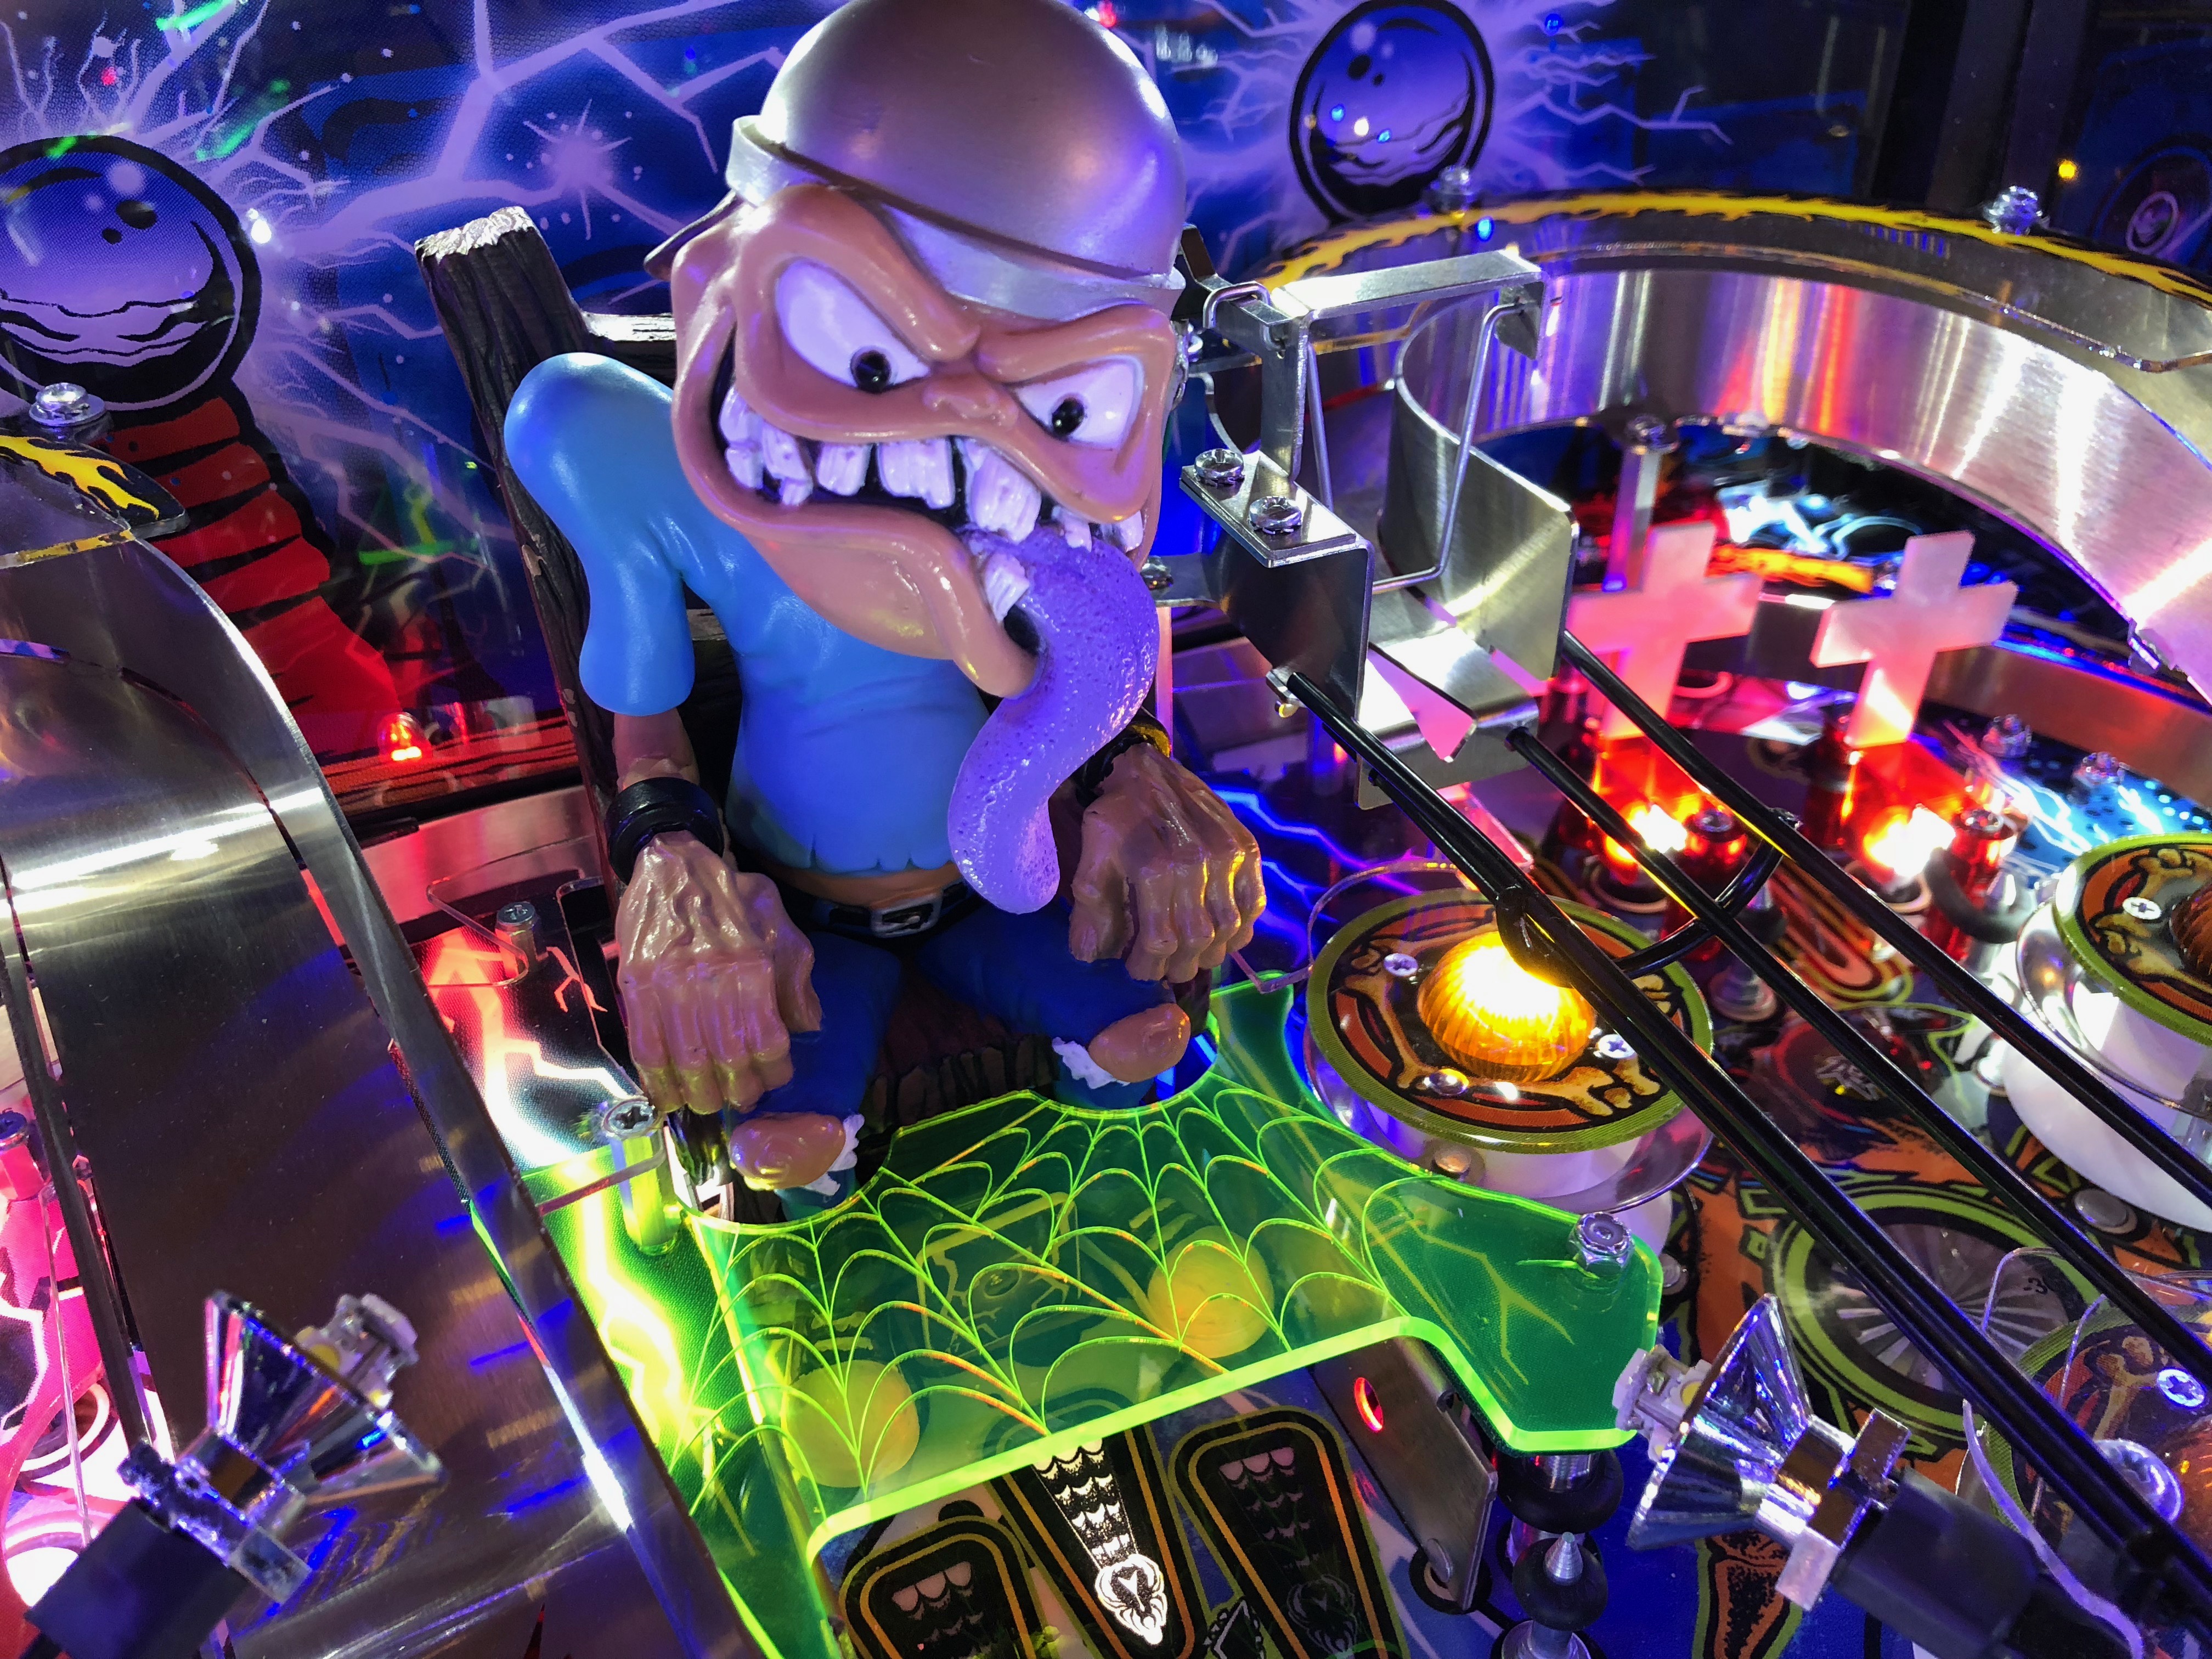
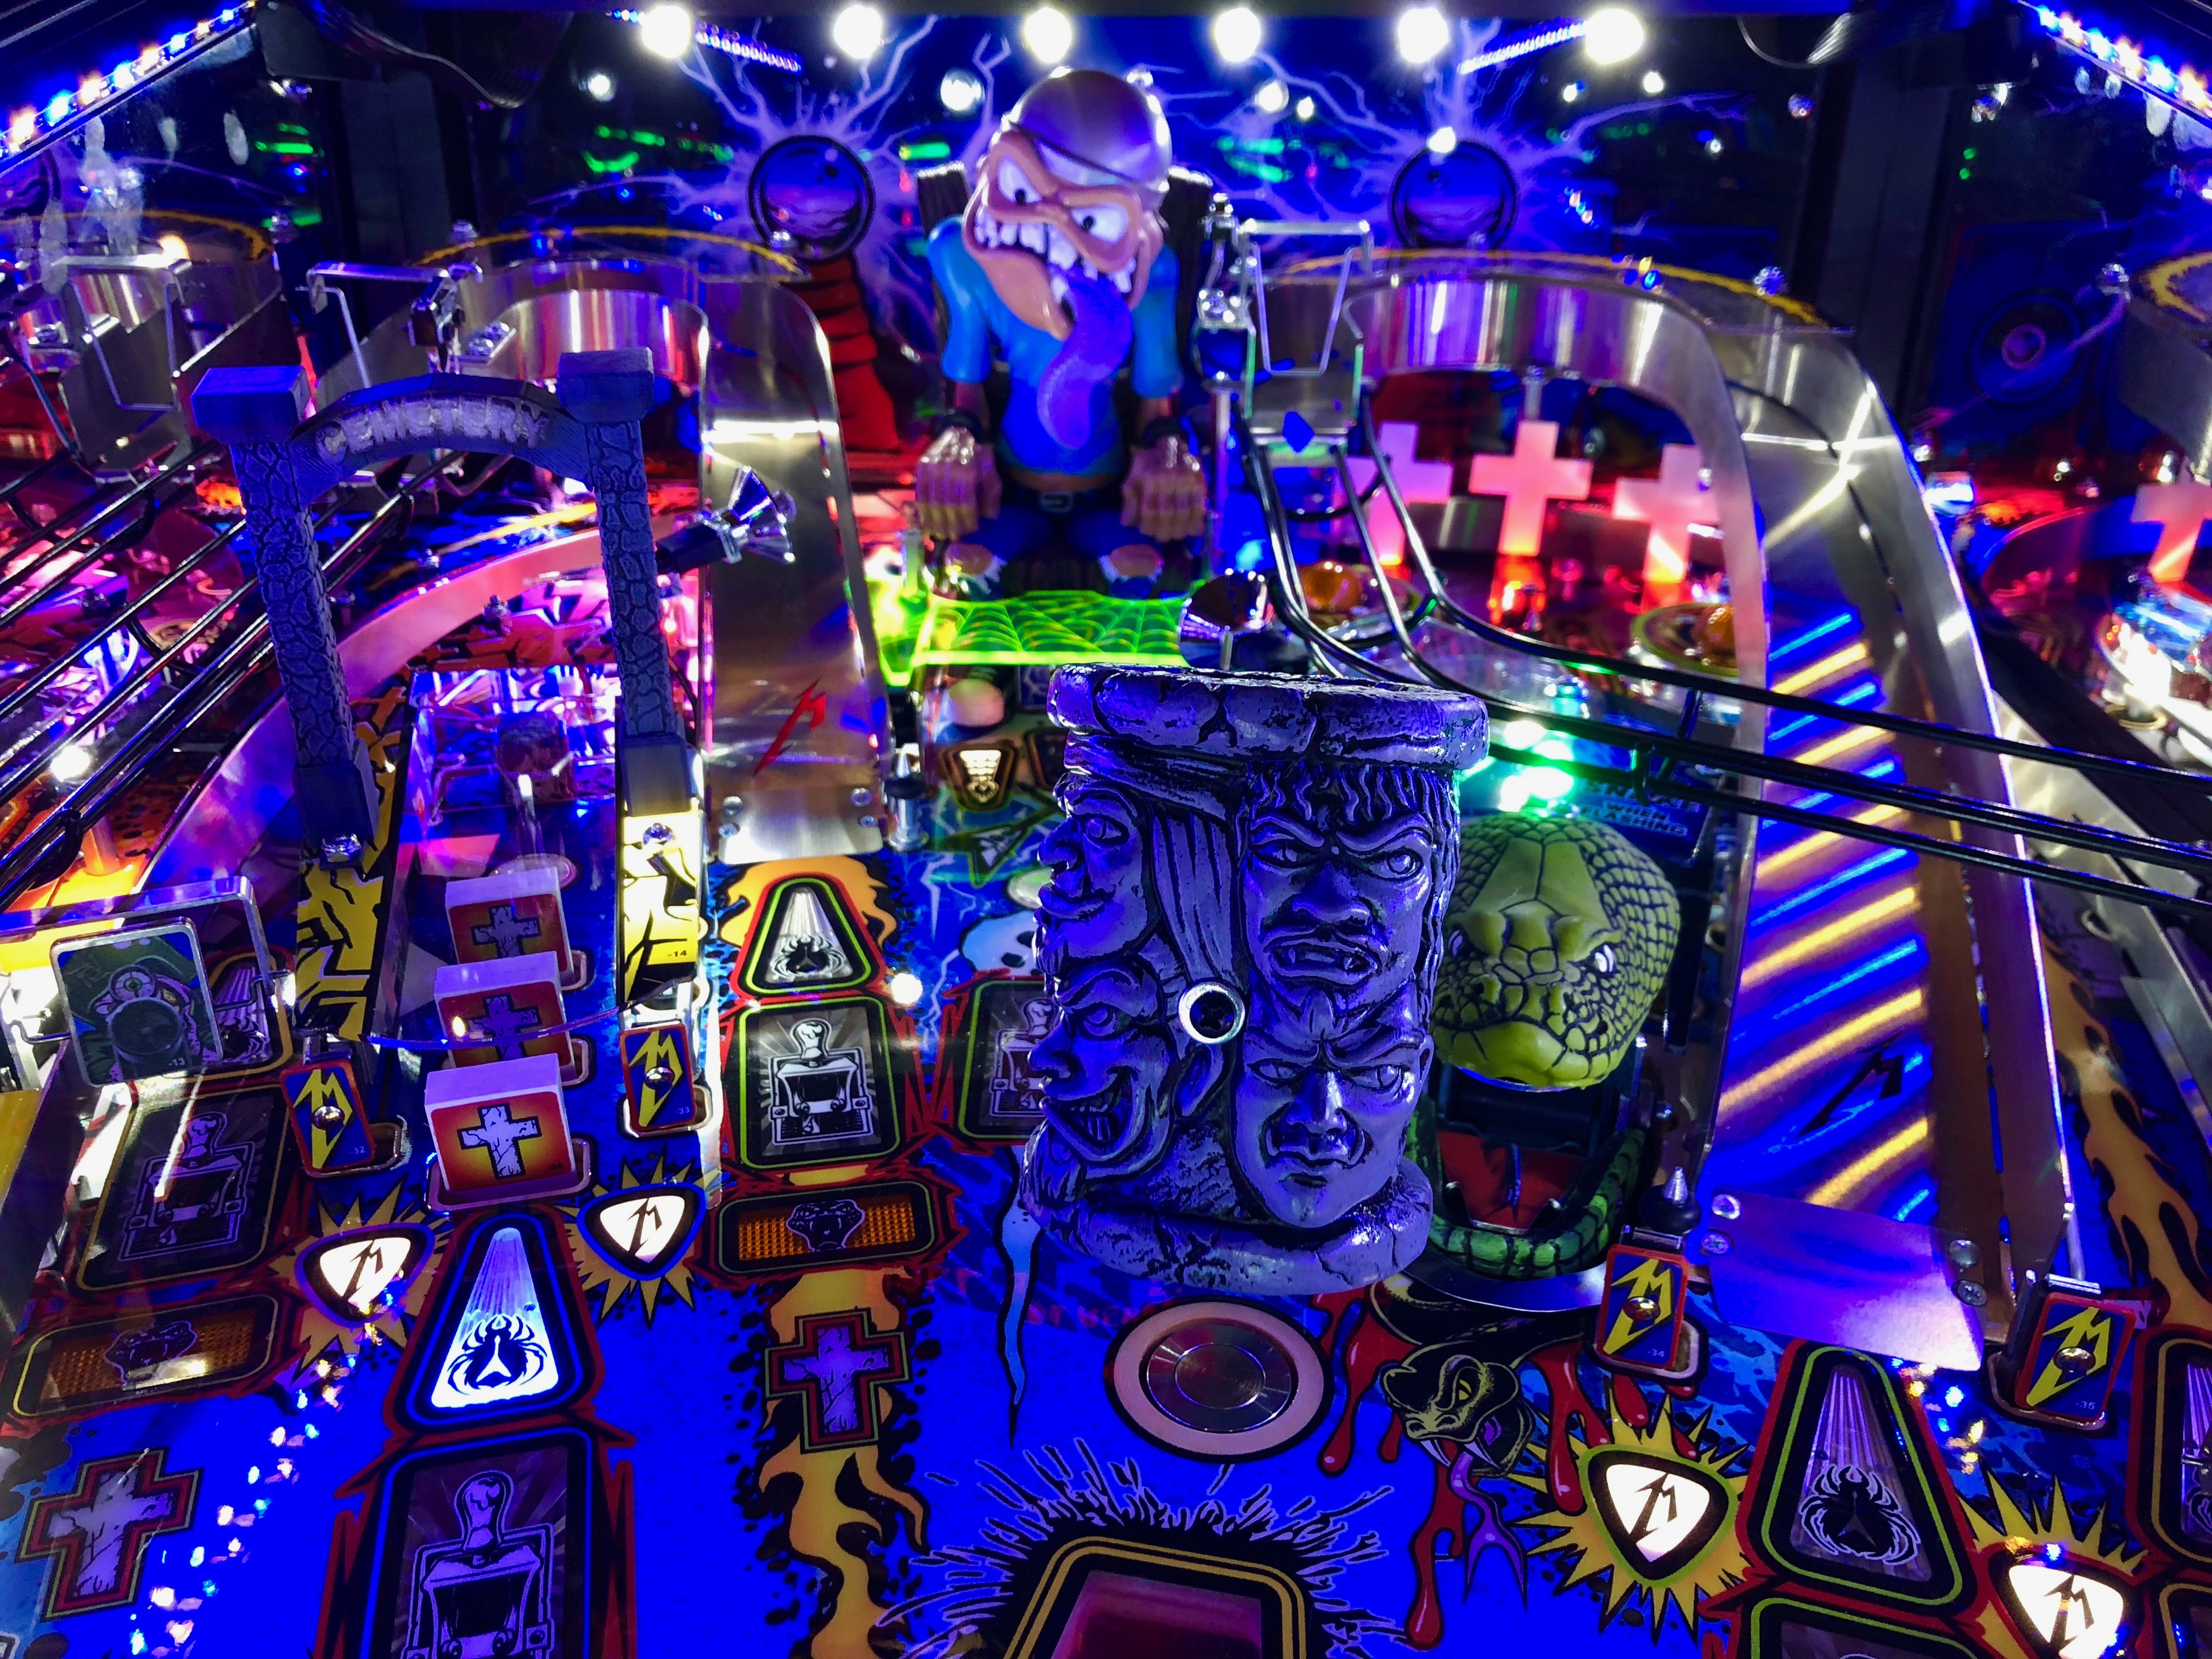
You cussing at me??
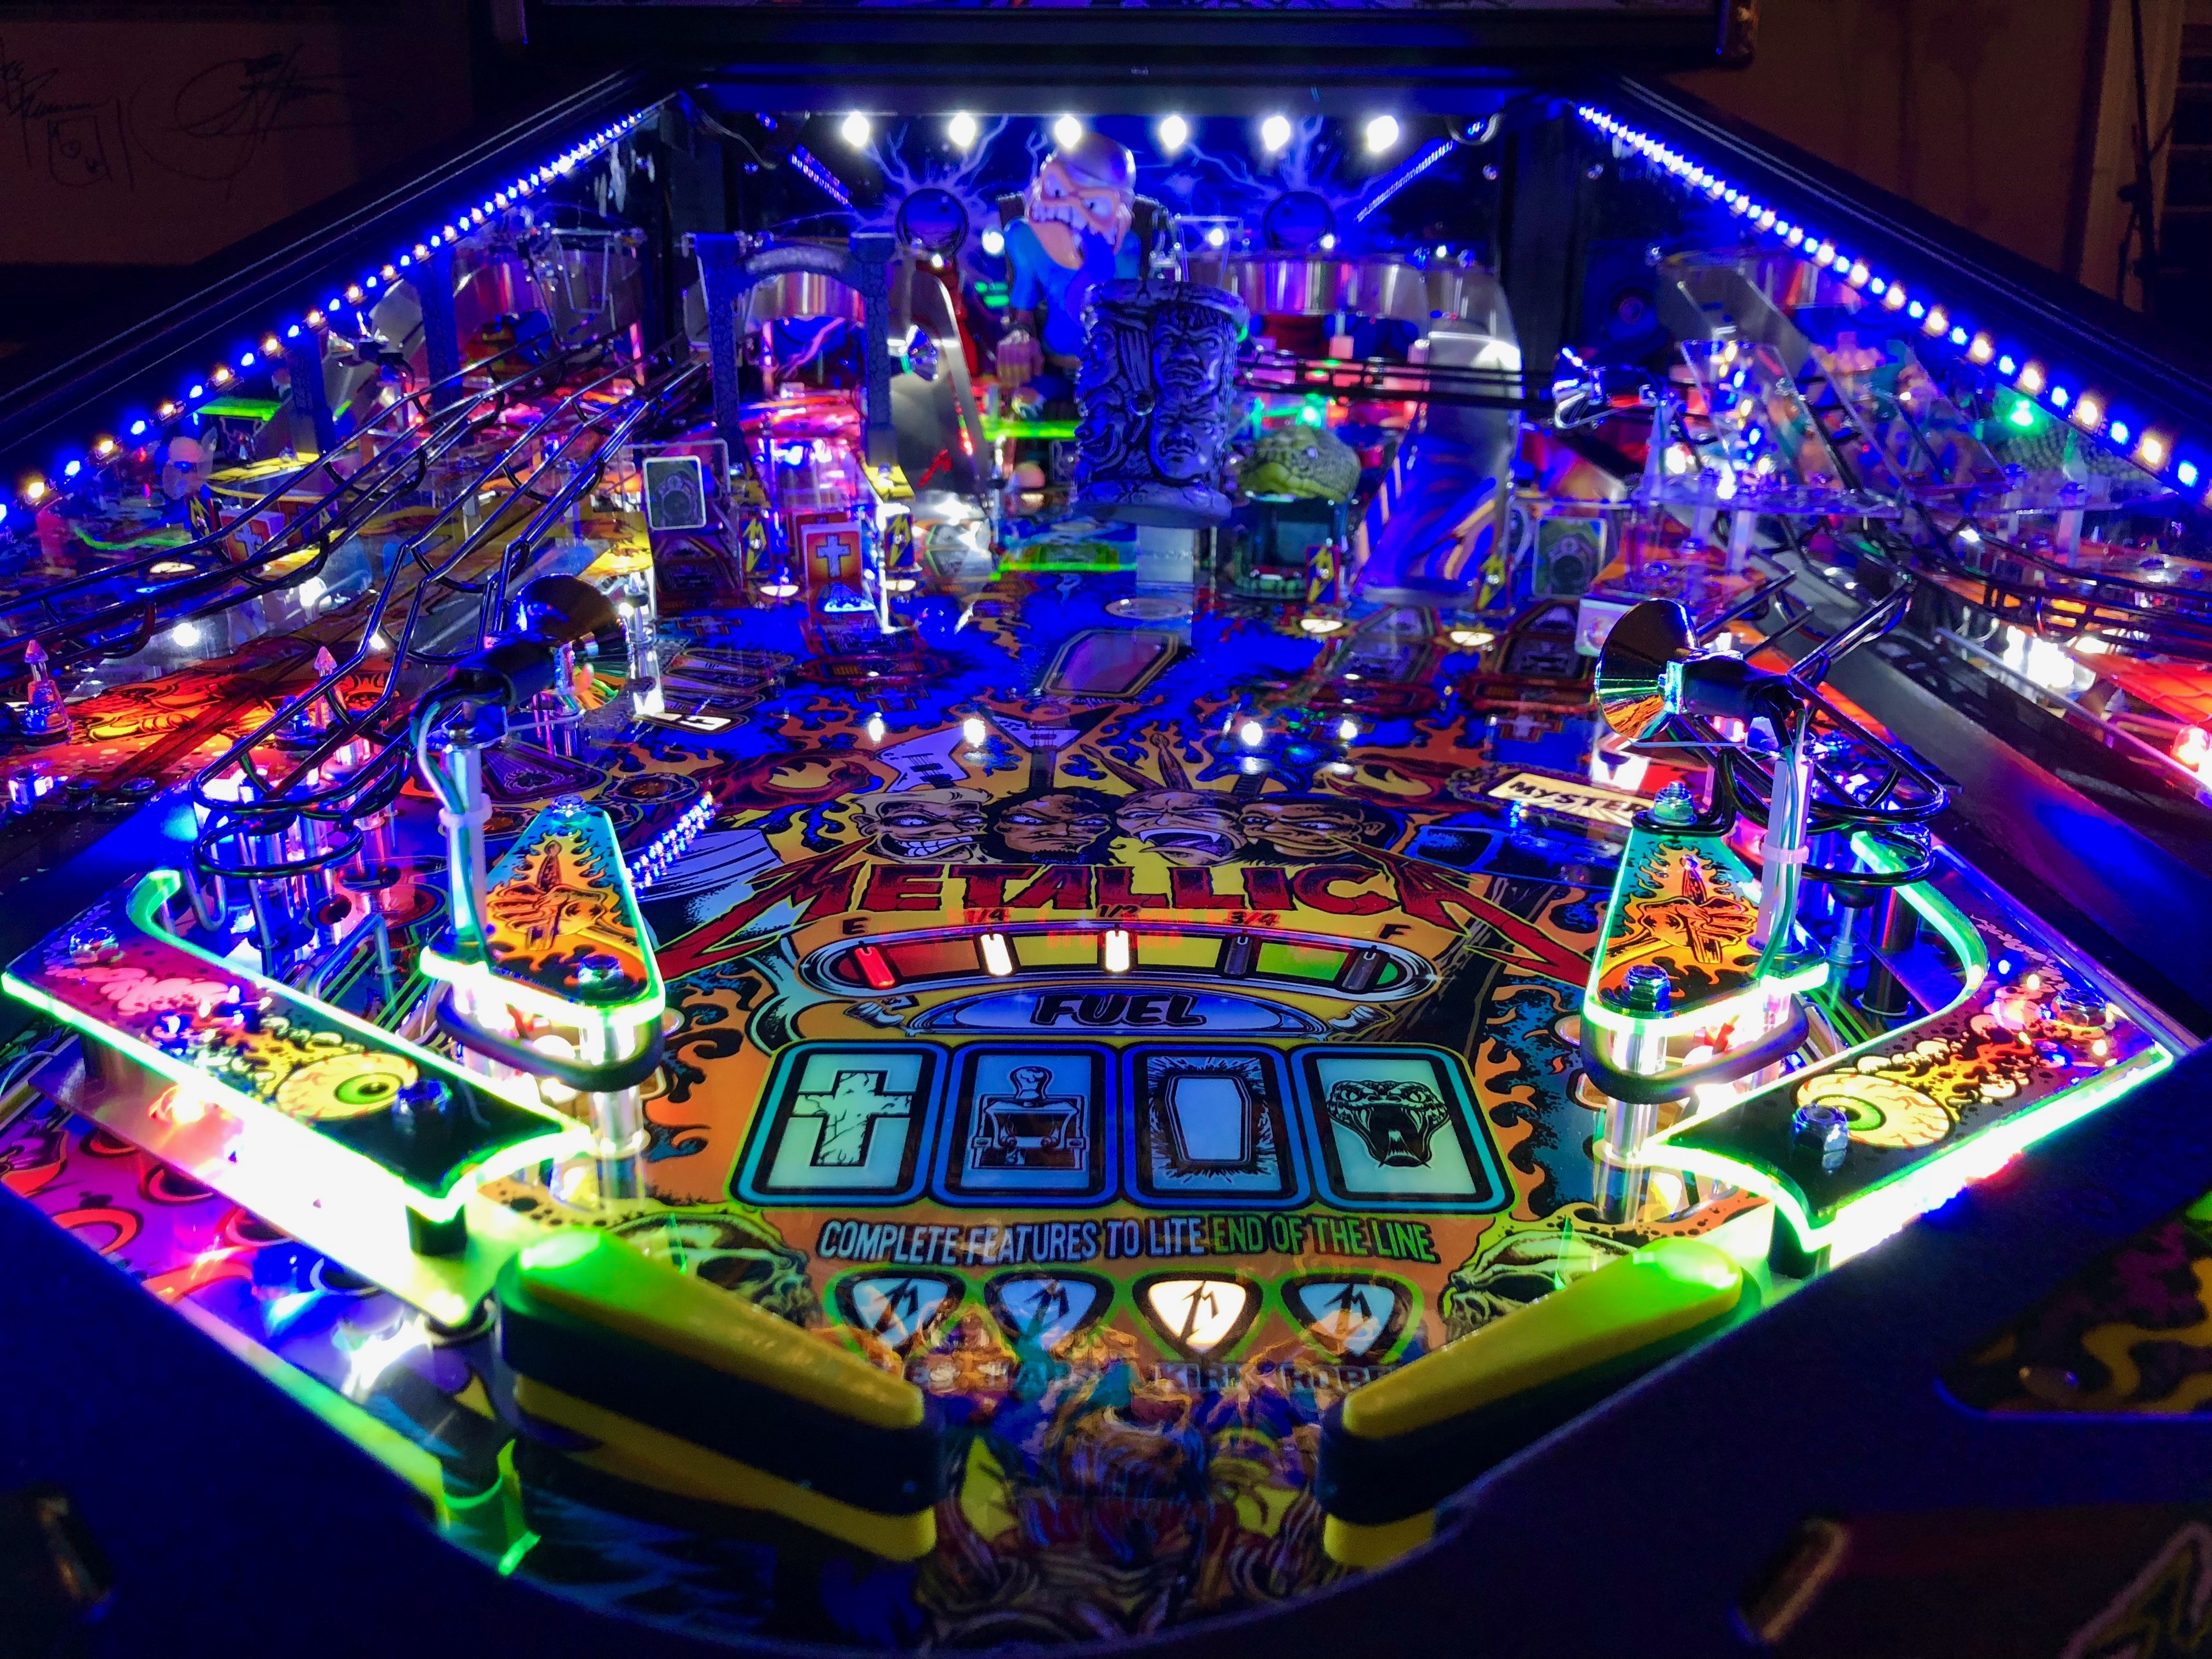
So what do I think about Metallica game play? Wow. I’m impressed. It’s a great combination of hard shots with easier repeatable ones. It’s easy to get to multiball. It’s a challenge to drive the ball up that fuel lane. It’s easy to hit Sparky. It’s hard to hit that left ramp. It’s easy to backhand the graveyard. It’s hard to hit it from the right flipper and not go STDM.

I never listened to Metallica growing up. I AM a huge music fan. At one time I had over 7,000 records in my collection. Yes, metal was part of it. Just no Metallica. To be honest, it’s not bad. In fact for a Pinball game it’s absolutely perfect. I wouldn’t change a thing. If you don’t think you would like it because you already know you “hate Metallica” (or as Sparky puts it “Tallica Sux”) then give it a play first. There are simple menu settings that you can use to turn the volume of the music down to your liking if you so choose. I ended up turning my music UP not down. To turn it UP, go into the game adjustment menu and select #134 (music attenuation) and change it to say -40. Yup, you read that right, MINUS 40. The higher the negative number the louder the songs are! Metallica music is OK by me.
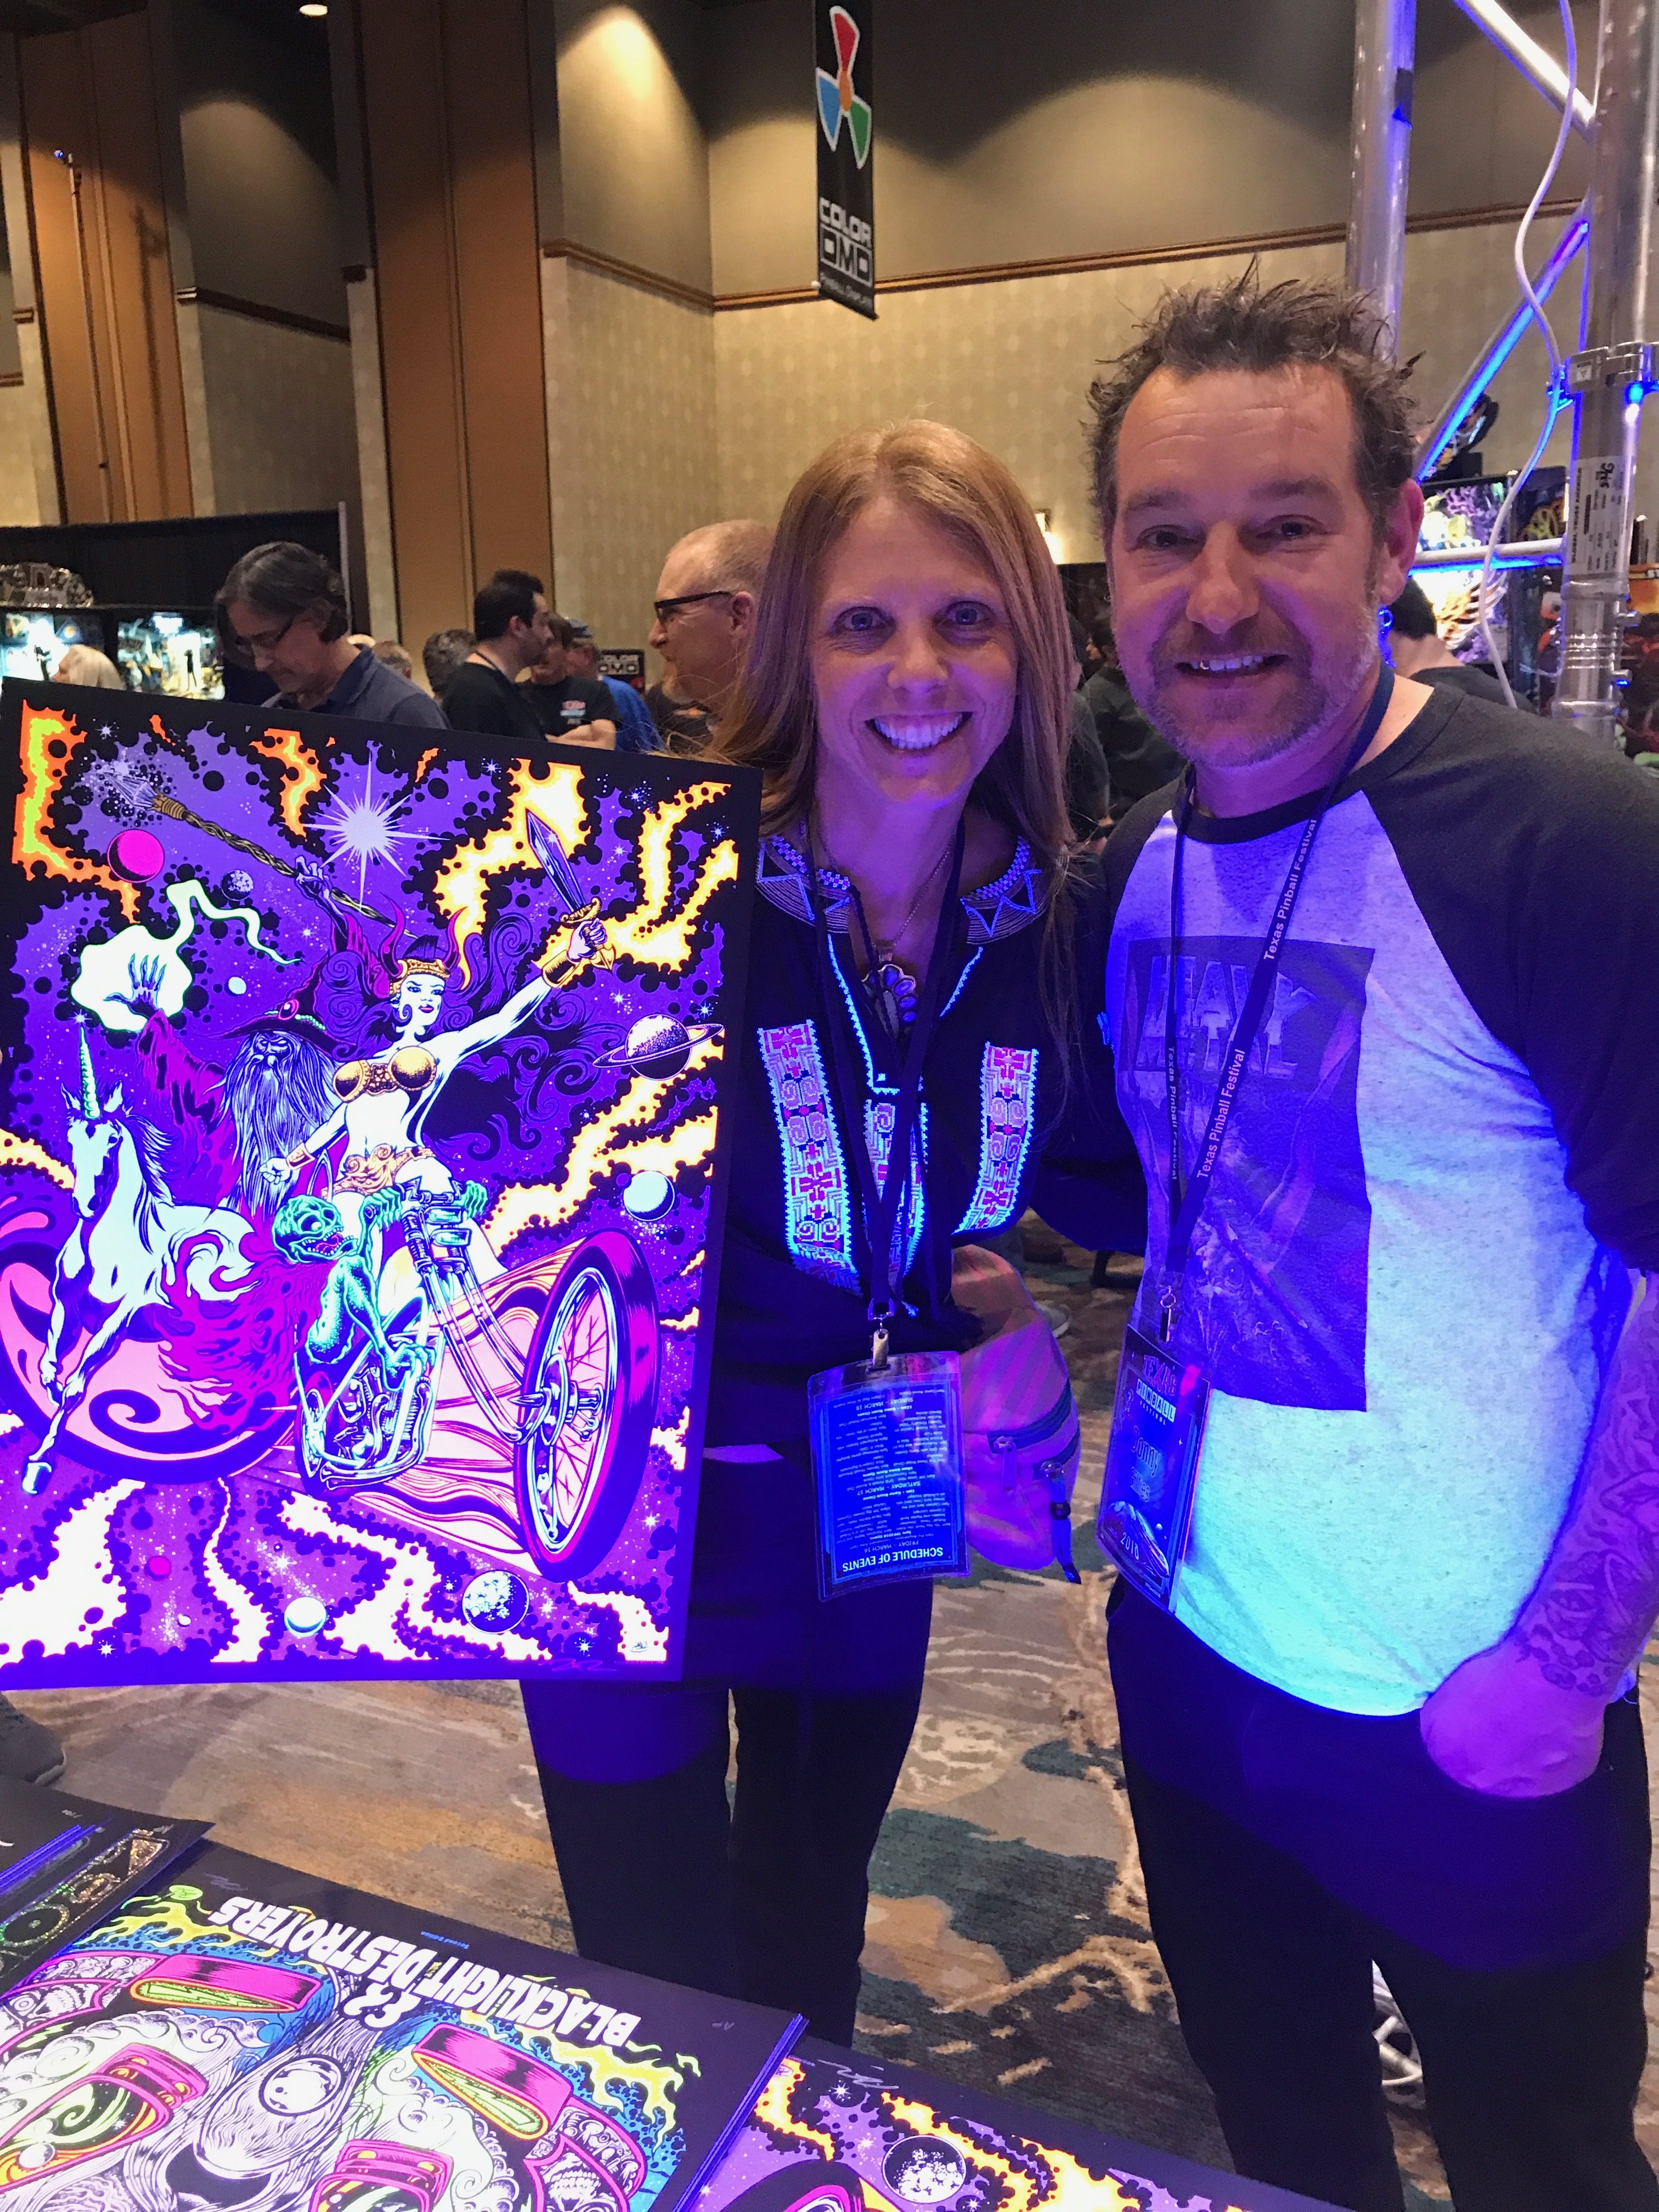
What can I say about the artwork – it’s stunning. Dirty Donny is no doubt the man when it comes to this hand drawn art style. It captures a metal band perfectly and from what I’ve heard from true MET fans it captures this band to a “T”. Great job Donny Gillies! We met him at Texas Pinball Festival last March and he’s just a fun guy too. I know that Miss Tami will love her custom painted Sparky from Donny when it arrives.
The sound … the glorious sound package in this pin. It is nearly perfect in every way. The only improvement might be if the entire hardware system was replaced to perform at the level that Total Nuclear Annihilation or Alice Coopers Nightmare Castle are at. This sound package is so good it deserves better hardware – better fidelity. With that said, let’s review some of the highlights. Like the double bass drums tied to the spinners – genius and sounds amazing through the sub. Like the adult language callouts. I’m not a fan of cussing but I am good at it. I also recognize that this IS probably an appropriate place for it. I play the game with the volume around 40 and simply love the feeling of being at a concert or better yet, an event like no other. Adrenaline, excitement, music, skill, lights, sounds and vibes from the shaker – Pinball at its best!
This band is hot!
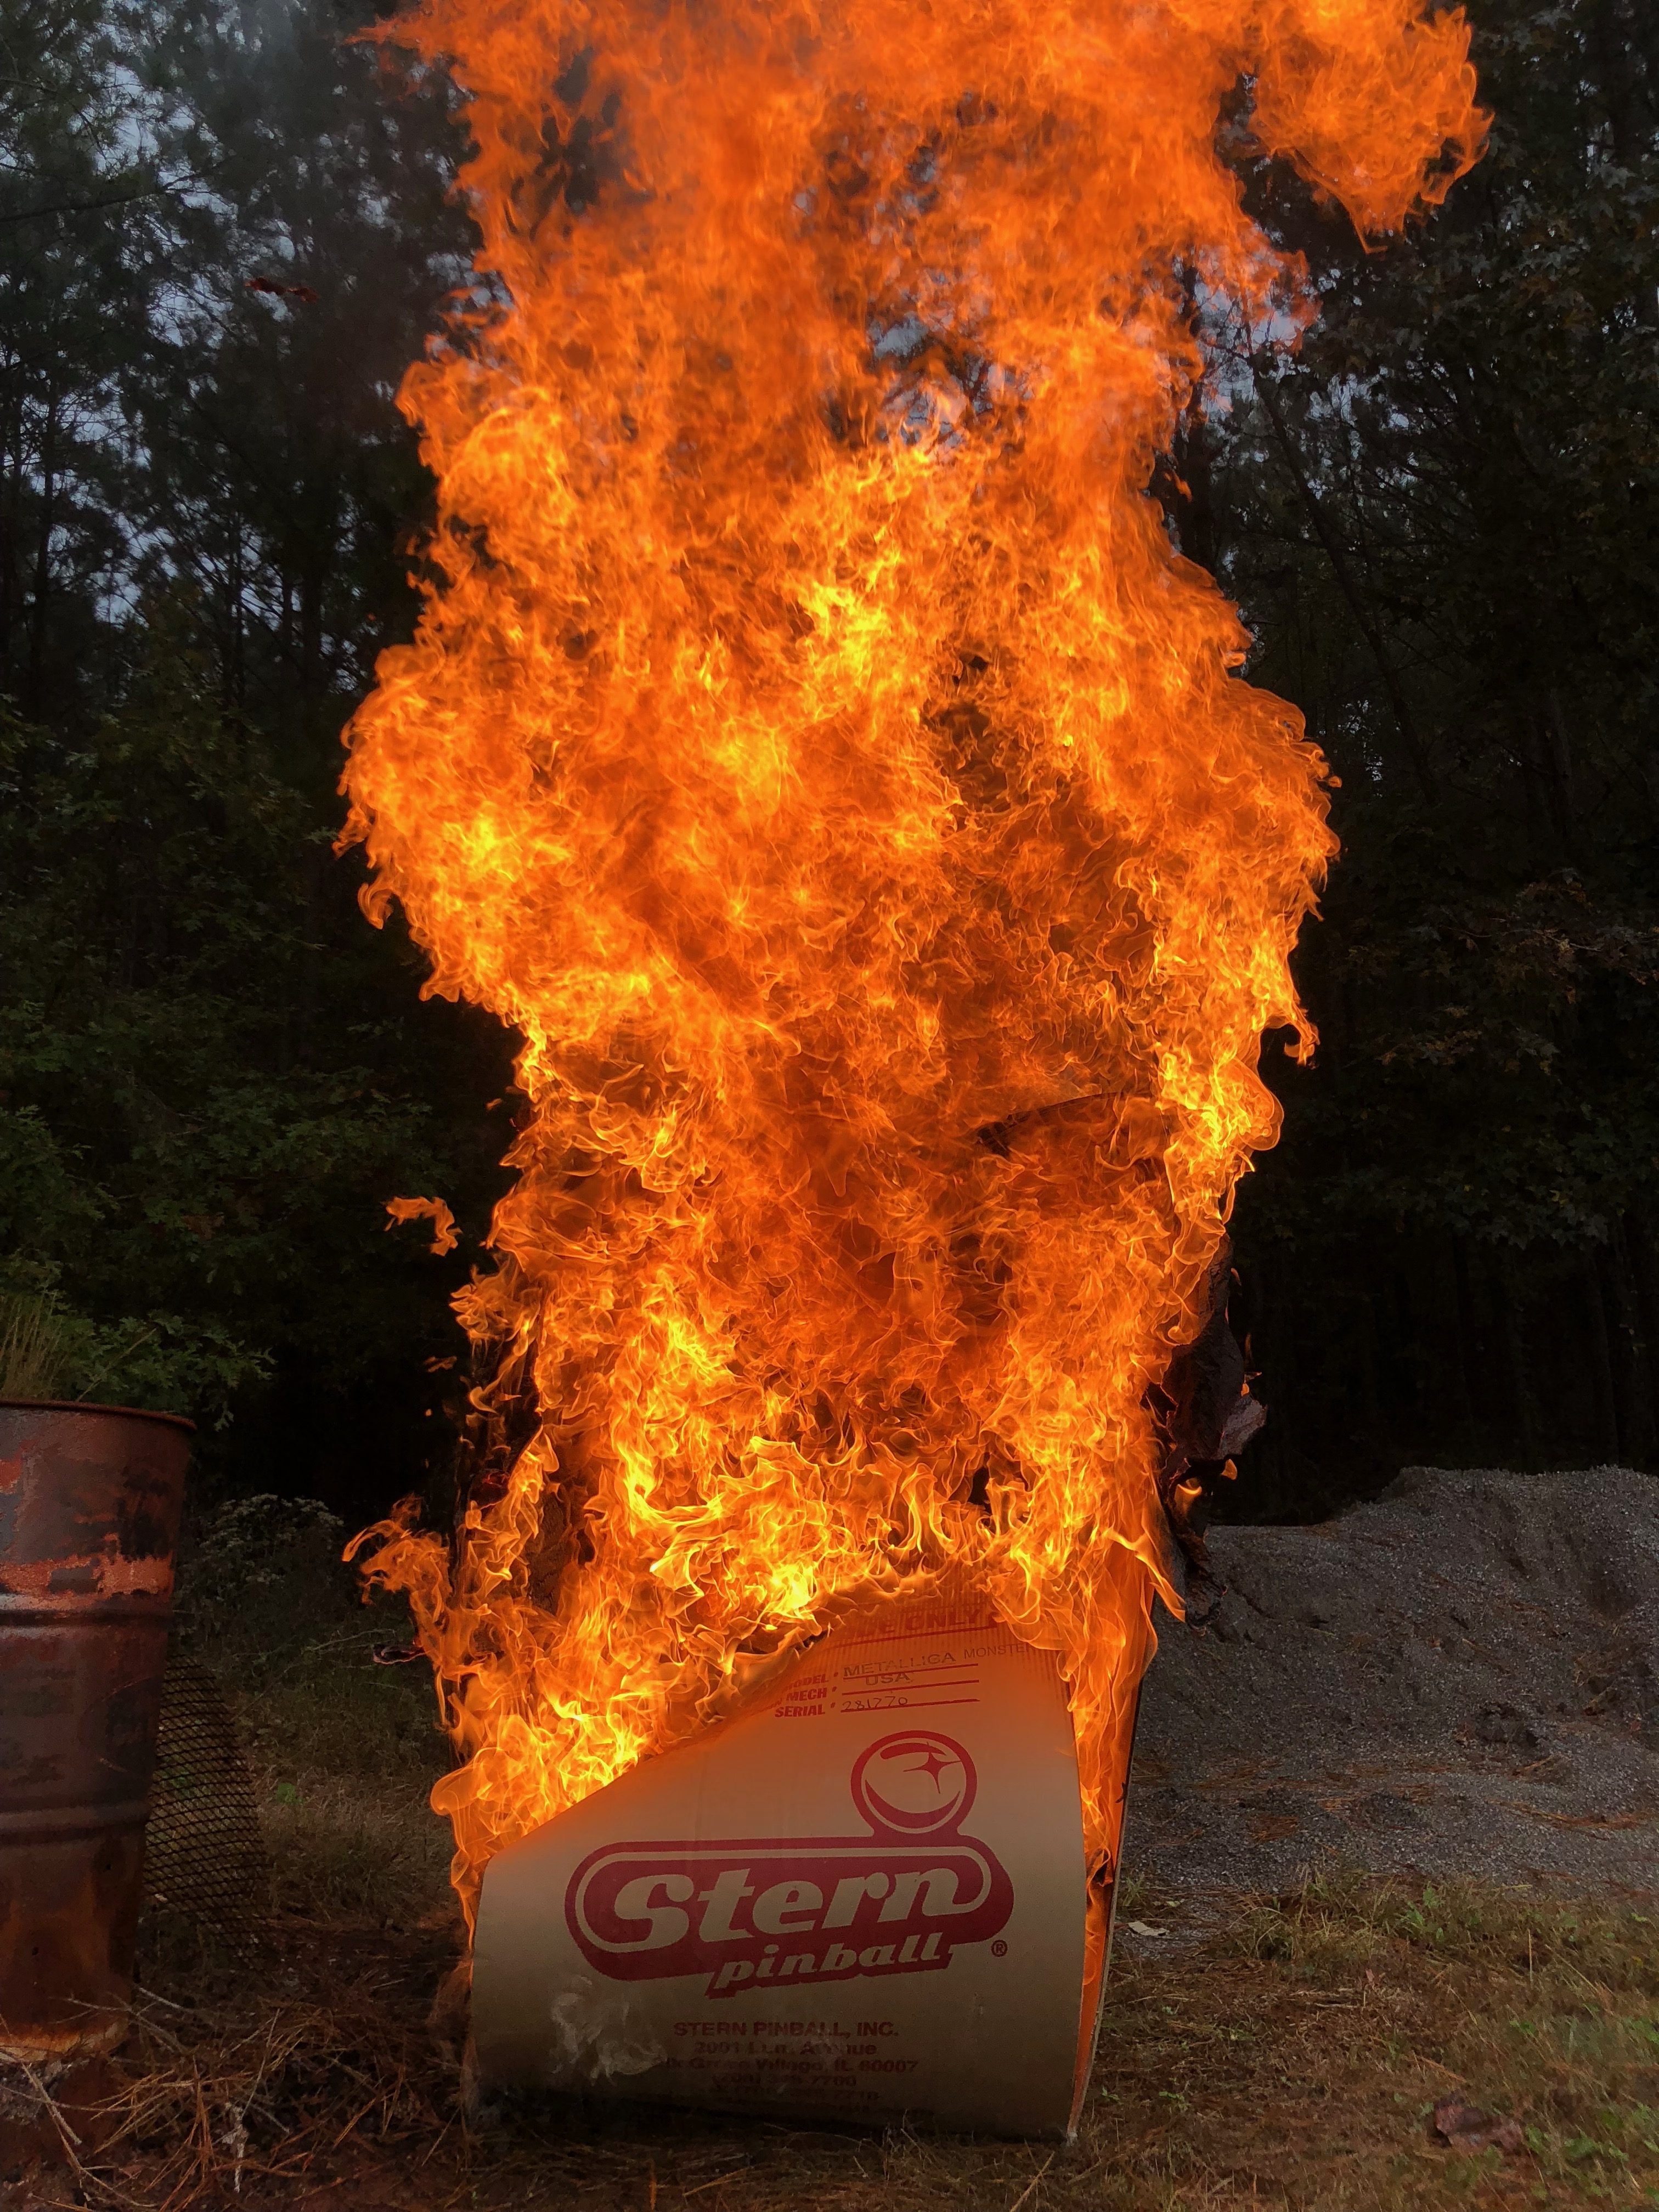
I live on 30 acres and will typically burn all the paper I can in my burning barrel. Saves trash space. Saves me hauling it ¼ mile out to the road each week. So, after setting up Metallica, it made sense to drag the box out to the burning barrel and get rid of it. I pulled one of the leg boxes out of it (nice long square chimney shape if you know what I mean) and I lit that at the bottom and tossed it back inside the bigger box. I can’t resist a great image so as the box began to burn, I snapped a few. The last one is amazing and as I clicked the image using my iPhone, I was nearly burned in the process (I was many feet away but wow, was that hot!). A fitting end to the box that held the pinball machine that represents a band known for their over the top performances and music – rock on